


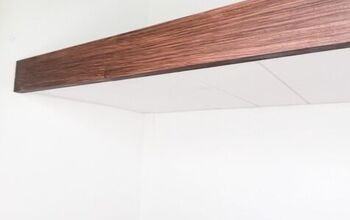
Easy DIY Floating Desk
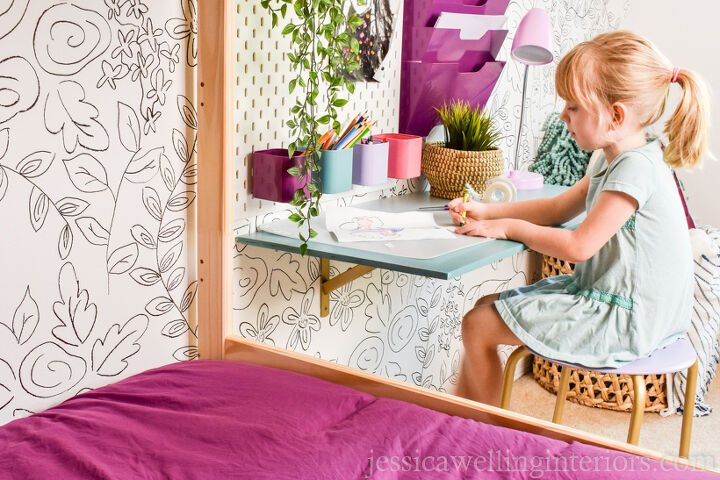
Hello! It's Jess from Jessica Welling Interiors. We've been busy working on our girls' bedroom makeover for the past few months, and today I'm going to share the really simple and inexpensive desks we built for them.
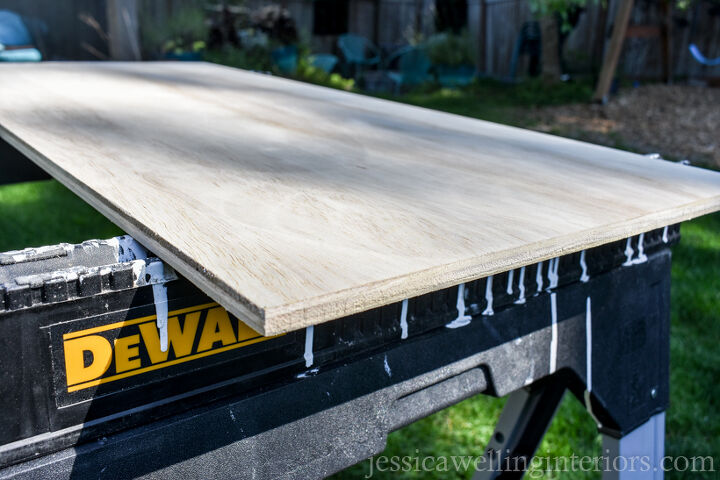
First, cut your plywood to the size you want. Click over to the blog to see the size we used for the girls. You could also make it larger and do an adult-sized desk. You may be able to get the plywood cut to size for you at the lumber or hardware store.

Next, sand the plywood, first using a rougher sandpaper, and then a finer grit.
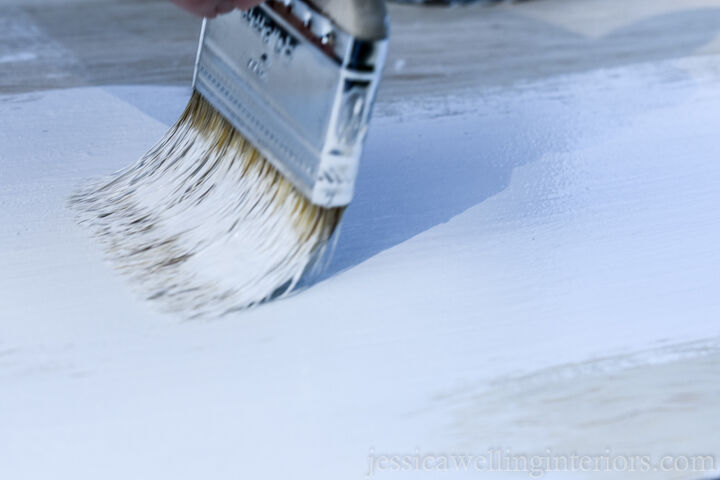
Prime the wood. This step is important. Click over to the blog to see my favorite secret sauce primer. It will seal in the knots and wood and smooth out the wood a bit before you paint.
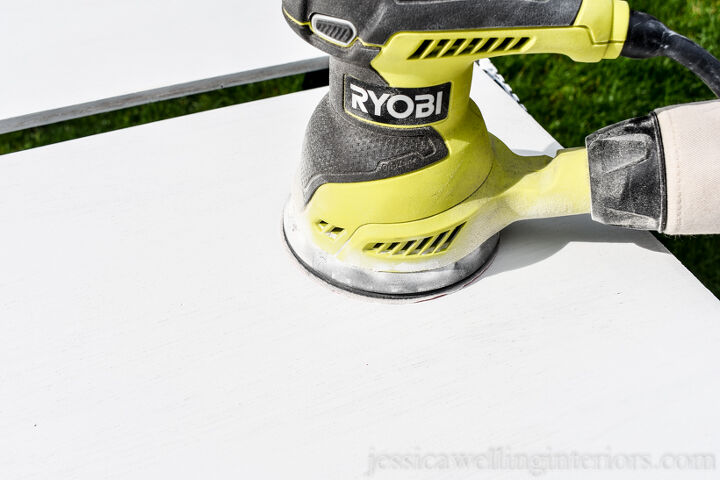
Once the primer is dry, use a fine grit sandpaper to smooth out any rough spots or primer drips. Wipe it down with a damp rag when you're finished.
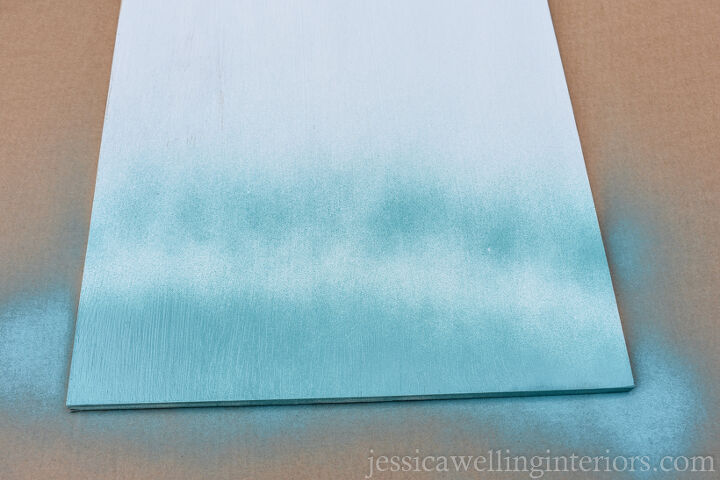
Next, spray paint the plywood. I like to do a light coat first, and then walk away for 10 minutes. After that, I come back and do a slightly heavier coat to get full coverage.
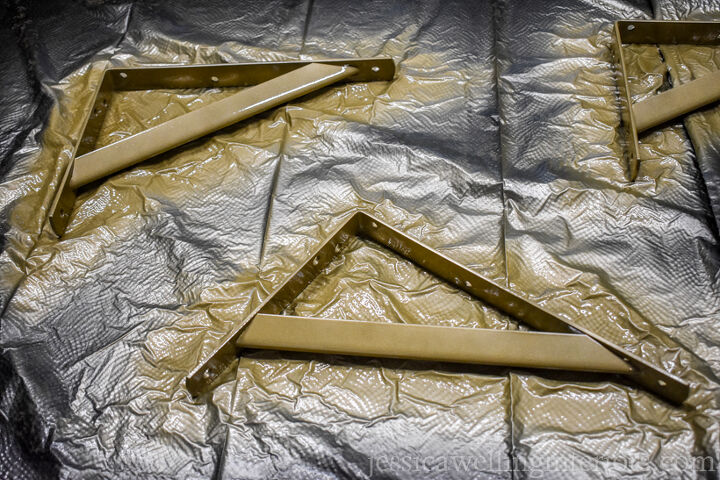
I also spray painted the metal brackets gold. You could also leave them white.
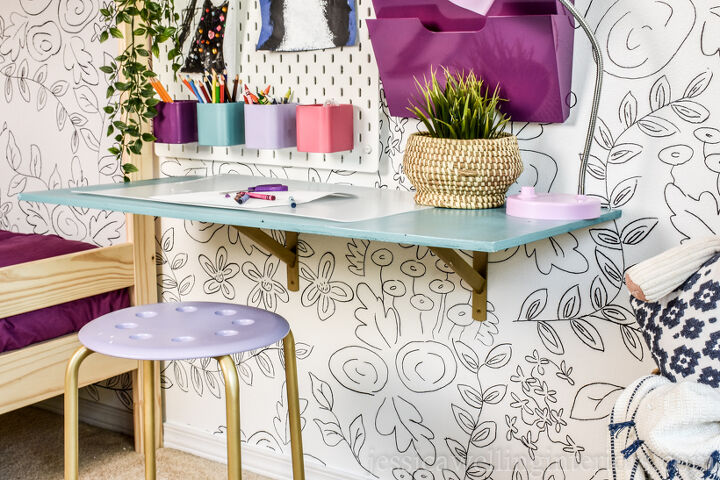
Now mount your brackets to the wall at the height you want your desk. Then attach the desktop to the brackets with screws, and you're done!
Hop over to my blog to see these desk stools I made over to go with these desks for a total of less than $10, and more of the girls' room makeover!
Resources for this project:
See all materials


Comments
Join the conversation
-
Simple but effective. Perfect for a small space. Great share.


Frequently asked questions
Have a question about this project?