


DIY Sustainable Gift Wrap With Cricut
3 Materials
$50
2 Hours
Easy
Learn how to create your own sustainable gift wrap to reuse instead of using buying traditional wrapping paper that ends up in landfills. Easily customize your gift wrap using a Cricut and the Easy Press 2.
I’m so excited to share this sustainable gift wrap idea with you. A few years ago I read an article about how terrible wrapping paper is for the environment, and since then have slowly been figuring out ways I could reduce my own gift wrap waste.
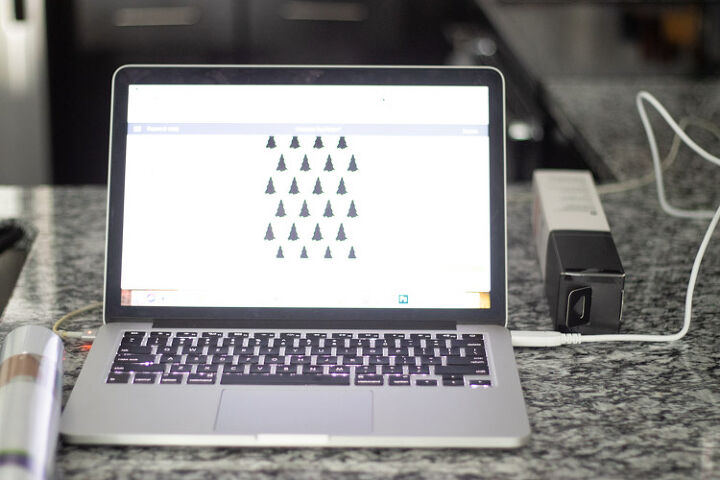
I'm sure there's an easier way to do this, but I'm fairly new to the Cricut Design Studio. This method worked for me. I toggled back and forth between my design and the "make it" view to see how much space I had left to fill on my sheet of vinyl.
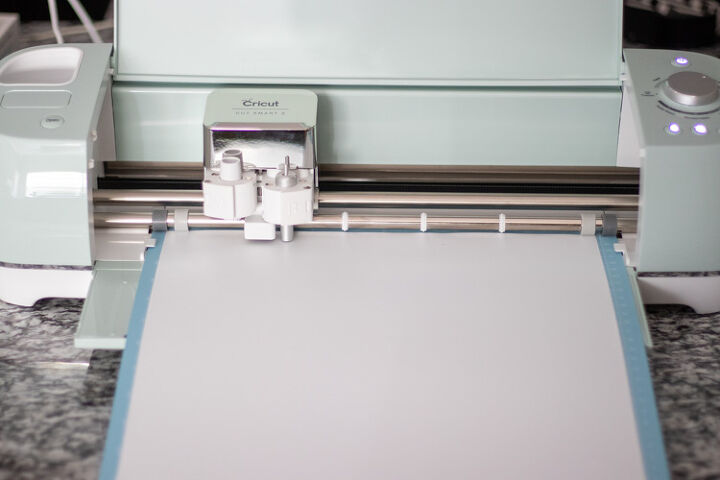
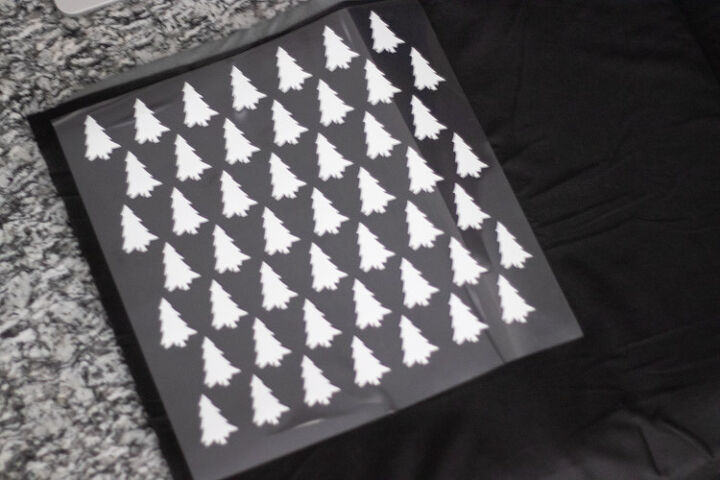
Cut the design on your Cricut
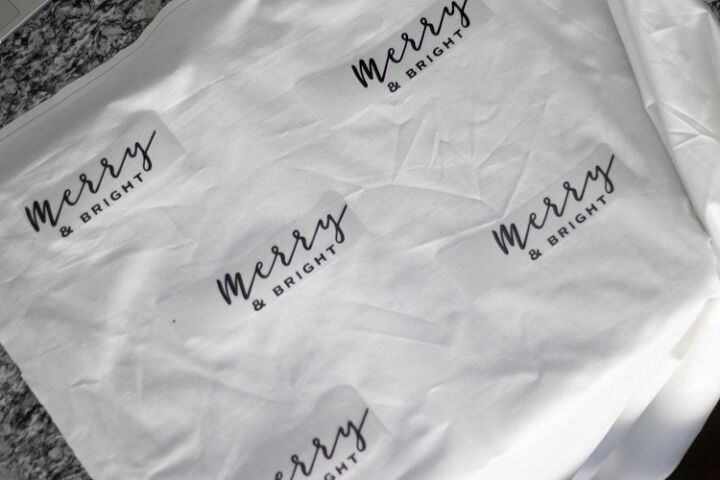
Once it's done cutting, weed all the negative space off your vinyl so you're left with your design.
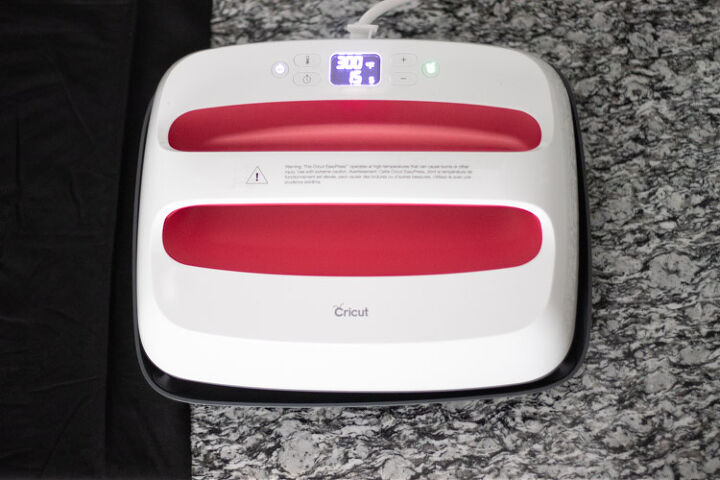
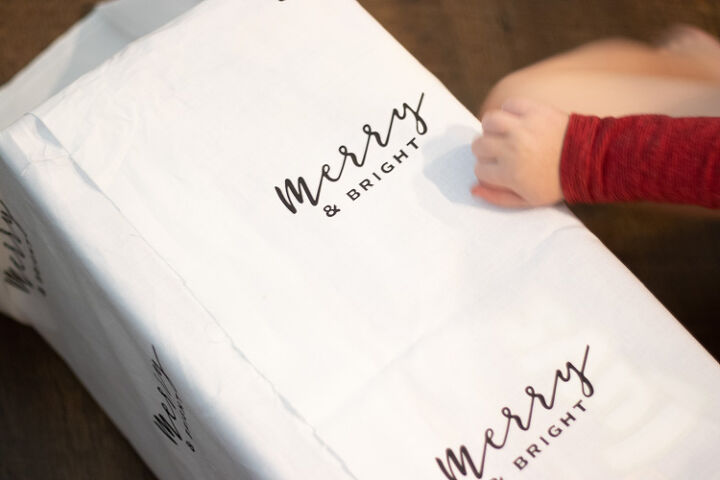
All you have to do is look up which setting to use for the material you're using, then set the temperature and timer. For these cotton-poly blend materials, I set my temperature to 300 and the timer to 15 seconds.
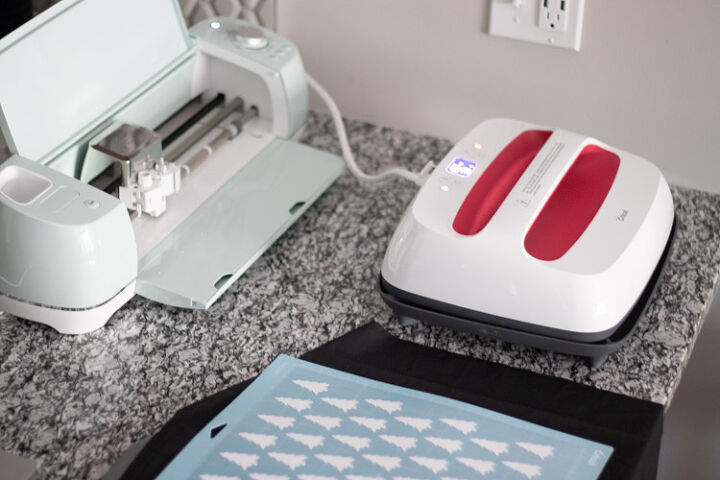
You can use a towel to protect the surface you're working on, but I suggest investing in the mat that's specifically made for the Easy Press. It's just one less thing to find and straighten out. I just keep it on the cart with the rest of my Cricut supplies and am ready to go when I need it.
The instructions for operating the Easy Press 2 are super straightforward and it's really intuitive to work with. Just press it down on your design and hit the timer button. After your timer beeps, flip it over and press down on the other side for about 15 seconds.
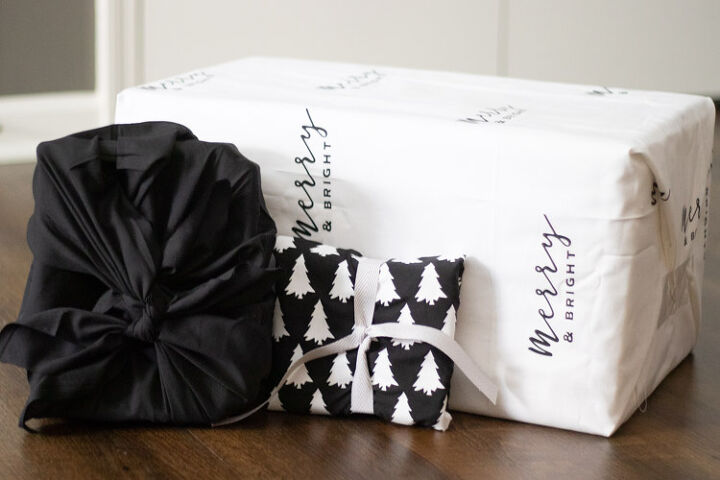
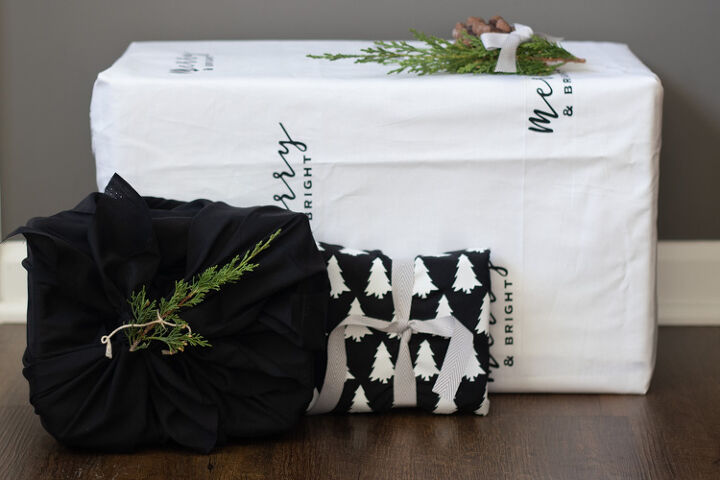
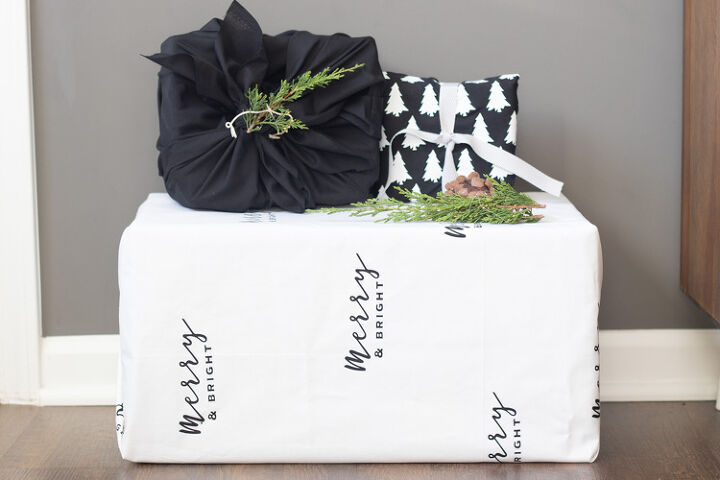
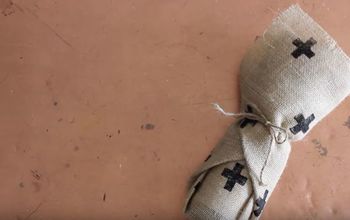
That's it! Once you cover your material with your designs, you're ready to admire your new gift wrap get to wrapping presents.
Using Sustainable Gift Wrap
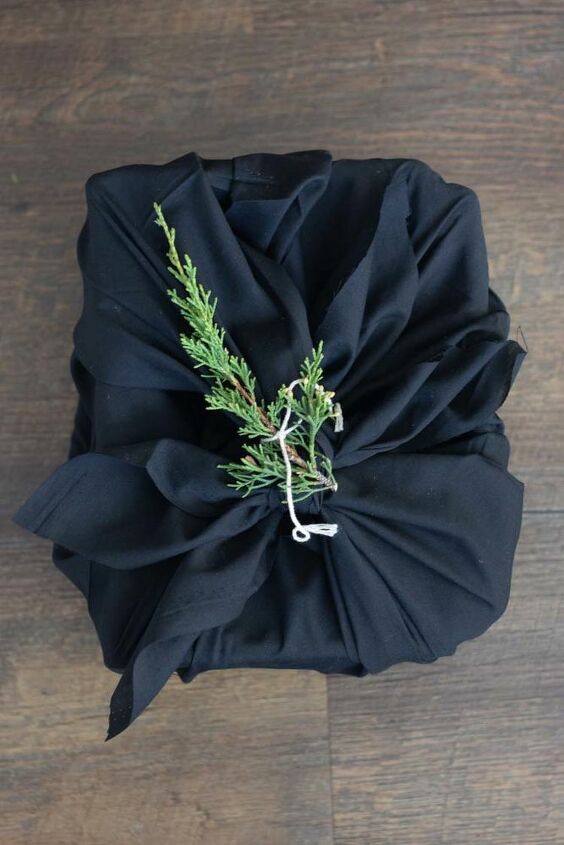
One thing I struggled with last year, as silly as it was, was how to secure this material around a present. So I have a few solutions for you.
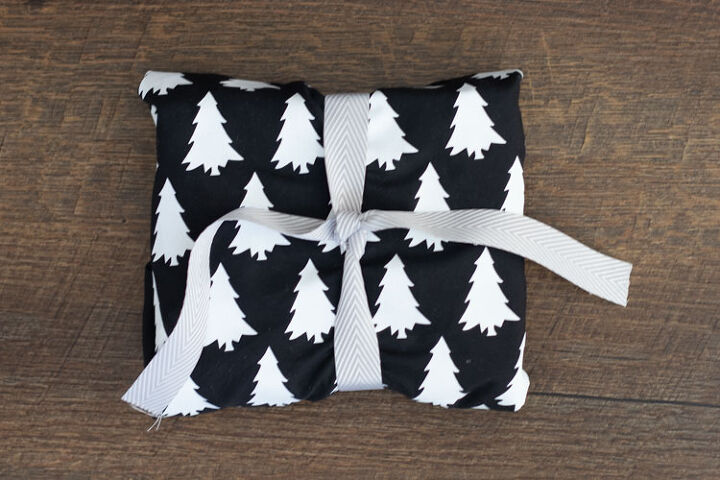
It is kind of difficult to get everything as perfectly wrapped as you can with traditional wrapping paper, but I find the imperfections kind of charming.
You can also use safety pins to hold the material in place, but be sure to mention them before your recipients open their gifts. Most people are used to tearing through paper and won't be expecting to unpin a safety pin.


Any price and availability information displayed on [relevant Amazon Site(s), as applicable] at the time of purchase will apply to the purchase of this product.
Hometalk may collect a small share of sales from the links on this page.More info

Want more details about this and other DIY projects? Check out my blog post!


Frequently asked questions
Have a question about this project?
Do you ask for the wrapping back to read-use or hope that the recipient doesn’t throw it away and uses it again?