


How to Make a 3D Star With Clothes Pins

I got a bunch of clothes pins for $1 and thought I would make a few things with them but really wasn't sure what!
So I started with a simple star/snowflake because Christmas is just around the corner and I always make something for the holiday. Before I knew it, it turned into a 3D star! This is my first project with clothes pins  !
!
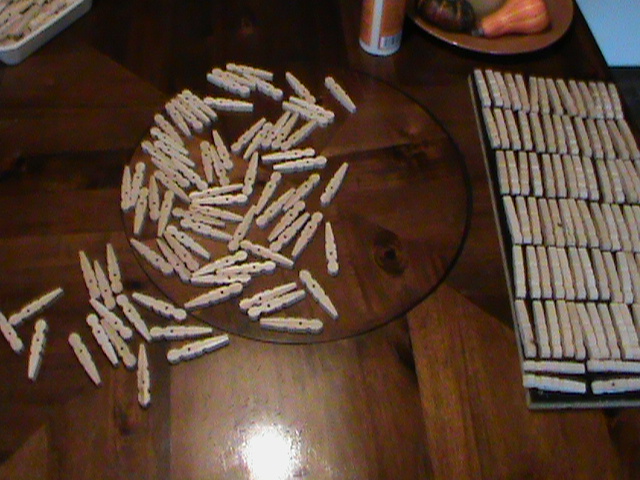
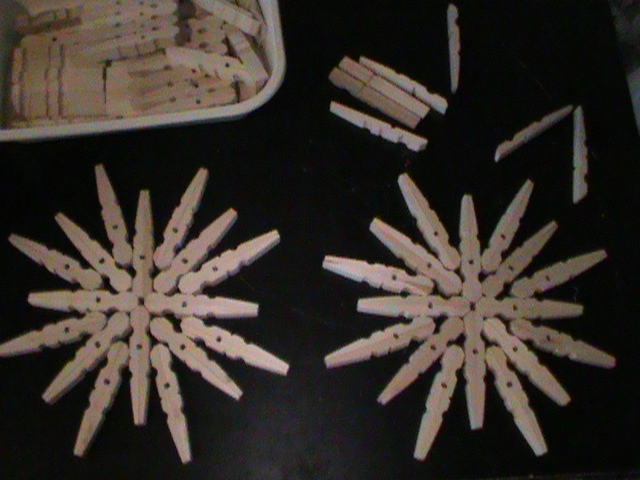
I took apart all the clothes pins first which was not hard at all. Next I glued together the halves, now they look like little soldiers. A flat smooth surface that you won't mind getting glue on is necessary along with a wet rag to wipe up any glue that might drip from the star.
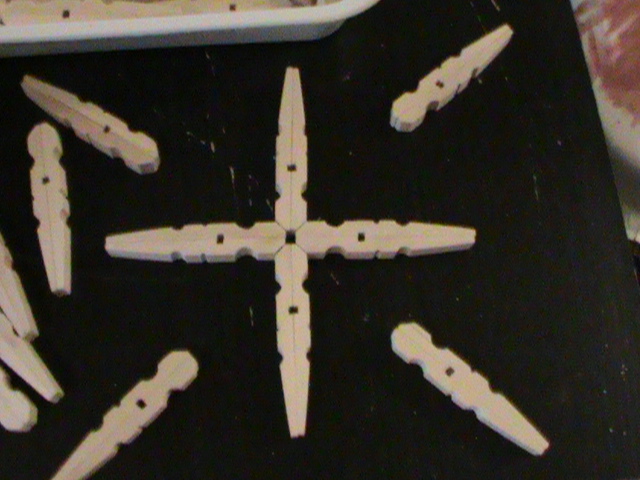
I used wood glue on all parts. The first star got a bit of hot glue to keep parts together just because of the style/design I made. After the wood glue dried I went back and picked off the hot glue with my finger nail. This design doesn't need the hot glue.
I only used a little smear of glue and only where wood meets wood.
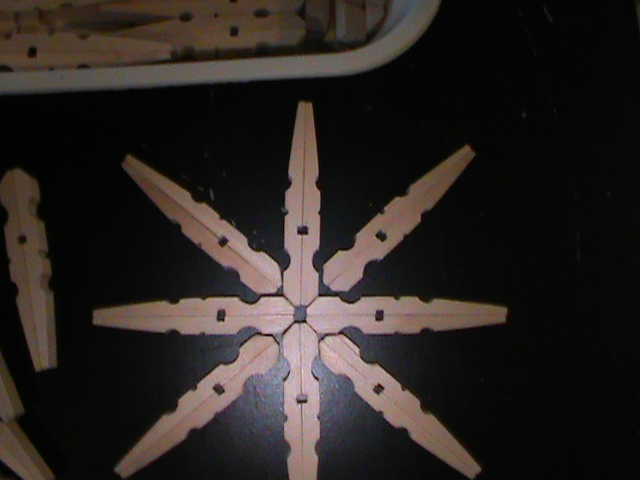
After all is glued together you will have to move the star around so it doesn't stick to the work surface but also keeping the star together. I would place my hands on the star and slowly move it away from where the glue had settled on the work surface then used the wet rag to wipe up the glue and move the star back and wipe up the glue again. You might have to do this part a few times before you can leave it to cure over night without sticking to the work surface. First part is drying...
make the second star/design...
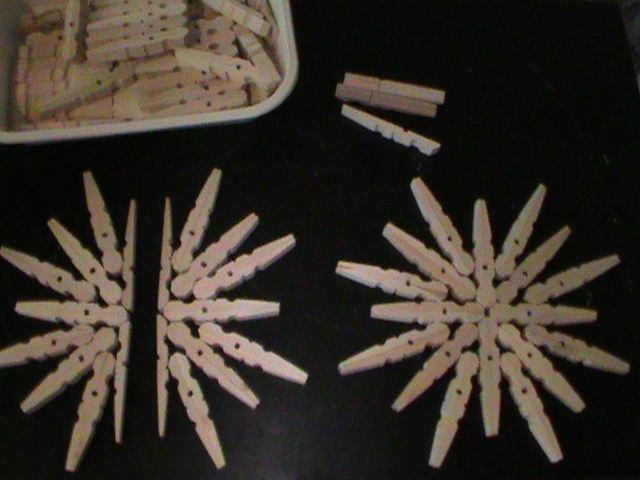
except on the second one use 4 halves for the center. Glue all the parts together like the first one but don't join the center pieces together. You will have to move these parts around just like the first part. I let these 3 parts dry over night.

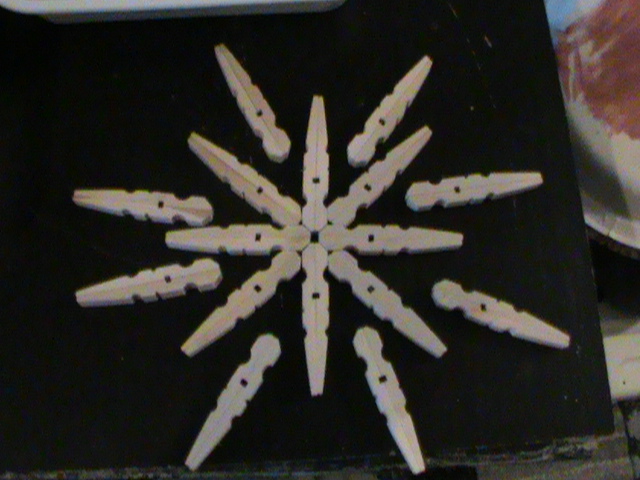
After these pieces were dry I tested the strength of the pieces. There were 2 clothes pins that wiggled so I put some more glue on those pieces and waited for that to dry a bit. I then made a riser for the star and glued one of the halves to the center of the whole piece. Let that dry for an hour or so then flipped it over to glue on the 2nd half.
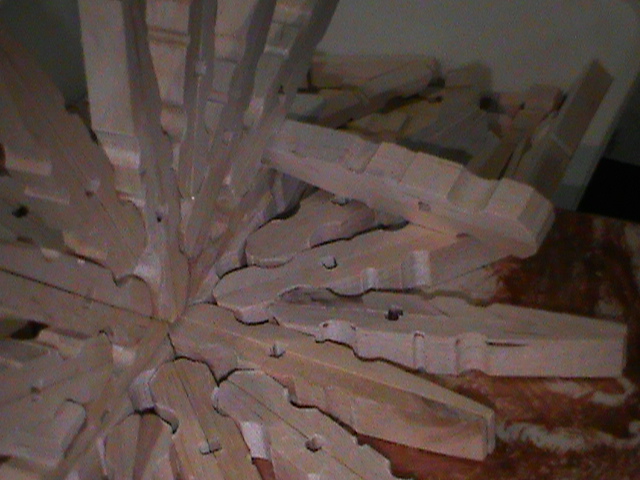
I'm not using any clamps with this project so I used a couple of clothes pins as wedges to keep the half straight and put a little pressure on it while it drys. Wait until it's dry before you paint because the paint will give moisture to the glue which will weaken the attachment.
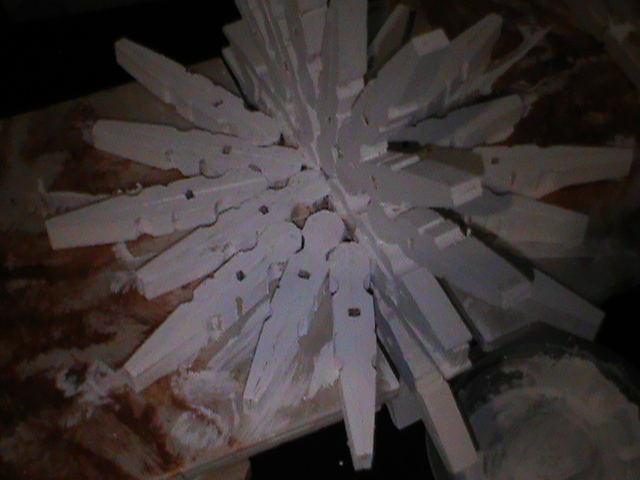
I painted this one with white acrylic paint but it can be painted any color you want! I do think spray paint would be better to use so you can get into the little holes and such. The last step on this one is a glaze spray sealer!
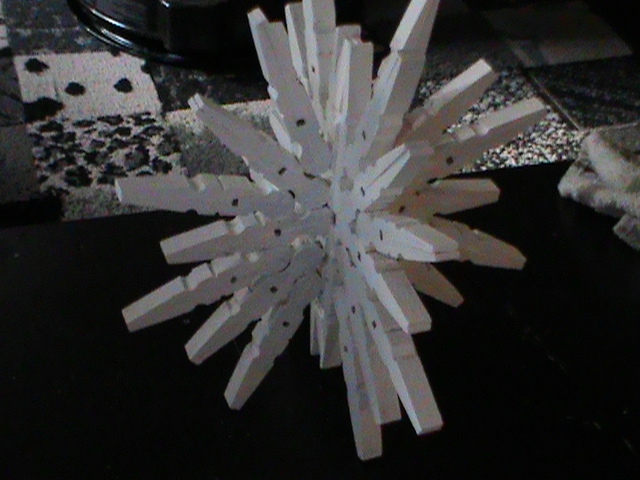
All finished now to embellish!
I had to get more clothes pins to make this star. Walmart had plenty, $1.78 for 100, not a bad deal at all! Most of this project is patience and the hardest part is drying time  !
!
Thanks for looking at my clothes pin 3D star! I love all questions and comments!
My first 3D star is metallic fire gold!!
Resources for this project:
See all materials


Comments
Join the conversation
-
That's pretty sweet.
-
I absolutely love the star and the clock!! Nice job!


Frequently asked questions
Have a question about this project?