


DIY Coffee Table Makeover
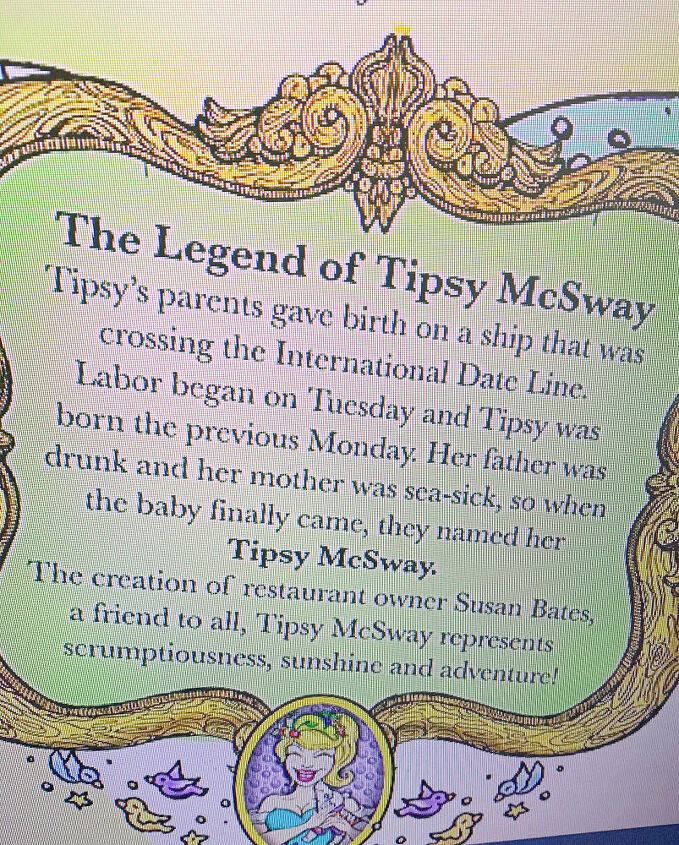
The Hubs and I frequently visit historic downtown Brunswick, Georgia. It’s only about an hour up I-95, and there are several secondhand furniture stores we like to visit. Not to mention, the delicious food and hospitality at our favorite watering hole, Tipsy McSway’s. Here is a little history that was taken from their website.
While having a bite to each, we soon found out that we were smack dab in the middle of an Elvis Impersonator Convention! It was so much fun! There were several Elvis impersonators set up on each square downtown, singing, and dancing. Busloads of people filed in the tiny pub to refresh before the next performance. Of course, I couldn’t resist a photo!

The Story Behind the Coffee Table
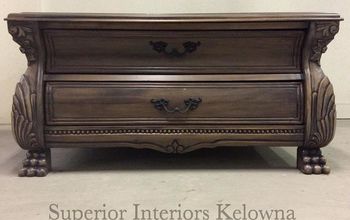
Okay, back to the project. While visiting one of the secondhand stores, we came across this very unique looking coffee table. The carvings were stunning!
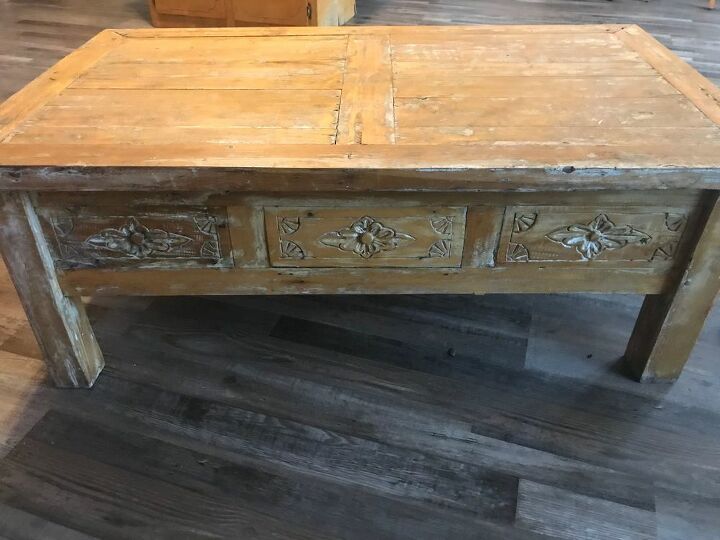
This table had a story behind it. The store owner explained that there was a local craftsman who used teak wood for all of his projects, who had since passed away. I knew the table would be coming home with me. I fell in love!
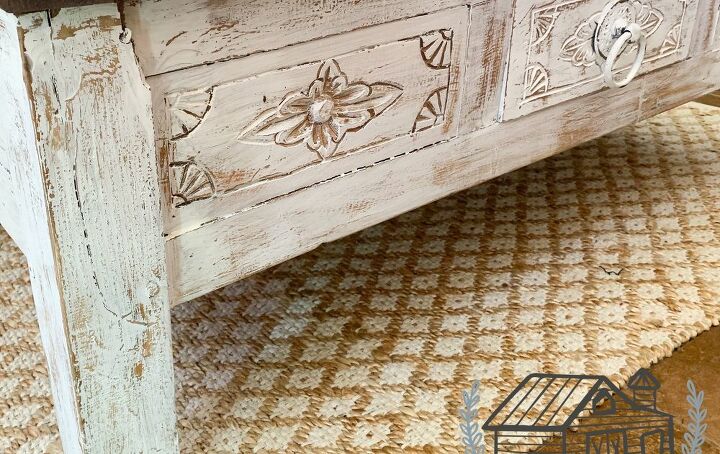
The tabletop had severe damage in a few places (it’s hard to see in the photo, but there was damage). I am not sure what the damage was from, but there were several holes.
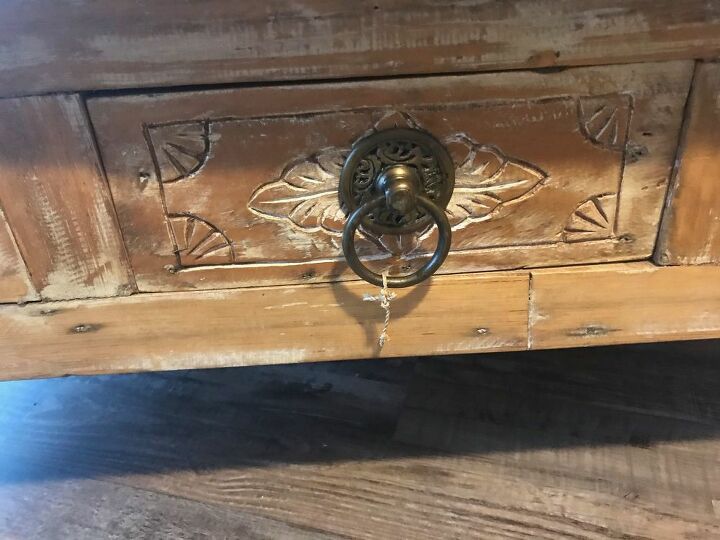
However, the base of the table was sturdy and had minimal damage. See the adorable little drawer? And, at a price tag of only $40.00, what was there to lose?
DIY Coffee Table Makeover
We had not had a coffee table in years. I felt it was time to change that. The grand babies were older now, so no worries about them falling and bumping their heads.
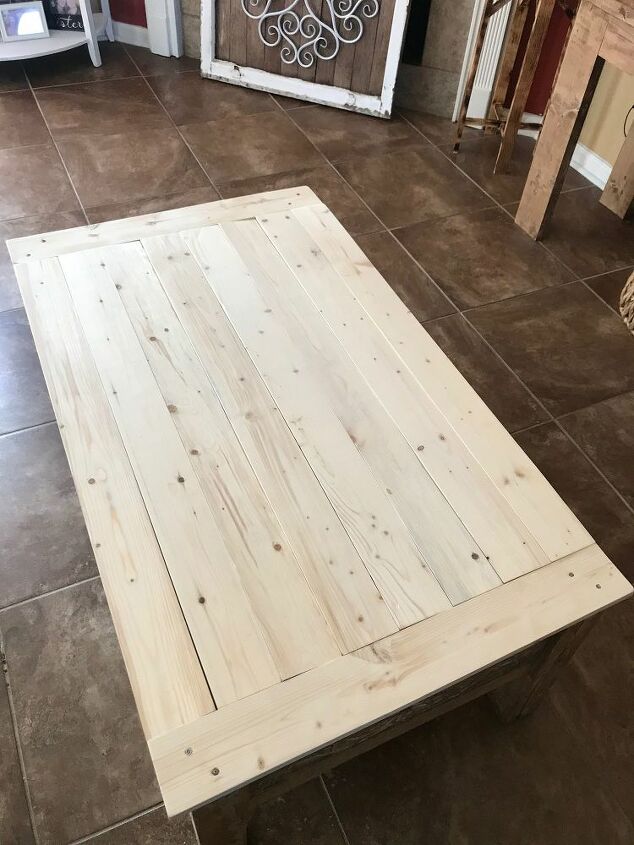
We got it home and thoroughly inspected it. The Hubs decided to construct a new top. The damage was extensive and we knew it had to be sturdy because it would get plenty of use!
Supply List
Waverly Inspirations White Chalk Finish Paint
Chip Brush
Water-Based Polycrylic
Minwax Dark Walnut Stain
1×4″s
Rusty Nails
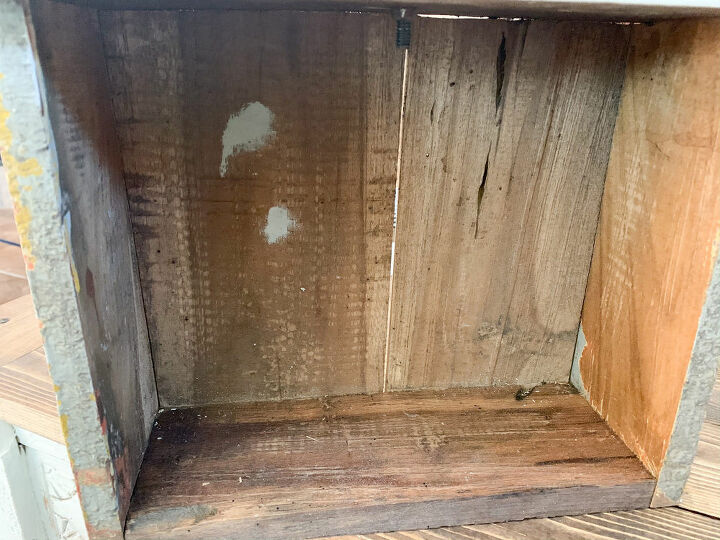
Let the makeover begin! He decided to use 1×4’s to construct the new top. While he worked on the top, I got busy on the base. I gave it a good cleaning with Lysol spray cleaner. The one small drawer also got a good cleaning.
I did not want to cover the table with paint completely. But I felt it needed something. I am not a huge fan of the blonde wood look so, I decided to use a whitewash. My pieces in my living room are for the majority, white with barn red being the accent color. A whitewash would give it a little color, but not take away entirely from the carvings and the wood.
It was a straightforward process. I dampened my paintbrush tip with water, and then barely dipped it in the paint. I then applied the color with the brush in long strokes, lightly.
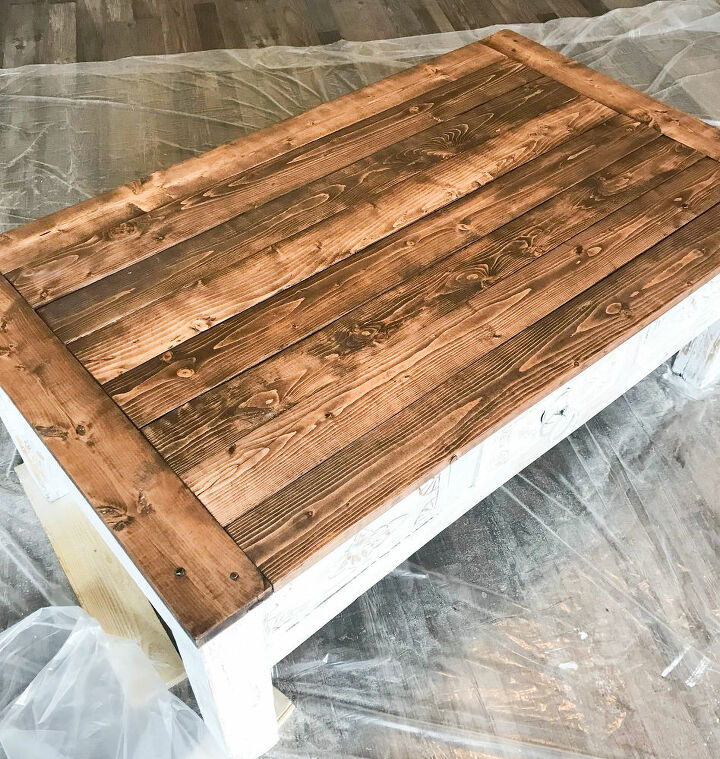
The Hubs finished up the top. Isn’t it a beauty!
You can see another project where we added wood to an existing piece HERE.
We decided to use Minwax Dark Walnut stain to finish it off and give it a beautiful color. The top was attached with rusty nails that the Hubs found in his stash. This really gave it a farmhouse vibe! I love using old nails! The entire piece was sealed with one coat of Polycrylic.
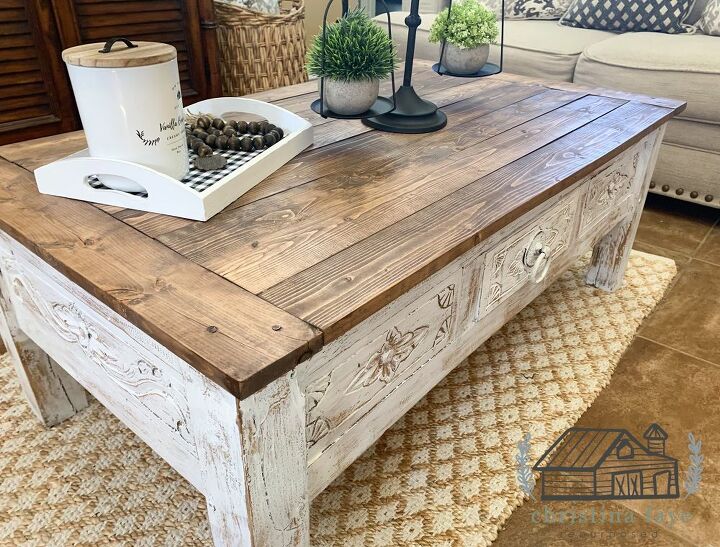
Here are a few pictures in our living room. I plan to purchase a cowhide rug off of Amazon to go underneath. We receive many compliments on our coffee table!

Click HERE to see our armoire project. We added wood to the back to give it a farmhouse feel.
Come on over to the blog and sign up for updates for FREE! Makeovers and tutorials right to your inbox!
“It’s not about what it is, it’s about what it will be.”
Christina
Resources for this project:
See all materials


Comments
Join the conversation
-
It looks fabulous, well done you & hub. 🌷
-
Great salvage!


Frequently asked questions
Have a question about this project?
Why? It WAS gorgeous.
I loved the original look of the table's top. Would it have been possible to replicate that style? I think you did well and when you love it that is the important thing.