


DIY Acrylic Pour Vase and Canvas for $10

Acrylic pour painting is an amazing way to decorate your home with stunning statement pieces without spending a fortune at a design store. I enjoy mixing and choosing my paint colors and watching with excitement as they flow and interact on the surface to create unique and gorgeous patterns. In just ten minutes, I turned a plain, dull glass vase that might have found its way to the donation bin into a one of a kind work of art by using one of my absolute favorite methods of painting. I was also able to use the flowing paint from the vase to cover a blank canvas below and make a gorgeous peacock wall panel. All you need is ten minutes and ten dollars for two stunning home decor items to improve the style of your home!

You Will Need:
- Protective Gloves
- Rubbing Alcohol
- Paper Towels
- Glass Vase
- Plastic Cups (2)
- 12x12 or Larger Blank Canvas (Optional to catch excess flowing paint and create additional decor)
- Artists Loft Flow Acrylics Paints (I used 4 colors)
- Floetrol Pouring Medium
- Clear Spray Sealant or Clear Polycrylic
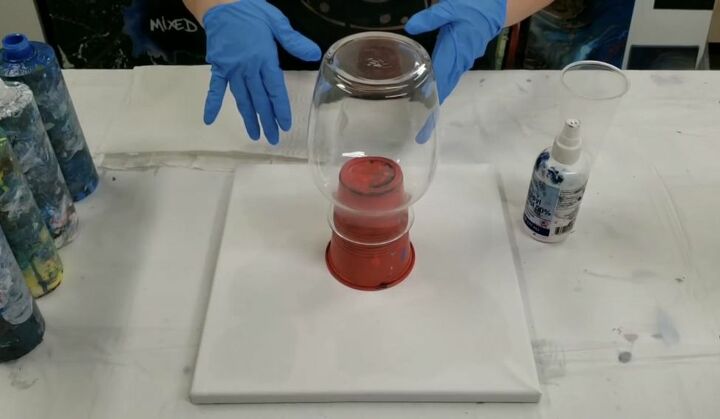
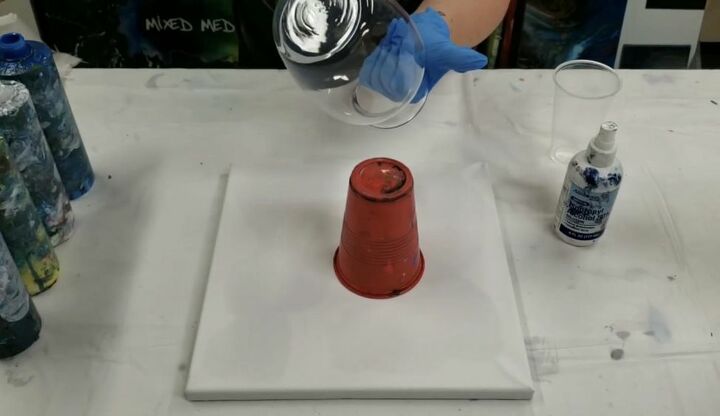
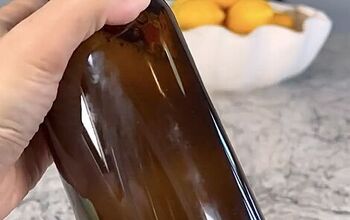
Step 1: Prepare the Glass Surface for Painting
I propped the vase on a plastic cup and used a spray bottle filled with alcohol to clean the surface of my vase. This will remove any dust, oils, or residue on the surface of your glass. Spray the alcohol and wipe with a paper towel.
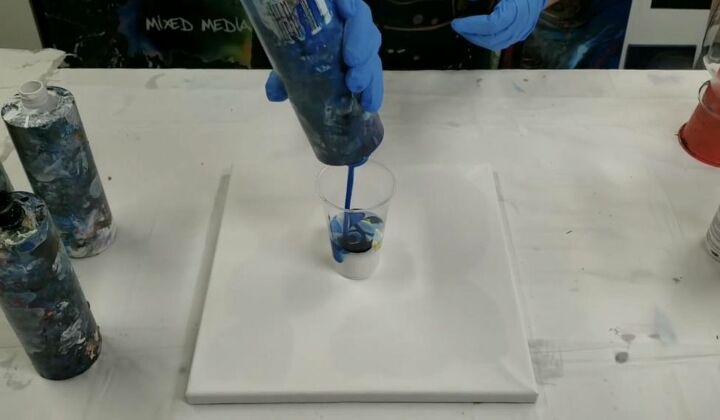
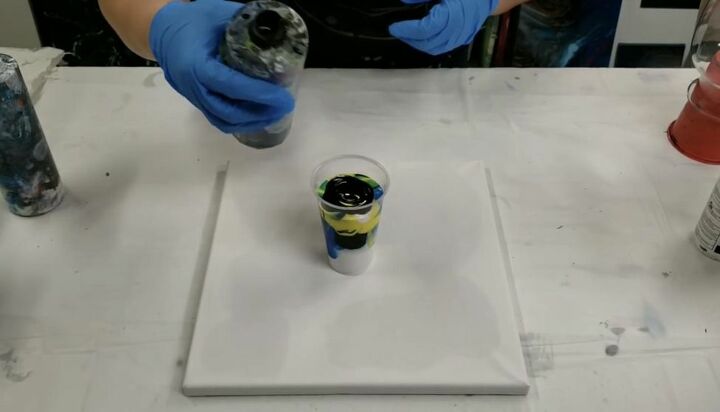
Step 2: Mix Paints with Floetrol and Combine in Cup
I mixed each of my acrylic paints separately with a combination of Floetrol pouring medium and water. After mixing my paints in their containers, I combined them in a plastic cup. I used white, blue, yellow and black and filled my plastic cup completely. Do not worry about the colors blending together in the cup in an unappealing combination. It works!
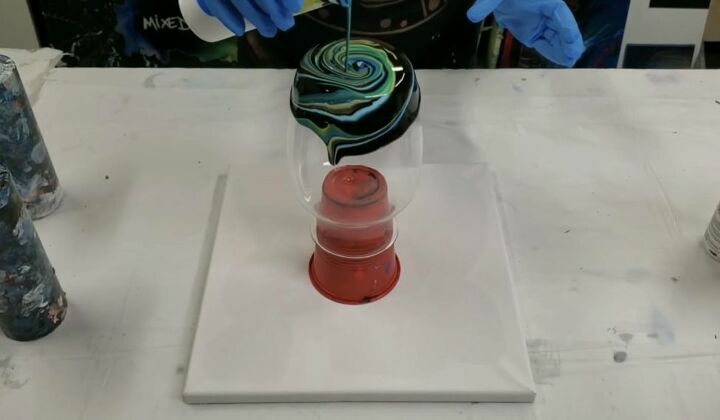
Step 3: Begin Pour Painting
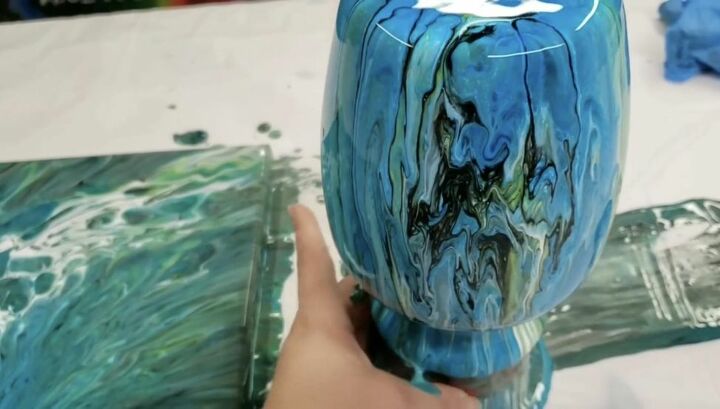
I inverted the glass vase on the plastic cup and I poured the contents of my plastic cup in a circular motion onto the center of the overturned vase. The circular motion creates the stunning tree ring pattern in the paint as it slowly runs down the sides and surface of the vase. Be sure to pour slowly and make a circle with your pouring hand to create the tree rings.
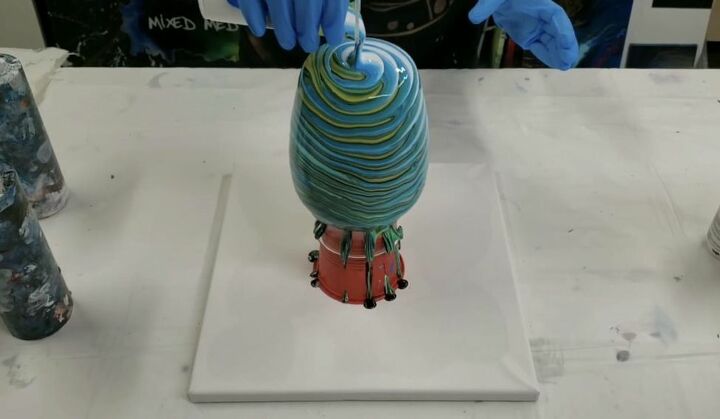
Step 4: Let Drip and Dry
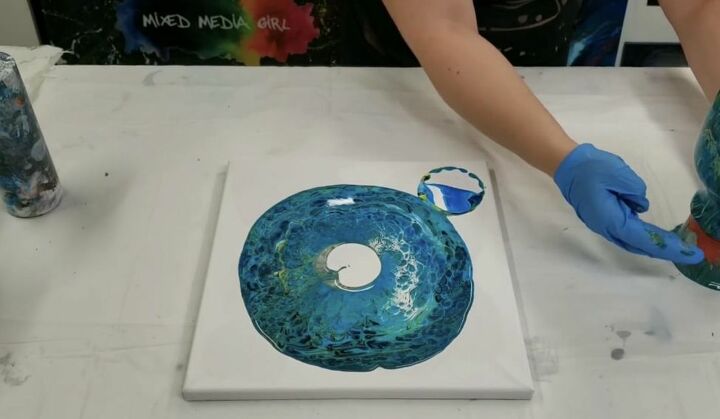
I let the paint continue to flow down the surface of the inverted vase for five minutes. My paint was flowing onto my 12x12 plain canvas below. Let your painted vase remain undisturbed until you no longer see a lot of rapid movement in the paint.
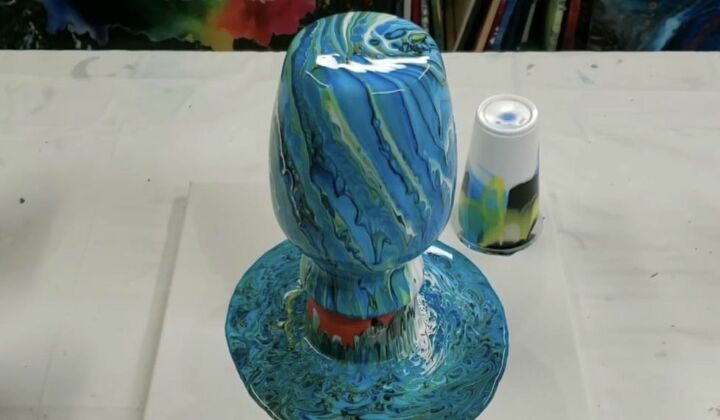
Step 5: Gently Lift Vase
I lifted the plastic cup that my vase was on and moved them aside together from the canvas. If you used a drop cloth and are not creating a canvas, simply move on to step 7; otherwise, create your canvas in the next step.
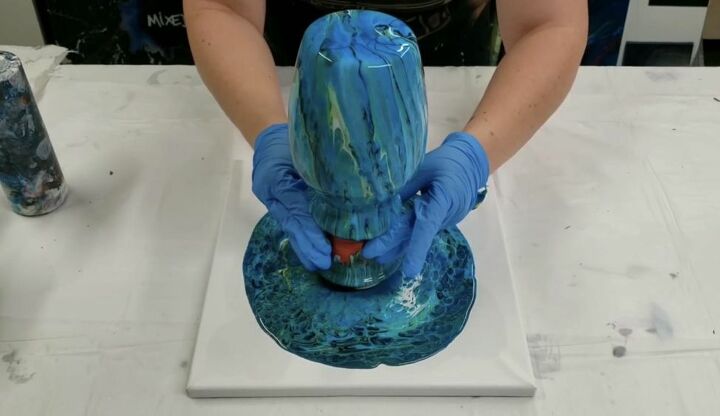
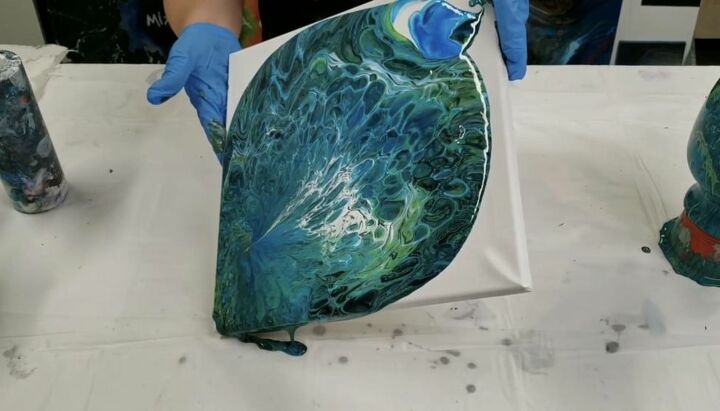
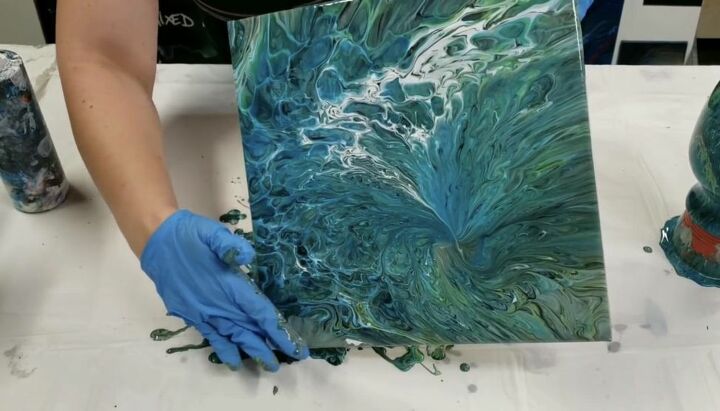
Step 6: Tilt Canvas to Fill in Center
After removing the cup and vase from the canvas, I tilted and angled the canvas to cover the empty center and corners with the flowing paint. If you have any difficulty getting the settled paint to move across the dry canvas, gently rub in some of the paint to create a path for the rest to follow and flow over.
Step 7: Dry Completely
After I was satisfied with the patterns and coverage on both my canvas and vase, I let both dry for 24 hours. The thick coating of paint needs ample drying time or will be at risk or chipping and cracking.

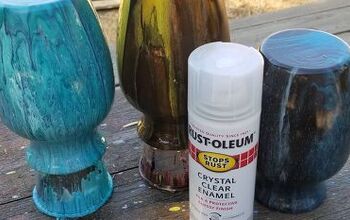
Step 8: Seal Acrylic Pour Painting
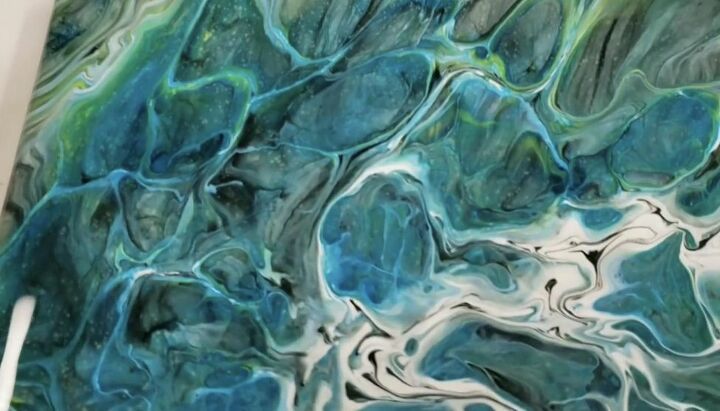
After letting my vase and canvas dry thoroughly, I sealed with a clear varnish. Choose a clear spray varnish or apply a polycrylic with a sponge brush. The paint dries with a high shine and sealing it will enhance and protect it the finish. A close up look at the canvas and the vase reveal what are called cells in the design’s finish with stunning patterns in the paint.
I’m thrilled that I was able to create two beautifully painted statement pieces for my home for $10 in just a matter of minutes. Using acrylic pour painting is an easy and inexpensive way to introduce dramatic style to your home in your favorite color combination. I love the way the vase took on such bold cells and patterning and then created a gorgeous peacock canvas for my wall to coordinate with it. Even if you don’t think you have a talent for painting, or haven’t picked up a paintbrush since high school art class, try your own acrylic pour DIY painting project and be wowed by how easy it is to master and how gorgeous your results are!
Have you created dramatic, one of a kind statement pieces using acrylic pour painting for your home decor? Share your masterpieces and best tips or find inspiration for other simple to create artwork for your home on Hometalk!
Resources for this project:
See all materials


Comments
Join the conversation
-
Please post a finished (dry) pic
-
You can find how she finishes the vases -- either a matt finish or shiny -- on her YouTube channel Mixed Media Girl. https://www.youtube.com/watch?v=bAsQ5Et_UJI


Frequently asked questions
Have a question about this project?
That was terrific and I’d like to try it but the video didn’t finish it off how do I find out that information
What is the ratio of paint, water and floetral?
Can you post a picture of how it looks completely dry? Does it stay that shinny when the paint dries? Do you have to use a specific type of paint, the artist pour? It is very cool looking I love a ceramic or glaze shiny look is why I am asking. If it doesn't dry shiny can it be with some other type of paint or something? I really love the vase and want to try it.