


Bed Tray to Table Tray and Cakes Plates You Say?

I recently replaced my light over my large Island bar area. So I needed to replace my round lazy Susan to a rectangular tray and yes I always start looking through my goodies first I try to use what I have rather then purchase. I had this long sturdy wood tray that we would put on the bed between us to hold our Sunday morning coffee. It was large enough to hold my haul of fruits and vegetables I usually purchased at grocery store. I had purchased two cake plates that someone tried to paint But they failed so I went to work.
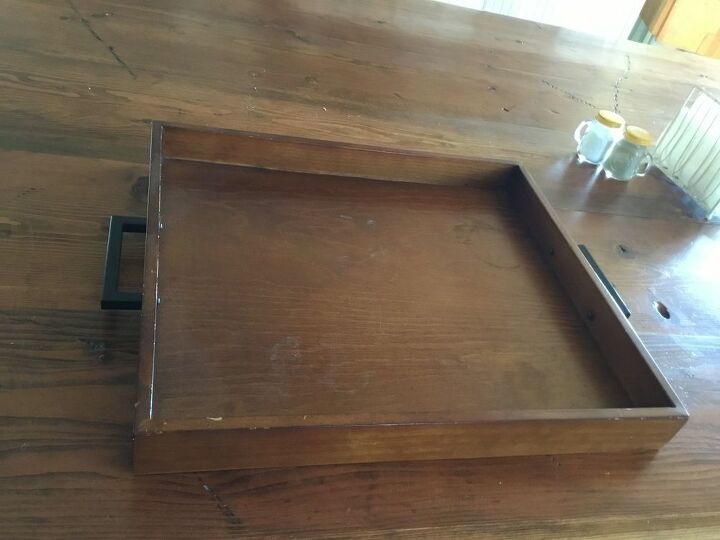
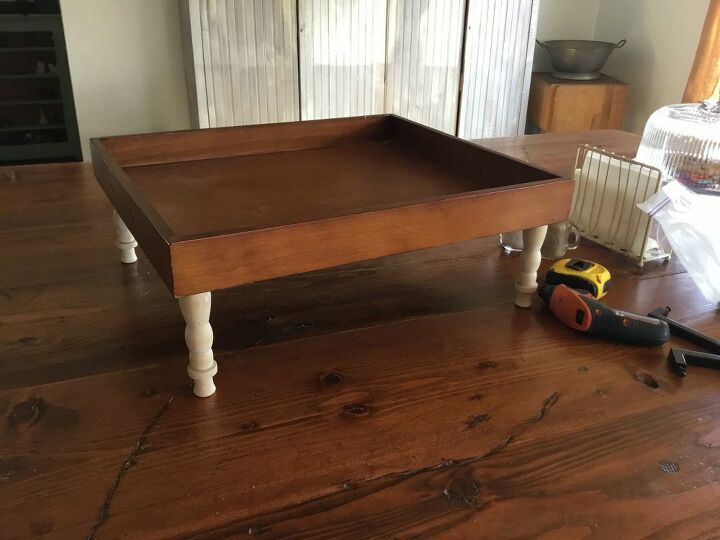
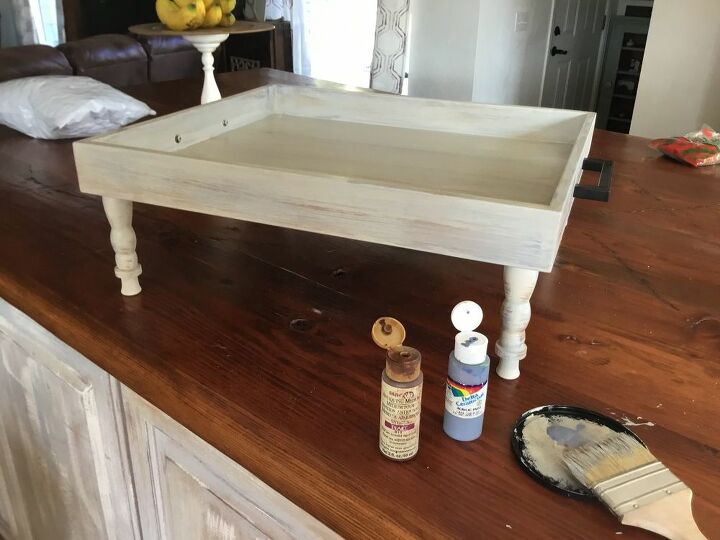
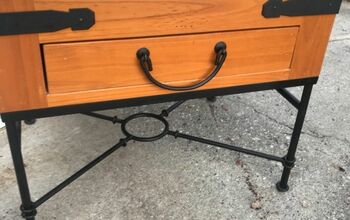
Here is a picture of the beginning of the tray it is large and sturdy the handles were excellent and had no damage so I will reuse them.

luckily the tray is not in terrible condition so I can remove handles and lightly sand out major gouging in wood.
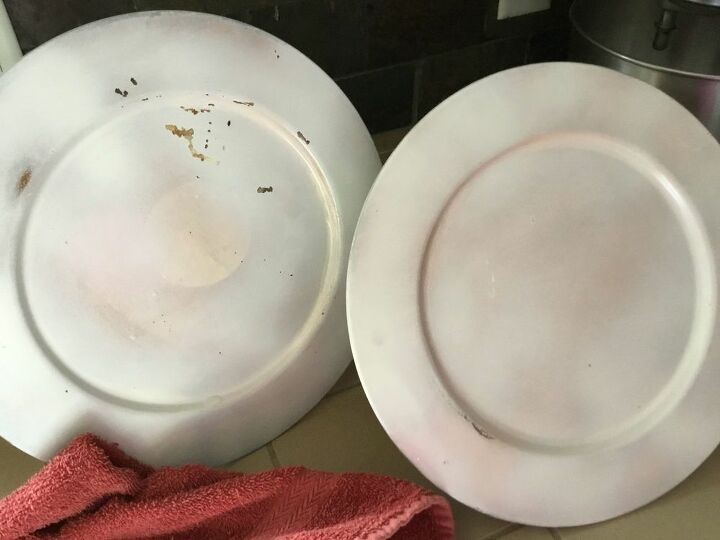
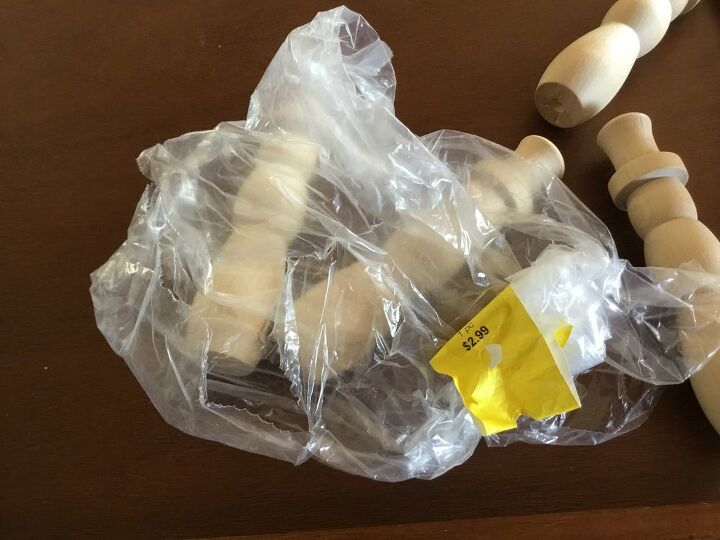
I had purchased these cake trays at the thrift store half off one was 2.99 and one was 2.50 so I only paid $1.50 and $1.25 for them. Someone had tried to paint them but didn’t completely finish or prep them correctly so they had some peeling and such.
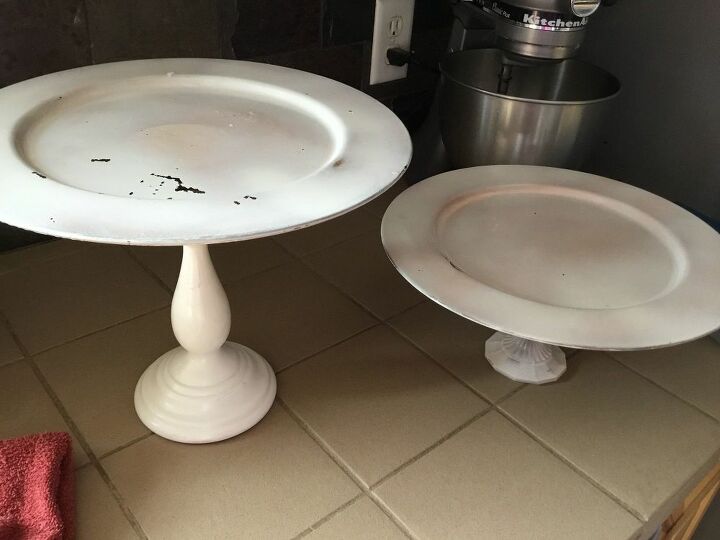
One of them was tall and one was low so it gave it balance to sit in my tray. Since I was getting the tray ready I figured I might as well work on cake plates while I was waiting for the one of the tray to dry.
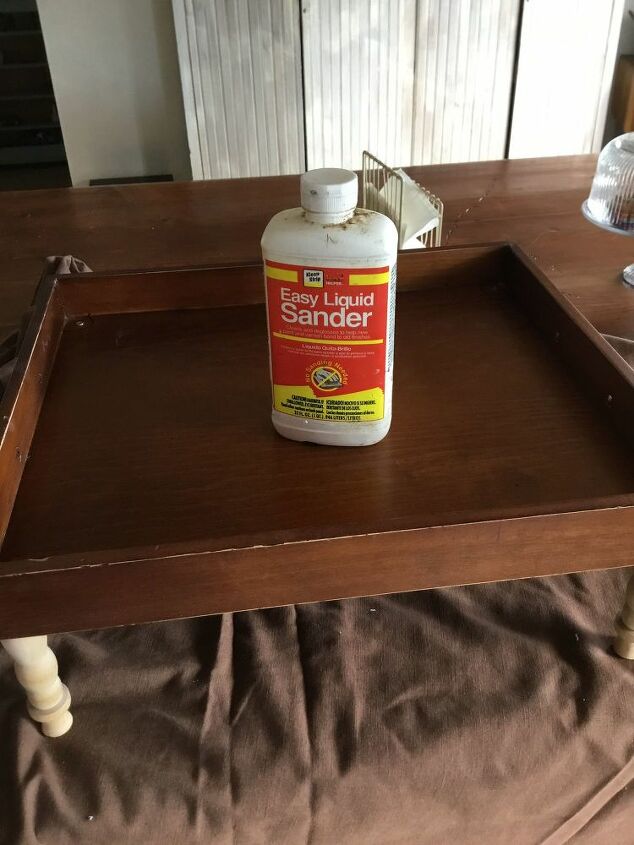
I have gotten to the point that I use liquid sand over my metal,wood etc whatever finish it might be just to make sure that paint sticks to anything. You just never know when you buy used who did what and what they tried to do to that piece. Nothing is worse than taking all the time and energy to paint something only to find out that there was something under it that it would not adhere to. The wooden tray and the metal cake plates both get a coat of this prior to painting.
If you haven’t noticed I’m a regular at the thrift store, I always try to find products that I can implement in my repurposing on half price day. I try to keep my cost down while doing the projects otherwise no money to be made if I do resell it.
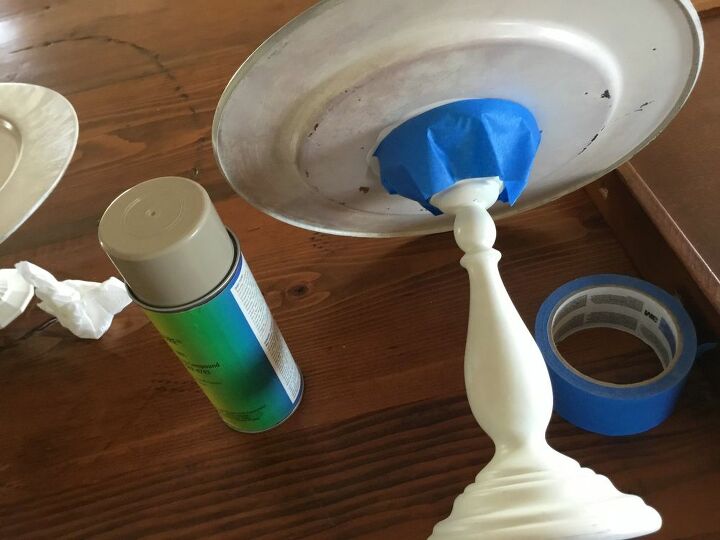
I Really liked the base of the taller cake plate so I decided I would leave it the off-white and paint the top a tan. Started taping off the base and it was easiest just to take a grocery bag and tape it around the base so it didn’t get painted on.
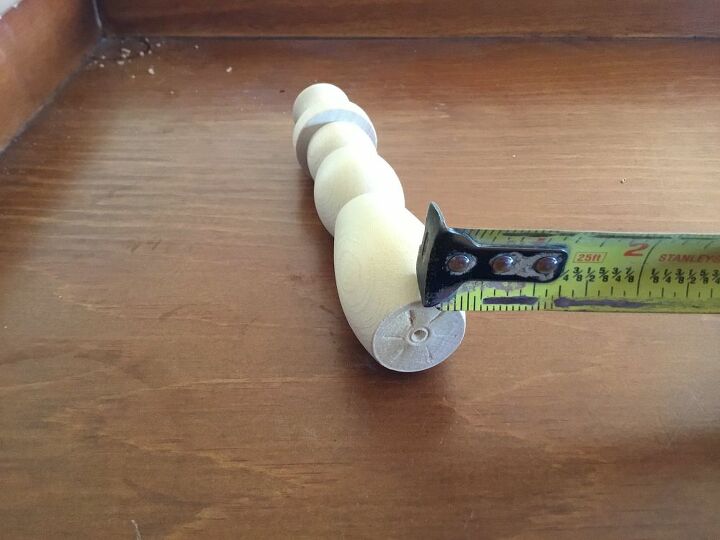
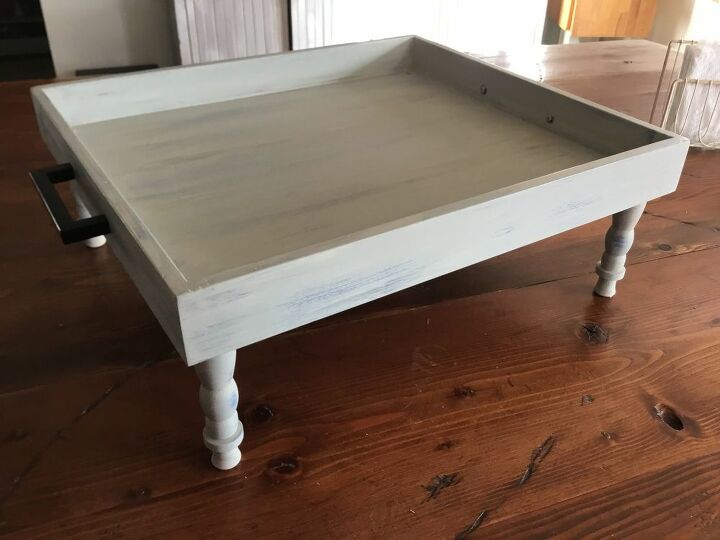
While my spray paint was drying I attached the legs to the tray. I measured a half inch in was where my screw an opening was.
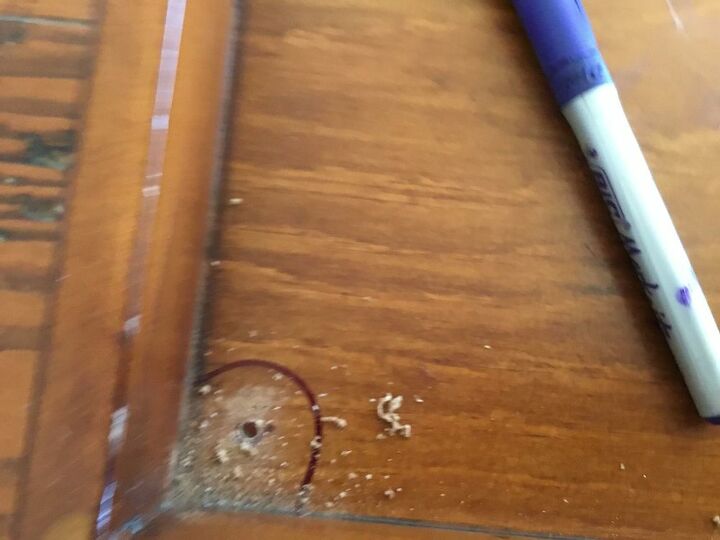
I simply marked the leg base and then measured a half inch in. Matched my drill bit to the size of the screws and drilled a hole for the legs to be attached and screwed to like directly into the base of the tray.
I already like the tray and I haven’t even painted it yet. Now it was time for me to go into my paint cabinet and then decide what color I wanted to paint it. I had a beige chalk paint I thought would work perfect.
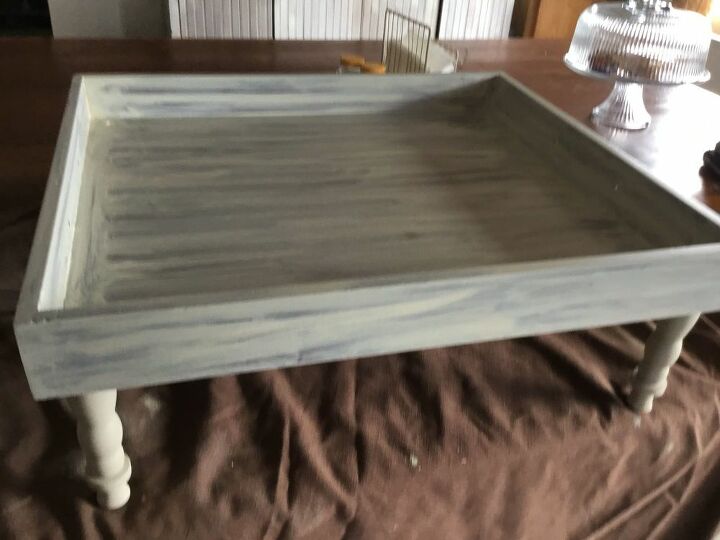
I love to dry brush paint it’s so easy and gives it so much character.
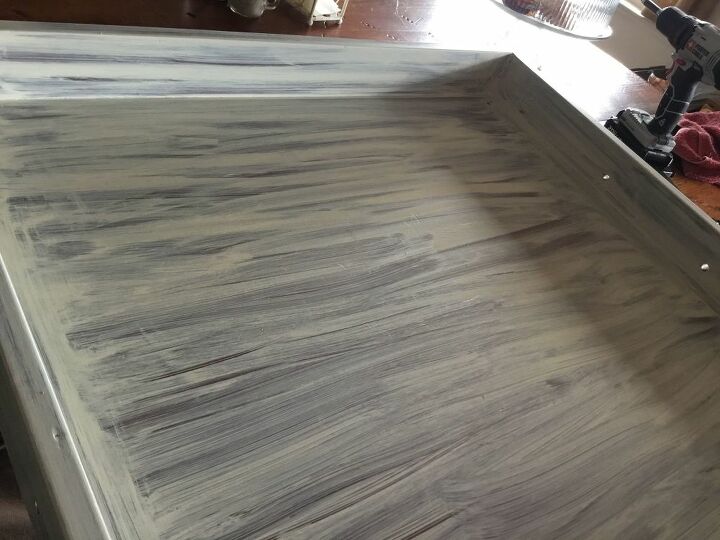
Because I applied a liquid sander I don’t wanna work the paint tomuch so I always let the first coat set and then go back in with my accent colors.

While my tray was drying I removed the painters tape check the tops of my cake plates and everything was perfect. My new favorite color is this Matt aqua. Such a beautiful color
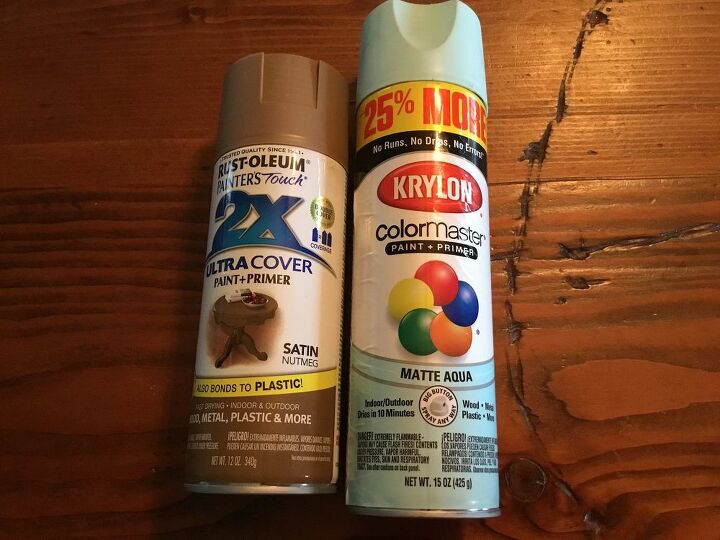
I thought I would post a picture of the colors if anybody else had a passion for that Matt aqua. All I can say is that I try to pick up my paint secondhand cheap or on clearance So there’s no rhyme or reason whether it’s krylon a rustoleum.
I really like the color and the streakiness of the dry brushing but I thought I would add a couple more colors just to make it blend into my cake bites more.. Are used folk art medium for the brown aged look and Delta Crema coat Cape Cod blue.
I had Annie Sloan wax so I went over the whole thing with the wax and buffed it out. Again it was Annie Sloan wax just because that’s what I had in my cabinet. You can use your preferences.
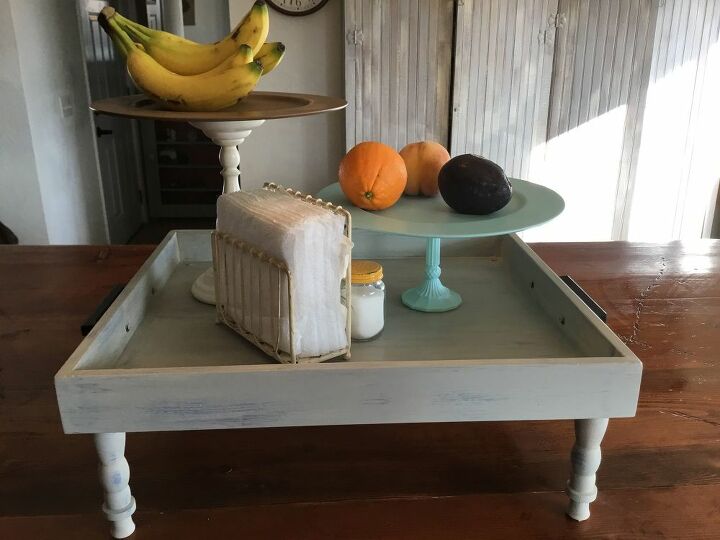
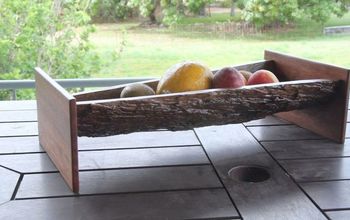
So there you have it my balance of my high and low and just a great fun center tray that works great with my island. The holidays coming around I’m starting to pick up these trays and maybe make a few for my friends and family. Well that’s it , let me know what you think.
Resources for this project:
See all materials


Comments
Join the conversation
-
So cute.
-
Love this idea! I recently bought a tray that would be super cute done like this! Thanks for posting.


Frequently asked questions
Have a question about this project?