


Christmas Ornament DIY With DecoArt
It’s that time of year! Twinkling lights and fir trees and popcorn on a string and things made with cranberries. It’s the holidays! And along with the holidays in our house comes craft season. Isn’t this time of year the best for crafting? You turn on your favorite holiday station, sit at your craft table, hot cocoa within arms reach, and create things.
I have the best little craft project to share with you today! It’s simple, you only need a few supplies, and whatever DecoArt paint your heart desires. Painting is the best. You can transform almost anything with a little paint and personality. Today I’m sharing how to make earthy, jewel toned ornaments.
(Disclosure: This post was written in collaboration with DecoArt. All opinions are my own.)
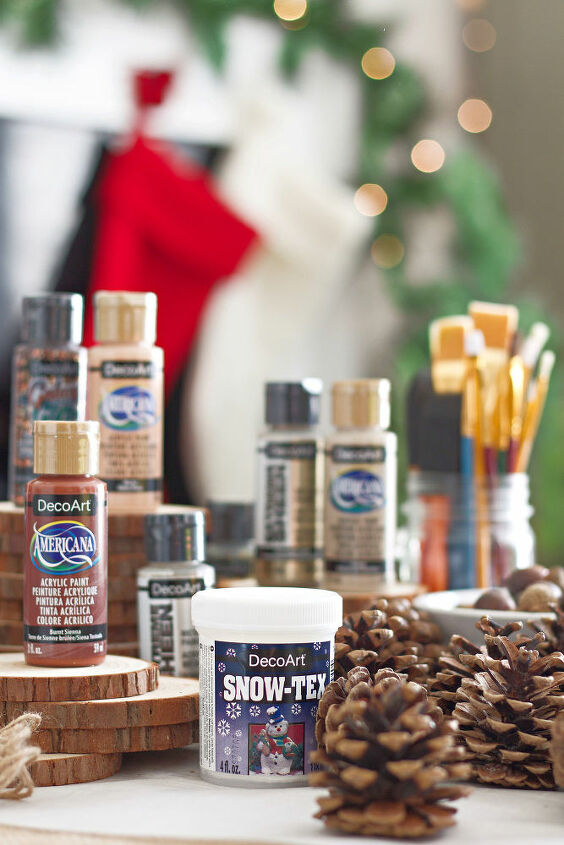
Most of the supplies you can find on a nice walk. Some pinecones, acorns, and small wood rounds. If you can’t cut wood rounds, and don’t live next to pine cones or acorns, a trip to your local craft store should produce the needed items.
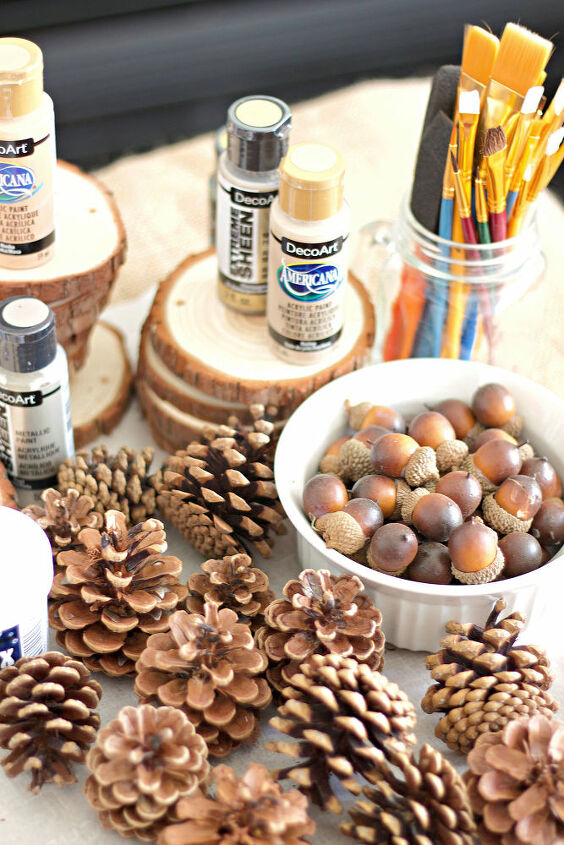
Materials:
- Pine cones
- Acorns
- Wood rounds
- DecoArt paint
- Paint brushes of varying sizes
- Jute or string
- Glue gun & glue
- Stencils (optional)
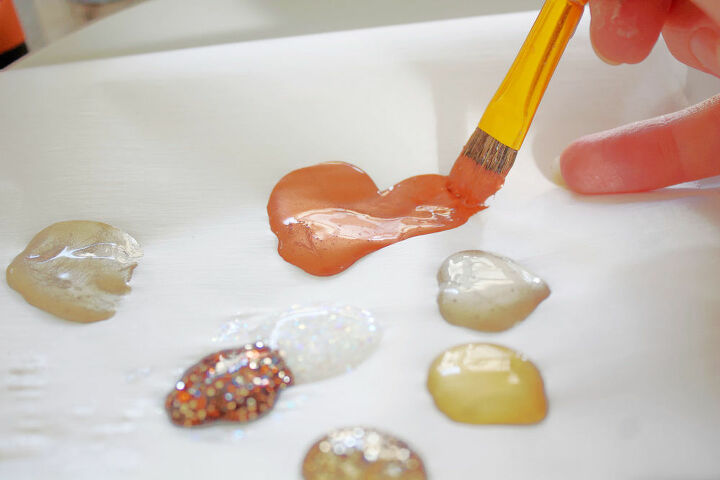
The Dazzling Metallics from DecoArt are perfect for the jewel tones and elevate these ornaments to next level status. I also can’t say no to glitter, and the DecoArt Galaxy Glitter worked wonders to add a little sparkle that gave them a finishing touch.
Assembly:
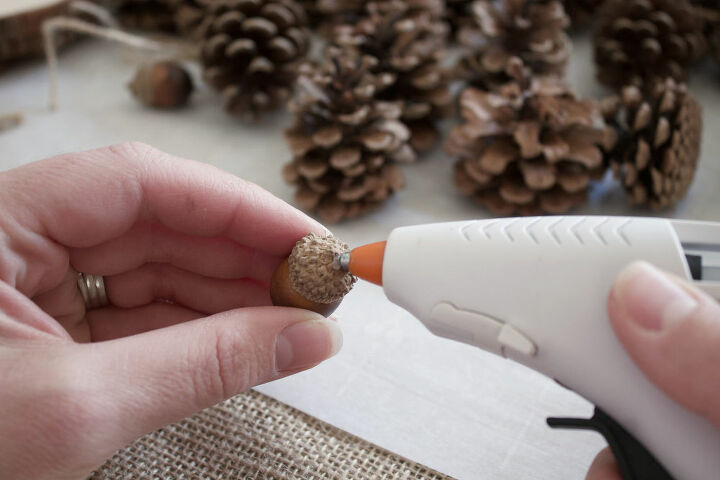
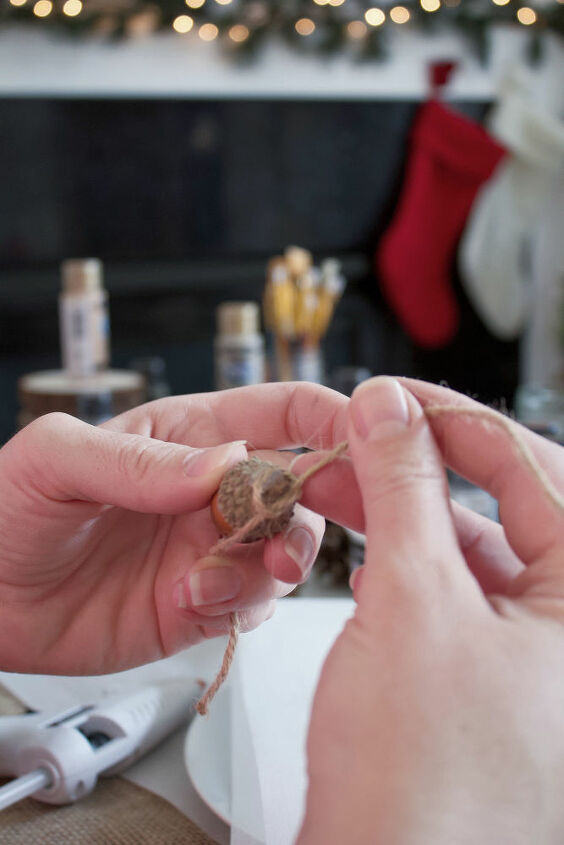
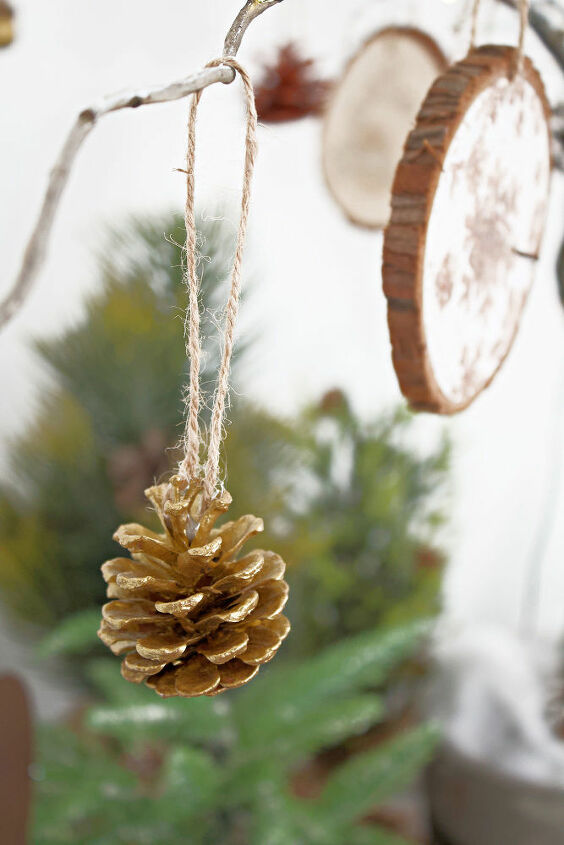
Start by hot gluing the jute string to the top of your ornaments. For the pine cones, I hid a dot of glue on each side of the tip top portion of the cone, and plugged each side of the string into each spot of glue. For the acorns, I made a small knot in the middle of a 6” piece of jute, placed a dot of hot glue by the acorn stem, and carefully set the knot into the glue, around the stem, and pulled to tighten. For the wood rounds, simply string the desired length of jute through the drilled hole.
Once you’ve completed this task you can begin the fun part - painting!
Divide your acorn into equal groups according to how many colors you’re using. I used Bright Copper, Emperor's Gold, and Shimmering Silver DecoArt paint and got busy! Apply the first coat and let dry on a parchment lined cookie sheet. This prevents them from rolling away!
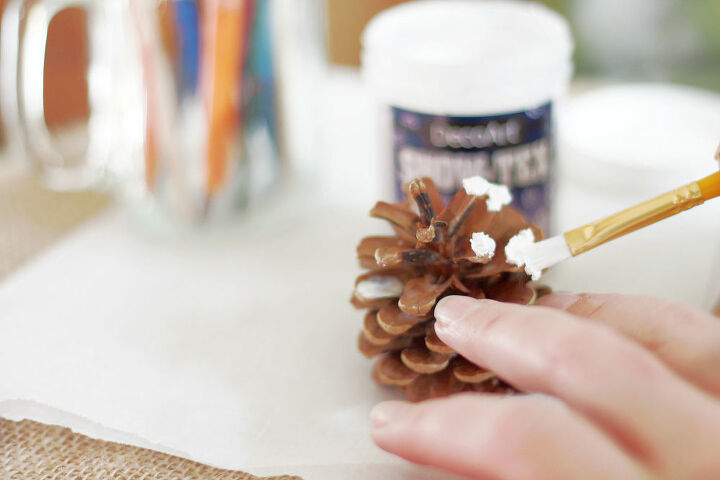
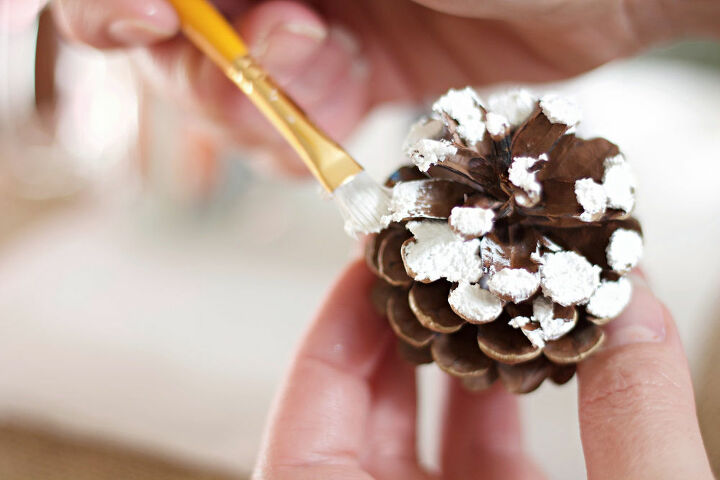
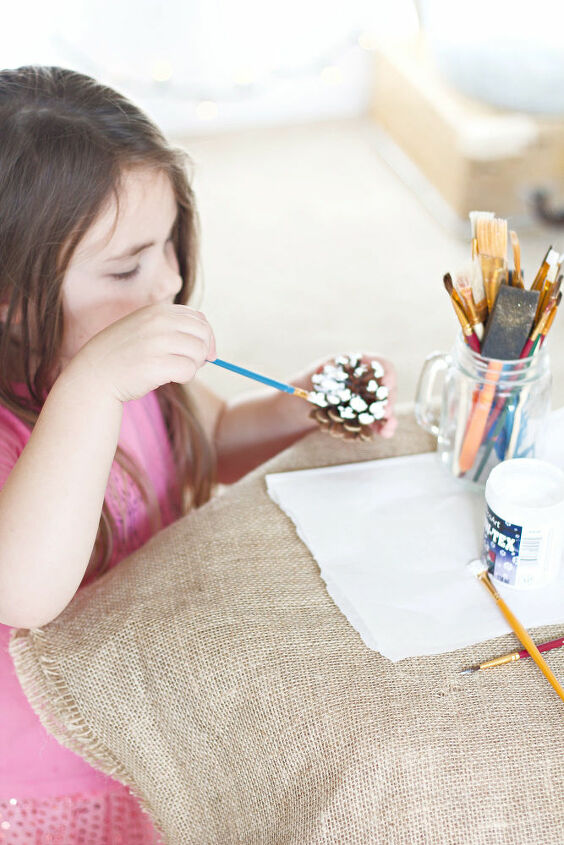
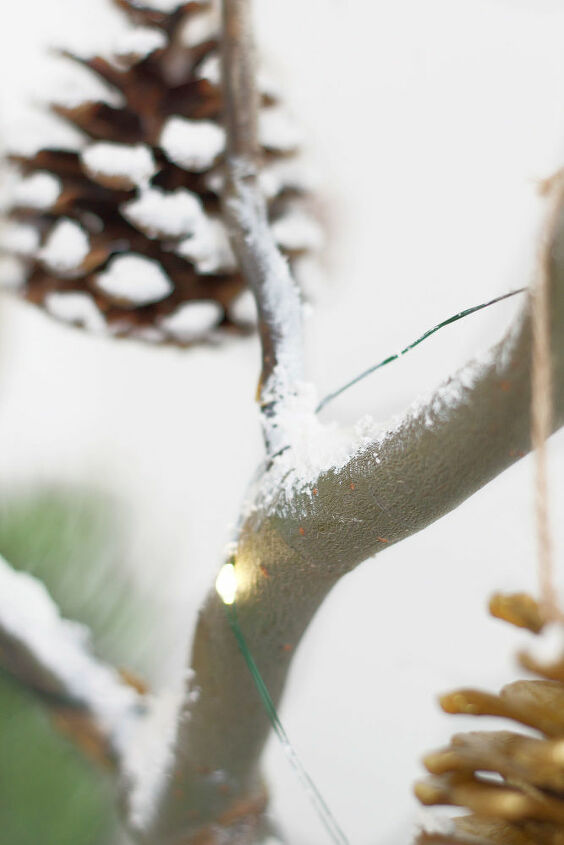
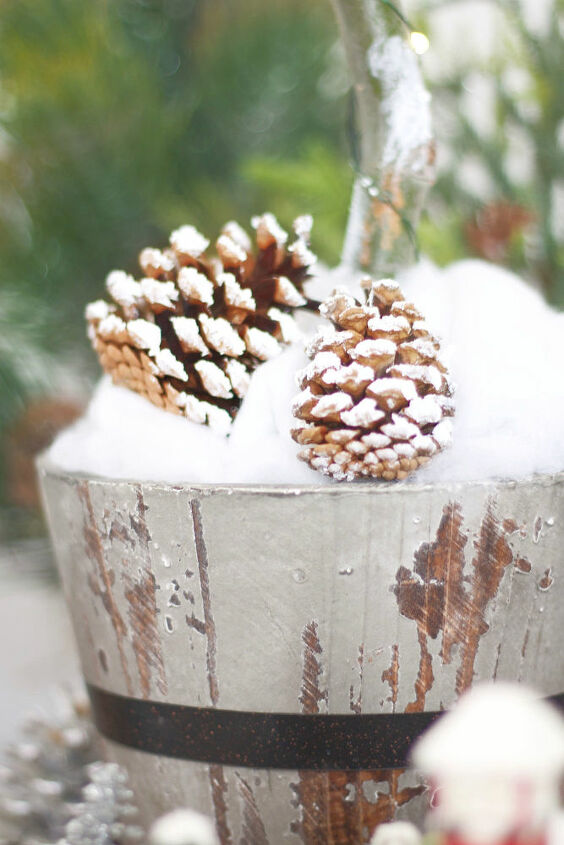
While the acorns are drying, move onto the pine cones. Use a large stiff brush to really get into the pine cones with the paint. These will most likely take two coats. Another idea is to coat the pine cones with what looks like real snow using Snow-Tex. This stuff was addicting to work with, I could have painted snow on things around my house all day.
Once the pinecones are done, move onto the wood rounds. Of course, you could do these in any order, or only use acorns, or wood rounds, or whatever suits your fancy. The options are endless with this craft!
I had a little helper who painted several of the ornaments, and her four year old fingers crafted some of the best ones on our little tree. Aren't the memories made while creating with others some of your fondest? They are for me!
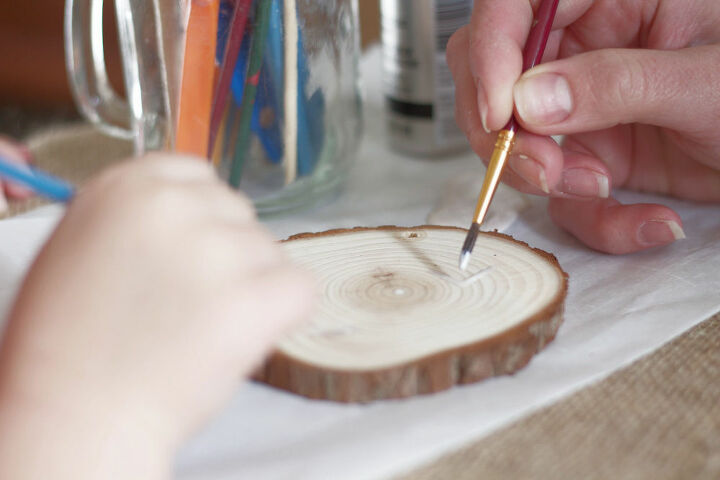
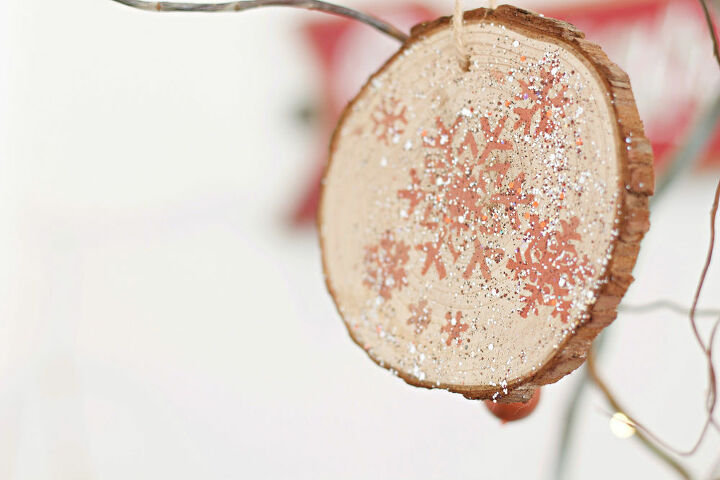
For the wood rounds, feel free to use stencils or draw free hand. I printed out a reindeer and a few snowflakes and traced them onto the rounds as my guide. As a sealer on a few of them I painted on DecoArt Galaxy Glitter and loved the dimension it gave them.
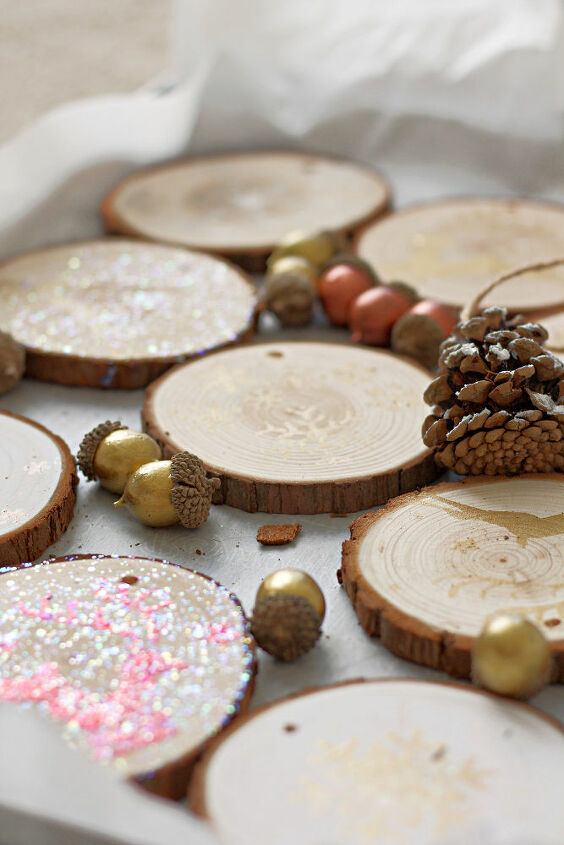
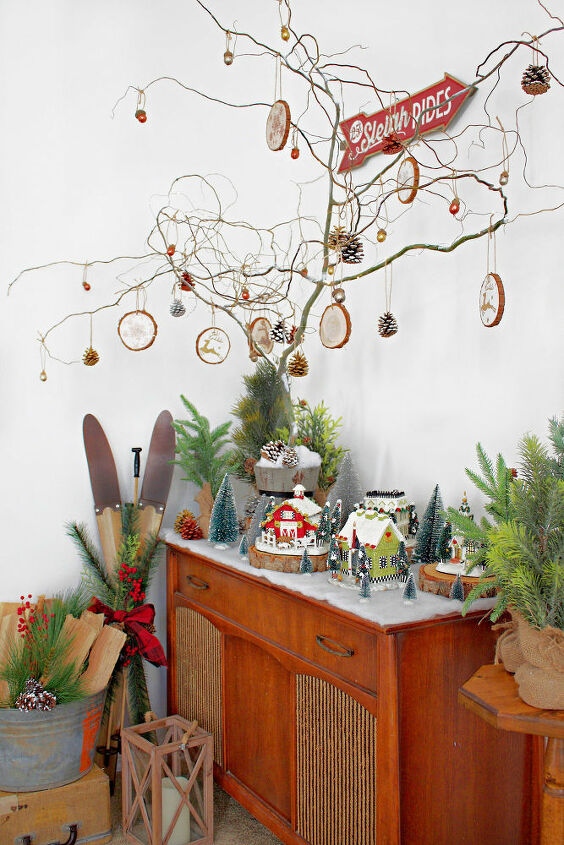
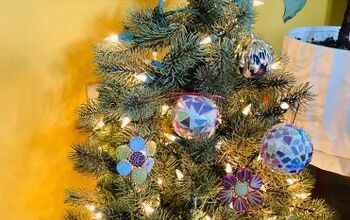
Once you’ve applied all the coats, painted all the colors, and glittered everything that needs glittered, you can stand back and admire your work, and then hang them on the tree. They would also work great as a garland! I really wanted to show off these ornament beauties, so I cemented a small willow tree limb into a pot and used this “naked tree” to show off the ornaments in all their glory.
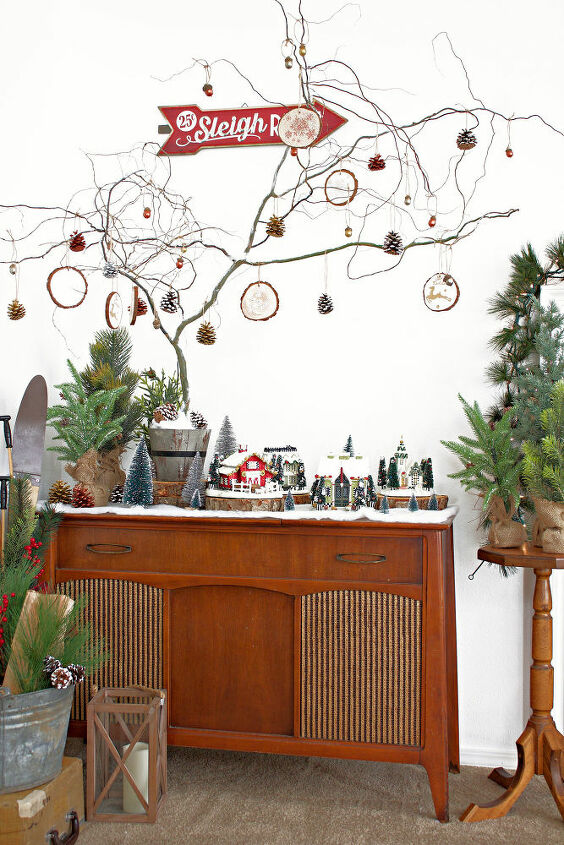
Isn’t that just dreamy? They all complement each other so well! The woodsy browns and the metallic shine are a pair made in heaven.
I also used the Snow Tex to add some snow on the tree branches where it would naturally fall if outside in the elements. Using the snow on the tree and on a few ornaments scattered at the base of it were the perfect finishing touches.
Truly an easy, budget friendly craft with a huge wow factor. These will be perfect additions to your Christmas decor this year! Happy holiday crafting friends! ‘Tis the season!
Resources for this project:
See all materials


Comments
Join the conversation
-
Really beautiful!
-
I just love it. And the branch is perfect.


Frequently asked questions
Have a question about this project?
What kind of branch or branches did you use?