


DIY Christmas Wrapping Paper

Personalize your Christmas gifts to friends and family by making your own wrapping paper. It’s an easy and inexpensive way to create beautiful presents and have fun doing it.
The Christmas music is on and the decorations are up, it’s so exciting but there is so much to do! I try to get my present buying done before December arrives and most years I succeed, this year not being one of them. It’s okay though because I am getting a head start on the wrapping.
Present wrapping is so fun, there are endless options and combinations got create gorgeous presents. Although I love beautifully wrapped presents, let’s be honest it can be expensive and it is going to get ripped to pieces soon, so it can be hard to splurge for the really cute stuff.
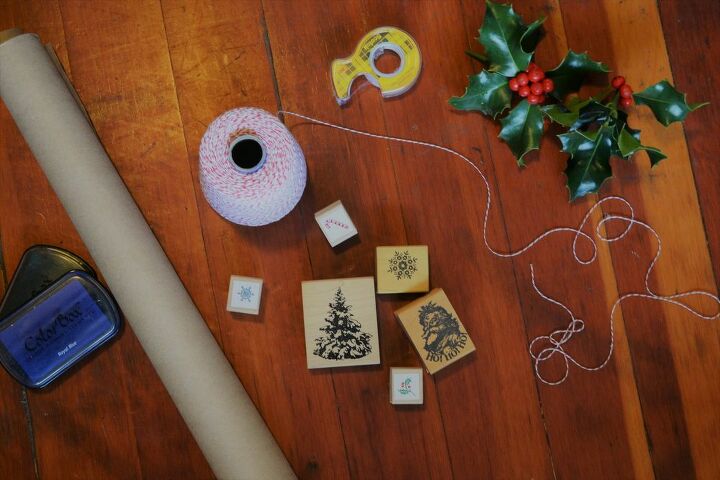
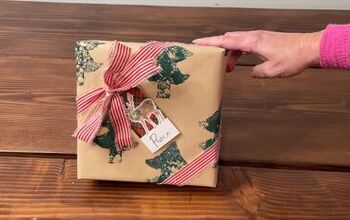
This year in an effort to save money I chose to make my own wrapping paper, it was so easy really inexpensive. I used Scotch Postal Wrapping Paper, it comes in a 30″x 30′ roll; that can wrap a lot of presents! I borrowed some of my mom’s Christmas rubber stamps, she collects them so I had a lot to choose from but you can find them at most craft stores. My presents are embellished with holly from my backyard and baker’s twine for that extra Christmas flair.
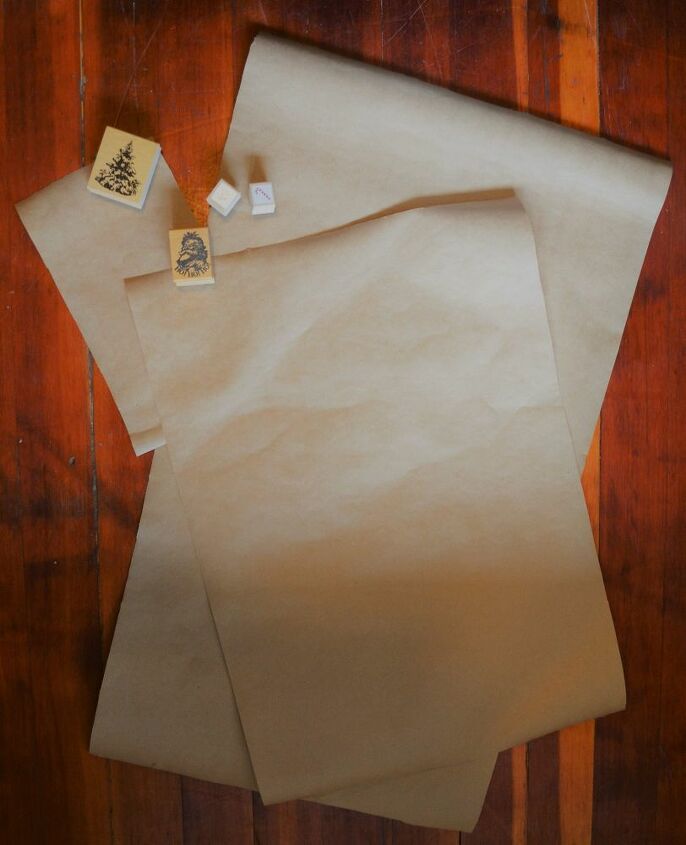
Start by cutting the paper pieces out, this is important to achieving a cleanly wrapped present. Here is a guide to cutting the perfect sized piece of paper for your box.
Before you start stamping, put a damp paper towel or cloth onto a plate and set aside. Press the stamp to the ink evenly and completely cover with ink. Press the stamp even to the paper, do not rock the stamp back and forth this will cause smudging.
Once you are done rest the stamps on the damp cloth-covered plate, this cleans the stamp without damaging it.
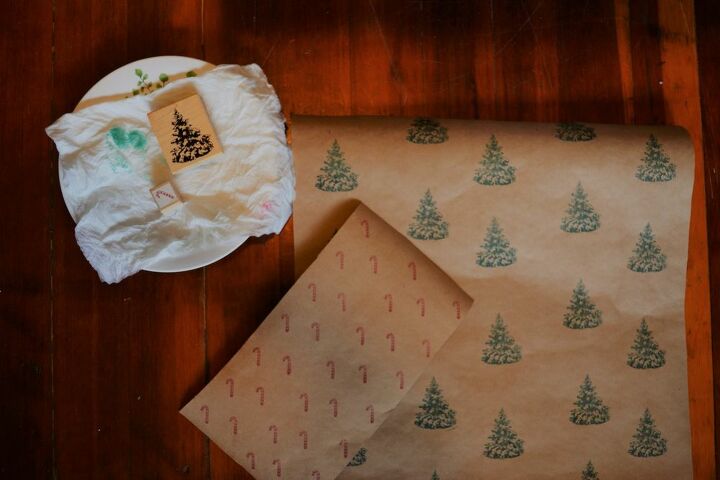
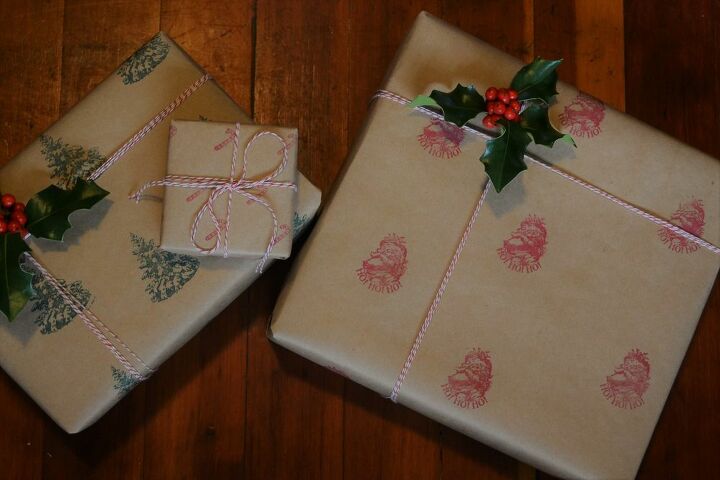
Allow the paper to dry completely before wrapping your gifts. Wrap the ribbon or baker’s twine around and tie on the embellishments.
Save money and personalize your gifts to give to friends and family.
Resources for this project:
See all materials


Frequently asked questions
Have a question about this project?