


Diy Wood Pumpkins
Fall is one of my favorite seasons to decorate for. I love the colors, the textures and the variety of ways you can incorporate pumpkins into decorating. I love to create and make things and found that wood pumpkins are a lot of fun to make and look super cute. Today I’ll share a few of my favorite ways to make wood pumpkins and some ideas of how to display them just in time for Thanksgiving.
Let’s get started! First we’ll want to decide what style of pumpkins we want to make. In this article you’ll find the list of materials with each style. This was the best way for me to keep my thoughts organized. I like to incorporate different colors and textures. You may like to keep everything uniform or maybe more ornate. This is what I love about a project where you get to use your creativity. So keep reading and find the pumpkins you like best and then add your own unique touches to the pumpkins.
We’ll start with the triple 2x4.
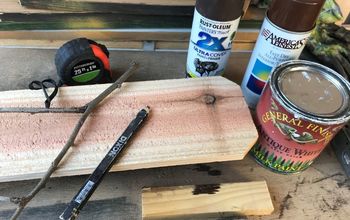
Materials I used:
• 2x4 (you an use scraps you have laying around or a new board. I used 1 new board)
• acrylic or chalk paint (in the colors you choose)
• scrapbook paper- buffalo plaid or fall themed
• ribbon, ric rac or twine/jute
• wood glue
• mod podge
• tree branches
• circular or table saw
• sand paper - 220 grit
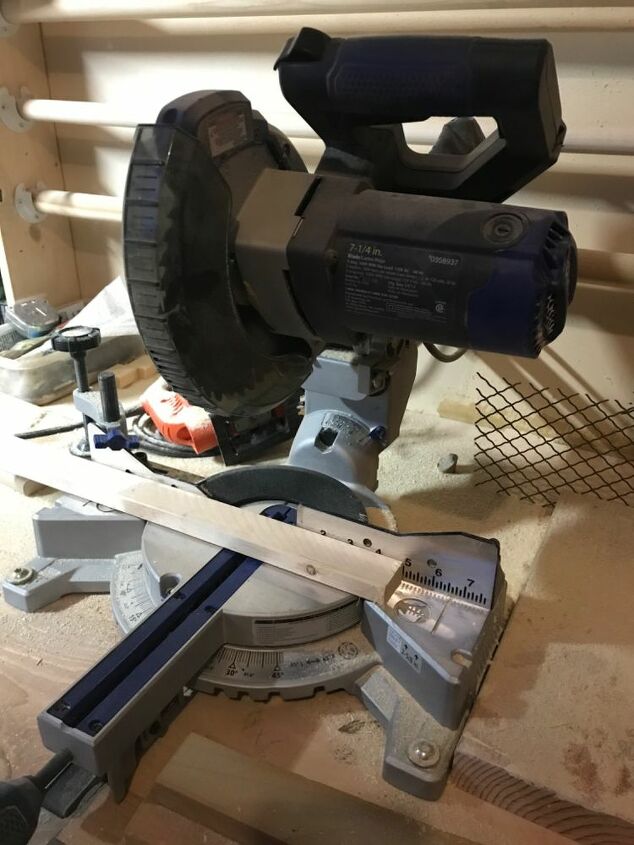
When using a circular saw, I use the ruler on the side for my measurements. Then cut the pieces I need for each project. The board pictured is the 1X2. This saw will also cut through 2X3's and 2x4's.
First: decide how tall you want your pumpkin. I set some on their sides (cut end is facing out) like this picture here. And some I leave standing up (cut ends are on the bottom and top) like the orange one above. The orange pumpkin I cut 3 pieces at 4 1/2” each. The buffalo plaid pumpkin I cut 3 pieces at 3” each. You can play around with different heights to give depth and different levels to your decorating. I used a circular saw to cut my wood and then sanded the edges and surfaces smooth. (Some people like to use an electric sander which speeds up the process but isn’t necessary. You can hand sand the pieces and it only takes a few minutes.)
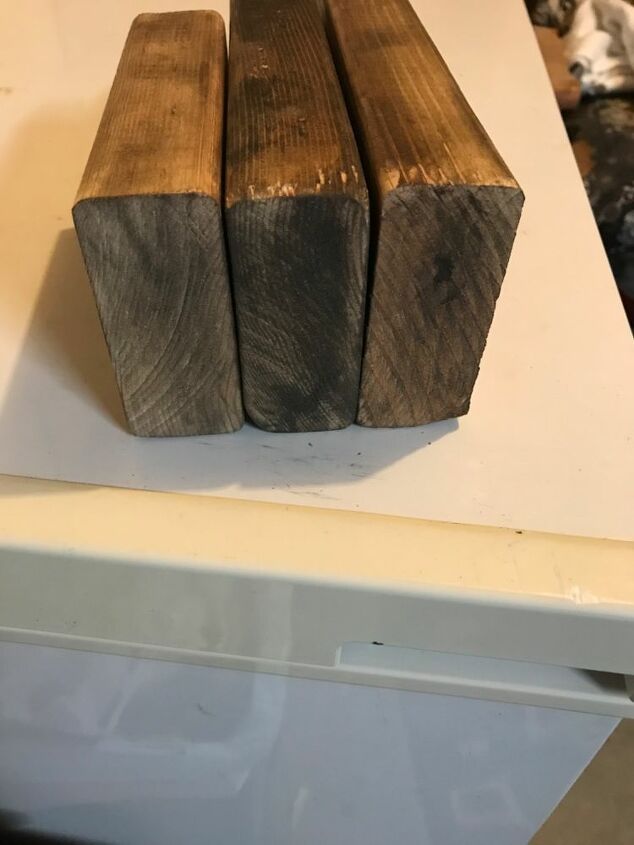
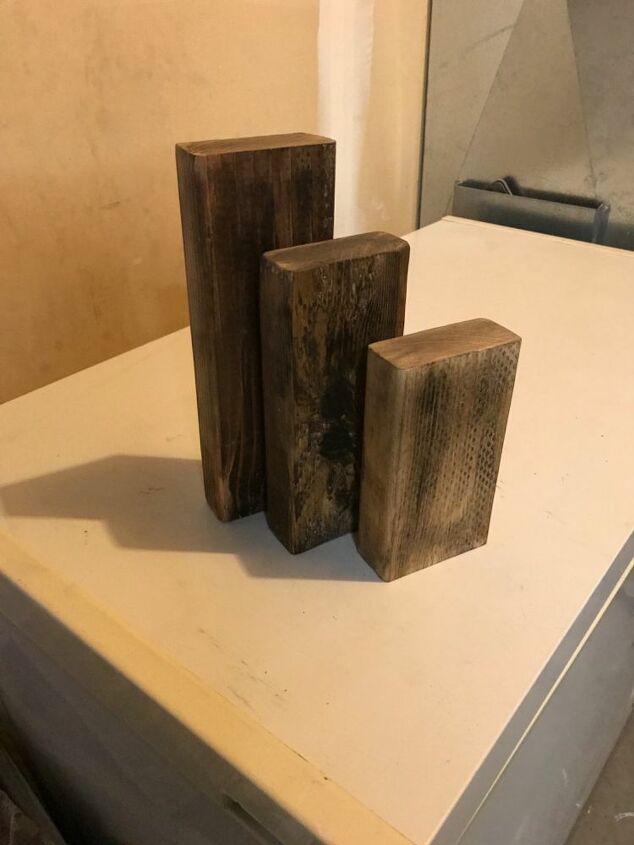
This is a photo of three blocks on their sides- the cut edges are going to the be sides viewed. These blocks were also stained because I will be distressing them and wanted a dark color underneath to peak through the paint.
Once all the pieces are sanded, I paint all sides of each piece. I take note of any dents or knots in the wood and place them according to if I want them seen and part of the design or hidden (glued side in). If I’m using scrapbook paper I then apply it to the ends that will be facing out, using a layer of mod podge, then the scrap piece of paper and let dry- only takes a few minutes. Then with the sand paper, rub around the edges to get rid of any excess or extra paper that may be over lapping there edge. I like to put a “top coat” of mod podge on at this point.
**tip** I use a scrap piece of paper big enough to cover the area And use the sand paper to clean up the edges. I don’t measure and cut my paper. **
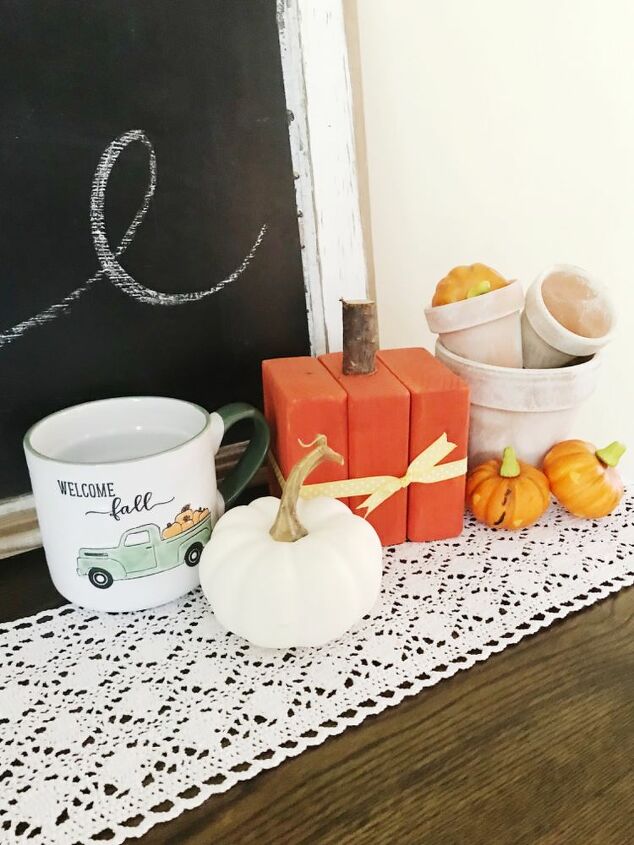
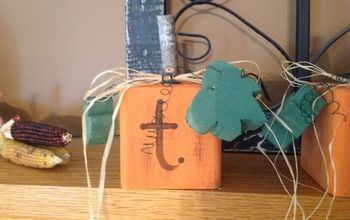
Now I’m ready to glue the 3 pieces together, add ribbon and a stem.
I live in a valley full of orchards. I often times can find orchards who have trimmed their trees and will give me some branches to cut down and use as my stems. Or you can cut a small piece of a 1x2 for your stem.
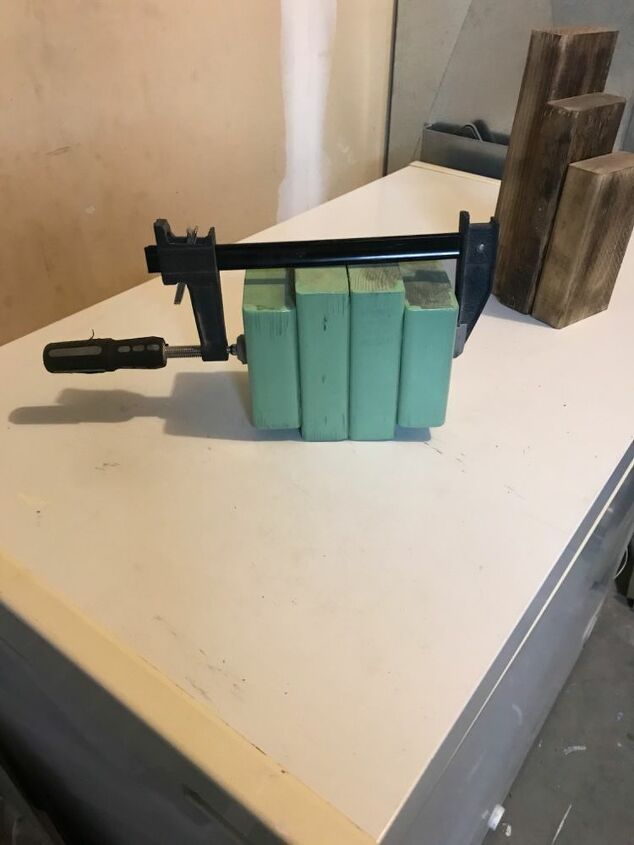
**tip** you can use bar clamps to hold your glued pieces together while they dry or place a book (or something heavy) on top of them while they dry.
Another way to use the 2x4, I call “the chunky”:
Materials needed:
• 2x4 board (or scrap pieces)
• wood glue
• stain
• white chalk paint (I used American Paint Company color- Uncle Sam)
• tree branch
• ribbon
• circular saw
• sand paper
Cut 2 pieces of the 2x4 at 4” and 2 pieces at 4 3/4”. (If you want it a little taller cut at 4 1/2” and 5 1/4”.) Then sand to smooth the edges, stain (I used a dark stain), paint (2-3 coats), glue, distress the edges with sand paper, tie on a ribbon and glue on a stem.
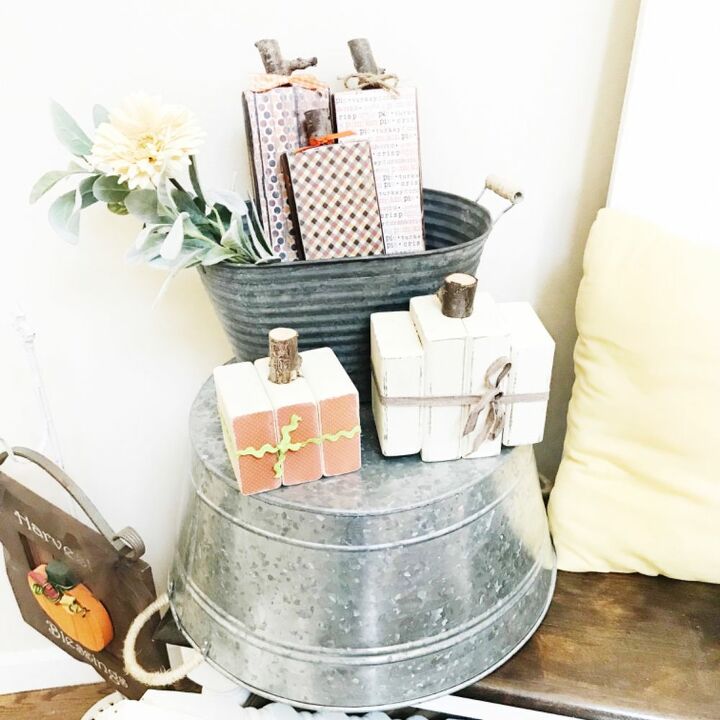
In the picture you can see the chunky, a triple 2x4 and another way to use the 2x4 I call “the tall ones” (sitting in the bucket).

“The Tall Ones”:
Using either a 2x4 or a 2x3 cut your pieces to your desired lengths.
For my 2x4’s I cut one at 6”, one at 8” and one at 10”.
**Note- you can make yours taller or shorter per your preference. Start with the 6” and place it in your space. Then you can decide if you want two lager ones, a larger and a smaller or even two smaller ones. ***
For my 2x3’s (they are skinnier so I cut them shorter) one at 4”, one at 6” and one at 8”.
Use the same process as the triple 2x4. I like some covered with scrapbook paper and others I like just painted. The ribbon adds a finishing touch once I’ve glued on my stems. I like to rotate between ribbon/jute/twine/ric rac on the stems and around the wood. Again this is where you get to be creative.
Traditional pumpkins are orange. On these tall ones I wanted the scrapbook paper to be the show stopper. I stained the pieces of wood first and then added fall themed scrapbook paper. (The finished picture is above).
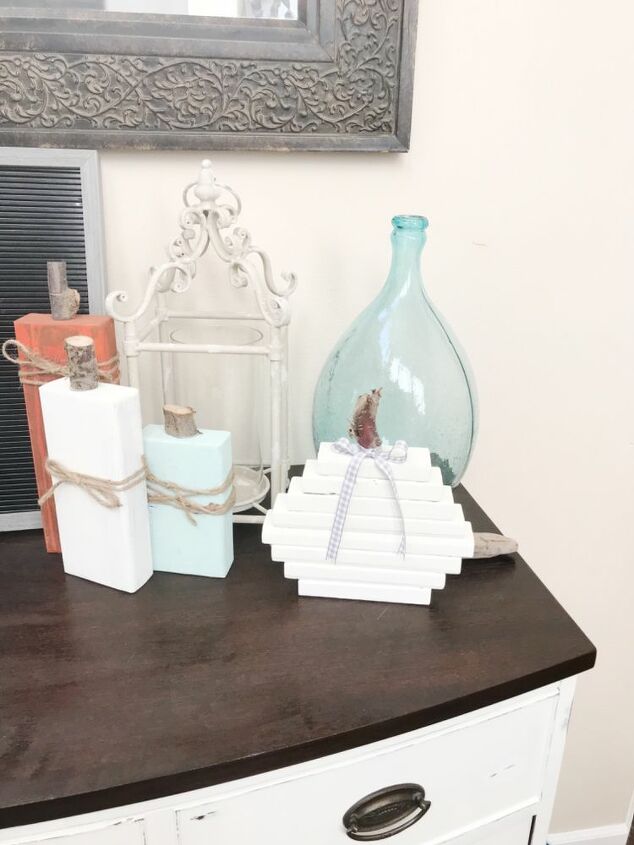
Here’s another set of the tall ones. I painted each a different color and love the variety they give.
In this photo is my favorite “stacked” pumpkin. She’s up next.
What you’ll need:
• 1- 1x2 wood board (mine was 8 feet long)
• wood glue
• stain
• paint (in your desired color)
• tree branch
• ribbon/ric rac/ twine or jute
• sand paper
• circular saw
First, cut your wood. You’ll need
• 1 cut at 4”
• 2 cut at 5” each
• 2 cut at 6” each
• 2 cut at 7” each
• 1 cut at 8”
once they are cut and edges sanded smooth, if you are painting your pumpkin white or a light color, stain your wood pieces. Then glue all the pieces together one flat on top of the other. Starting with a 5” piece on bottom working your way up until you end with the 4” piece on top.
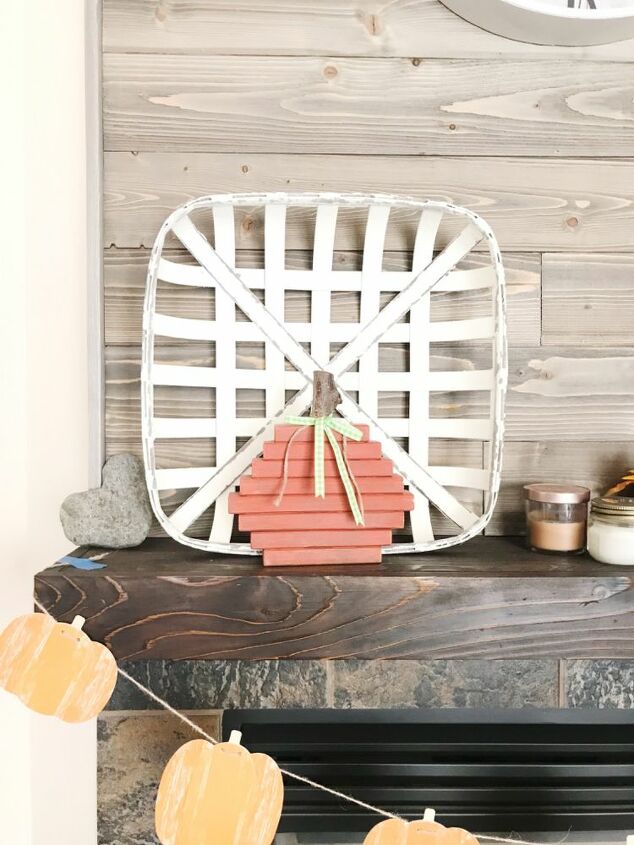
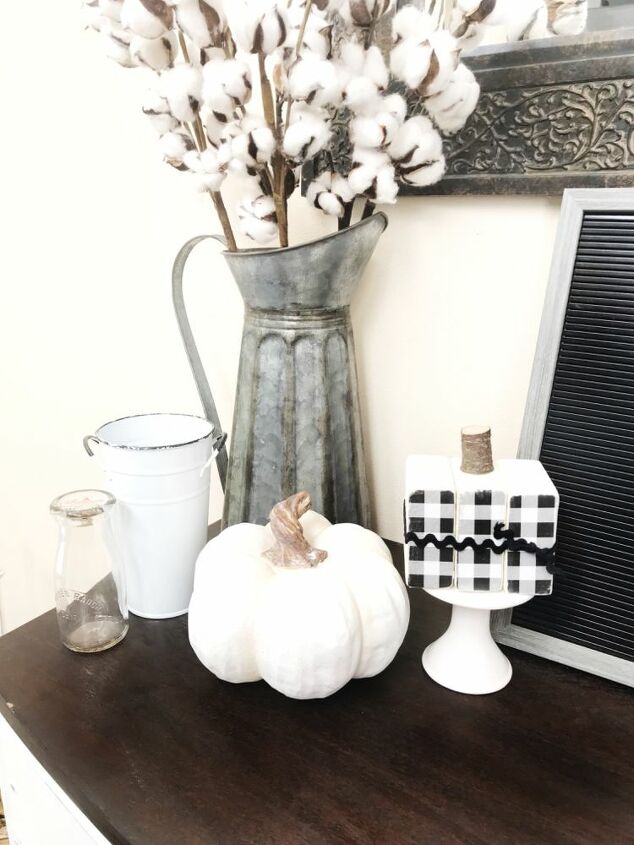
When the glue is dry, paint your pumpkin the desired color. Then distress the edges. Glue a stem on the top, decorate with ribbon and jute. Then style on a mantle, buffet or where ever you like best.
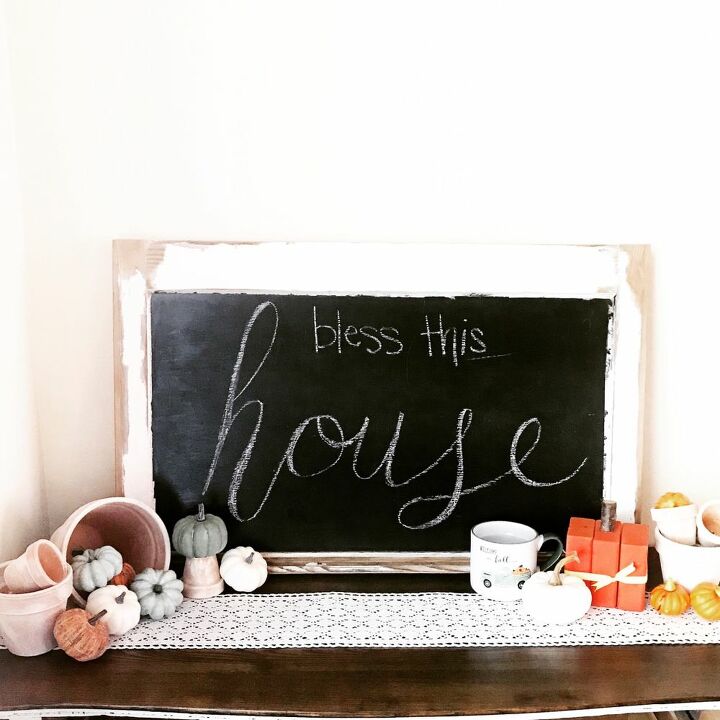
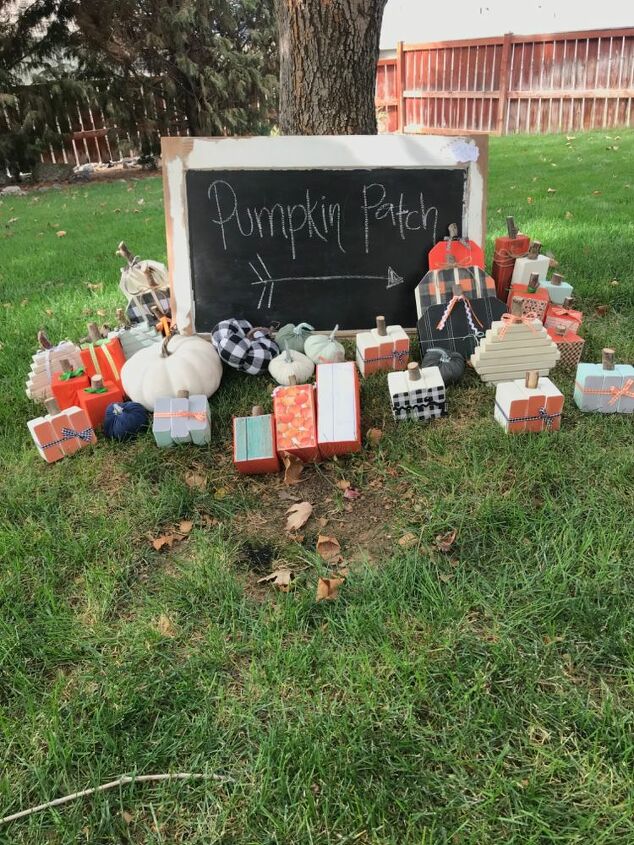
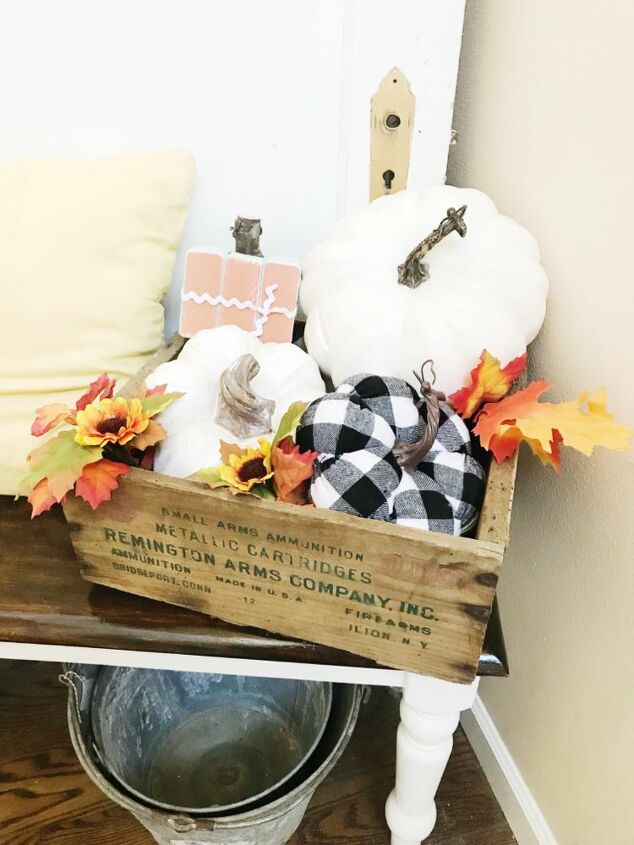
Decorating and styling with these wood pumpkins is a lot of fun. I use them on dresser tops, kitchen counters, side tables, buffets, down the center of a table, in centerpieces, on mantles. I like to pair them up with faux pumpkins and real pumpkins too. Or even add other elements in to the mix such as letter boards, chalk boards, pots and vases.
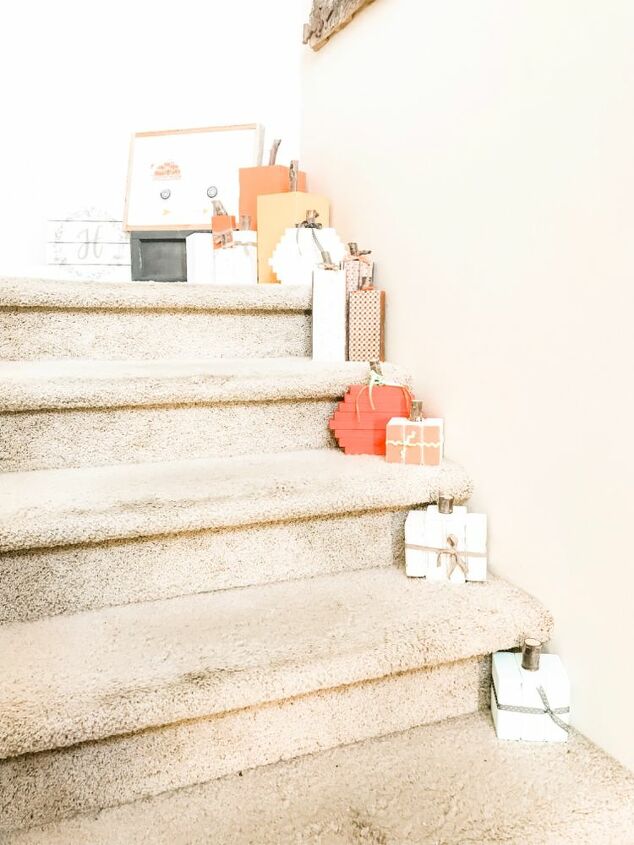
Another way I love to display all my pumpkins is cascading down my stairs. The picture is without my real pumpkins added in so that you can see the wood pumpkins more clearly. The best thing about wood pumpkins- they last more than one use. I can use them year after year. This project was fairly inexpensive as I only purchased 2 boards and the rest of the materials I had on hand. You can check out our Instagram (link below) @beaus_and_belles for more styling photos and more designs.
Resources for this project:
See all materials


Comments
Join the conversation
-
I LOVE EVERY ONE OF THEM! (Particularly the one shaped like a pumpkin and painted orange!)
This would be a great way to use scrap lumber to make decorations for different seasons that would last through the years. I used to decorate up the side of my front steps too...loved it.
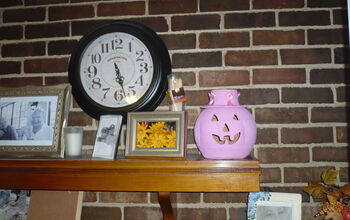
Might I suggest to all of you to include 1 pink pumpkin in your fall decorations to honor Breast Cancer Month of October and Diabetes Month in November...
Here is my pink pumpkin...she is sitting on the mantel right beside my desk in my den a I write this. She has been my pal for several years. (Notice she fitts really well with the orange pumpkin that has just a small piece showing in the right bottom corner of the photo)
HAPPY HOLIDAYS AND BLESSING TO ALL!!!
- See 1 previous
-
i am going to look in my wood scrap pile now. love this idea, and thanks


Frequently asked questions
Have a question about this project?