


How To Make Easy DIY Glitter Cone Christmas Trees
I love making quick and easy crafts. You can make a trio of Easy DIY Glitter Cone Christmas Trees in under 15 minutes! You can't get much easier than that.
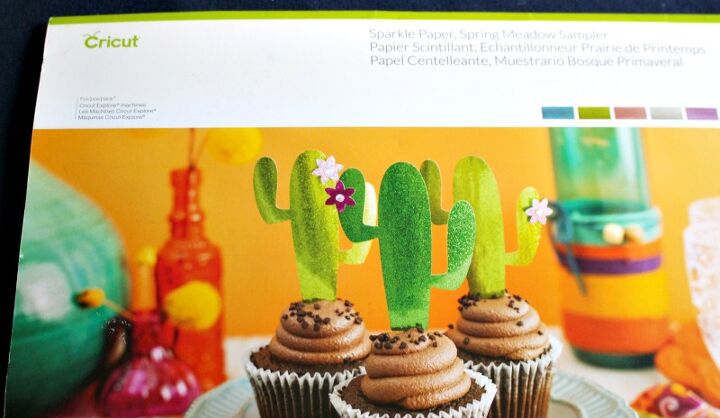
The best part of this Christmas craft, is there is zero mess! Thanks to Cricut making this gorgeous glitter cardstock you can literally just cut and glue the cardstock and without any mess. Let me show you how easy it is to make these.
Supplies Needed To Make Glitter Cone Christmas Trees
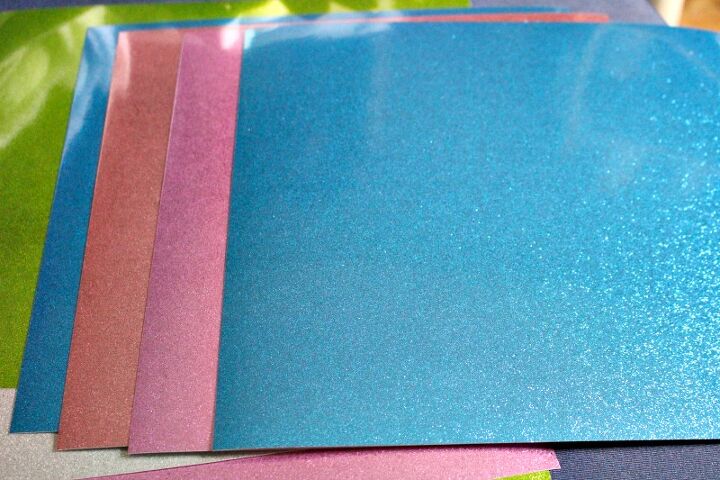
- Cricut Glitter Cardstock
- Craft Scissors
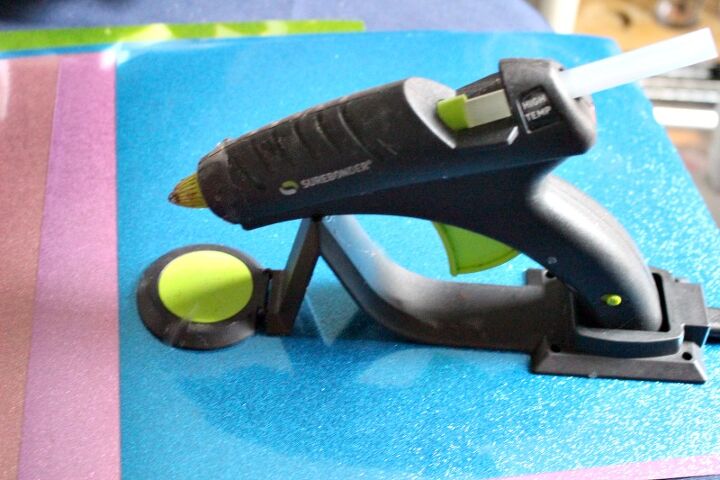
- Surebonder Cordless Glue Gun – this is my absolute favorite!
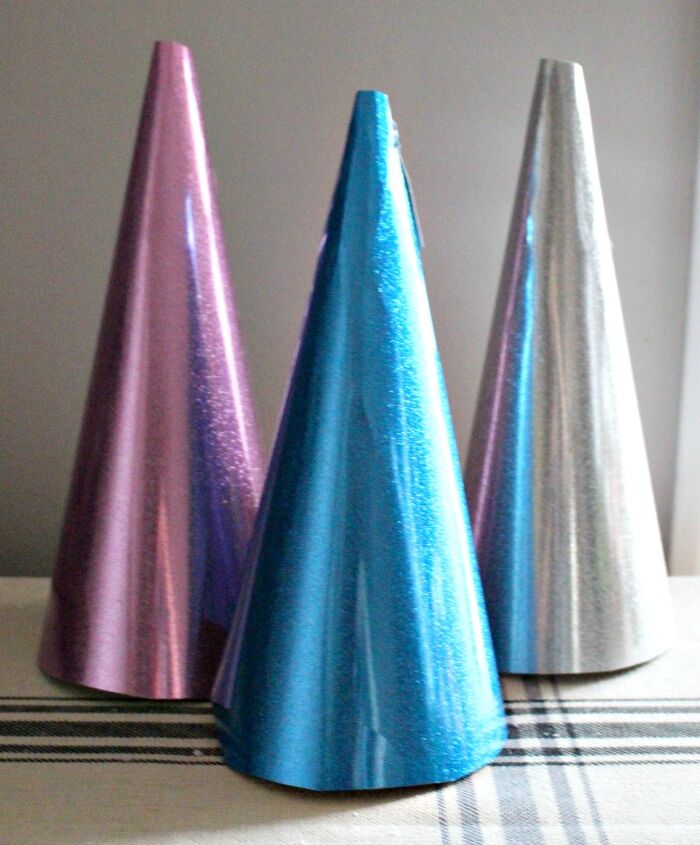
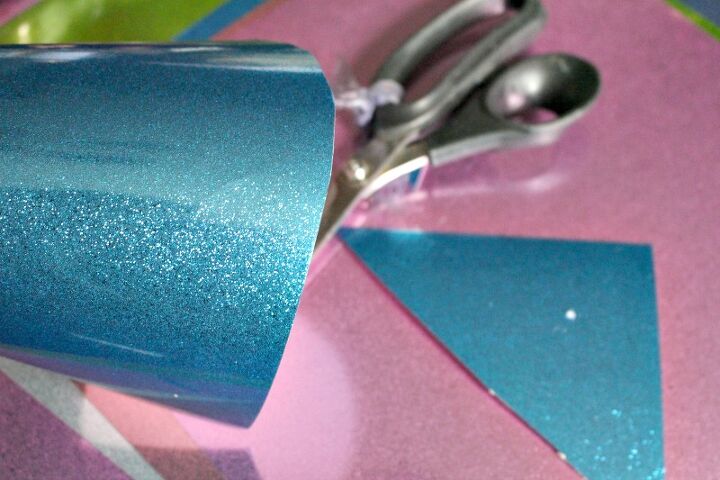
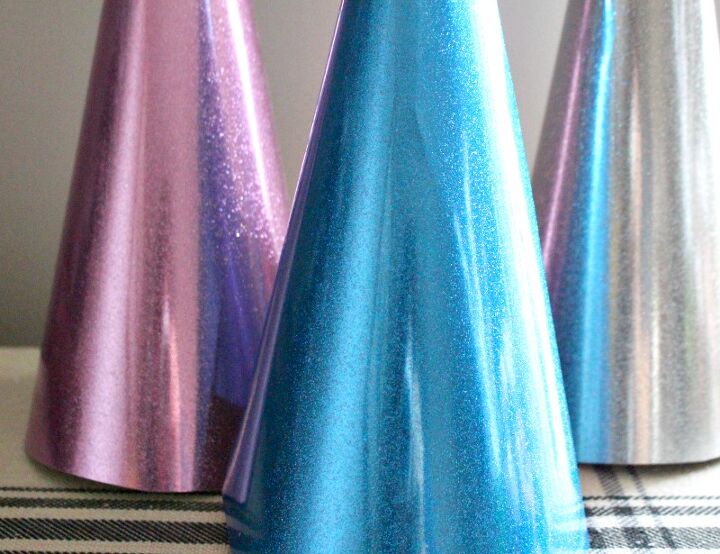
Choose the paper colors that you want for your glitter cones. My color scheme is blue and silver this year, so I went with those, plus a pretty pink.
Roll the paper from corner to corner forming a cone shape.
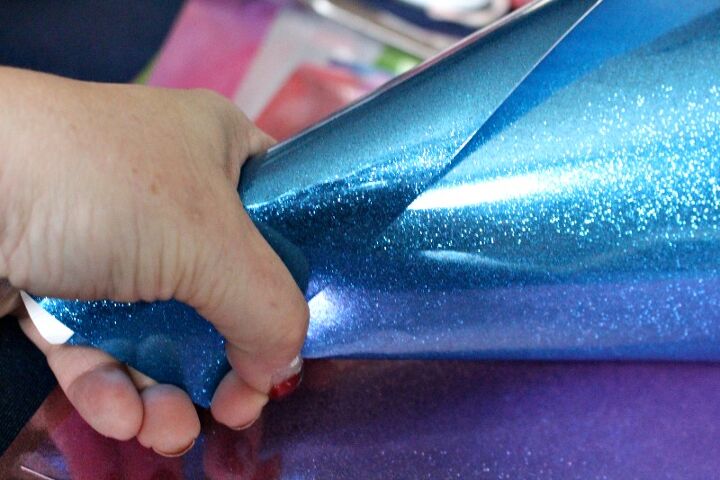
Trim off the excess paper on the bottom of the cone so it is able to stand properly.
Add a little hot glue to the top and middle of the paper cone until it is secure. This hot glue gun is seriously a game changer, as it’s cordless and has a cool stand. It makes crafting so much easier!
Now just display your gorgeous glitter Christmas trees and think of how much money you saved. I’ve seen similar cone trees at the craft and home stores for upwards of $10 a piece.
I have some velvet fabric and may try to give those a whirl next.
You can check out even more inexpensive and easy to make Christmas crafts here https://ourcraftymom.com/category/christmas/


Frequently asked questions
Have a question about this project?