


DIY Cheese & Cracker Board

Hello friends! I was gifted this pile of beautiful black walnut scraps a couple days ago and have been racking my brain trying to figure out what to do with them! I have a few bigger pieces that I instantly knew I would make cutting boards out of and give as Christmas gifts (or keep for myself, lets be real) and then several smaller scraps. Apparently these are the leftovers from making a wooden truck bed for a 1979 Chevy C10 - how cool is that!?
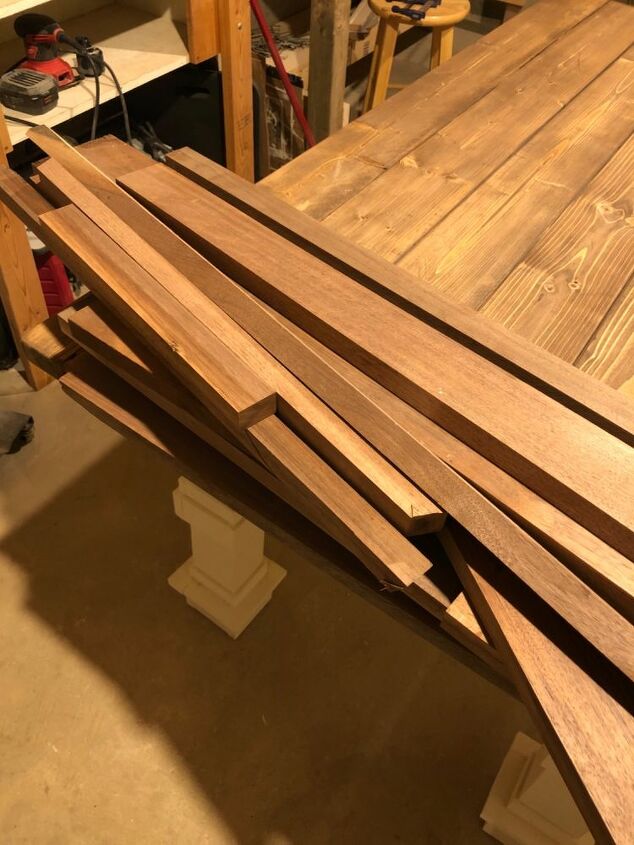
Since the holidays are coming up and we will be doing a lot of entertaining, I thought it would be so fun to make some cheese and cracker boards! These will also make the cutest little keepsake gifts that can be passed on.
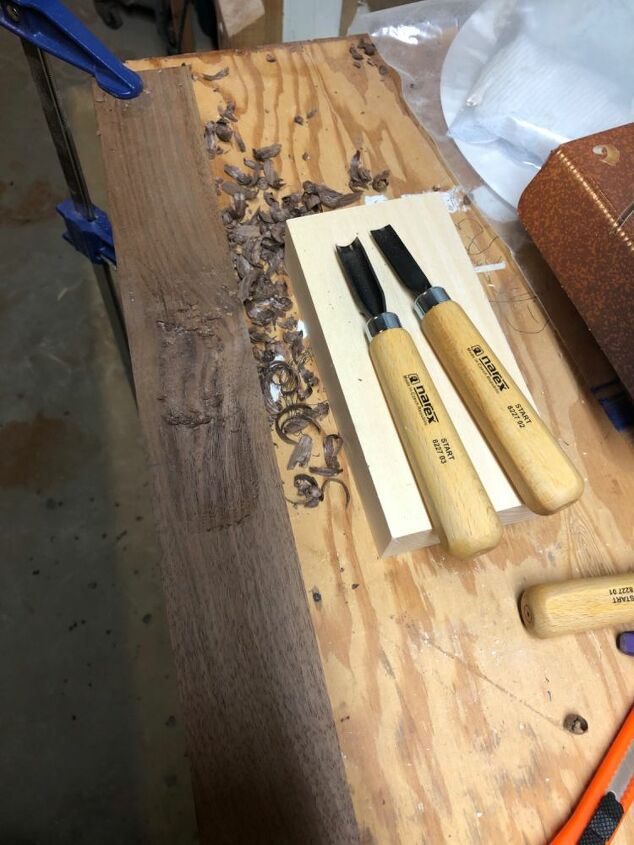
I had no idea what I was doing when I first decided I was going to make these cheese and cracker boards, so I grabbed a cracker for size reference and headed down to my shop. I clamped one of the smaller size boards (just under 3" wide) to my workbench and started chiseling away with this carving set Hometalk sent me a few months ago!
The carvers were very sharp, so they take off a good amount of wood with little effort! Make sure to have both hands behind the cutting end at all times.
Now I'm not a professional and I don't know if I was using the carving tools in the right order or in the proper way, but I found I liked this carver the best for getting started. I would carve with the V point down and then turn the tool on to it's side > to smooth the wood out.

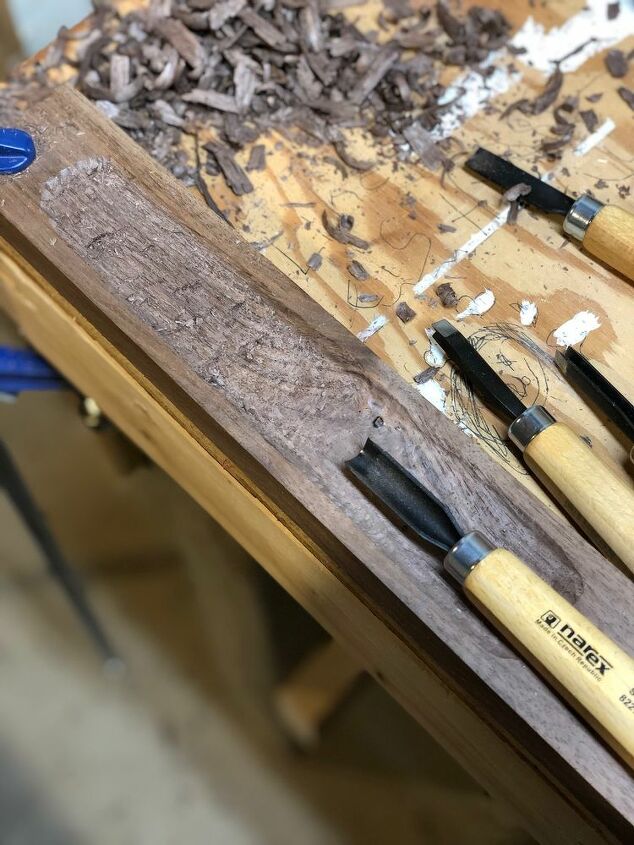
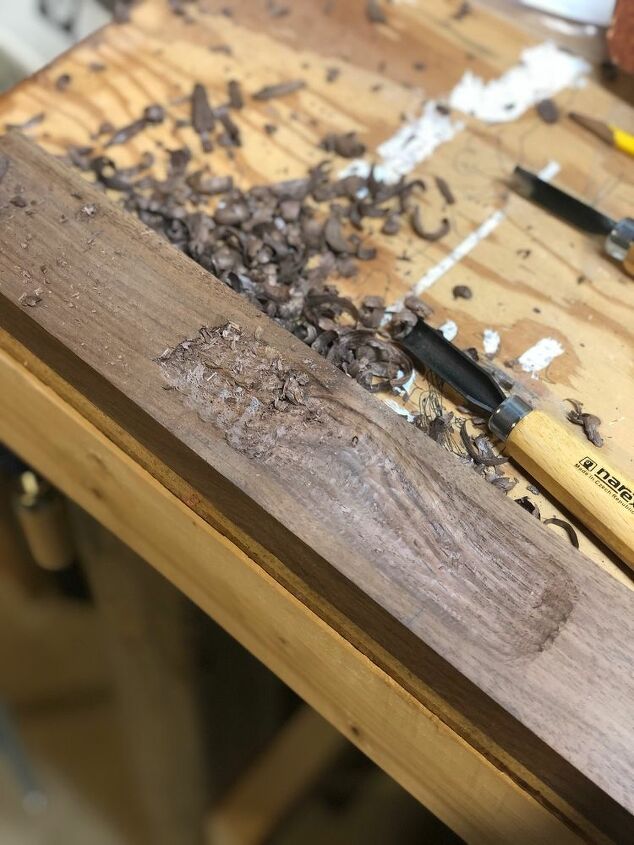
Then I would go back with this little half circle carver and hog out more of the wood to deepen the area where the crackers will sit.
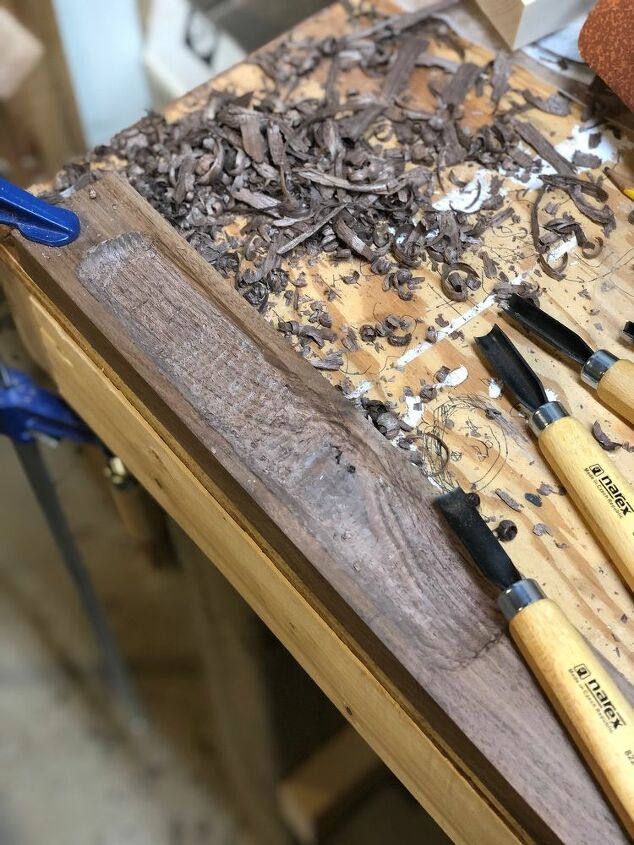
I used this smaller round carver to smooth out my grooves and then the smaller V carver along the edges.
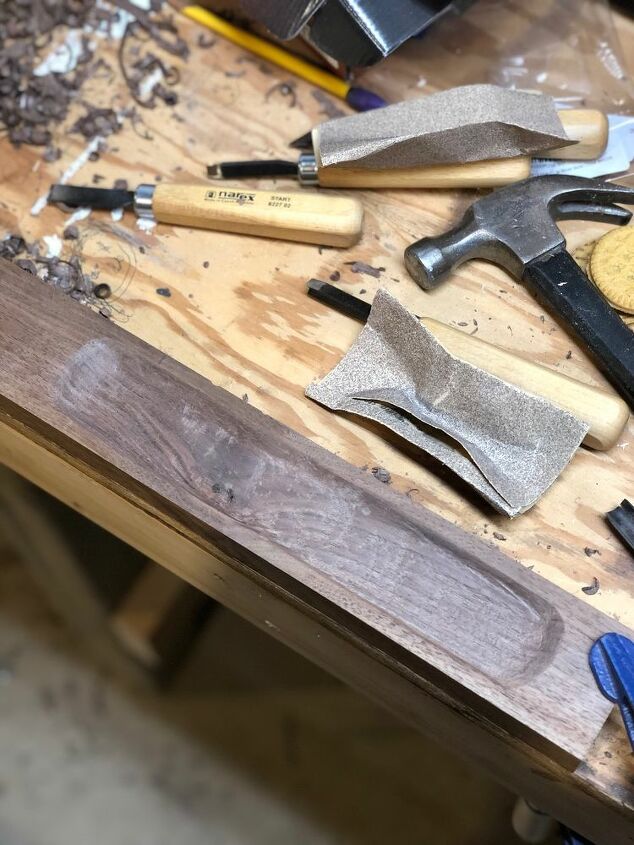
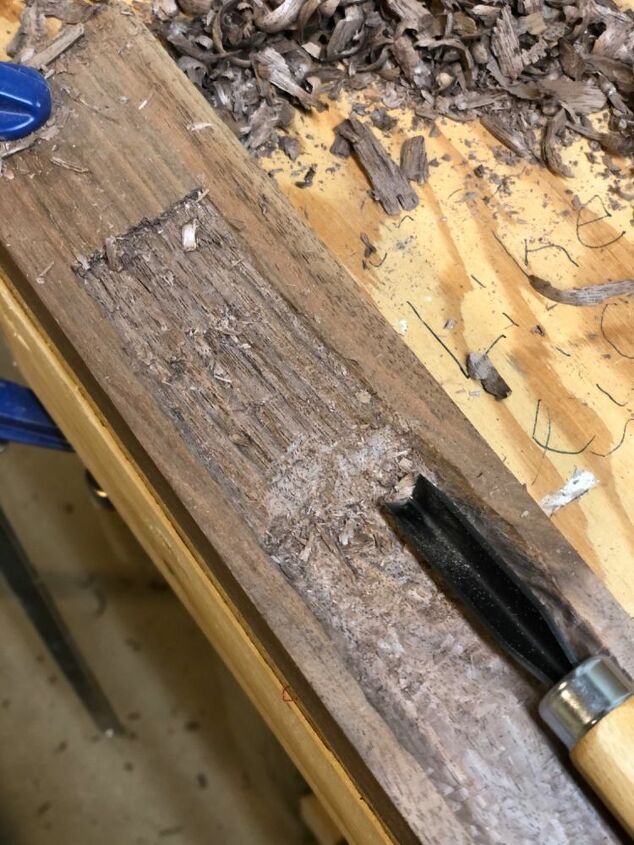
Once I had it mostly smoothed out with my carving tools, I tried to sand out any of the remaining grooves with 80 grit sandpaper, followed by 100, and then 220. It started looking pretty good!
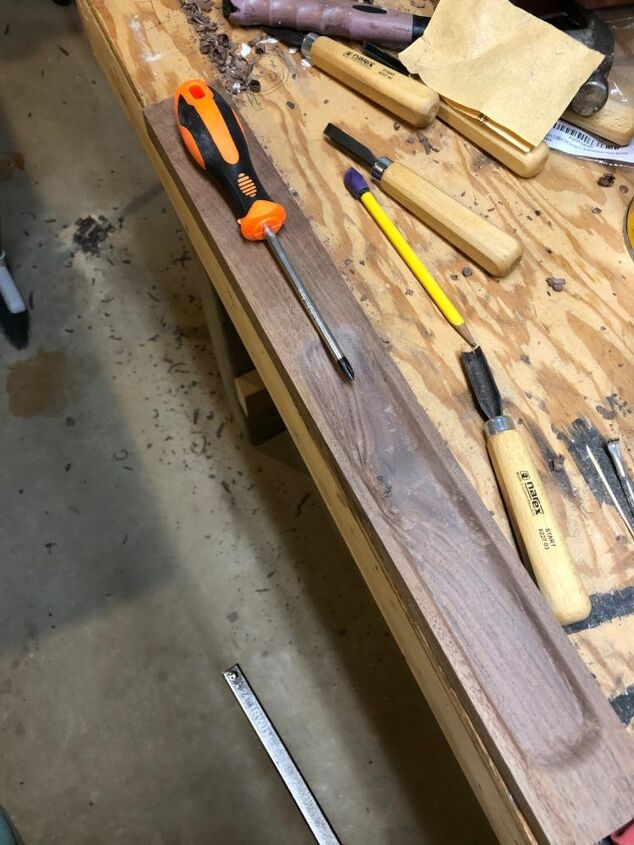
With the rest of the board I had left, I knew I wanted a cool handle, so I traced the head of a screwdriver and feathered my line out to the edges of the board.
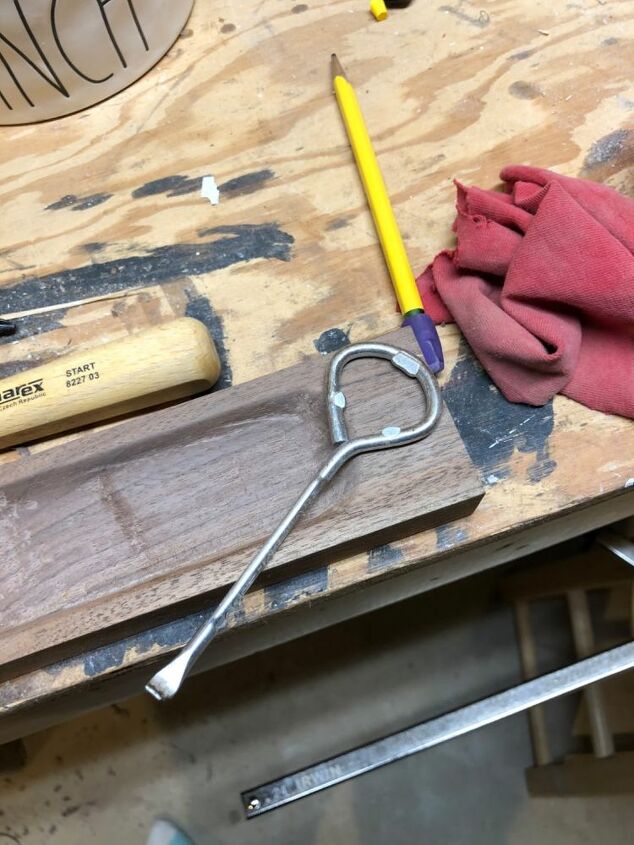
Then I traced the handle of a paint can opener to round out the bottom of the board.
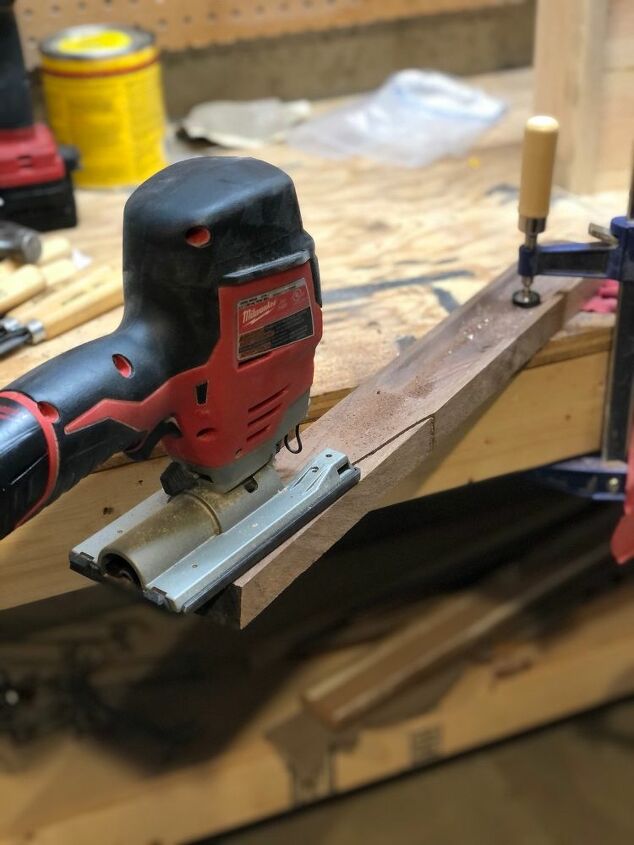
Once I was happy with my sketches, I cut them out with my jigsaw.
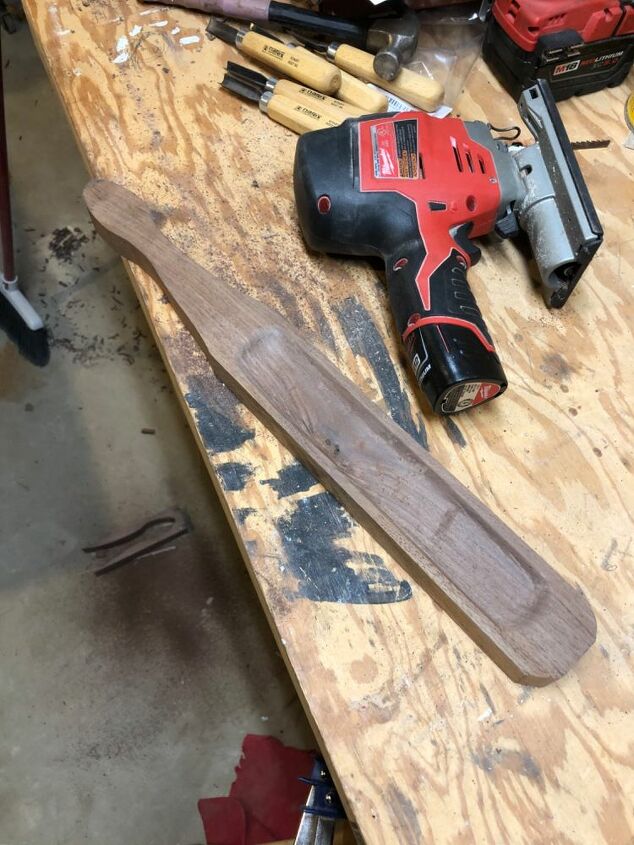
How stinking cute!? I went over the whole piece with 320 grit on my electric sander and then drilled a hole in the end of the handle.
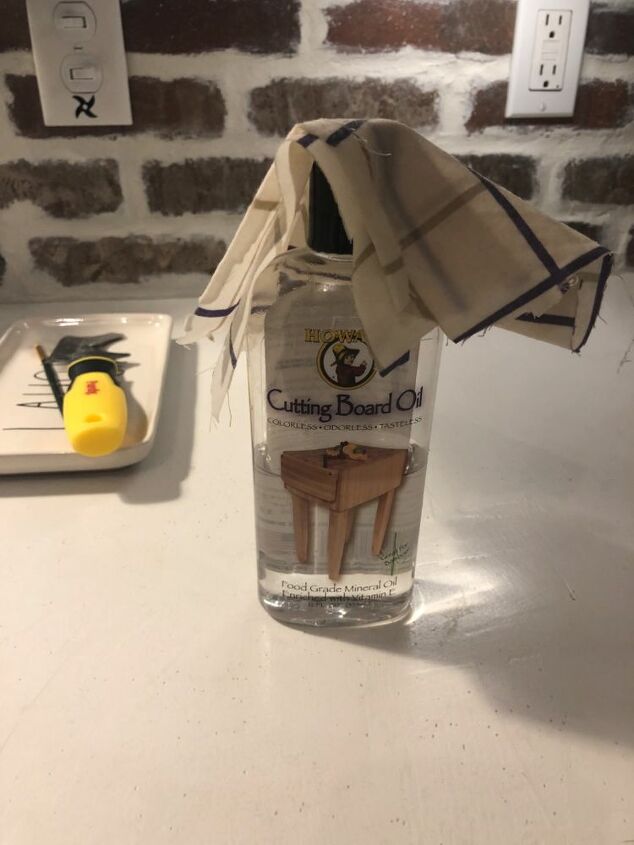
To make sure my new little cheese and cracker board will last, I finished the board off with cutting board oil. I love to use this on all of my wood cooking utensils to make them non-stick as well!
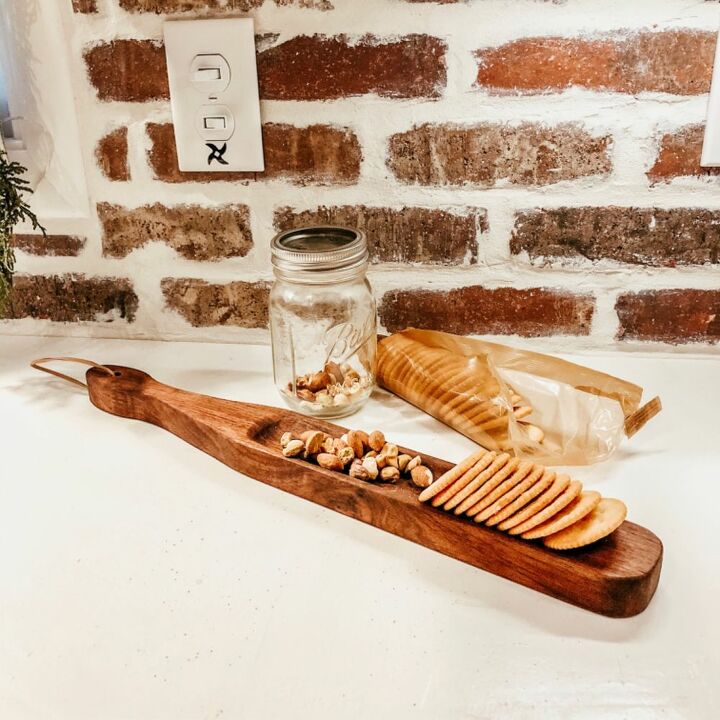
I didn't have any block cheese handy for my photo, so I went with mixed nuts instead. I think this board will be perfect for cookies at a dinner party, cookies for Santa, a mini charcuterie board - the options are endless!
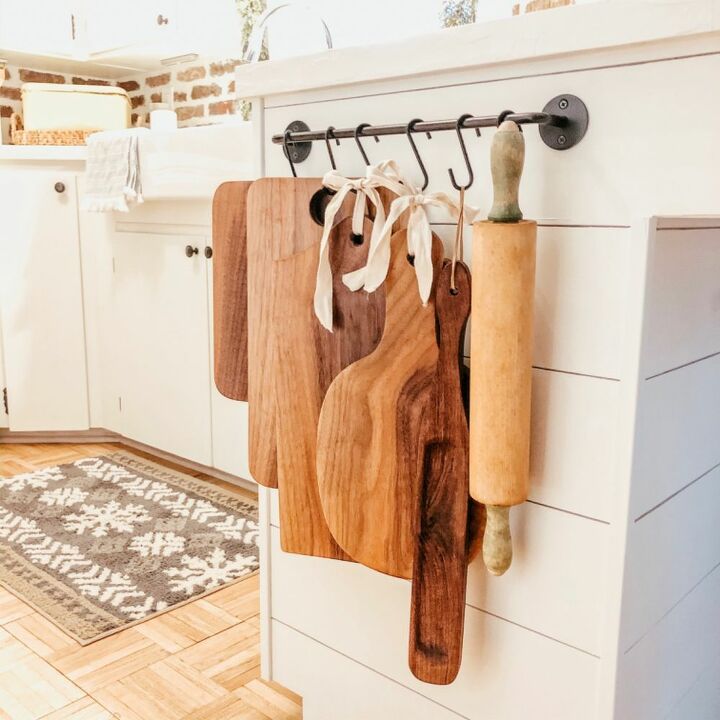
I'm definitely keeping this one for myself and can't wait to give out a few more as Christmas gifts!
Comments
Join the conversation
-
Your first attempt at this was spot-on!! Great job...and smart move to keep it for yourself

-
Love, love, love this...So creative, beautiful, & useful! Thanks for sharing!


Frequently asked questions
Have a question about this project?
This is beyond my skill level or desire to do but it came out great. I am more interested in where you got the hooks for the items hanging on the cabinet and how in the world is the cutting board hanging so straight? Usually they have a small opening in a corner which would make it hang lopsided. I love your idea on that though.