


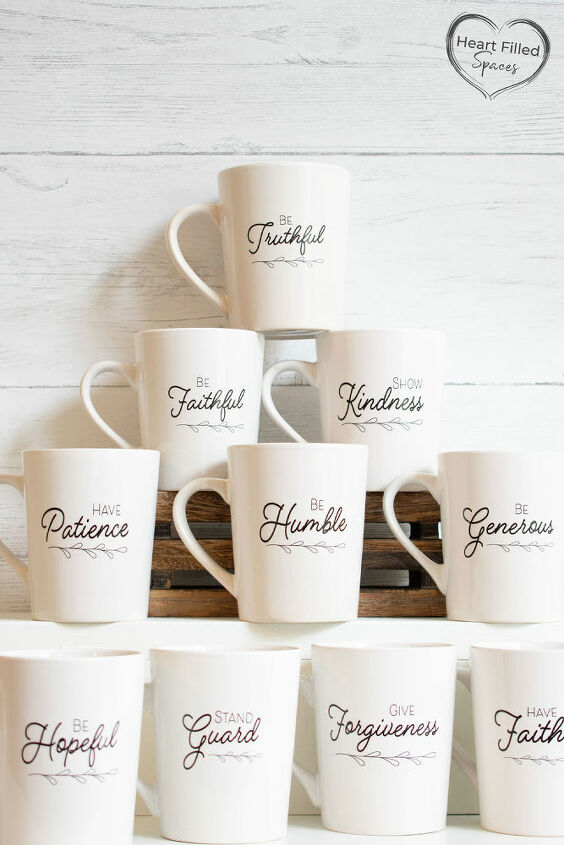
Easy DIY Inspirational Coffee Cup Gift Set

This Inspirational Coffee Cup set would be perfect for a wedding gift or coffee bar. I’ve been planning to build a coffee bar in our kitchen for some time now and these mugs are the first step in the process. I made a total of 10 mugs and divided the cost. This project came out to about $3 per mug.
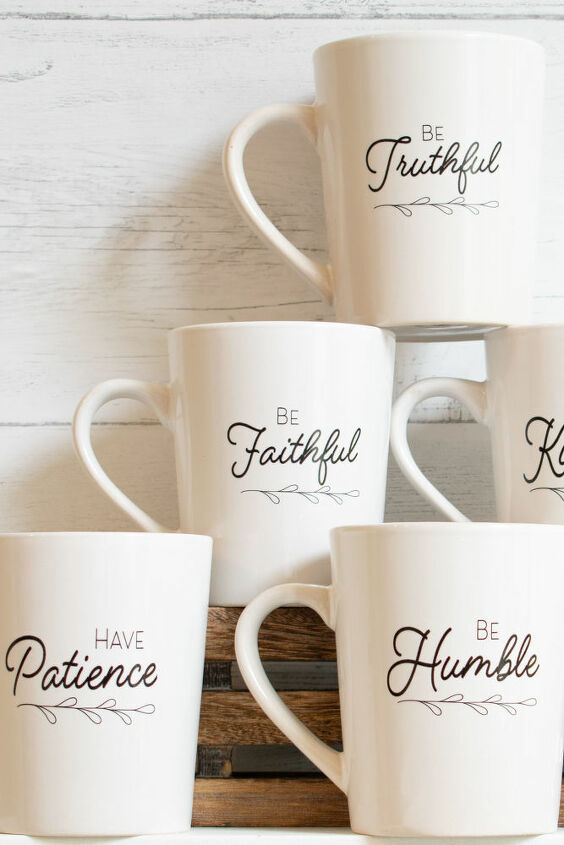
I appreciate the daily reminder that the building blocks of true love require action. Maybe I can focus on one action/one cup per day. LOL!
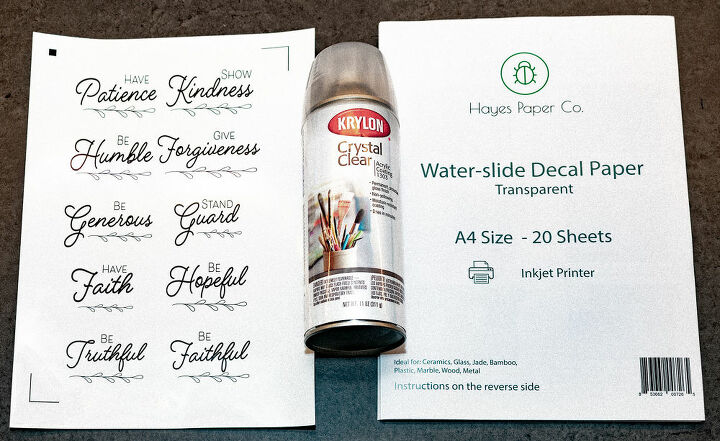
STEP 1: PRINT THE DESIGN AND SEAL THE WATER-SLIDE PAPER
You will need Water Slide Decal Paper for Inkjet printers, an Inkjet Printer, Krylon Crystal Clear Acrylic Coating to seal your printer ink, and coffee cups, tumblers or glasses. I purchased my cups at the dollar store.
This printable is available for free on my blog. Download the image and print it on an Inkjet printer. All printers work a little differently, so you will need to read the instructions for your printer. For my printer, I loaded the paper with the glossy side facing down. You want to print on the glossy side of the paper. Set the print settings to high quality print, gloss photo paper. Once the image is printed, wait 5 minutes for it to dry.
Next, seal your paper with the clear coat. This is an important step. Without the top coat, the water will ruin your printed image.
Take your printed image outside and place it in a cardboard box. Then spray an even coat of acrylic protective finish over the image. Wait approximately 30 minutes or until it’s dry to the touch and coat it again. Cover the image with 3 coats in total and let it dry.
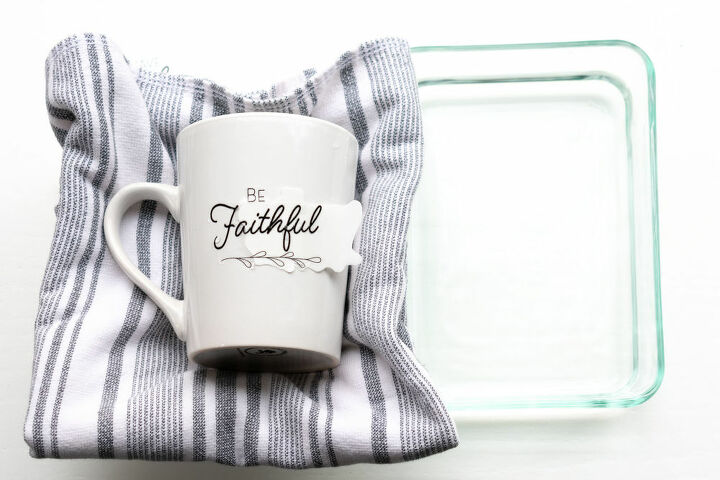
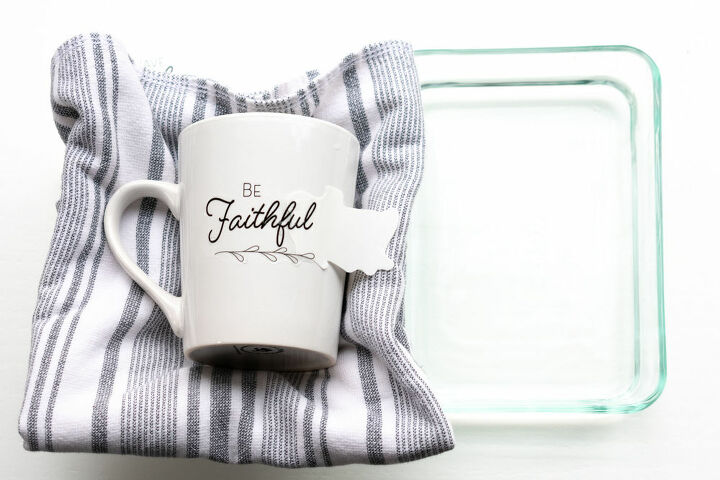
STEP 2: CUT YOUR DESIGN AND PREPARE THE SUPPLIES
Cut your image out leaving a slight border around it. I’d say about an 1/8 inch is a good size for the border. If you have a cutting machine like a Silhouette or Cricut, there is a free cut file for this on my blog.
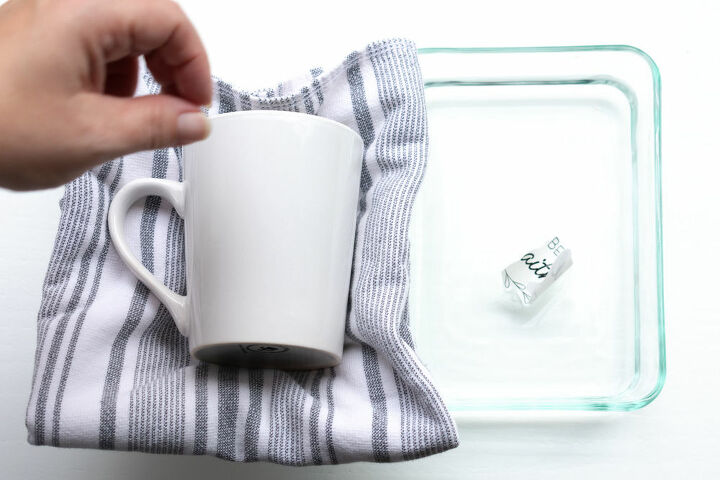
Once all of your decals are cut, you will want to have a container with about 2 inches of warm water. Note: I tried cold water and it didn’t work as well. It is also helpful to have a bowl with a dish towel inside of it to hold your cup. This way your hands are free to work with the decal. Keep an extra dish towel or paper towel handy to dry up any extra drips.
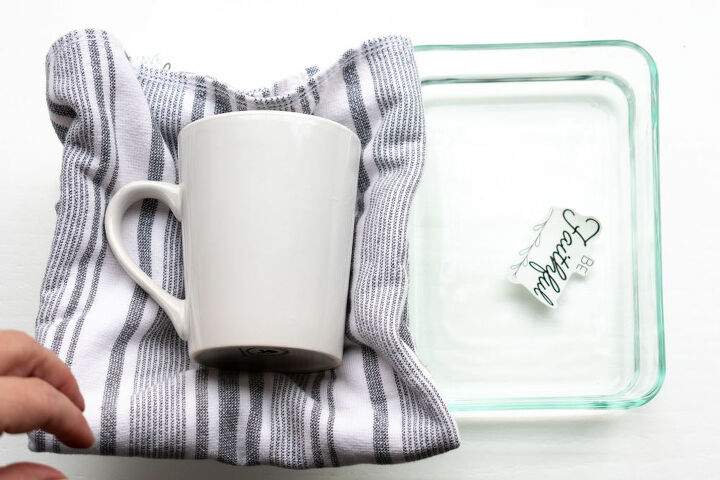
STEP 3: PLACE YOUR DECAL IN WATER
Place your decal in the water. It will curl up at first. When you can uncurl it or make it flat again, it is ready to remove. About 10 -20 seconds. If you leave it in the water too long, the decal will become fragile and rip easily. If you don’t leave it long enough, it will be difficult to slide off the backing.
STEP 4: POSITION YOUR DECAL ON YOUR CUP
Next, place your decal on the mug and flatten it out. While pressing on the surface of the decal with your left hand, slide the paper backing from behind the decal with your right hand.
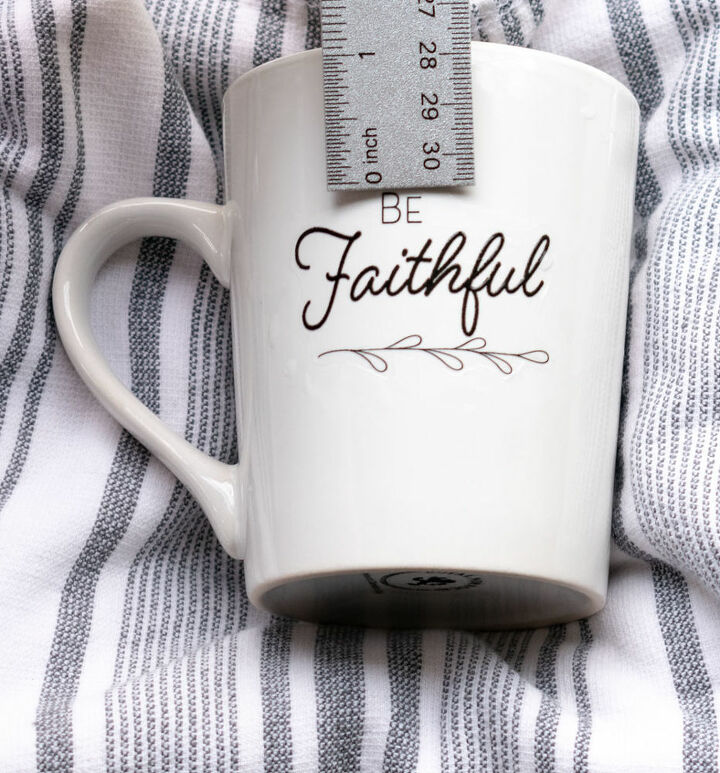
STEP 5: CENTER YOUR DECAL
Once the paper backing is removed, you will have a brief period of time to position and smooth out the decal. I used a ruler to make sure all of my decals were the same distance from the top of the mugs. Then I centered them from left to right by eye.
Next, gently smooth out the decal with your index fingers. You don’t want to press too hard or you can tear the decal. Just lightly run your fingers over the image to smooth out any bubbles and flatten it. Gently dab off any excess water with a paper towel.
Let the decal set and dry for at least 3 hours. Don’t expose them to direct sunlight during this time.
STEP 6: BAKE YOUR MUGS
The final step is to bake the cups in the oven at 230 degrees for 20 minutes. I placed all ten of the cups on a cookie sheet and placed them in the oven. The package directions say to bake them for 10-15 minutes, but I let mine go for 20 minutes.
The package directions say that ceramics are NOT dishwasher safe and should be cleaned by a gentle hand wash.
This is a great way to add a personal touch to your home or bless a friend with a beautiful handmade gift.
For a more detailed tutorial and information on how to download your free printable and cut file, visit my blog. Do you like learning crafts, DIY projects and budget friendly ways to spruce up your home? Check out all my latest ideas here.
Hey, thanks for reading my article and I hope you found some great ideas for your next project.
Laura
Resources for this project:
See all materials


Comments
Join the conversation
-
Very cute mugs!! I loved all the sayings!!
Very good instructions. Thank you for sharing ❤️
-
So cute. Thank you for sharing😚


Frequently asked questions
Have a question about this project?
Would this work with a laser printer?
WHAT POSITION DO THE CUPS GO ONTO THE COOKIE SHEET? STANDING UPRIGHT, UPSIDE DOWN OR LAYING DOWN
Great idea! I have several bottles of cooking oil that I have labeled with pressure sensitive labels but after a few washings and/or spills they look worn. This idea would work great for those glass bottles. Thank you for sharing this craft. I'm ordering the decal paper today.
I would like to do this with plastic bottles that I have repurposed for hand soap, body wash, shampoo and cream rinse. How could I adopt this craft since obviously I cannot bake the plastic bottles.