


Easy Yarn Trees
Have you heard of the Danish word Hygge (hue-guh)? It's the mood created by coziness and comfortable living. People are trying to bring a little of that Danish concept into their homes here lately; and as winter starts moving into New Hampshire I crave that feeling of coziness in my home.So when I started decorating for the holidays this year I wanted to create that sense of hygge. I think this cute project is a perfect fit!
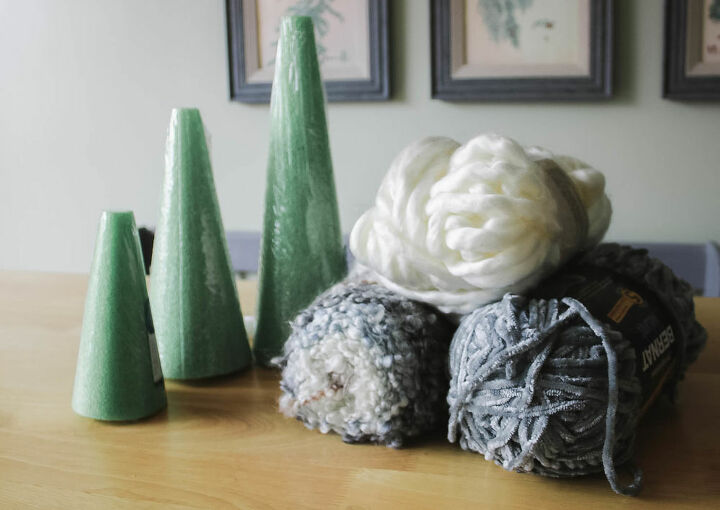
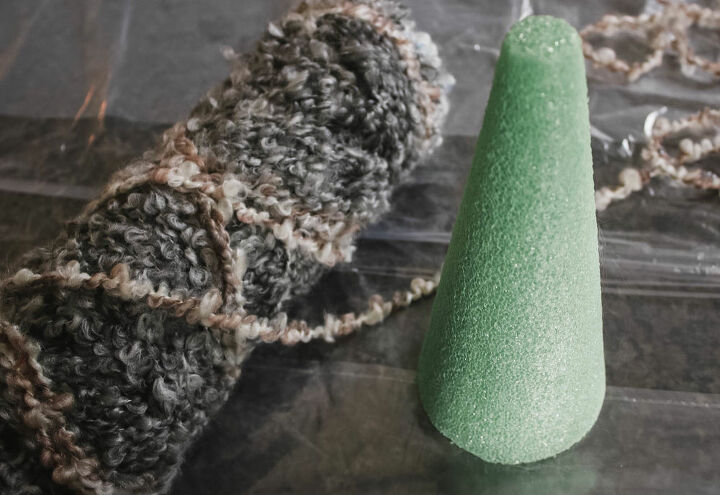
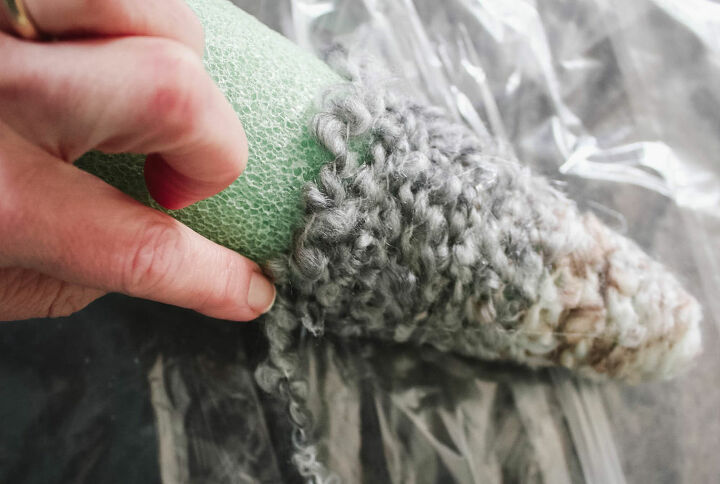
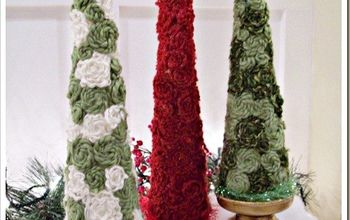
The supplies you will need for this project are 3 foam cones in varying sizes, 3 skeins of different textured yarns, and a glue gun. There are so many colors and textures are yarns readily available at craft stores and online now, so have fun picking them out. You could choose yarn colors that compliment your home decor or the colors you use to decorate for the holidays.I chose a thick fluffy white yarn, a loopy textured variegated yarn, and a chenille gray/blue.
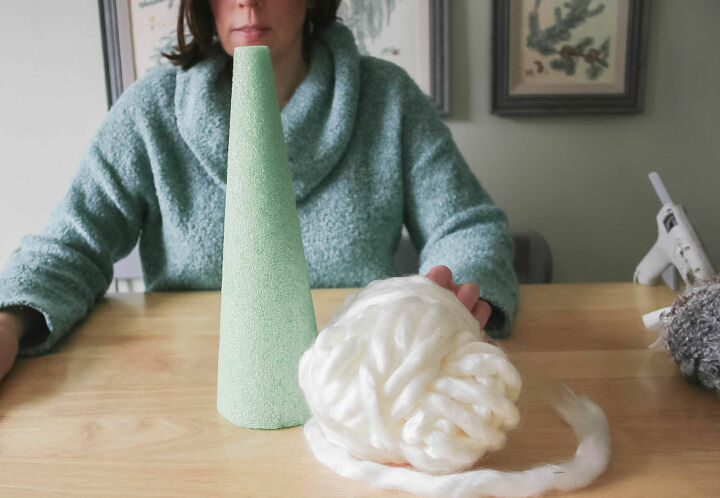
I started with the biggest tree first and used the thick yarn.
For this tree I started at the bottom of the cone and wrapped the yarn upward; I wanted to see if there was a difference in starting from the bottom as opposed to the top of the cone before I shared my project with you.I guided the yarn around and make droplets of the glue as I went along. This thick yarn required more glue to hold it in place than the thinner yarns I used.
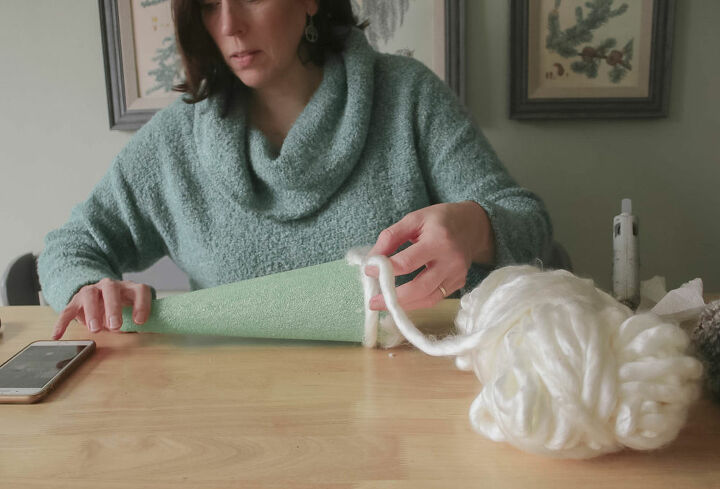
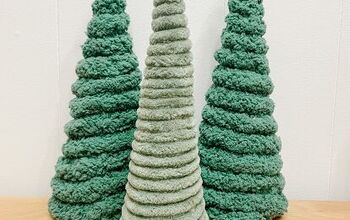
On to the middle tree! I started from the top on this one and definitely recommend doing it this way it seems to be the best, quickest method for this craft.
Just make sure not to leave any spaces between your rows of yarn. You don't want the green foam peaking through.
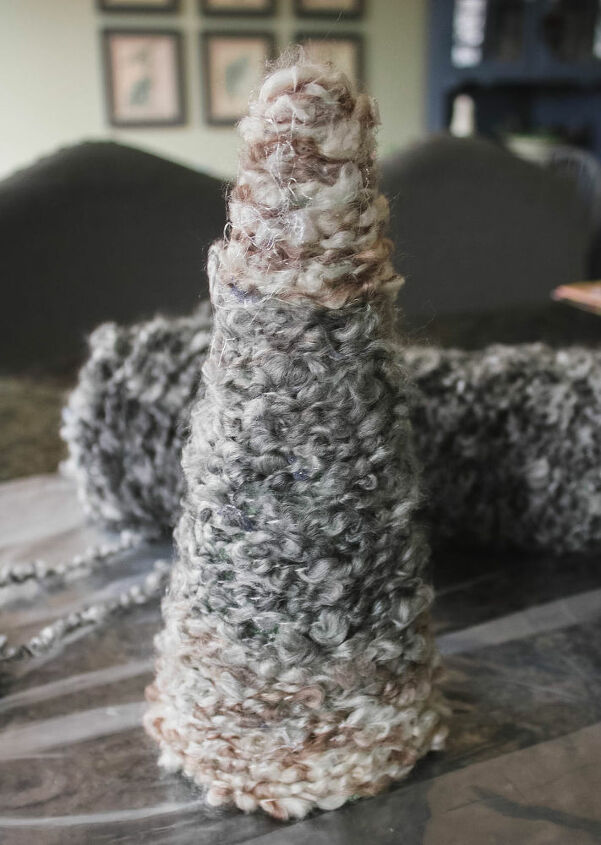
It took less than 10 minutes to make this one. I love the cozy texture of this one!
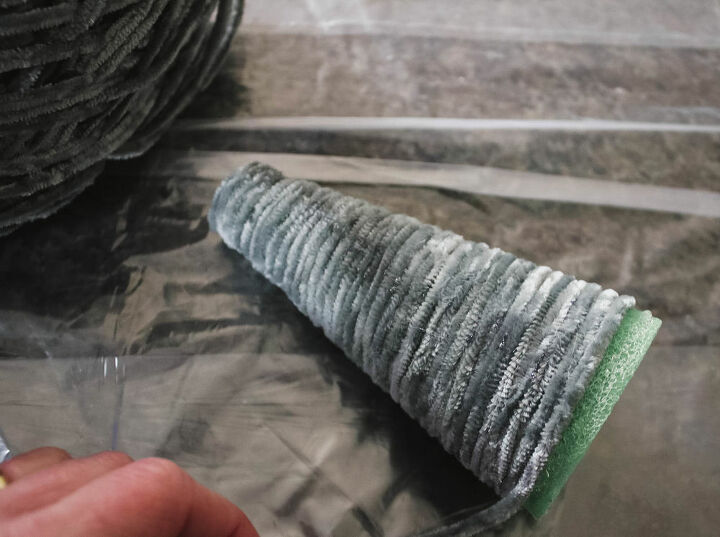
The small tree took 5 minutes to complete. I only used a drop of glue on the front and then the back as I wrapped the thin yarn around the tree.** Be light handed so the glue doesn't leak through and make the yarn shiny.**

I love how they came out! I made a little vignette with mine using an old silver tray then added a few pine cones and some greens I cut from my back yard and finished it with a string of fairy lights. You can see some more pictures here of my home decorating for the holidays.These would also make a unique hostess gift to bring to holiday parties this season.HAPPY HOLIDAYS! JENNIFER


Comments
Join the conversation
-
What a great idea! I will be doing this. Easy fun and the possibilities endless. Thank you
-
I made these and they came out wonderful!! Instead of hot glue, I used spray adhesive - all three trees done in 20 minutes and they look great!


Frequently asked questions
Have a question about this project?
hello! If you start at the top how are you covering the flattened part of your foam cone working your way down? Are you coiling? Thanks so much! Kathy