


Rustic Layered Paint Pantry
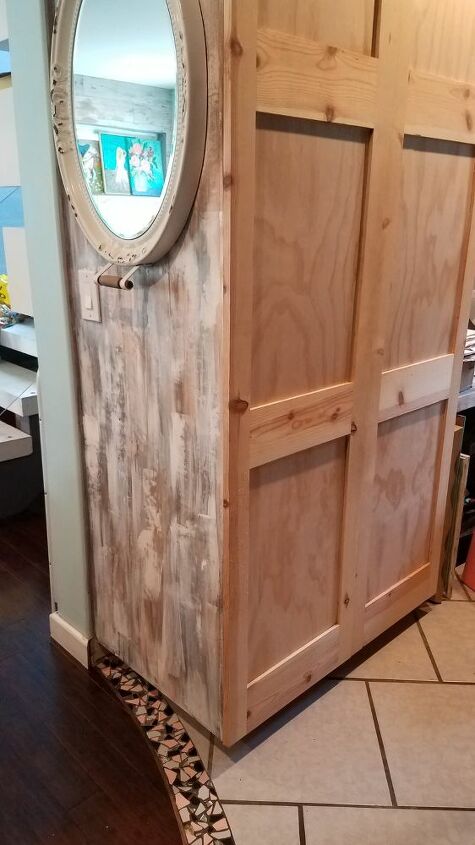
After living in my house for almost 10 years, I finally decided what I wanted to do with an empty space off to the side of my kitchen. I decided to build a combo pantry desk area to serve as extra pantry space and a work space. I custom built everything and wanted a unique finish that would coordinate with, but was different than my other kitchen cabinets. I decided to experiment with a mix of stain and paint for a layered rustic look!

I will be showing you how I achieved this finish on the doors since they weren't even built yet when I applied the finish to the cabinet sides and desk portion. I tend to get ahead of myself with projects sometimes lol!
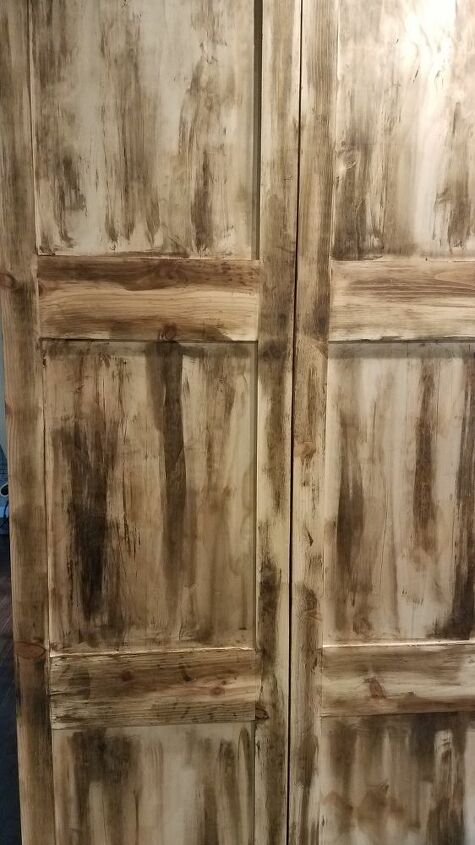
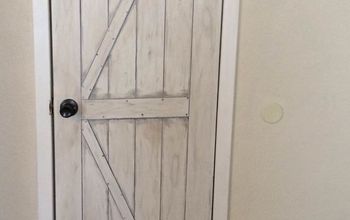
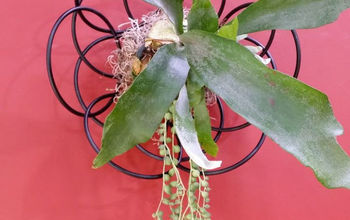
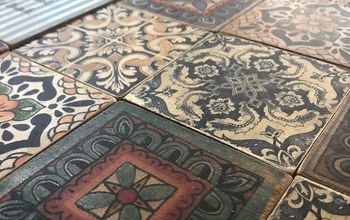
Here is a close up of the finish I will try to recreate on the doors!
The great part about this technique is that you can use stains and paint colors that tie in to your particular space. You can also play with and distress it as much or as little as you like.
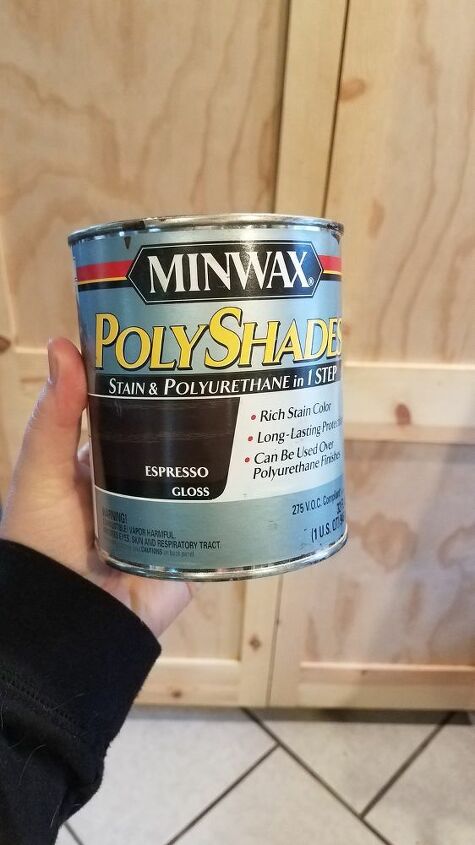
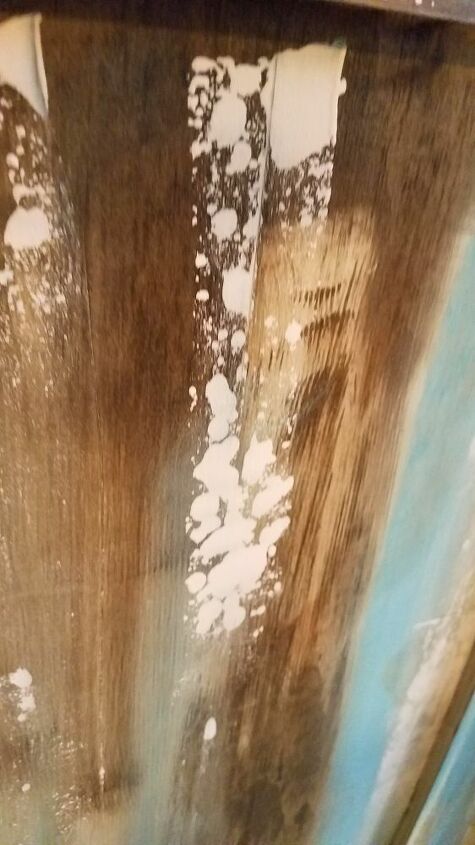
My first step was to apply a dark stain in a streaky and random pattern to leave a lot of the natural wood tone still exposed.
This is definitely the ugly and scary phase!! Be sure to use gloves and a mask to help with the fumes. I also opened all my windows and had a fan going to help circulate the air. I used a small terry cloth towel to apply the stain in streaks going with the direction of the wood grain as much as possible.
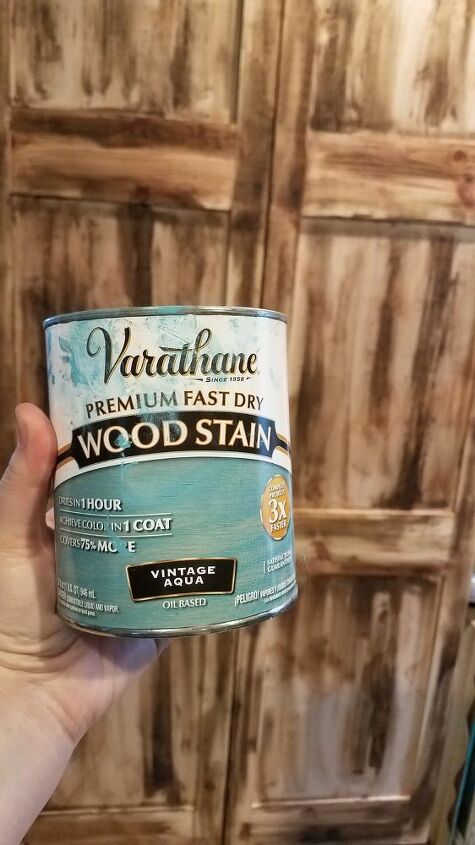
Next I used an aqua wood stain. I have a lot of aqua and light blue accents in my kitchen and home so I definitely wanted that to be one of the colors that popped through.

I used the aqua both over the dark in some areas and on some of the natural wood while still leaving some areas completely bare.

You can add other stains if you'd like at this point but these were the only two I used. My next step was paint so I allowed the stain to dry for about half hour or so.
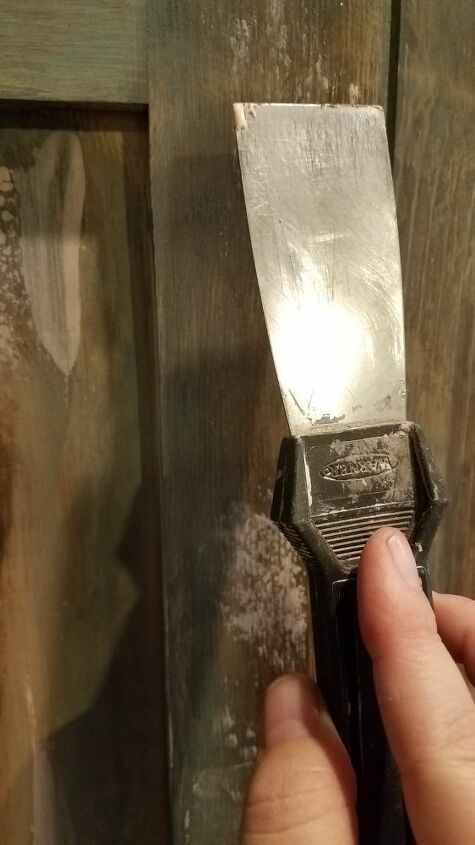
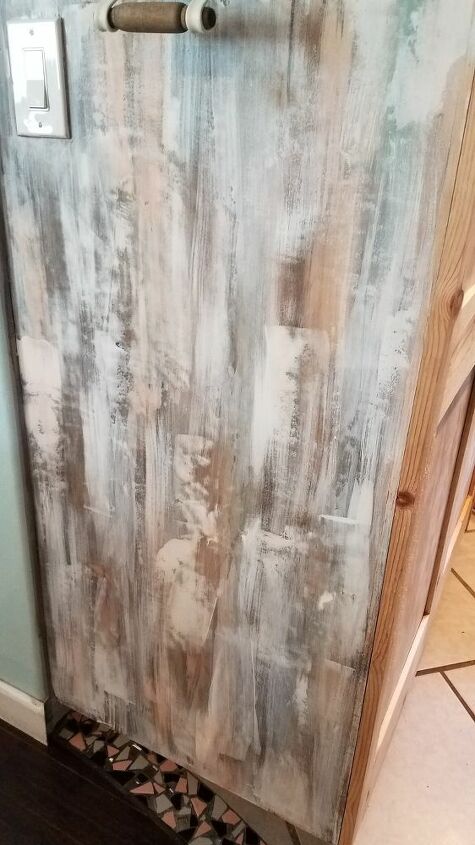
Next I used white Rustolium Chalk Paint. I love using a putty knife to apply paint because it gives you a lot of fun and distressed texture. Depending on the angle and pressure you use you can achieve several different looks. I like to lightly drag it in the direction of the wood grain. You can also use the putty knife to scrape back over to remove the paint in certain areas for a distressed look. Have fun with this part - it's only paint!
Here's a close up of an area that I used the putty knife on. I also used a dry brush technique as well.
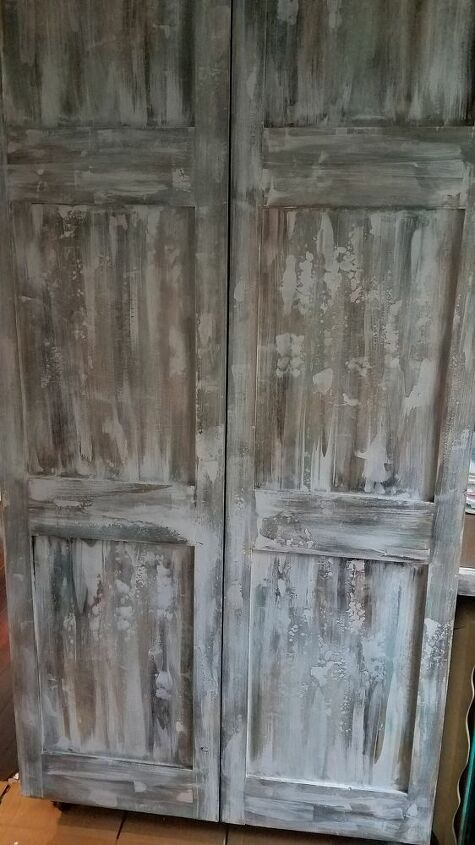
I added in two more paint colors in smaller amounts. I used a light coral and a light teal. Once everything was completely dry, I used a sanding block and an orbital sander to distress the doors. Once your finished I would recommend sealing the entire surface with a matte or satin polyurethane depending on your preference.
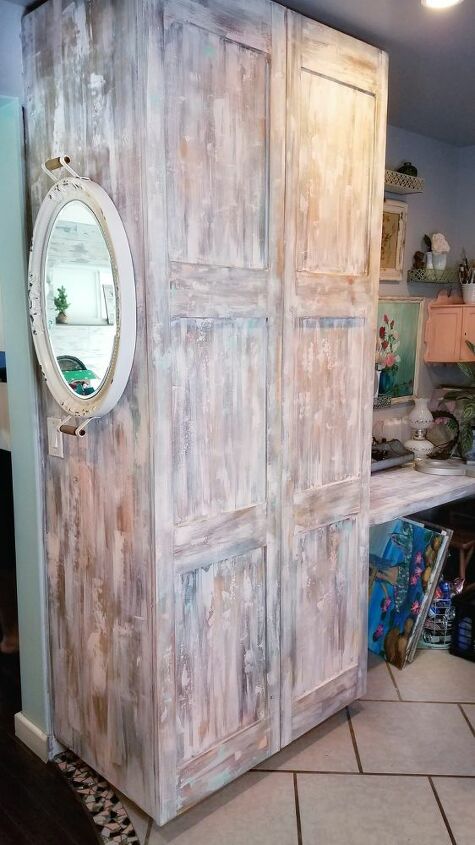
All done!! With a finish like this, you can always easily change it up in the future if you get tired of it. You could dry brush white or another color over the entire thing for a more muted look as well. If you love this and want to see more projects please follow me on Instagram!
Resources for this project:
See all materials


Comments
Join the conversation
-
It's beyond rustic. Well done.
-
I love it with just the stain and I love it with the paint ...so many possibilities....looks great!


Frequently asked questions
Have a question about this project?
How is the best way to chalk paint a metal cabinet for kitchen?
Looks like you Took your paint brush up then down with white paint then bits of blue...rustic?? How??