


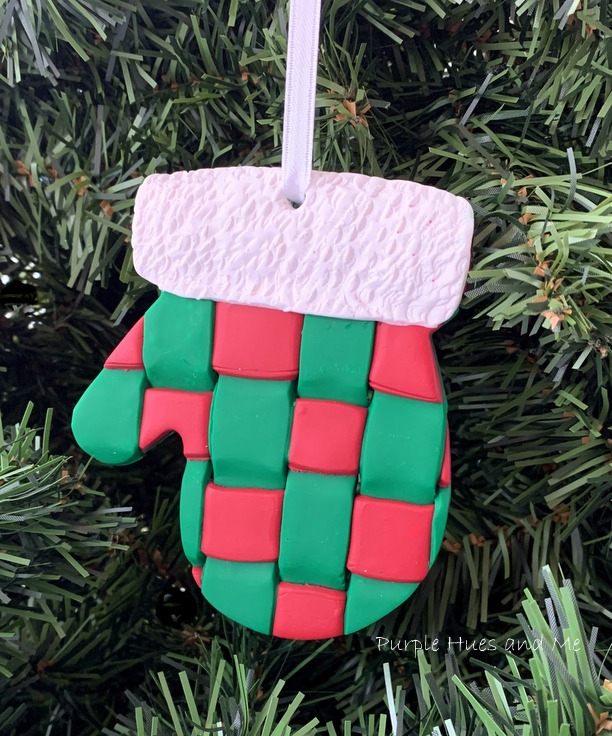
Woven Clay Check Mitten Ornament
I love making handcrafted ornaments for the holidays! And you're going to love this handmade woven clay check mitten ornament tutorial I'm sharing with you! I got the idea by combining the woven pie crust technique using strips of colorful clay and a cookie cutter to make this awesome looking ornament!
And the best part, you can use colorful clay to make just about any design including the trendy buffalo check pattern!
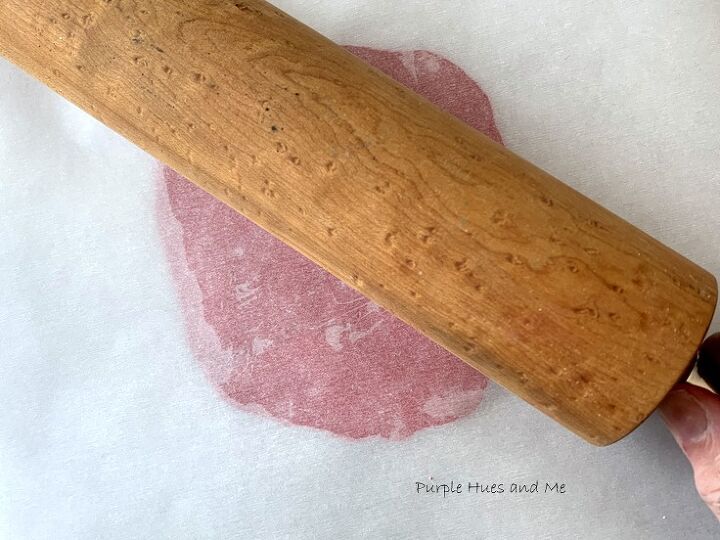
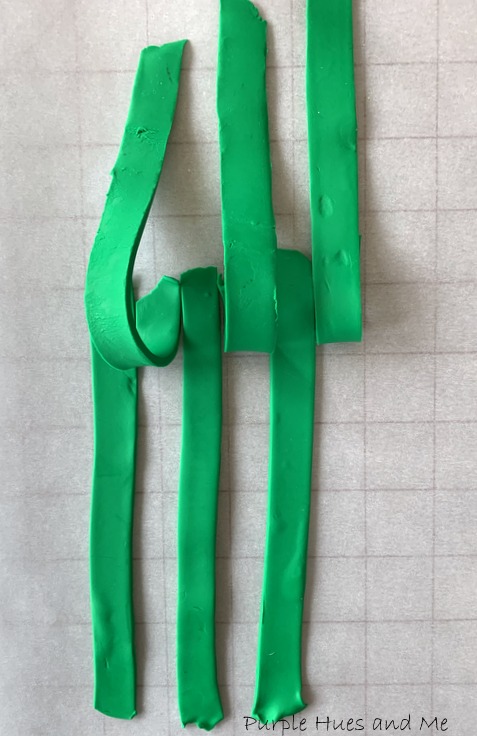
Let's begin by laying a sheet of parchment paper on your work surface and knead the clay to get it soft. Do each color separately since the color clay bleeds and also use separate parchment paper, too. Lay another sheet of parchment paper on top and roll out the clay using a rolling pin into the largest piece possible - at least six inches high.

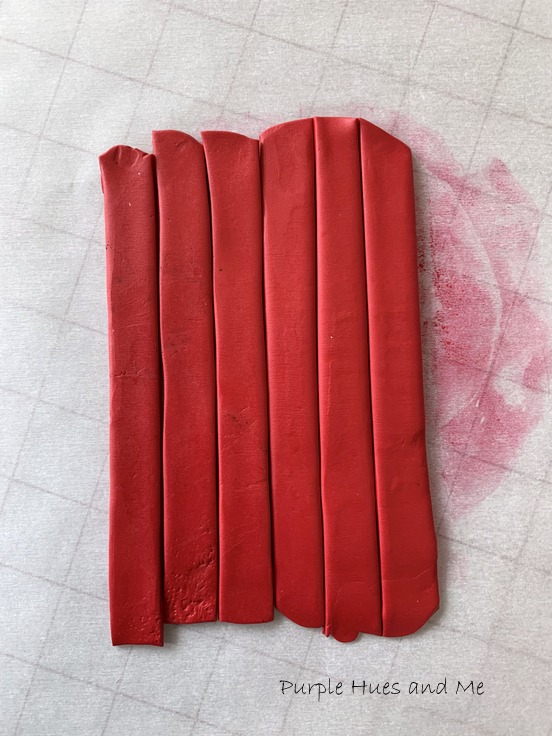
Using a pizza cutter, begin cutting 1/2" strips. I used a plastic strip from packing material to keep the lines even since I can't cut straight.
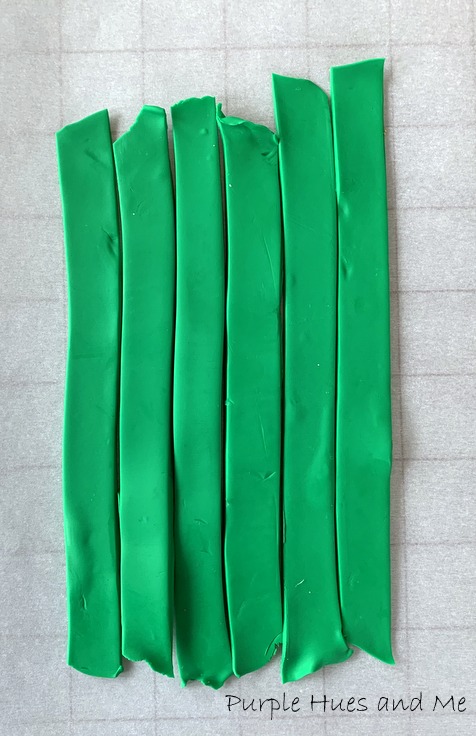
You can only get so many strips from 1.7 ounces of clay - six to be exact, no matter how hard I tried to get one more for seven. Then group the same color strips together and it should be large enough to accommodate the mitten cookie cutter.
To weave the strips:
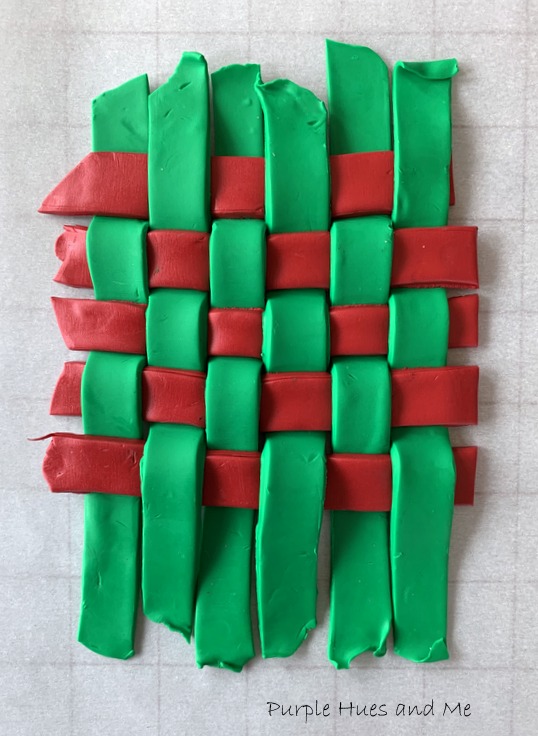
Starting with the green strips group, lift every other strip and fold it gently back.
Then place a strip of red horizontal across the green flat strips.
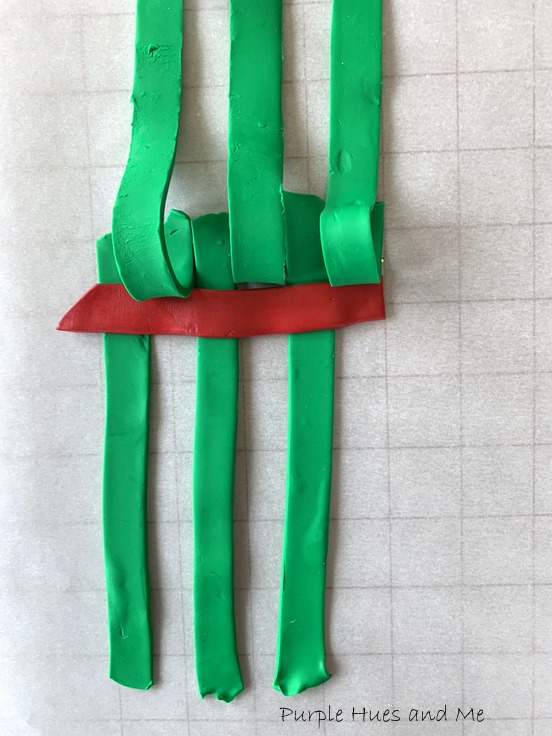
And bring the folded strips back down.
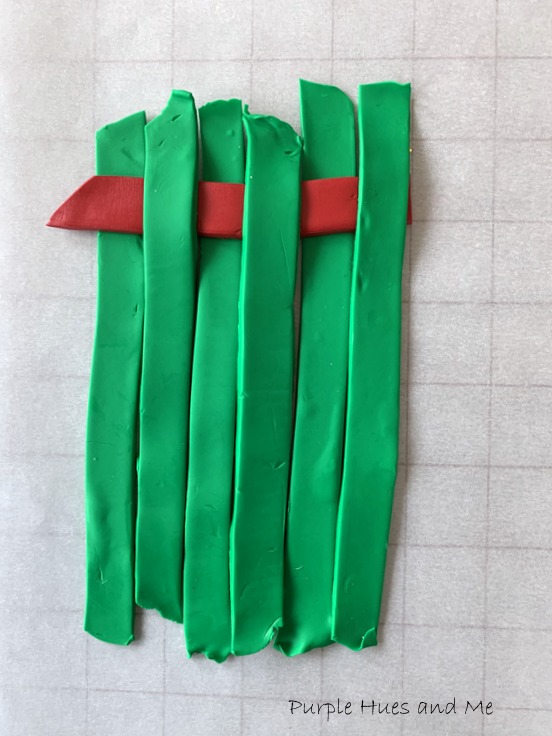
Do the same thing for the next row, alternating strips, lifting every other strip and folding them gently back, and then placing a strip down over the flat strips. Continue following the same steps for each row folding the strips back, repeating the pattern of laying a strip down horizontal . . .
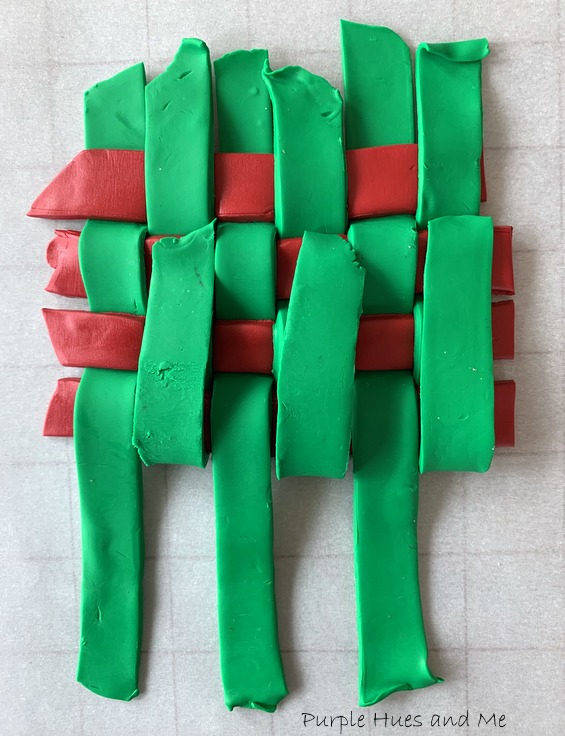
until all the strips are woven together.
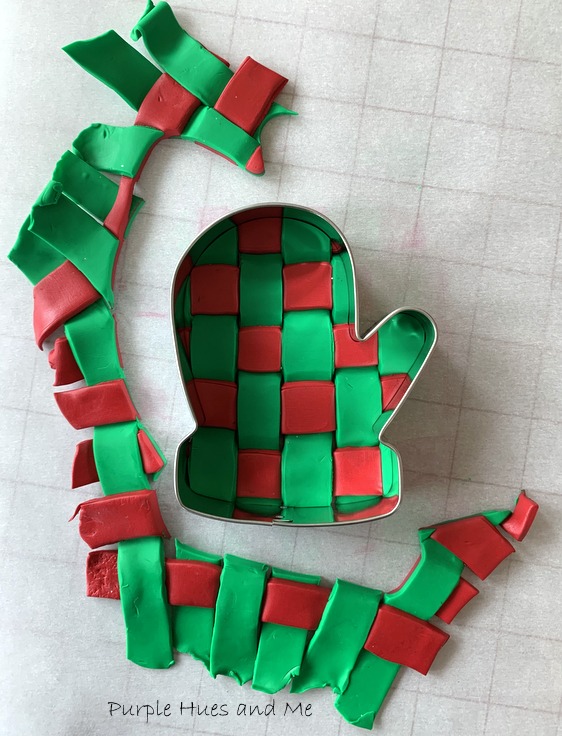
Then lay parchment paper on top and gently roll the strips to make the weave tighter. Next, place the mitten cookie cutter down on the woven clay and cut out the mitten . . .

removing the excess clay from around the cookie cutter.
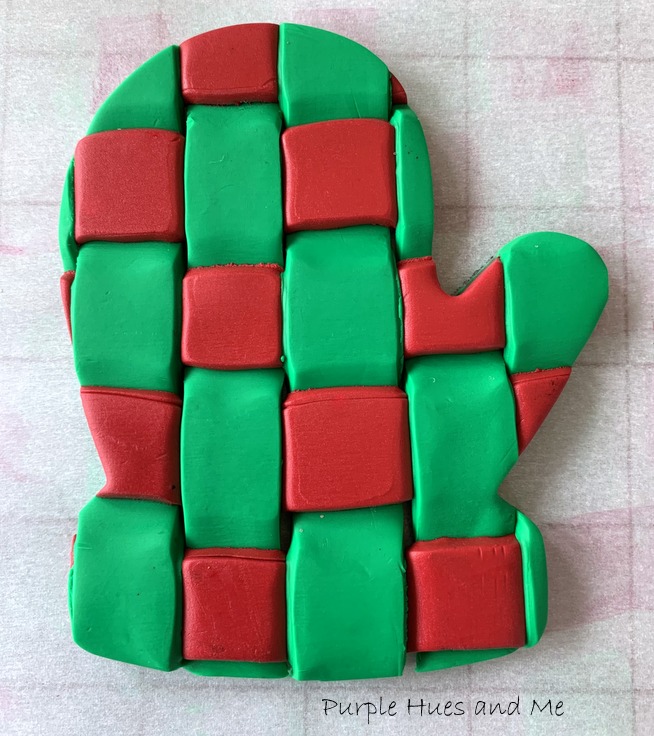
The check ornament is really taking shape!
Next, roll out a small section of white clay and use just the cuff portion of the cookie cutter to cut out and place on the bottom of the clay mitten. Then press firmly down to seal both pieces together.
Use the flat end of a skewer stick to fluff up the white clay to mimic a fur cuff.
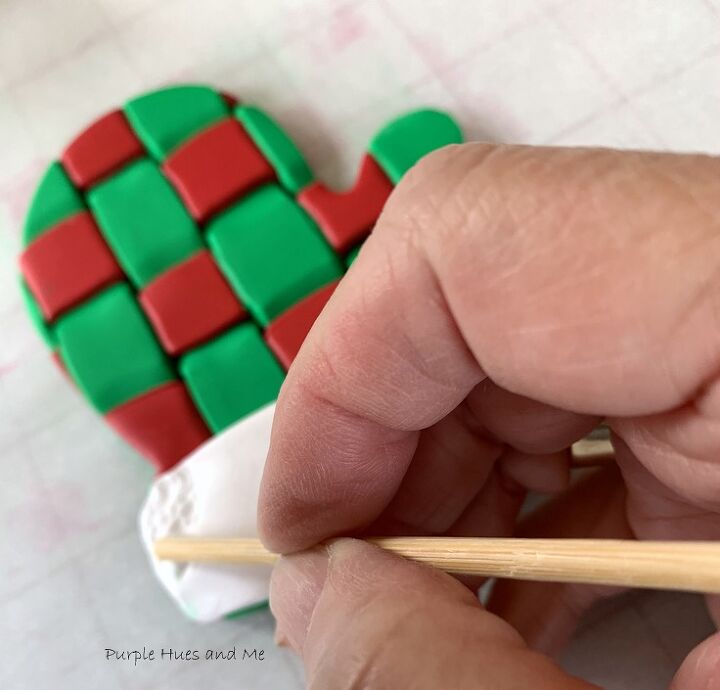
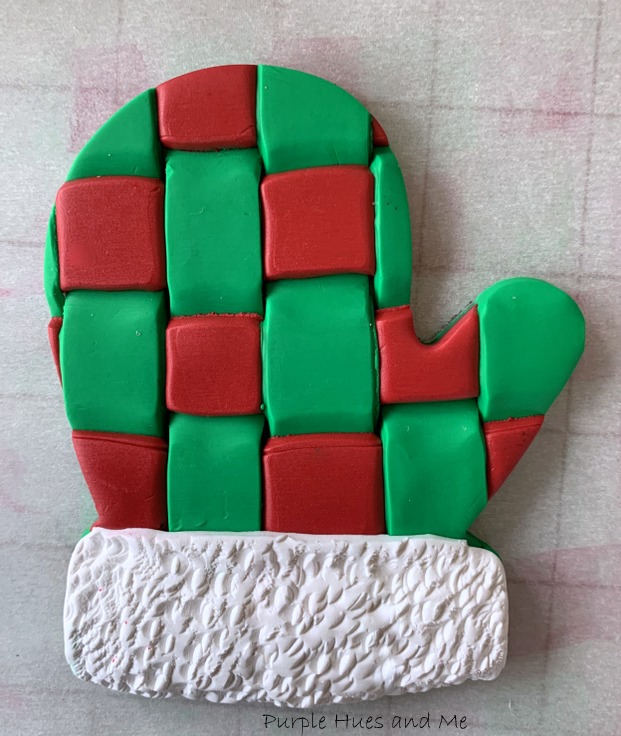
Then use the skewer stick to make a hole in the bottom center for hanging. Bake in a 275 degree oven for 30 minutes according to clay package. Then let cool.
Isn't it perfect for your Christmas tree or for adorning a present! So cool!
Resources for this project:
See all materials


Comments
Join the conversation
-
That is so cute !!!
-
Very cool idea and looks great!


Frequently asked questions
Have a question about this project?