


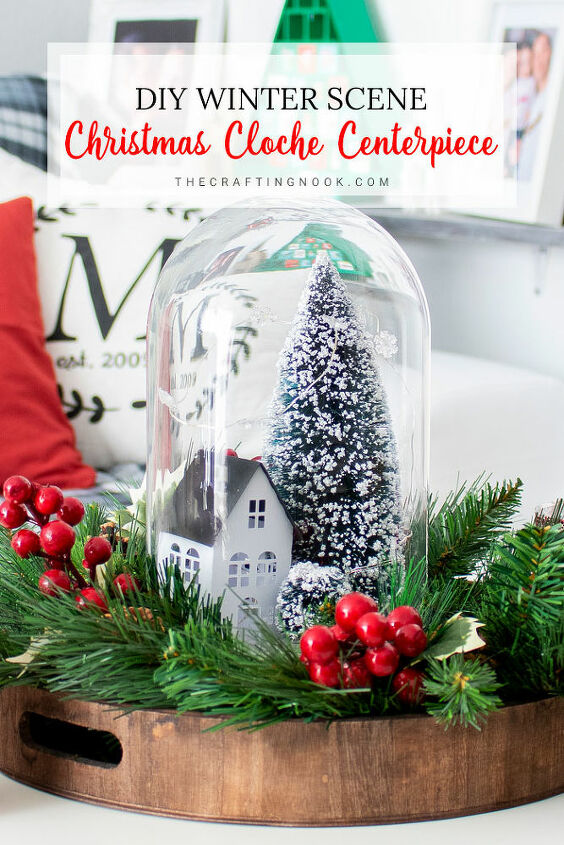
DIY Winter Scene Christmas Cloche Centerpiece
This super cute Winter Scene Christmas Cloche Centerpiece is A fun craft to make and it's also crazy easy to make, makes the perfect night craft and you can even involve kids in the activity.
There's no need to live in a snowy place to dream about it. Where I live doesn't snow but I still think that white Christmas are so magical. Probably a pain for those who have to deal with all the snow but I think it's still magical.
Creating this cute Winter Scene is so easy and so magical. I turned it into a centerpiece to decorate my coffee table. You might even have everything you need among all your Christmas decorations.
Get ready to get you hands dirty. Don't you just love getting glue in your hands and let it dry so you can peel it off LOL. I still do and I'm a mom now LOL.
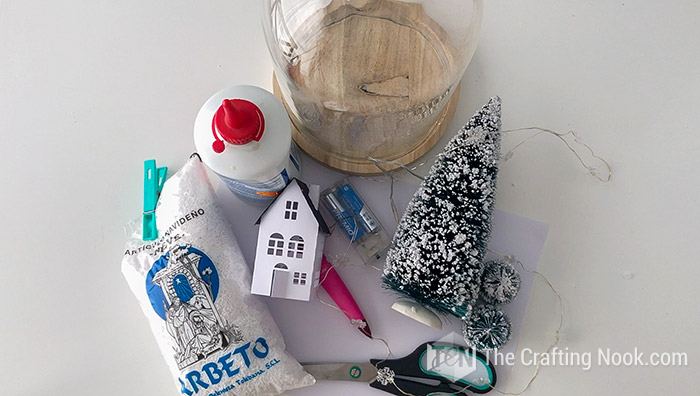
So this is what you will need to create this cute Winter Scene Christmas Cloche Centerpiece + a wooden tray and some greenery.
If you like my paper house, you can download it here.
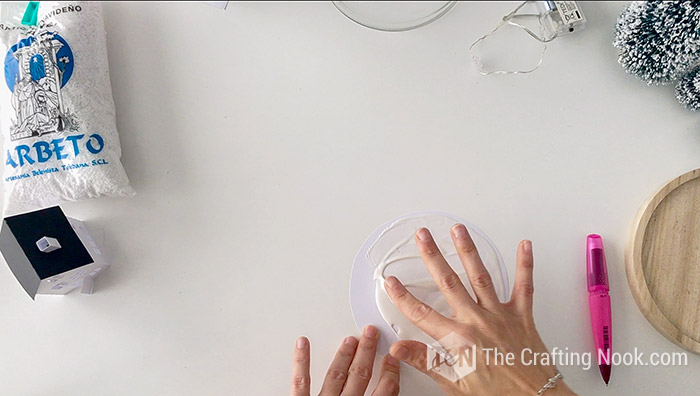
The first thing is creating a cardstock circle slightly smaller than you dome. Then spread some faux snow and let it dry.
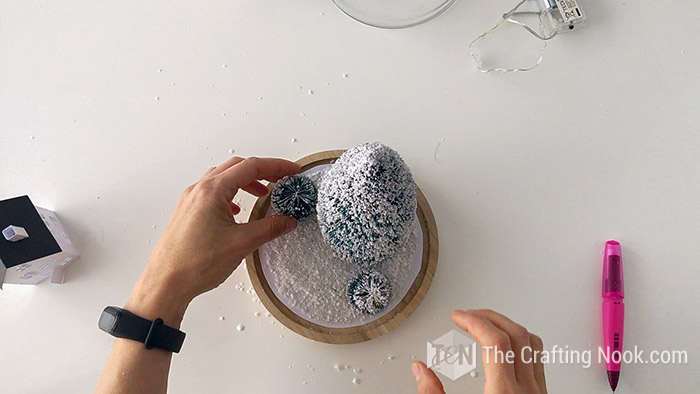
Then create your scene using bottle brush trees and cute houses. Depending on the size you might be able to add more or less elements.
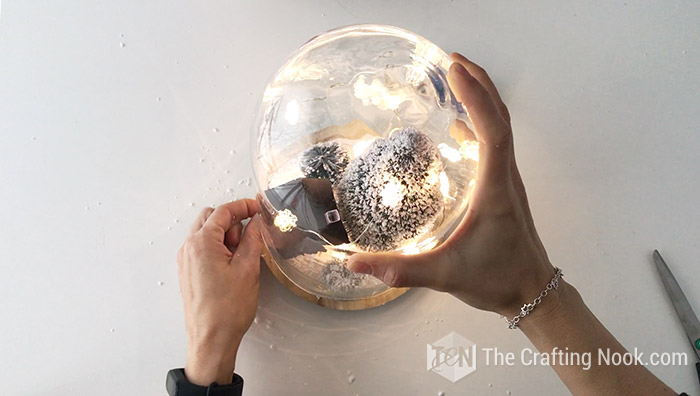
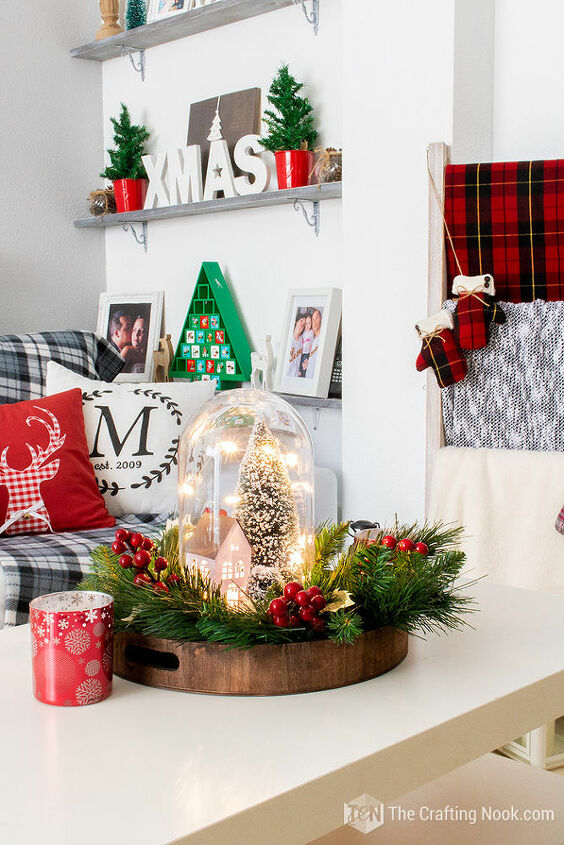
When you are happy with your scene, just add your metallic string lights and put back your dome. The put your greenery around the center of your tray leaving an empty space for your dome. Raise it if needed with wood blocks or books. You can also decorate with berry stems or your favorite details.
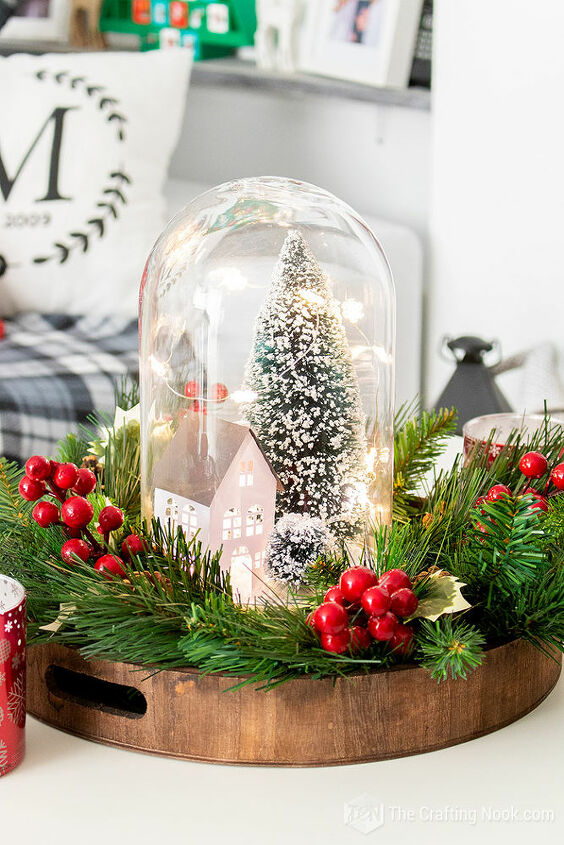
Turn the lights on and voila! You get a pretty Winter Scene Christmas Cloche Centerpiece. My final touch was placing some candles on both sides of the tray.
That's it! Such a fun craft and so easy to make!
Hope you find this project inspiring!
If you want to read the full detailed post, jump over to the blog. You will also find a video tutorial for an easier step-by-step.
Resources for this project:
See all materials


Comments
Join the conversation
-
Why is it that lately most crafts are full of the instructions as well as photos each step of the way but when you go to print the entire pages, it only prints 2 and not the rest of the photos. This is happening more and more. I, like lots of other crafters, need to see the photo steps along with the instructions. Hometalk used to be able to print the craft in its entirety! Please bring this back. Thank you.
-
I did a similar scene using a large clear cake cover. The base is deep and open so I fill it with greenery and hide the battery pack. Then "snow" the scene of a church and children playing, etc. Very proud of it. (Dollar Tree decor.)


Frequently asked questions
Have a question about this project?
Where can you buy short length string lights.