


Two Sided Porch Ladder

We were given a bunk bed ladder by a neighbor who didn't want it anymore. Earlier, we used the bed frame to make a bench and the ladder was left over. We had another white bunk bed ladder, that left over from a past project and we decided to distress it and combine the two for a project. In this tutorial, I have interchanged photos of both ladders for illustrative purposes. You will see pictures of both of them in this project. The procedure was the same for both with the exception of the size of wood the letters were stenciled onto. For this, we had to accommodate for the space between the rungs as they were different sizes.
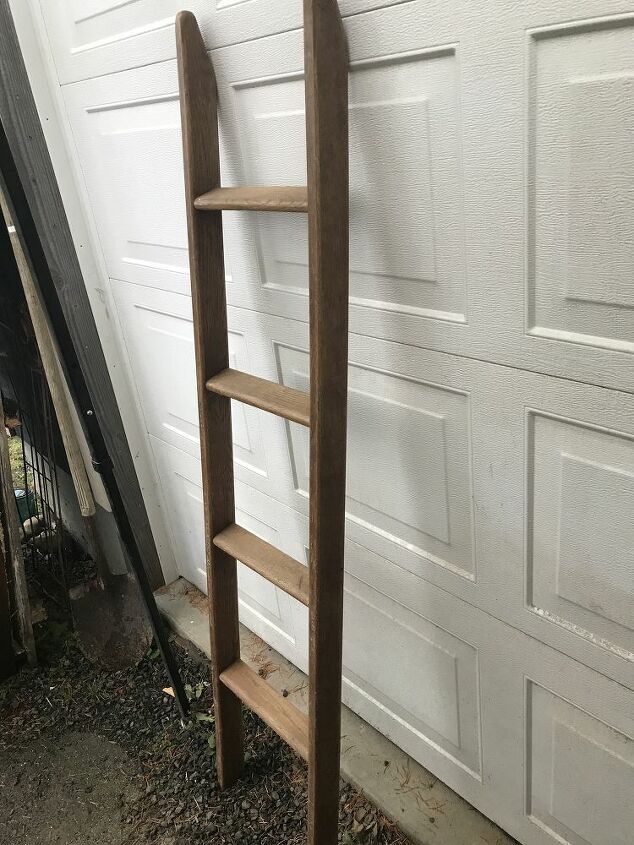
Here is one of the ladders.
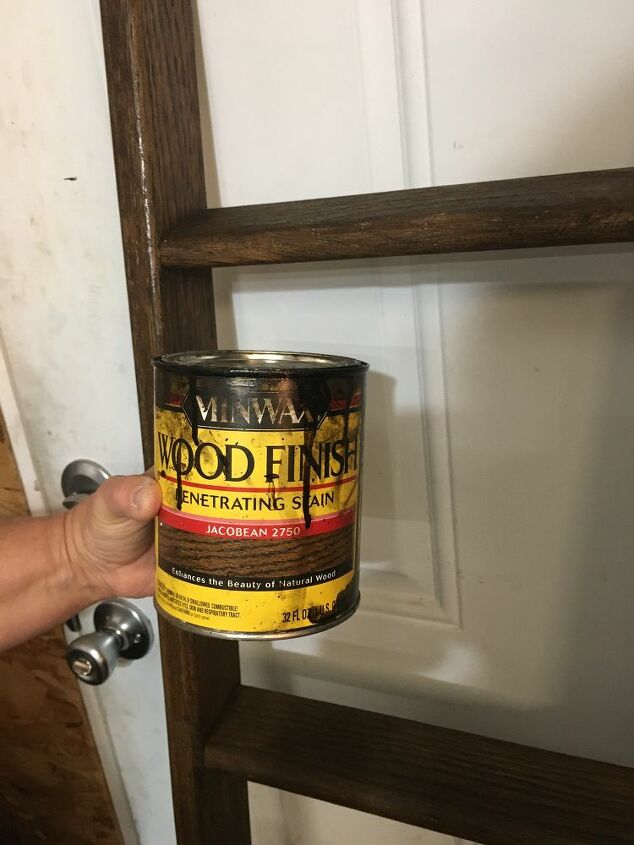
Is was already stained but needed freshening up. This is the stain we love to use! (MINWAX Wood Finish Penetrating Stain)

We didn’t get pictures of cutting, painting and sanding the wood that was to be used for the individual letters. Sorry, but we got excited and forgot to take those pictures! But, here is one after that process. We drilled holes in the hanging wood pieces and then took one and made a pilot hole on the rungs so they would hang straight. I sure hope this makes sense!
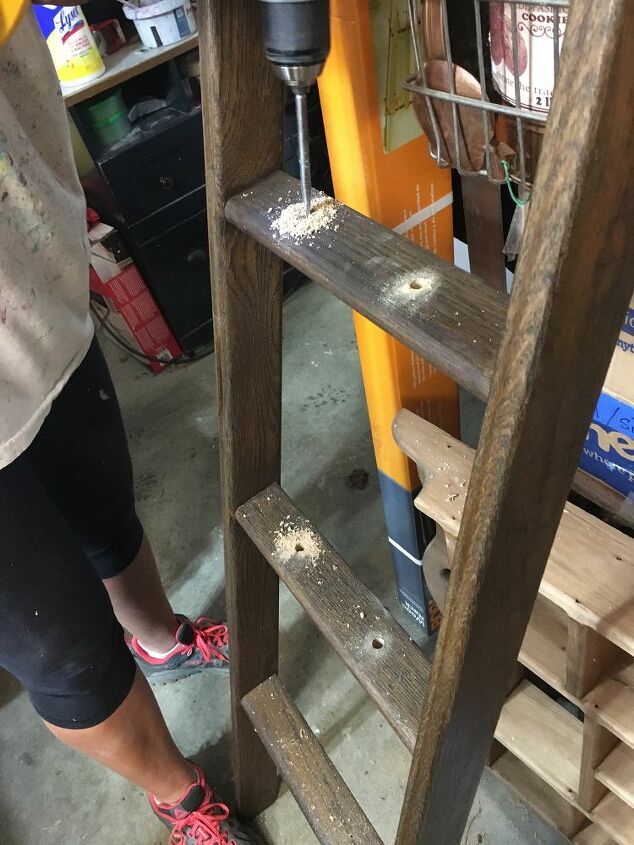
We then took a 1/2 inch drill bit and drilled the holes to accommodate the rope we would be using to hang the individual wood letters.
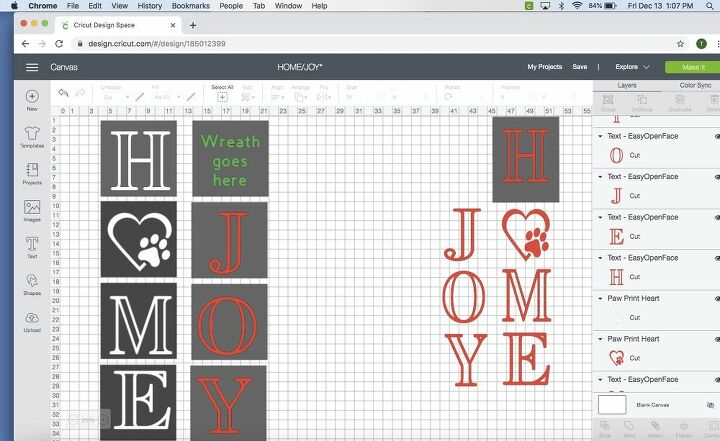
This is how we designed what we wanted to put on either side of he hanging boards. This was done with a Cricut machine. The HOME and JOY is duplicated for both ladders.
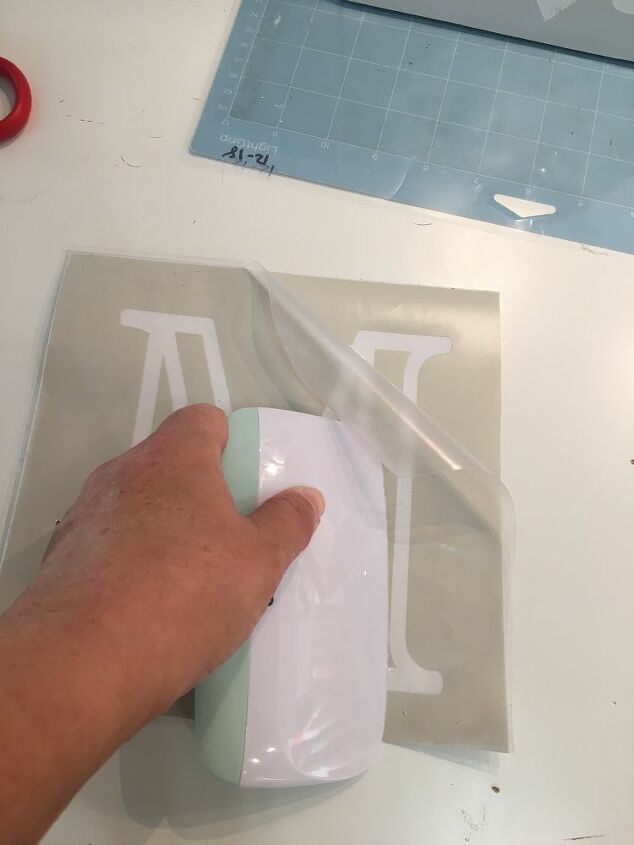
We adhered the vinyl to the boards.
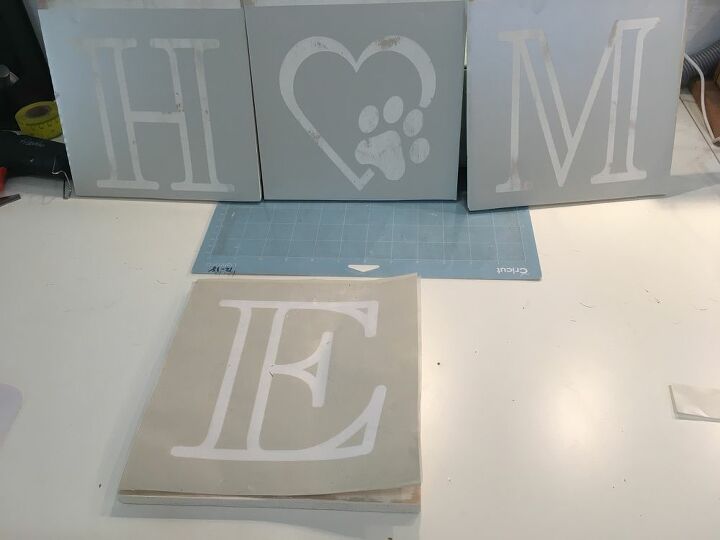
Here is the H - O - M - E vinyl stencil on one side of the boards. (I used whatever color of vinyl I had. In this case, it’s gray. On the other side, I used black.)
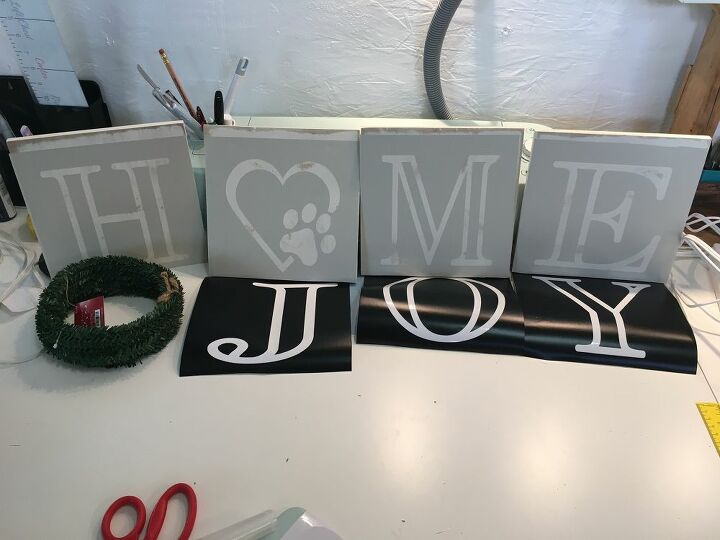
And JOY will go one the other side. Unfortunately, I didn’t get any pictures of us stenciling on the letters to each of the boards. Again, we were too excited!
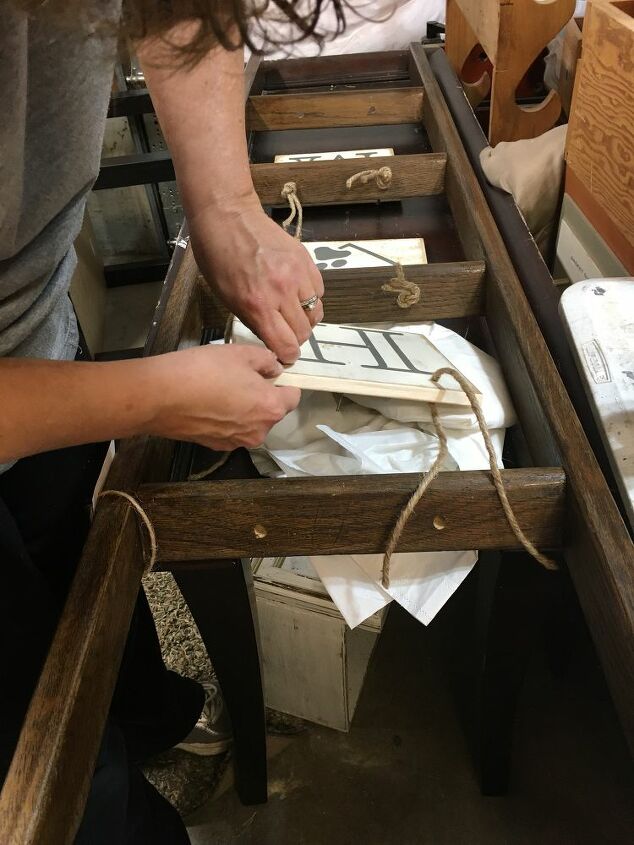
We put the rope through the holes on each side first. All pieces of rope were cut the same length ahead of time.
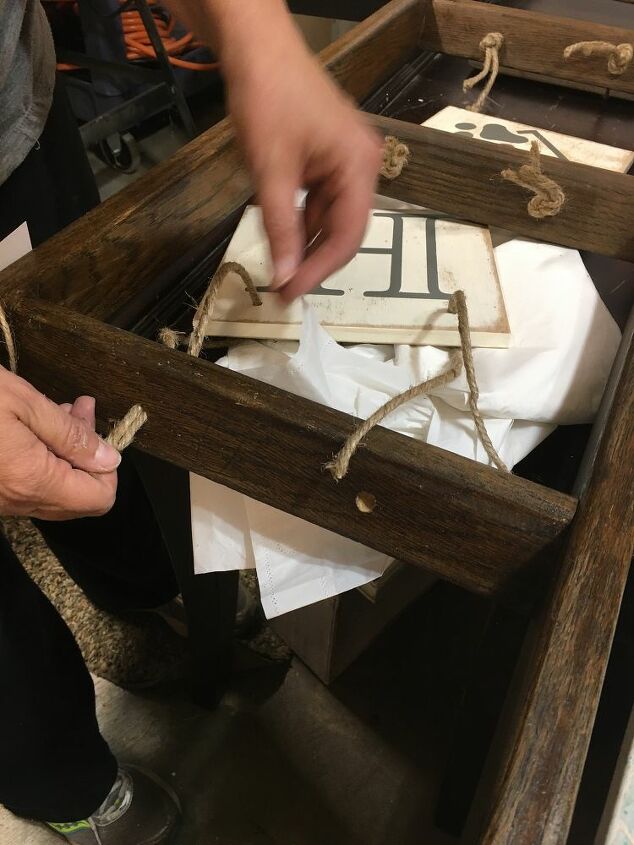
Then, we pulled the rope through the rung in the ladder. It was loosely knotted so it could be adjusted when we stood it up to see if the boards were level. ( This was scary but they all seemed to be pretty level). We were amazed. If you are consistent with how you tie them off I think this helps!
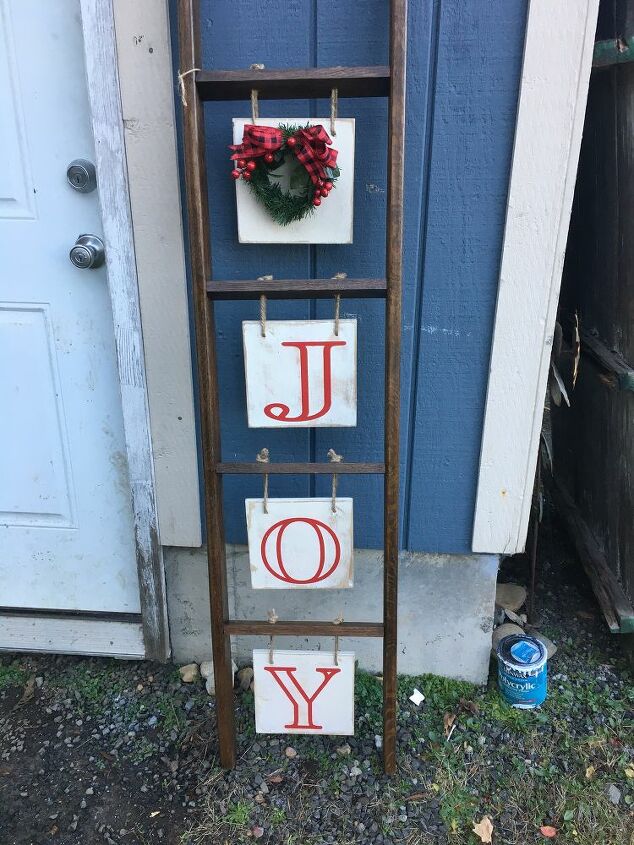
Here is JOY on one ladder.
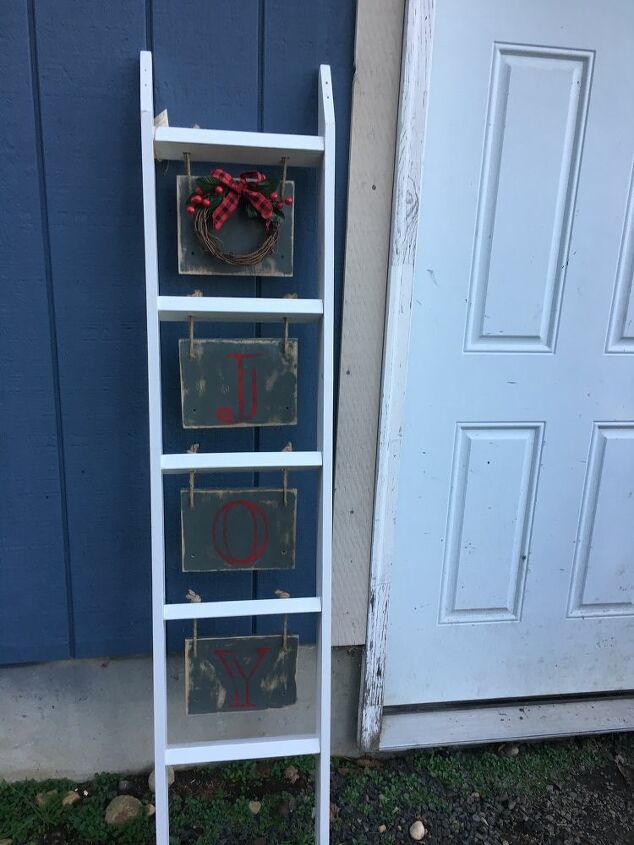
Here it is on the white ladder. For the opening in the top piece, we placed a removable wreath. That way, whoever bought them could change it out if they didn’t like a wreath and replace it with whatever they wanted.
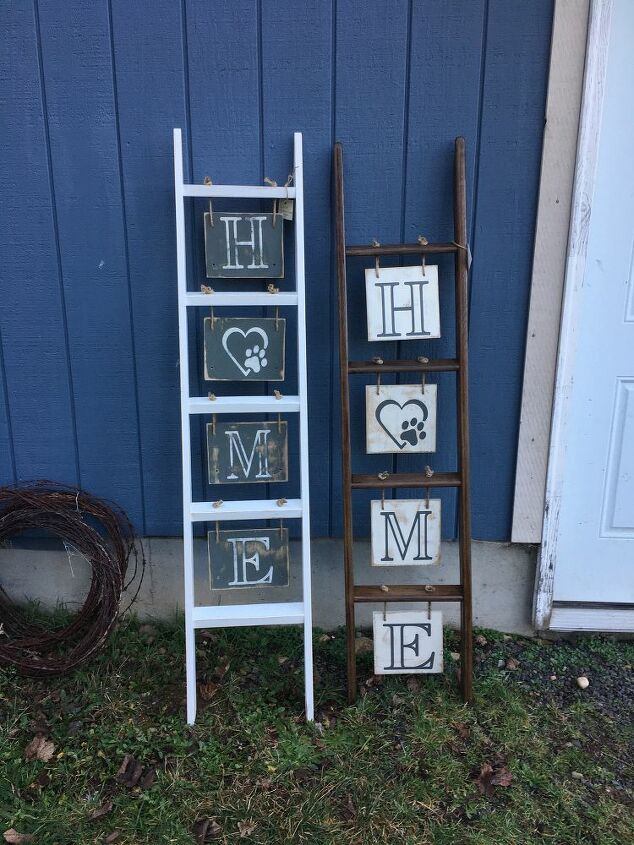
And the end result with HOME on both ladders. We think they turned out pretty darn cute. Hope you do too!
We did put an exterior polyacrylic sealer on everything as it was going to go outside.
Resources for this project:
See all materials


Comments
Join the conversation
-
Great idea !!! I love it and you guys did an awesome job on those !!! I love repurposing stuff to make new stuff .....
-
this is a great idea!


Frequently asked questions
Have a question about this project?
I live where it's windy. Did you anchor the ladders so they wouldn't fall ?
How much do you sell them for?