


DIY Photo Display Bulletin Board
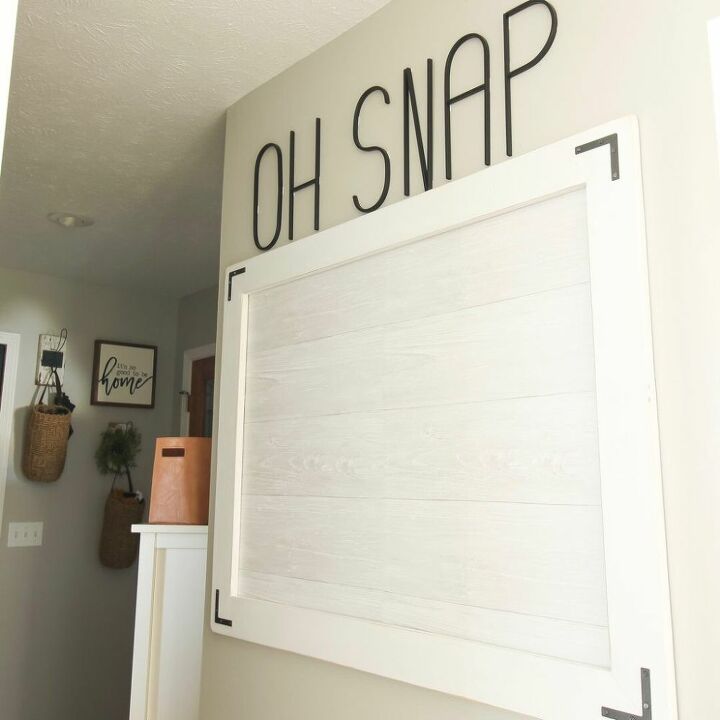
Like most these days, I am constantly snapping pictures of my family and friends with my cell phone. The problem is, how many of those photos do most of us actually print off and display? This DIY photo display bulletin board was my simple and budget friendly solution to getting the cell phone snaps off of my phone and onto the wall. Over the past year our family has had so much fun treating it as a " bulletin board" of sorts by mixing it up for the seasons.
The fun part about this project is that it is completely customizable to your home, your style and your needs. Many of the materials needed will depend on how you choose to design your frame. Try to use materials you have on hand to lower cost. Have fun and get creative!
If you're DIY handy, you can cut and assemble your own frame like I did. You could also use a large picture frame instead.
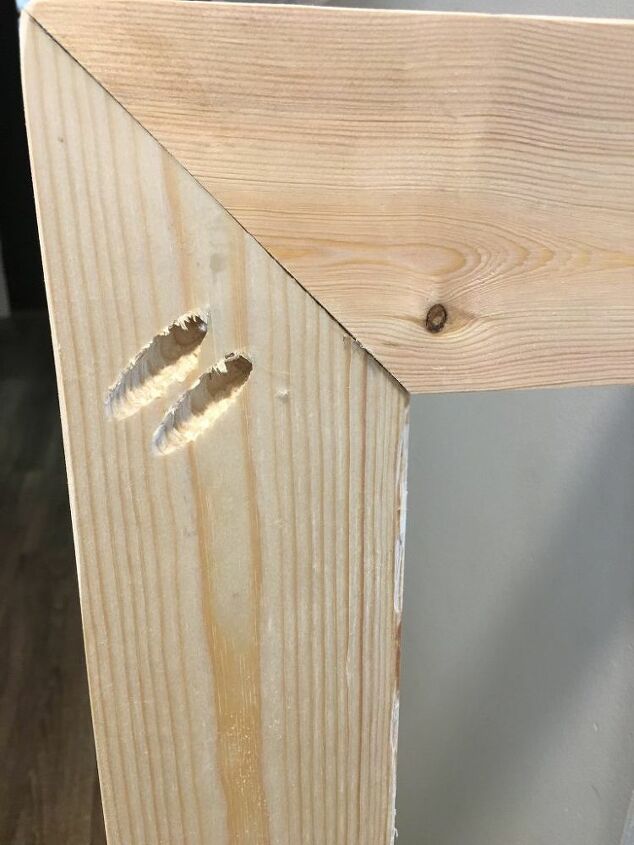
I wanted to cover as much surface area as possible on this wall so my frame measures just slightly under 4 feet wide x 3 feet tall. I made 45 degree miter cuts on each end using my miter saw, and I joined them together using my Kreg Jig (GREAT tool if you’re getting started in DIY) and screws. This type of joint is strong, and not totally necessary for a project like this. There’s no need to buy additional tools if you aren’t already equipped with this. You can use wood glue with hammer and nails, nail/staple gun, mending plates, etc….
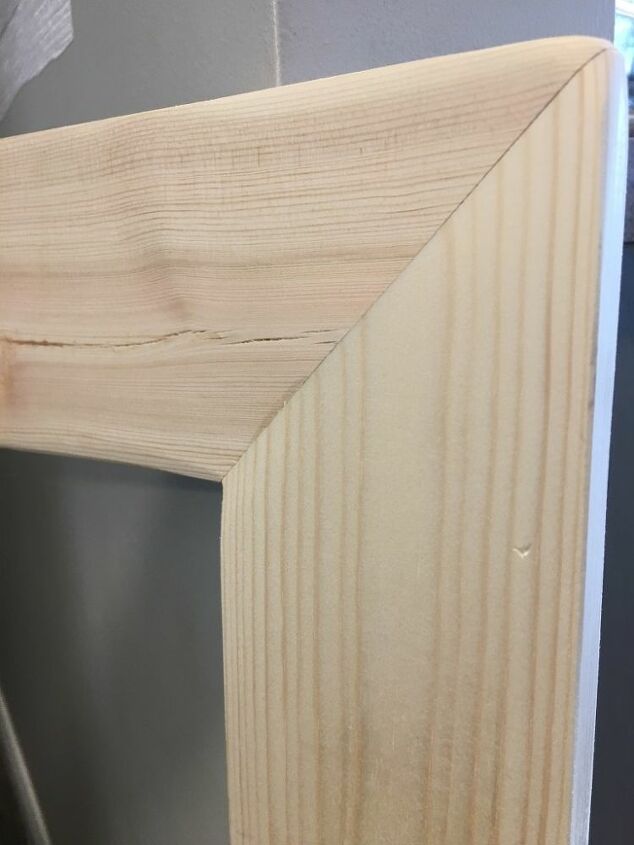
Assemble the frame and sand with a medium to fine grit sandpaper. This helps to smooth out any of the obvious imperfections in common board pine. Then, finish with your preferred paint or stain.
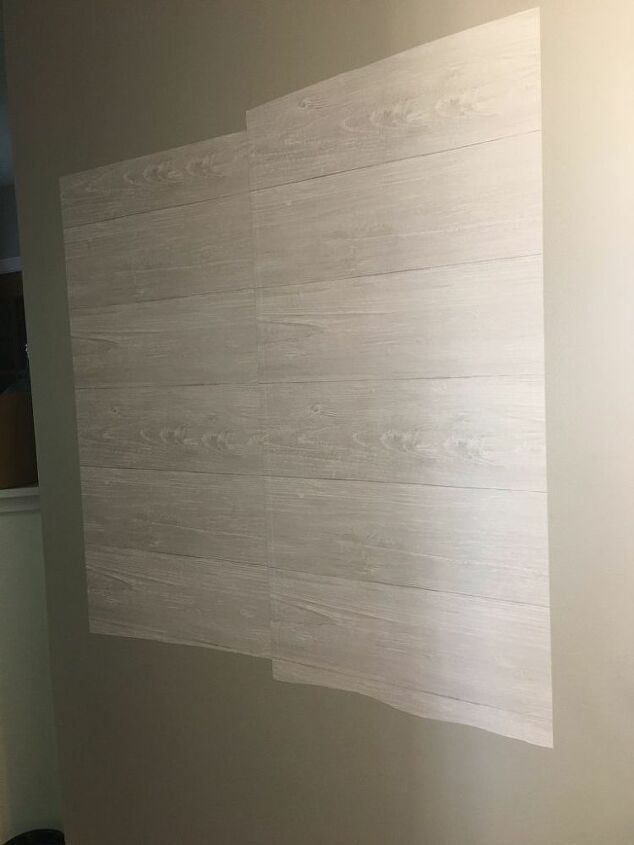
I had some Peel & Stick wallpaper leftover from a previous project so I stuck a couple of pieces up on the wall and called it good. Don’t worry about perfection here. If your frame is wide enough it will cover up any unevenness. You can also trim off any excess after the fact. Other fun options that you could easily swap out would be Kraft paper, wrapping paper or a roll of cork board.

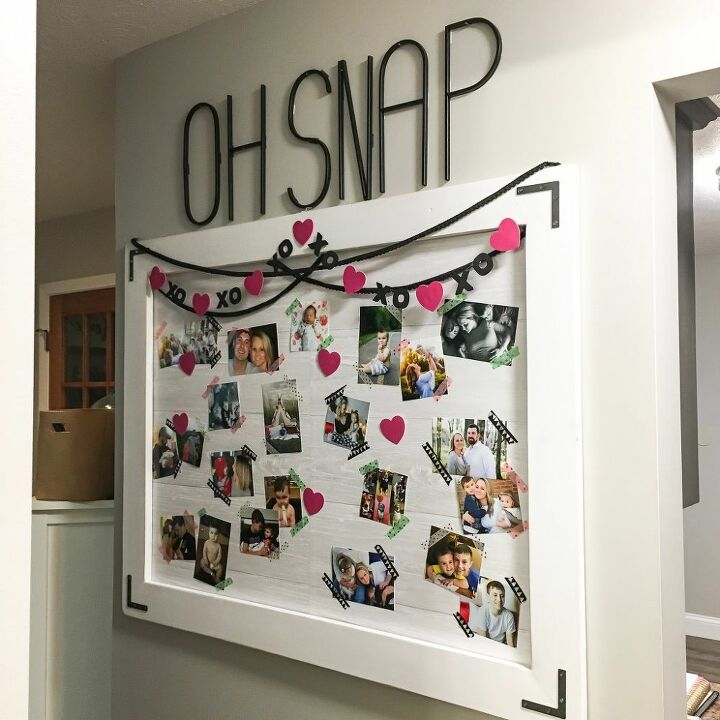
I hammered a couple of sawtooth hooks into the back of the frame, checked for level and hung on the wall. I wanted to be able to easily lift off the frame for if / when I choose to swap out backgrounds. The L-Brackets in the corners were spray painted black, and added simply for aesthetics. They help to give it a little character and help break up the white. (I bought mine in a 4-pack from Walmart for under $2)
These fun metal letters from Hobby Lobby were used for the OH SNAP phrase above. They were hung with 3M tape and I tapped a small tack nail into the wall for good measure.
Here's an example of how I dressed it up for Valentine's Day this year, but the options are endless. Hop over to the blog for more details, and other examples of how we've used it this year like this DIY Advent Calendar! https://themartinnest.com/diy-advent-calendar/
Resources for this project:
See all materials


Comments
Join the conversation
-
Love this! Gorgeous and so useful.
-
Love this so much! Thanks for sharing 💙💙


Frequently asked questions
Have a question about this project?