


DIY Farmhouse Mini Rolling Pins
It seems tiered trays are here to stay and decorating them can be SO darn fun, yet… sometimes a little challenging! I’ve been seeing a lot of different farmhouse mini rolling pins lately, with Rae Dunn knockoff lettering on them.

I have a Silhouette machine at home and I have an Amazon Prime membership, so I thought WHY not make my own DIY Farmhouse Mini Rolling Pins?! So, I ordered THESE mini rolling pins off of Amazon and I found a Rae Dunn knockoff font to use on my Silhouette machine (for less than $2!) and went to work.
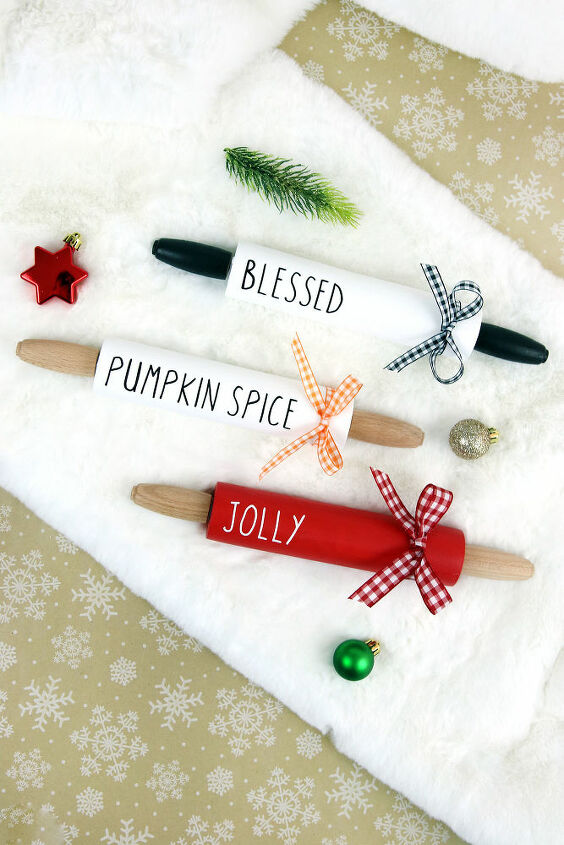
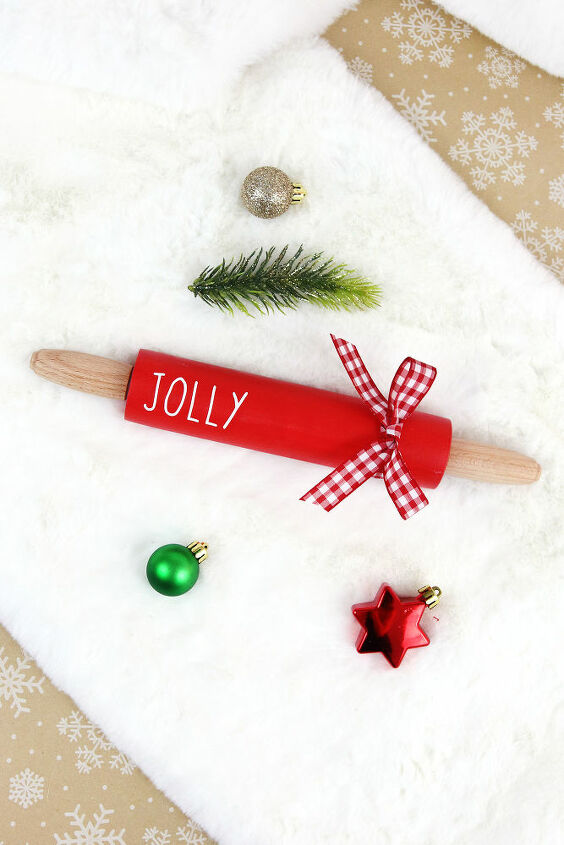
And, here is what I came up with!! I purchased a few rolling pins off of Amazon and I did a ‘blessed’, fall ‘pumpkin spice’ and a holiday ‘jolly’ rolling pin!
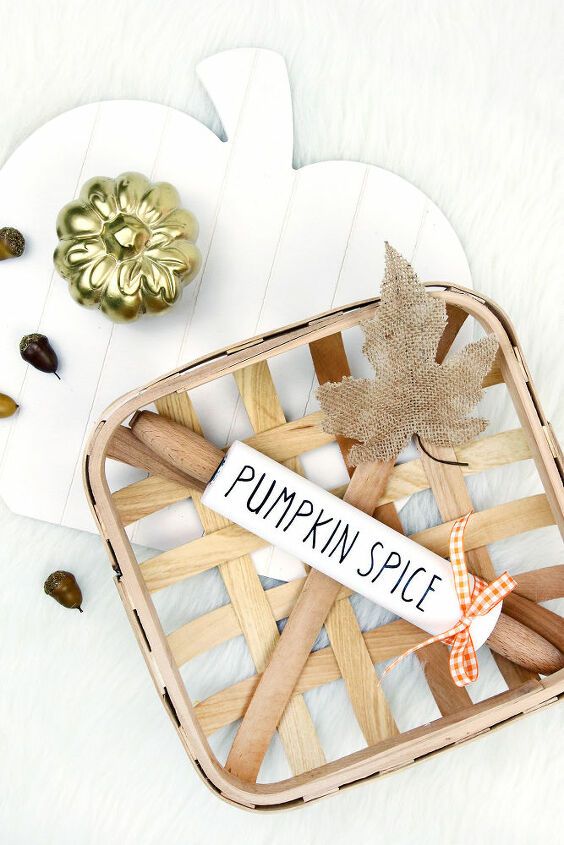
Here is the Pumpkin Spice rolling pin, I styled it with my chippy pumpkin placemat and tobacco basket. I added an orange and white gingham bow to it. I’m sad I’ll have to put this one away soon, since I’m going to be starting my Christmas decorating this week!
So, How Did I Make These Adorable DIY Farmhouse Mini Rolling Pins?
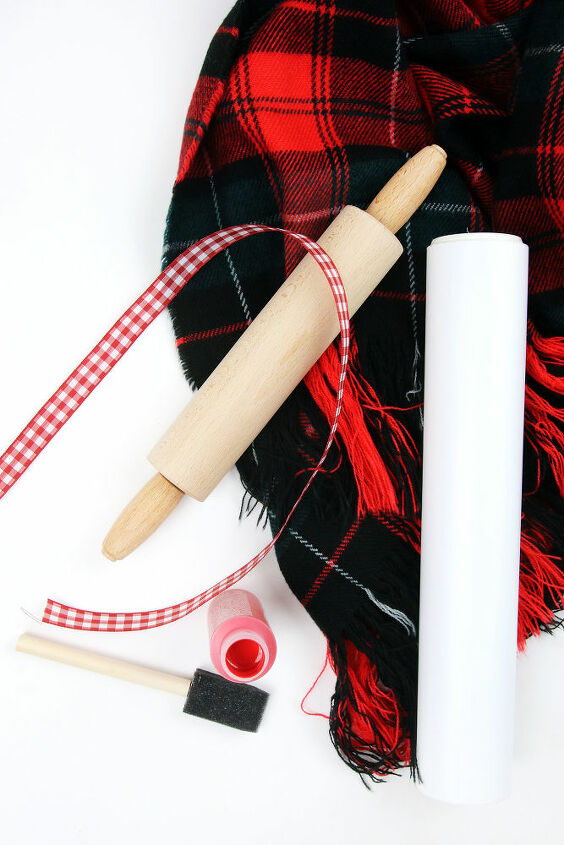
These mini rolling pins are so easy to decorate on your own at home. The finished rolling pins are sold on Etsy, but if you buy the mini rolling pins, paint, vinyl and ribbon… why not make your own?! If you don’t have a Silhouette machine, perhaps find a friend that has one or you may be able to buy the printed vinyl lettering to apply to your own rolling pins.
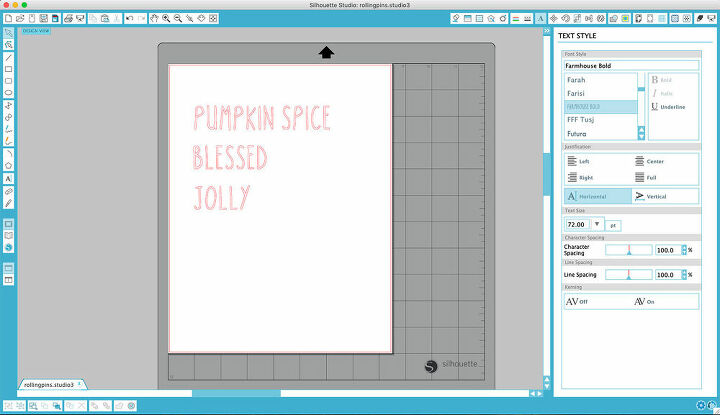
I’ve had a Silhouette machine for awhile now and it is so easy to print vinyl on it. I purchased the Farmhouse Bold font from the Silhouette Design Studio store for $1.00. I installed the font on my computer and then created the text with the correct measurements in Silhouette Studio.
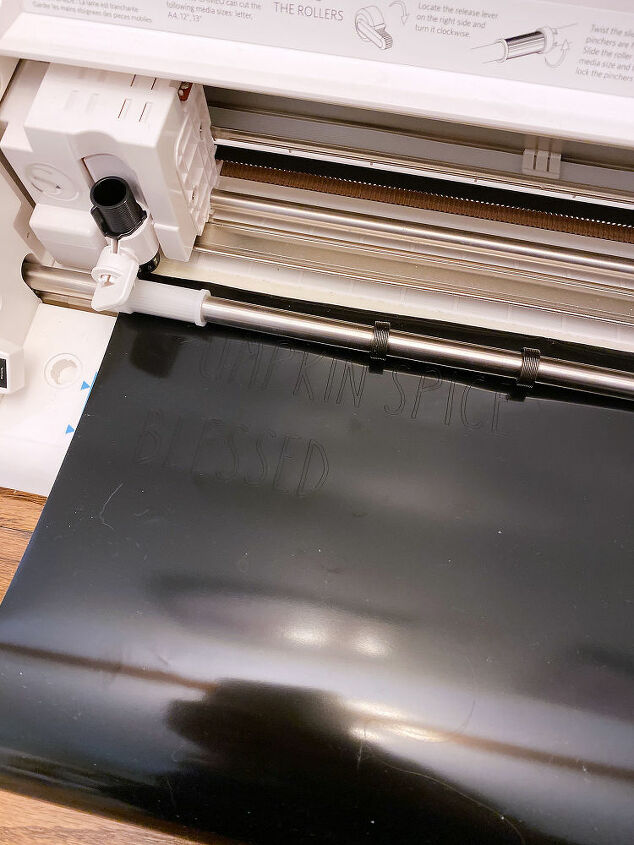
Once I tell my Silhouette I’m ready to print the vinyl, it gets to work.
Once the vinyl is printed, I cut around the letters and peel away the excess vinyl.
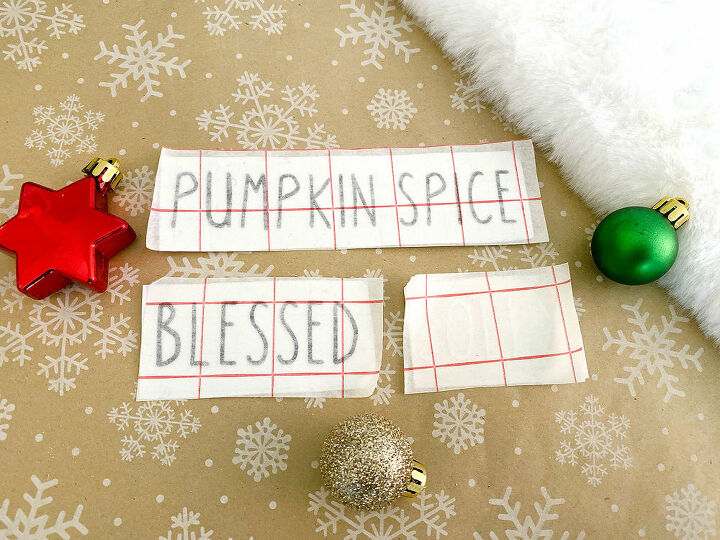
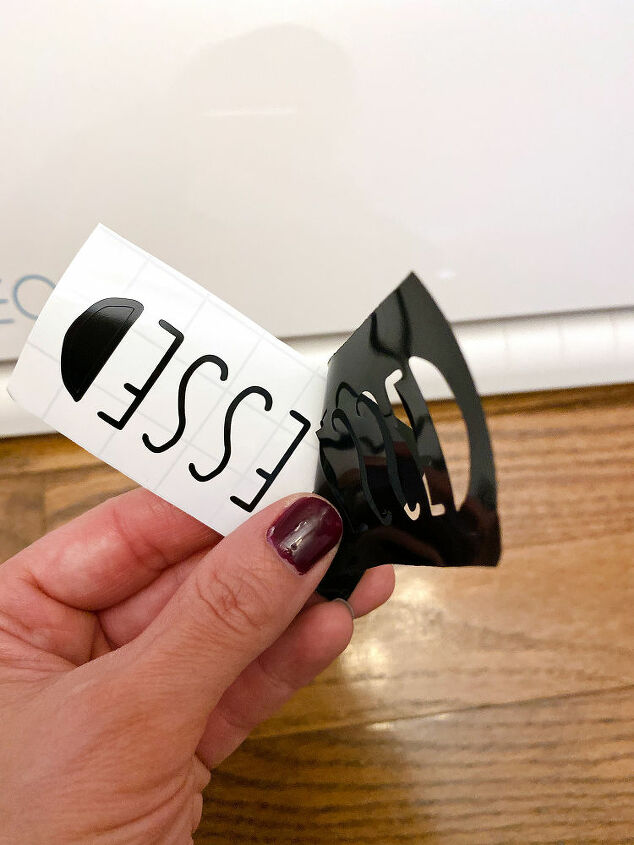
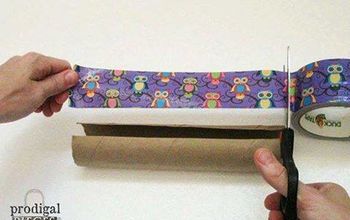
Then, you place ‘backing’ paper over the vinyl. After you peel away the negative space around the letters, it leaves behind the white sticky paper. You’ll place this backing paper over the vinyl letters and the sticky negative space around them. Then, take a coin and rub all over the backing paper, so that the vinyl letters ‘adhere’ to the backing.
Then, you’ll peel off the paper the vinyl letters were on, because now they’ll be stuck to the backing paper. The backing paper is also sticky, so this will help you when you go to adhere it to your finished piece (the rolling pin!).

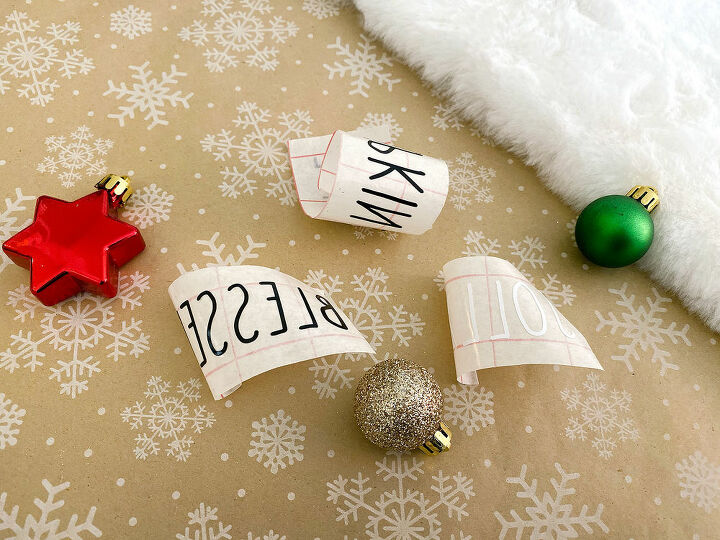
Take the backing paper with the vinyl letters on it and stick it onto your rolling pin in the correct spot. Then, take your coin (or whatever you’re using) and gently run it along the letters so that they adhere to the rolling pin. Then, gently pull the backing paper off and the letters will stay on the rolling pin. It’s that easy!
Then you’ll have your finished rolling pin with the vinyl letters on it. They do sell removable vinyl, but I used permanent vinyl on these rolling pins.
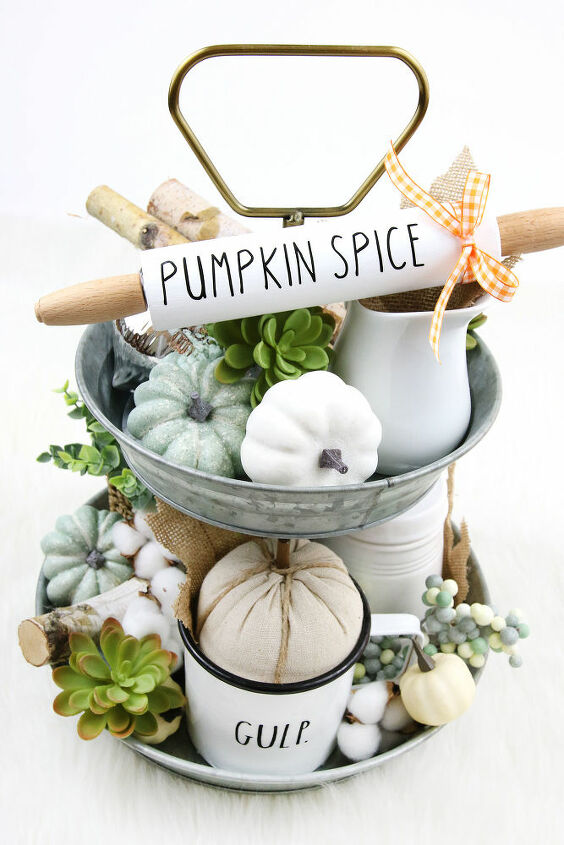
These mini vinyl rolling pins were so easy to make, that I’d love to make a Halloween one next year and a summer themed one! The possibilities are endless and there are a lot of great ideas for phrases on Etsy and Pinterest. I love how this Pumpkin Spice rolling pin looks on my tiered tray and maybe next year I’ll add some other pops of orange to tie in with the ribbon on it.
If you were to create one of these DIY Farmhouse Mini Rolling Pins, what would you put on it?


Comments
Join the conversation
-
Just adorable!
-
'Rolling in Dough' should get some laughs.


Frequently asked questions
Have a question about this project?
What kind of paint did you use?