


How to Make a Wooden Serving Tray From a Toy Block Wagon
No saw is required for this quick wooden serving tray tutorial. See how to repurpose a toy block wagon into an easy rustic tray with chalk paint.
Visit the blog for more DIY video tutorials.
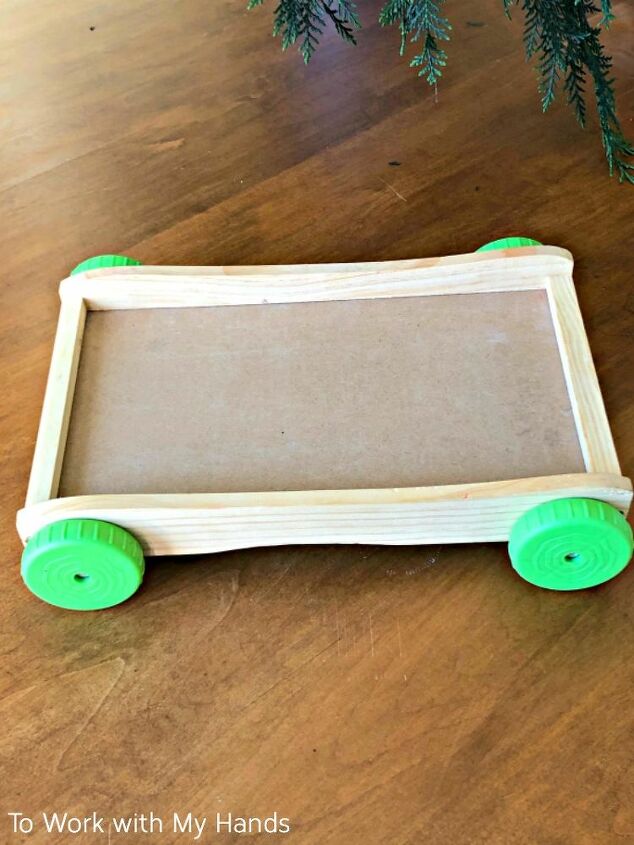
After I finished the DIY Wood Block Signs, I had this empty wagon to do something with.
I gave it a little consideration, then tossed it into the pile to re-donate to the thrift store.
I was in the midst of cleaning out my craft room, which was in a shameful state and had decided to be ruthless about it.
There’s simply too much stuff in there.
But then…
I kept getting questions about that leftover wagon and what I might do with it, and I couldn’t resist the challenge.
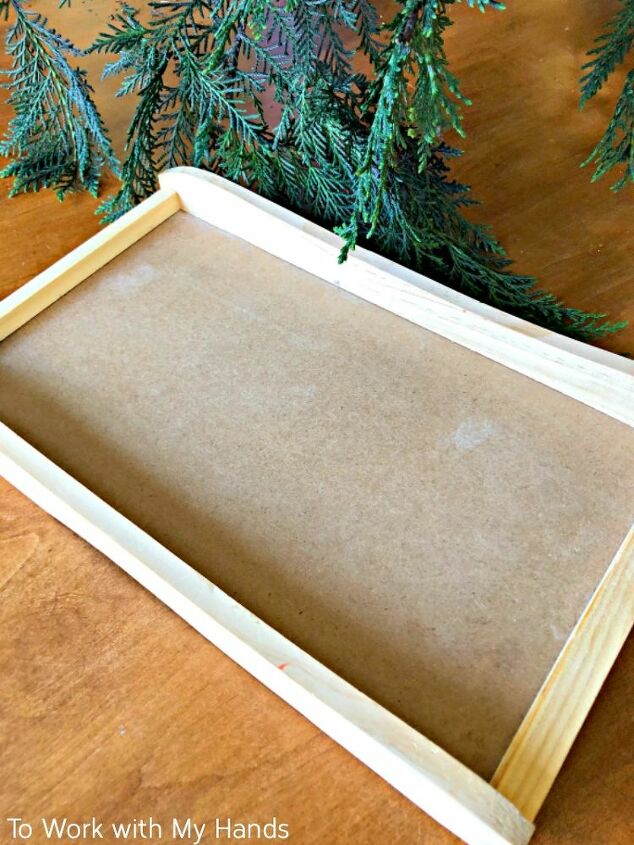
First, I ditched the wheels.
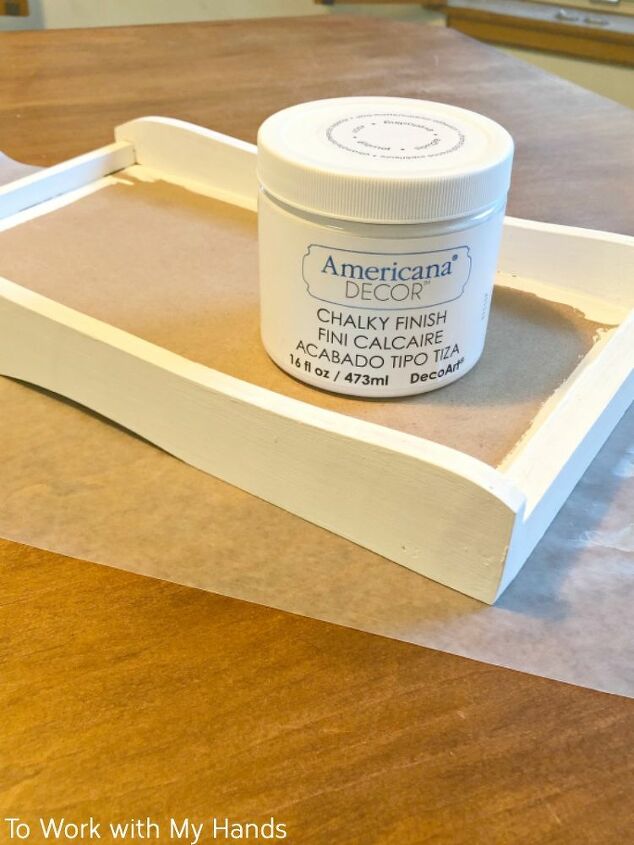
Next, I gave the sides and bottom a coat of white chalk paint.
I had something special in mind for the base, so I left it unpainted.
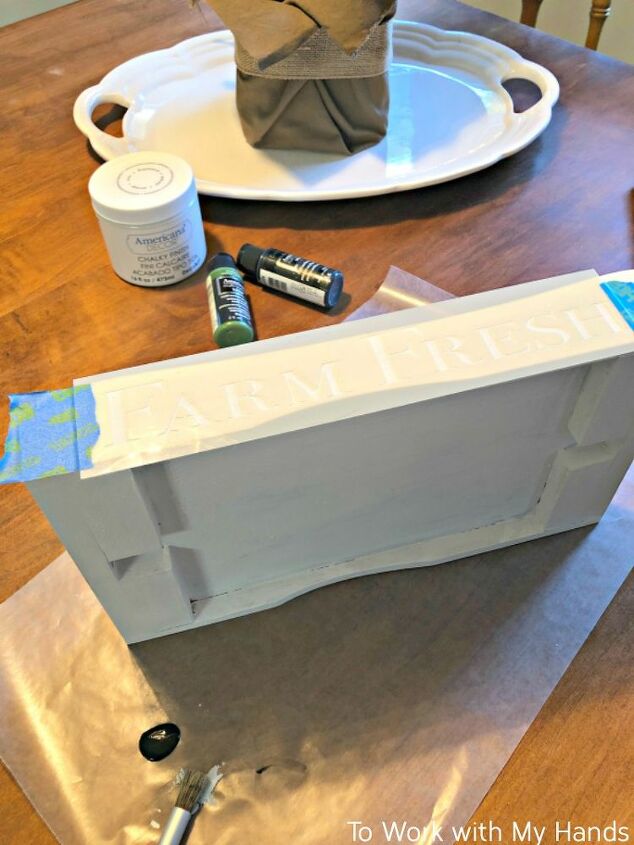
While the chalk paint was drying, I designed and cut a stencil to fit the front of the wagon.
If you're interested in learning to design and make your own stencils too, check out this post on my blog for details.
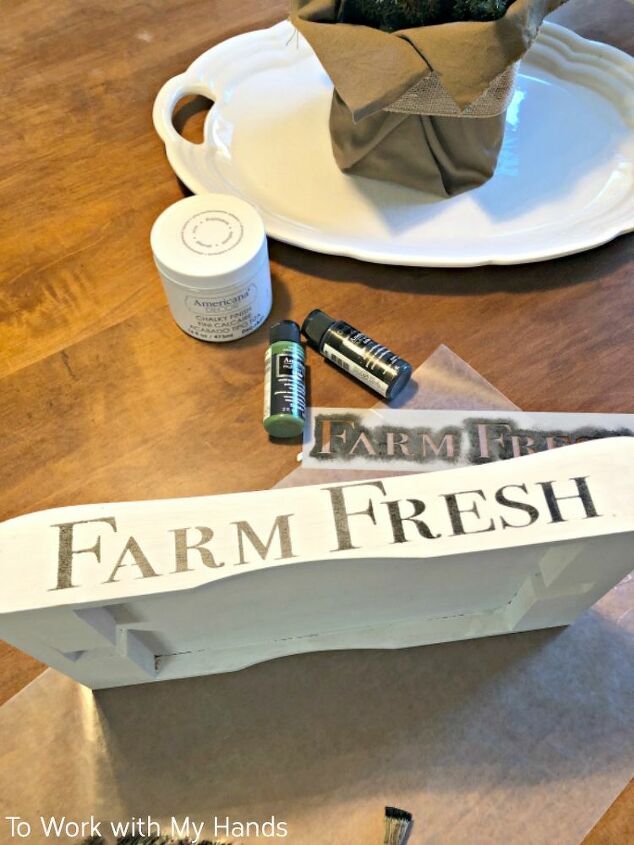
I left enough room on each side of the words to add a stenciled Christmas tree.
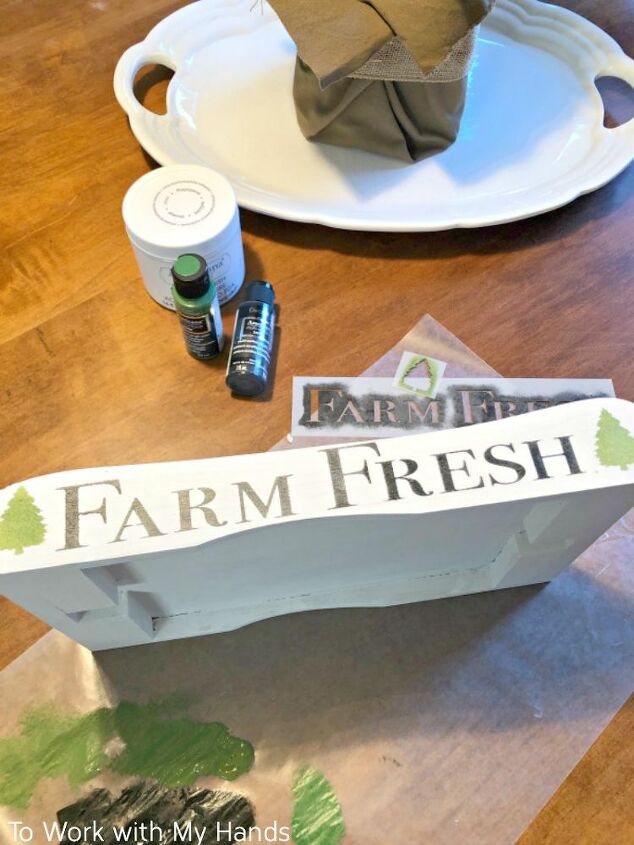
The same stencil I made for the block project was a perfect fit.
Then I lightly distressed the edges with a sanding block.

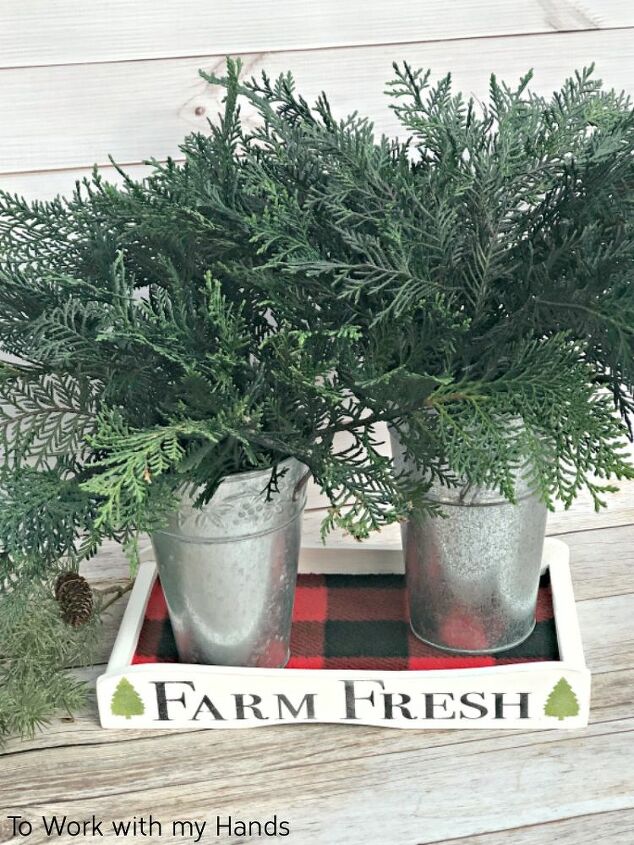
For the inside, I used a piece of a buffalo check fleece blanket I found at a thrift store over a year ago.
I knew it would come in handy eventually!
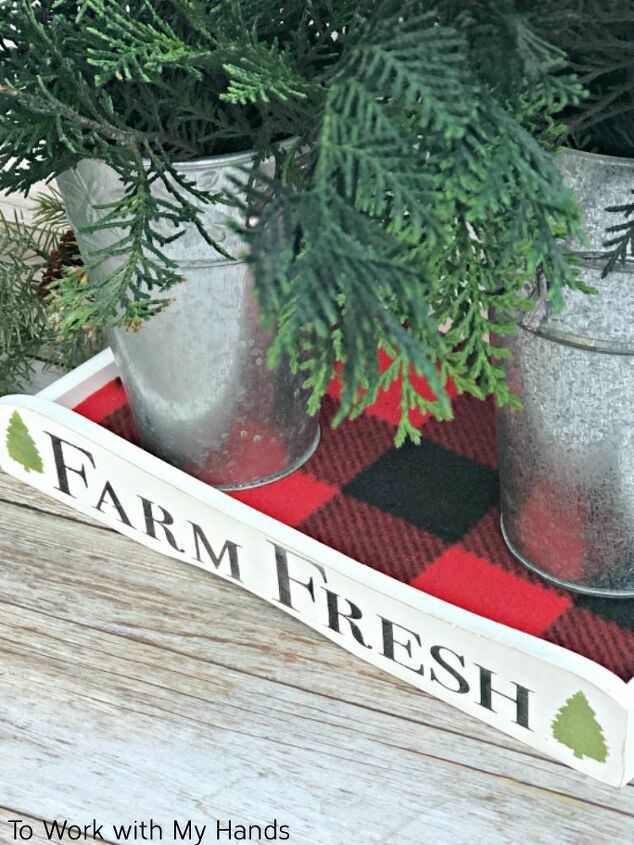
These amazing galvanized tin buckets came from a yard sale last month and I was more than a little happy to get to use them so soon.
They were perfect for some fresh tree trimmings.
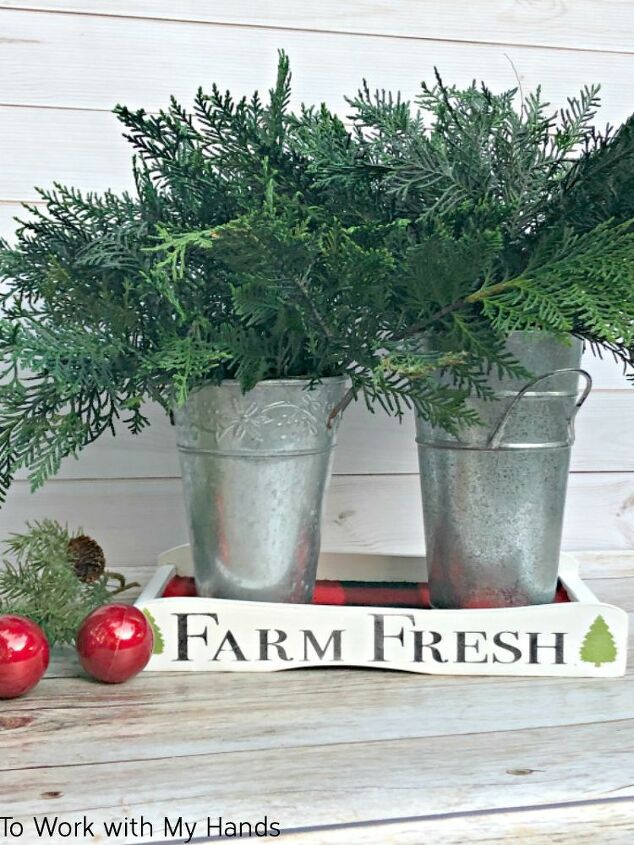
I also added some felt furniture pads to the corners of the tray so it won’t scratch my table.
I’m so glad I gave that little wagon a second thought. 🎄


Frequently asked questions
Have a question about this project?