


How to Create a Truck-Themed Bedroom Wall
My 3-year-old son loves trucks - any and all types of trucks. I wanted to do something special for him in his bedroom so we decided on a truck-themed wall to go with his firetruck bed. I felt intimidated by the gorgeous walls I saw on Pinterest but this wall was surprisingly easy to create! Here are a few step-by-step directions to create this wall for a little one you know and love. Want to see more DIY projects like this? Head over to my blog at http://www.thehandcraftedhaven.com/ or follow me on Instagram at https://www.instagram.com/the_handcrafted_haven/.
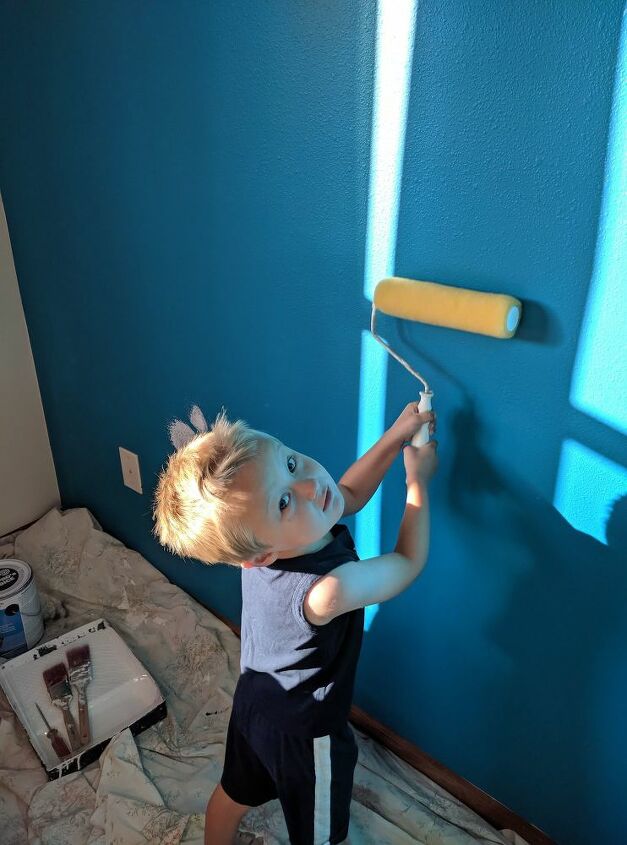
Here's the "Before" picture: A little boy dreaming of trucks on his wall rather than a bright teal wall...
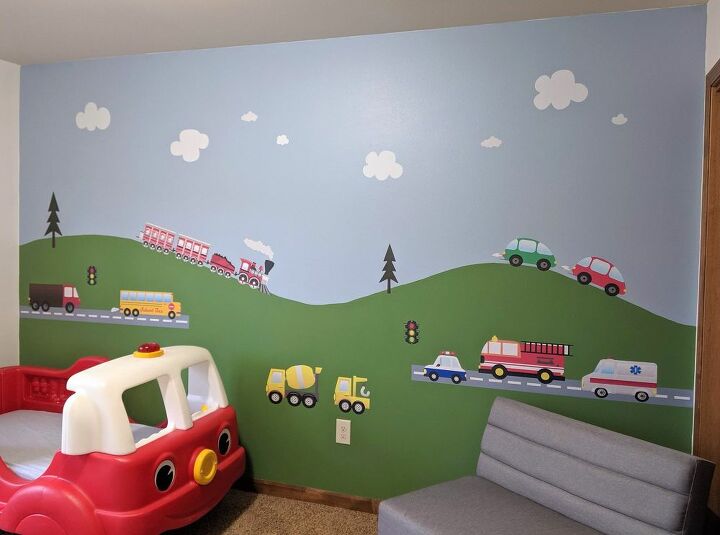
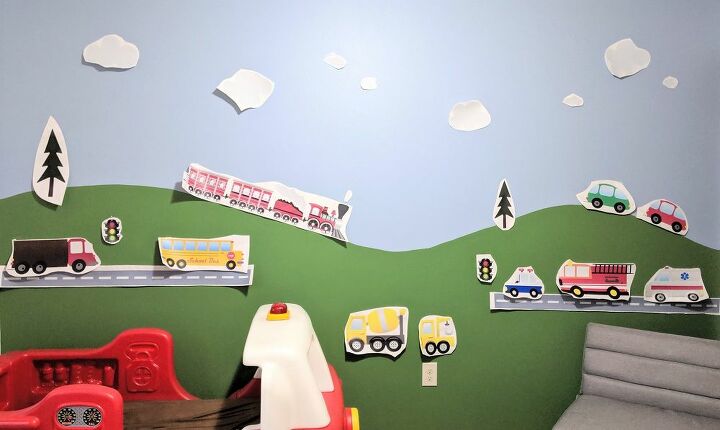
Here's the "After" picture complete with trains, trucks, cars, hills and more!
Step 1: Gather your supplies. This is simple. All you need are the following items: Wall decals and painting supplies (paint, paint roller and tray, paintbrush and drop cloths).
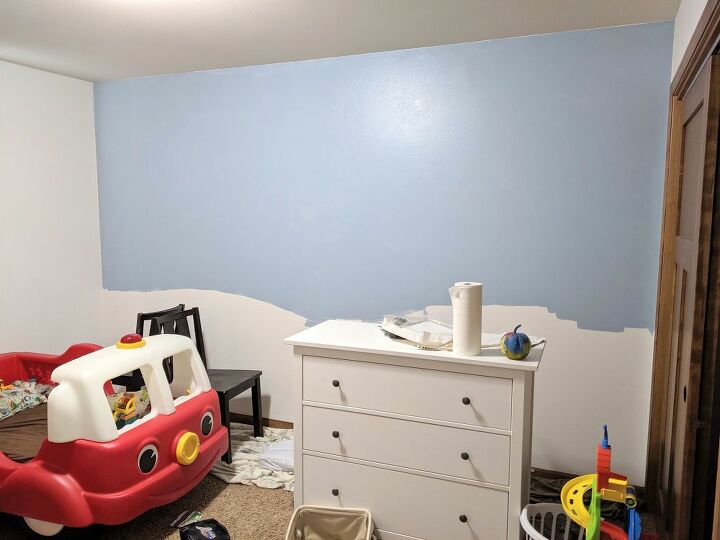
Step 2: Start painting. If you are starting with a dark colored wall, you will probably need to prime the wall first. If not, you can skip the primer. Paint the top portion of the wall a light blue. There is no need to be particular about how far down you paint.
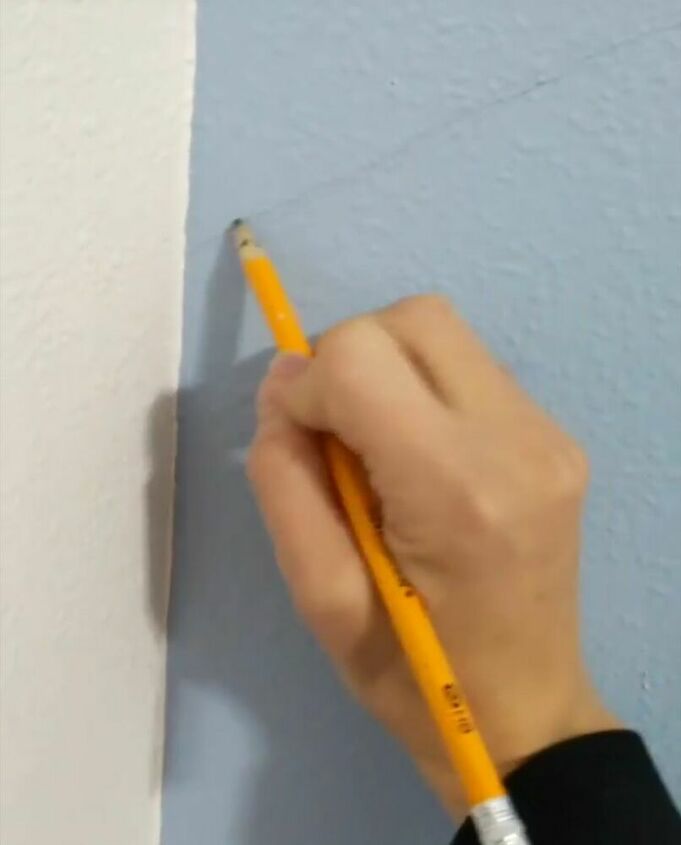
Step 3: Use a pencil to make a light mark on the wall where you plan to paint the hills. This is optional depending on how confident you are in your freehand painting.
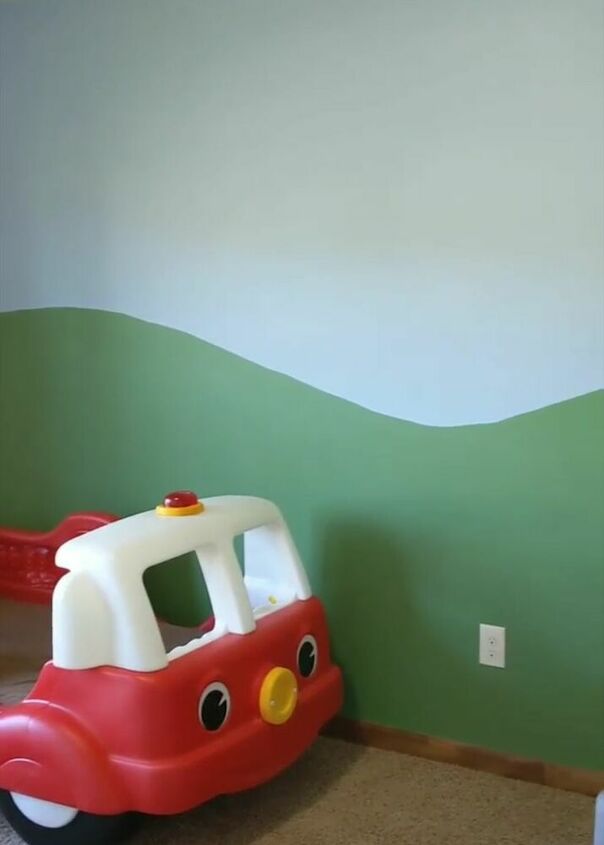
Step 4: Paint the hills onto the wall. Hills in real life are not perfectly round and smooth so I encourage you to not demand perfection of yourself when doing this.
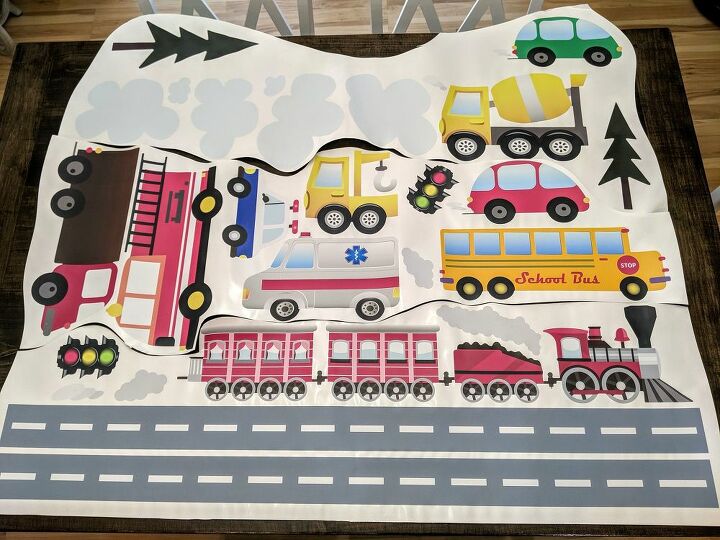
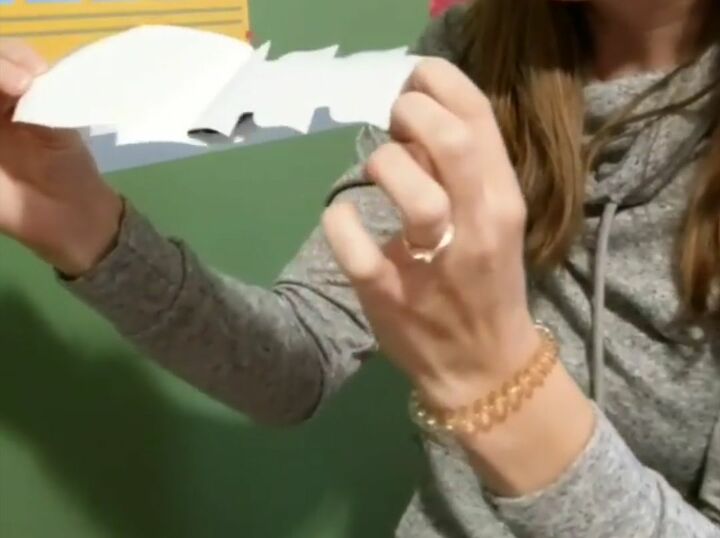
Step 5: Cut out each decal and tape them on the wall to determine final placement.
Step 6: Peel the backing off each decal and stick them on the wall. My decals were surprisingly durable so I did not have to worry about ripping them while doing this. Also, they are easy to peel off the wall and reposition as needed. Even my 3-year-old helped with this part!
One note of caution: Ensure that you follow the guidelines provided by the decal creator about how many days to wait to apply the decals after you paint a wall. I had to wait 21 days to ensure that the decals would stick properly.

It's simple and little kids absolutely love it!
Resources for this project:
See all materials


Comments
Join the conversation
-
What lucky little guy! I love what you did!


Frequently asked questions
Have a question about this project?