


How We Turned a Coat Closet Into a Functional Pantry
Our kitchen was lacking a pantry, so we often kept canned goods and backstock on a shelving unit at the foot of our stairs in the basement. But because half of our food and snacks were downstairs and half were upstairs it made for frequent mistakes when buying groceries… it was hard to visualize exactly what we had and where so we often ended up overbuying certain things and forgetting to buy others. Tired of wasting money, food, and time running up and down the stairs I decided to make over a coat closet into a functional pantry. | This post contains affiliate links |
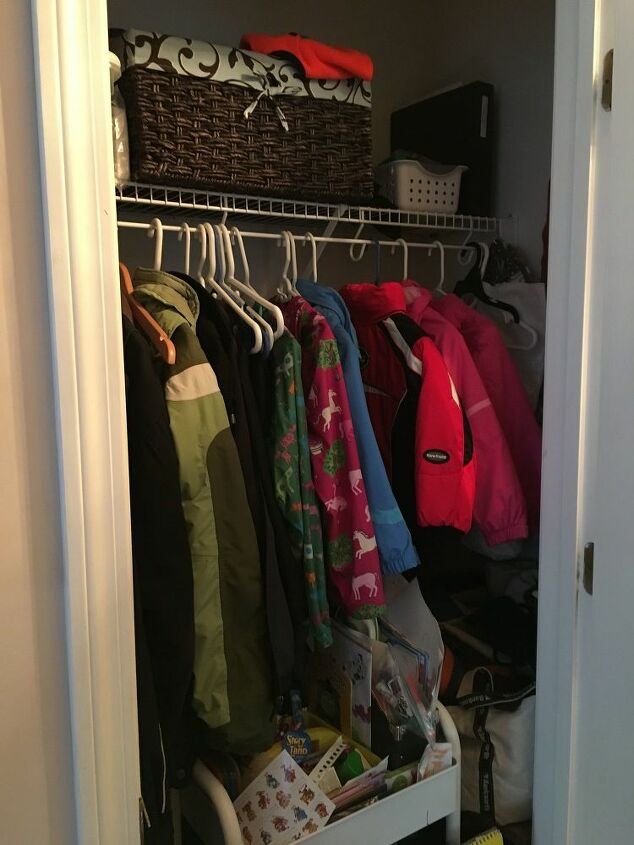
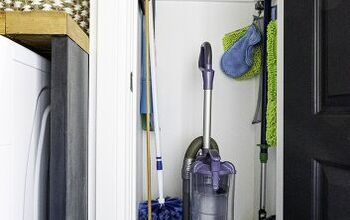
Now while this coat closet (pictured below) was pretty jammed full, it was very underutilized. It’s where we kept our off-season coats, hats, and boots as well as some hiking gear and my daughters’ Art Cart - most things we did not need to use daily, or often at all. My solution to this was to relocate all these items to our basement - I hung a closet rod under the basement stairs and moved all our off-season clothing and gear to this new space where it was still easily accessible but out of the way.
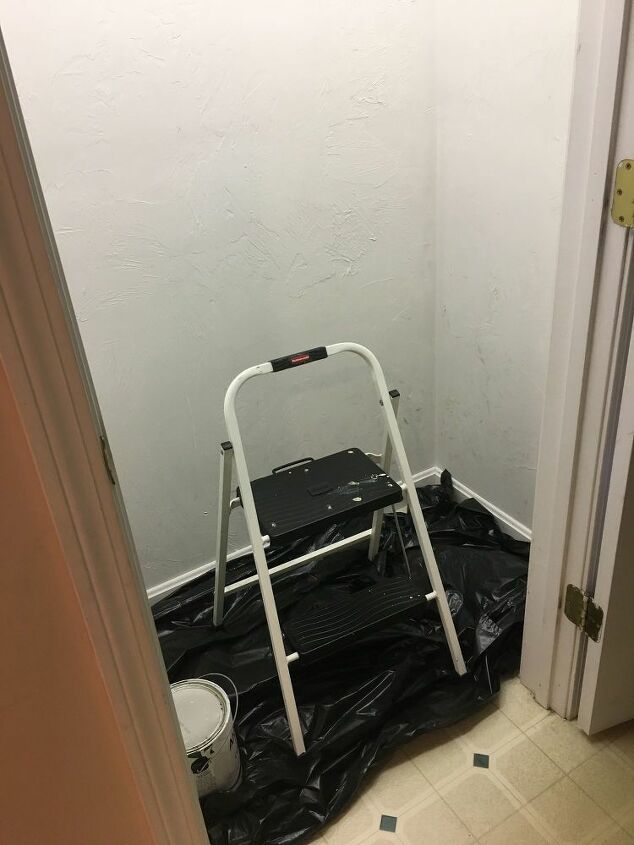
The next step was to pull out the old wire shelf and closet rod system, patch the holes, and repaint the inside of the closet. Thankfully I already had spackle and some leftover white paint so I was able to get the closet to a clean slate easily and it didn’t cost a dime.
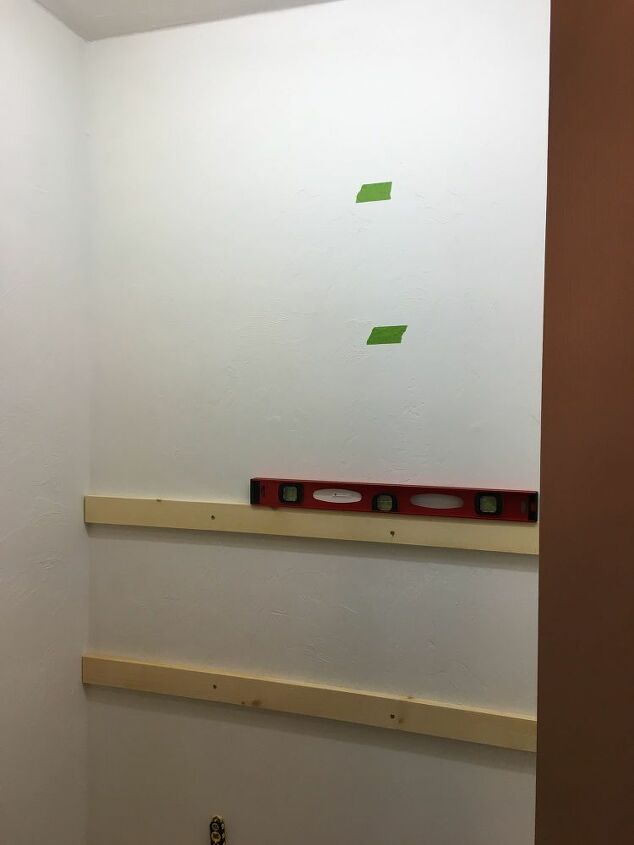
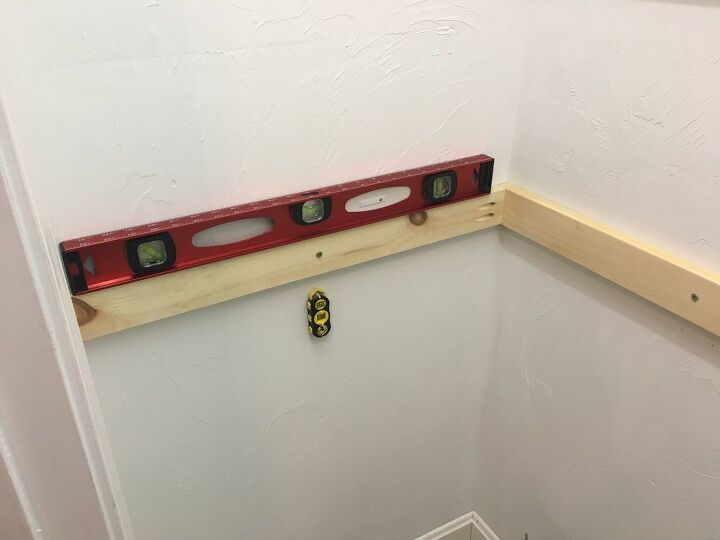
Now for the fun part! I got to decide how many shelves I wanted and the spacing, so I laid it out with painters tape to play with how I wanted it before I made a final decision. For our setup I decided on four shelves starting at about waist-height. I wanted to leave the bottom open to accommodate the dog food bin, the Art Cart, step stool, etc. Then I screwed in 2x3 inch “runners” that would support the shelves along the back wall. I used a stud finder to make sure I was screwing the runners into studs and a level to make sure everything was square.
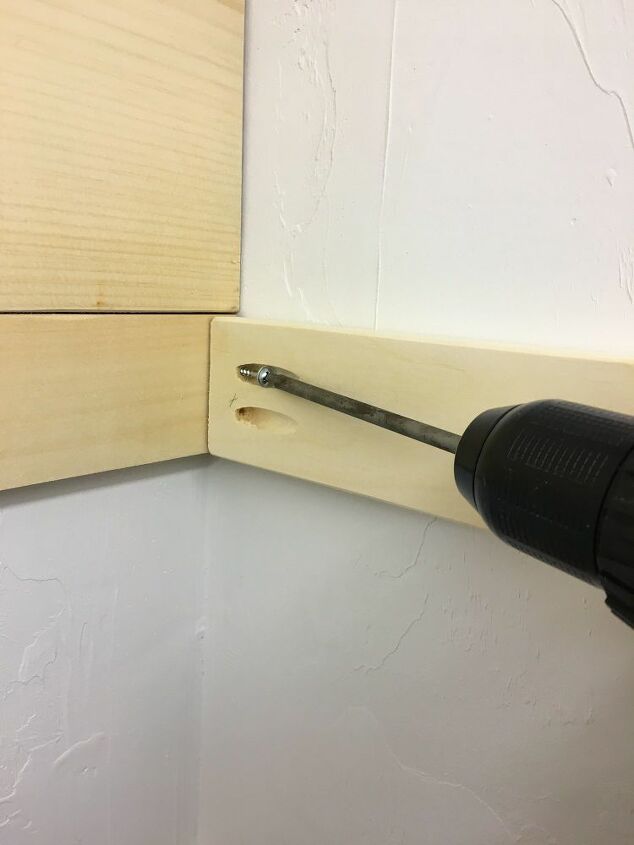
Then I added runners to one side of the closet next, following the same routine - but with these pieces I had pre-drilled pocket holes with our Kreg Jig first so it would make for a clean and secure joint in the corners.
Before installing the runners on the opposite side of the closet, it’s wise to keep in mind how you will be able to maneuver the shelf boards in once all the runners are in place (it would be very difficult to get the top shelf in with all the runners installed, for example). So before installing the opposite side’s runners I slipped some of the trickier shelf boards into place first (I used 1x12”s cut to length for the shelves) before I finished screwing in all the side runners.

I secured the shelves into place with some finishing nails, then taped off the shelves and runners to get ready for paint. I used primer and then several coats of white semi-gloss paint since it’s a little easier to wipe down and keep clean.
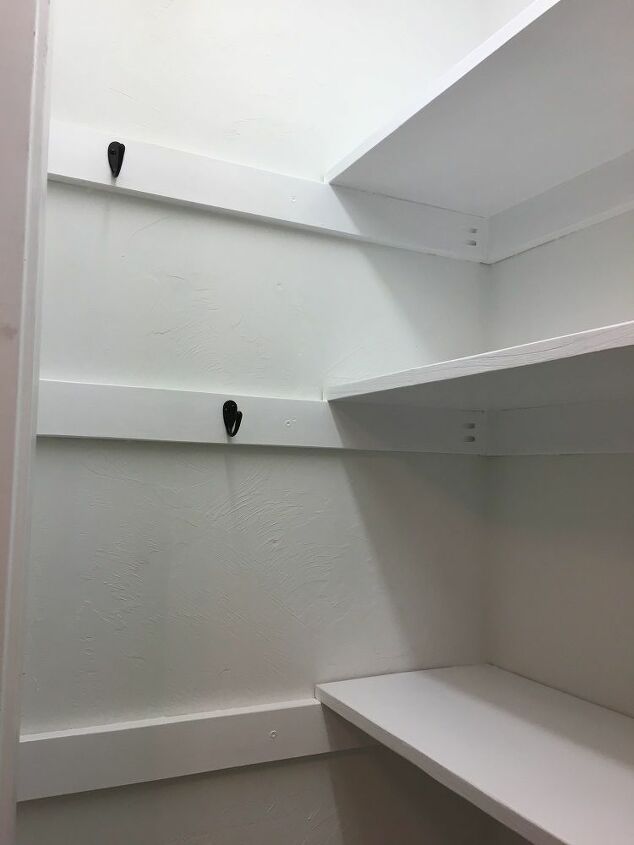
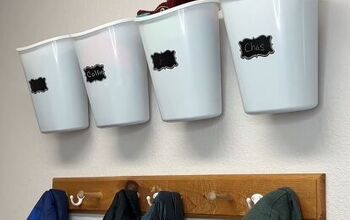
I just love how farmhouse and “Shaker” the exposed rails on the sides look and I wanted to play it up. Once the paint was try I added some functional hooks to hang aprons, lunchboxes, etc on the side rails.
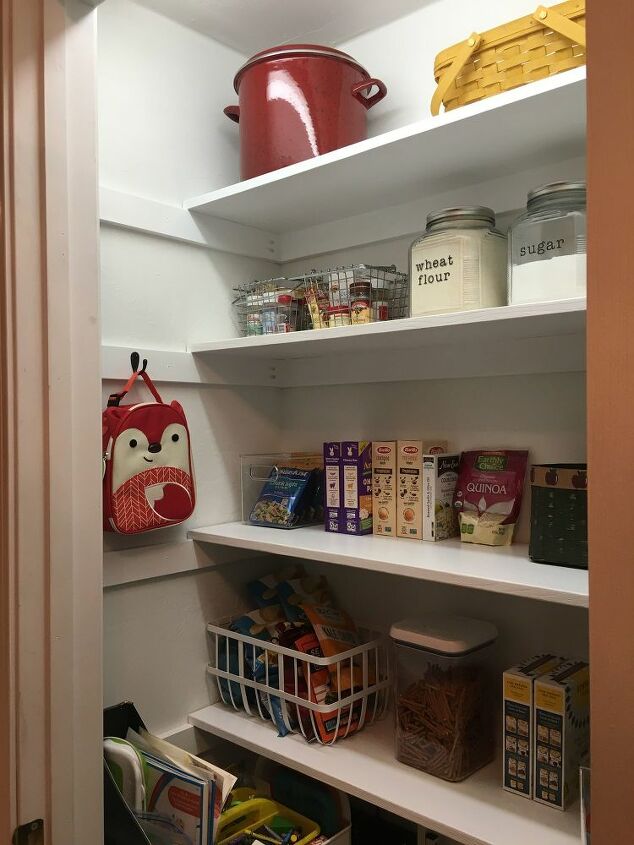
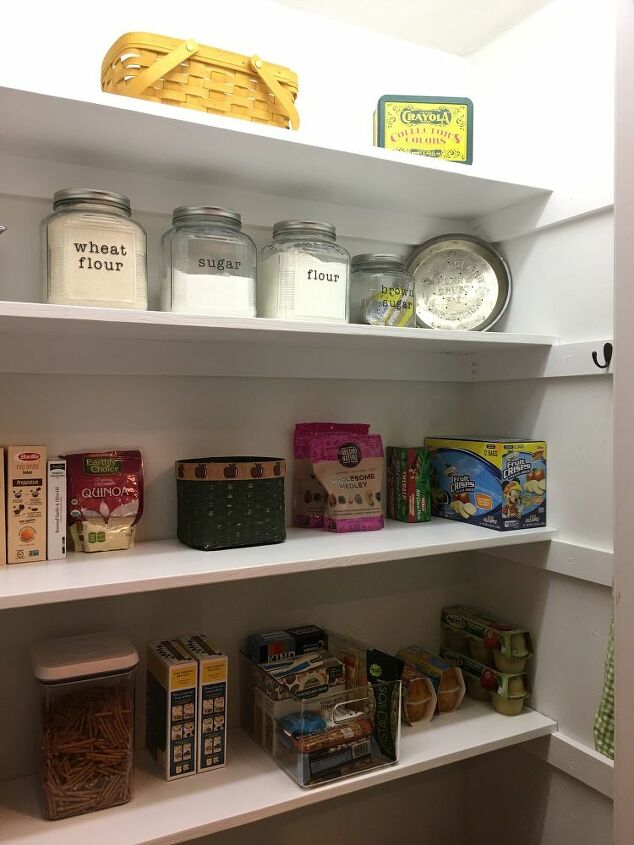
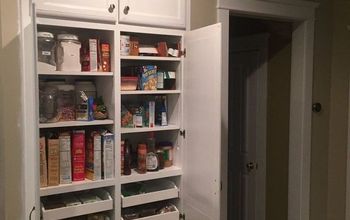
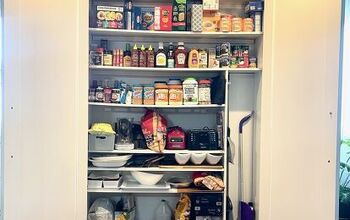
And now the project is complete! I am so happy with how it turned out and it’s wonderful to have everything in one place. I can see this project saving us money on groceries in the long run now as everything will be in one place now and we’ll be less apt to waste food. Eventually, I would love to replace the closet door with a fun screen door and get some more glass jars and baskets for a cleaner looking pantry - but all in good time.
**Please see the original post here for more photos and links - I have added more storage solutions since completing the project: http://www.birchlandinghome.com/journal/2019/12/9/turn-a-coat-closet-into-a-functional-pantry
{ Follow on Instagram: @birchlandinghome }


Comments
Join the conversation
-
We converted our coat closet to an appliance pantry. The Ninja with its bazillion attachments, fryer, hand mixer, etc. are now nicely stowed away. We live in the South and don't really need a coat closet. My husband took 2 doors and joined them to make a hall tree.
-
Thank you for mentioning the glossy paint for the shelves! I was going to paint then wrap them in white contact paper & reuse my plastic placemats that were in there before! I can’t believe I didn’t think of it! My 17 year accumulation in a kitchen closet has been my project motivated by two little mice!
No more three layer cakes, I can donate the like new pans, unused recipe books, tons of useless must have wanted things! I’m even considering a shelf for my calculator and file with my bills plus a light and an eye level mirror 😝


Frequently asked questions
Have a question about this project?
I have a closet just like that one except I live in an apartment. I can not add those shelves in my closet. How can I add additional wire racks for additional storage? Anyone know where I can purchase them?
You did a wonderful job. But I have to ask. What did you do with all the coats and clothes you moved out? Did you have another closet?
I have to ask. Where is your coat closet located? I have thought about doing the same thing but our coat closet is in my living room.