


DIY Workshop Organization
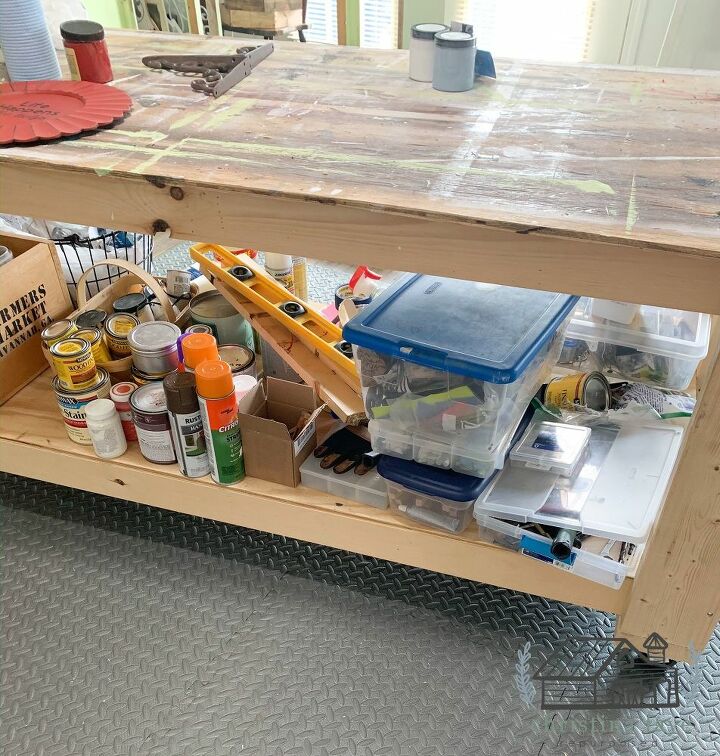
It's that time of the year again. A new year means time to get organized! My workshop was in dire need of some organization. I swear I have things buried in every little hole I can find. My husband was so sweet to build me this workshop table. See the bottom? That is where most of my items get stored! Therefore, it was time for workshop organization to happen.
A few months ago, I repurposed this old television cabinet into a shabby chic storage cabinet. You can see the full tutorial . It was cute but did not really work for me. For example, hanging tools on the back. I would have to bend down to remove a tool from the pegboard and risk hitting my head! As a result, I needed more shelving space as compared to drawer space. It looked cluttered all the time. Cabinets would be the logical fix to my clutter! The drawers on the cabinet were very shallow which did not allow for lots of storage. While scrolling through Pinterest, I saw this fantastic workshop cabinet idea. It was long and had lots of storage.
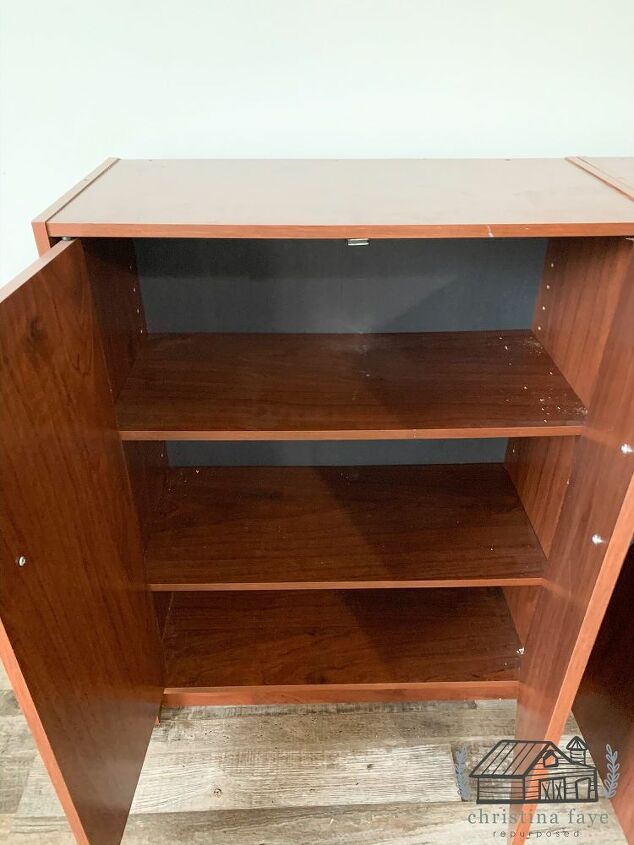
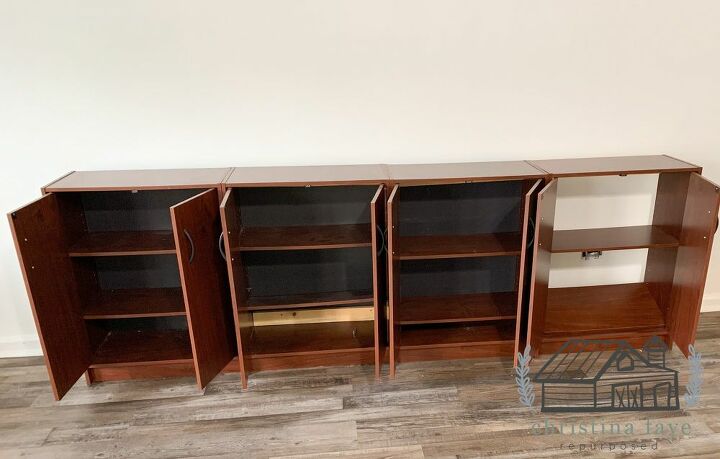
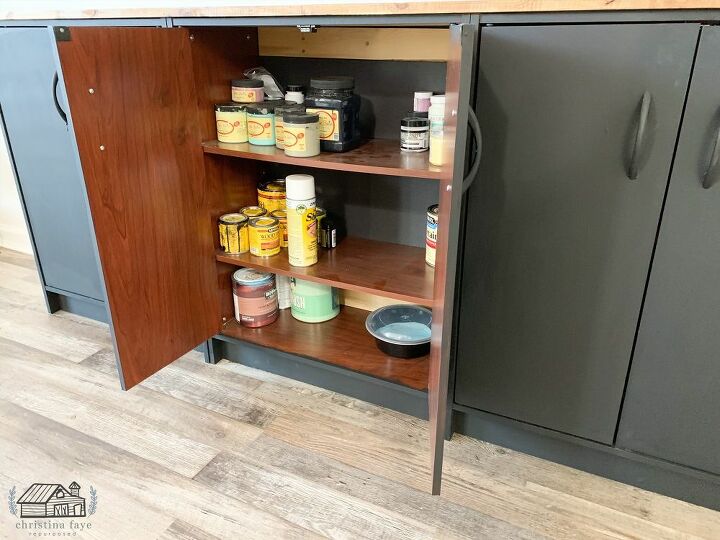
The tops of the cabinets were flat. This would make it easy to attach a piece of wood to the tops for the work surface. They also had shelving inside.
We loaded them up into two separate carts. To tell you I was excited would be a TOTAL understatement. The Thrift Gods knew precisely what I needed and placed them there for the Hubs and me to find. And, not only did we find cabinets, they would be the perfect length once put together!The total length of the cabinets once put together would be 8’. This would be perfect for the blank wall I had in my shop and give me more top space to work with.The Hubs attached the cabinets together using screws to make one long section.
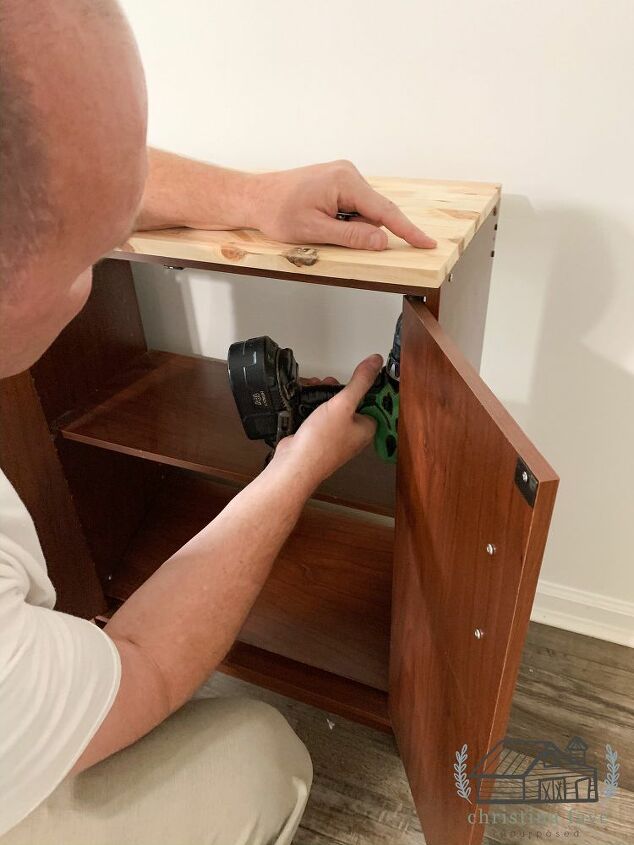
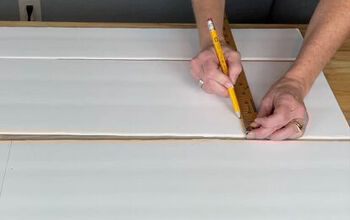
We purchased a piece of shelving board that was precut from Lowe's. He attached the wood top using wood screws.
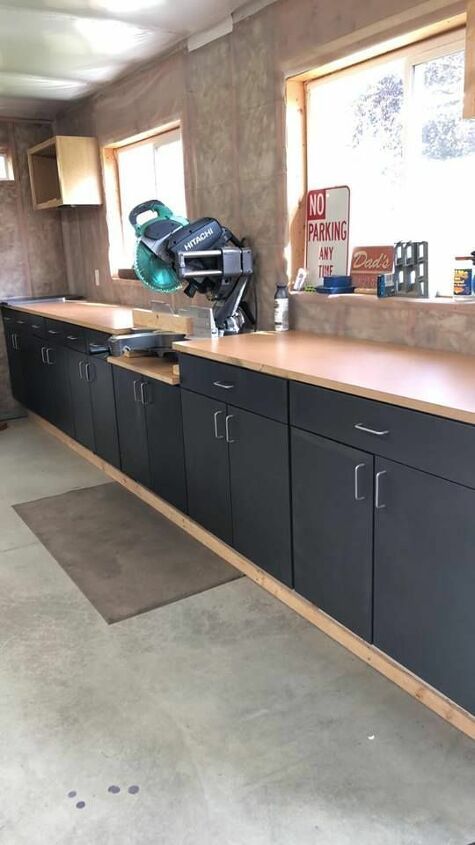
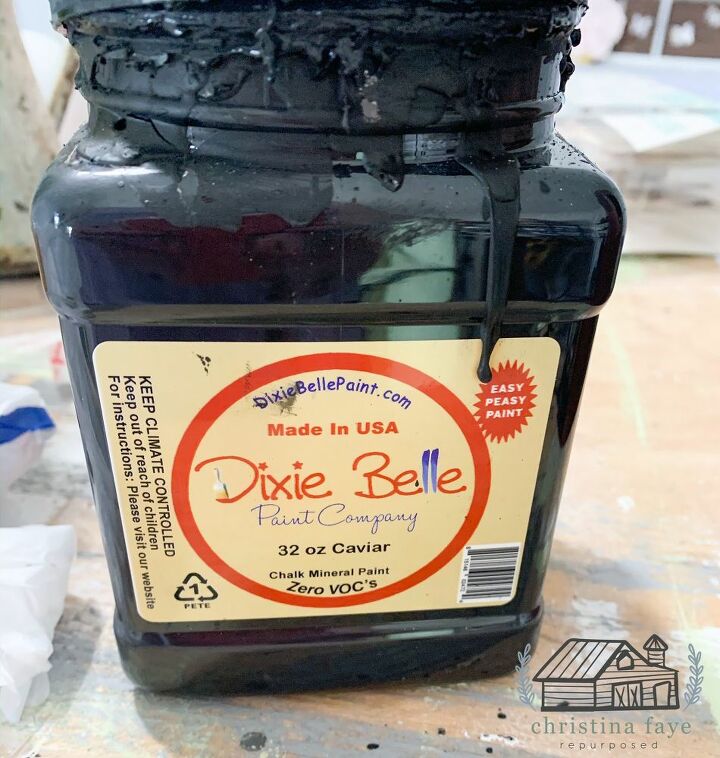
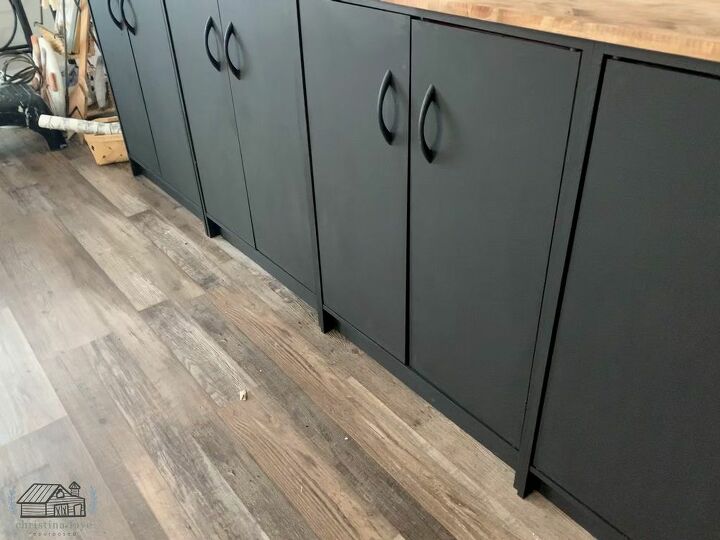
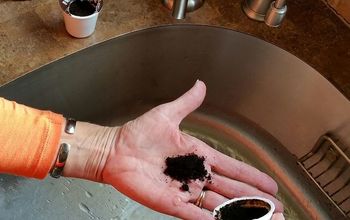
After he attached the cabinets together and added the top, I cleaned them inside and out with my vinegar and water solution (one-part water, one part vinegar), including the shelves that were inside the cabinets. I was not concerned with the cabinet that did not have a back. There would be no back needed since it was up against the wall.Since I was using Dixie Belle Chalk Paint, no sanding was required. The cabinets were not real wood, they were laminate. Chalk Paint adheres great to almost any surface.I decided to use the paint color Caviar by Dixie Belle Paint. I wanted a darker finish that would not show dirty fingerprints and scuffs that I knew would show on a lighter color. Don't you just love my grungy paint jar haha!
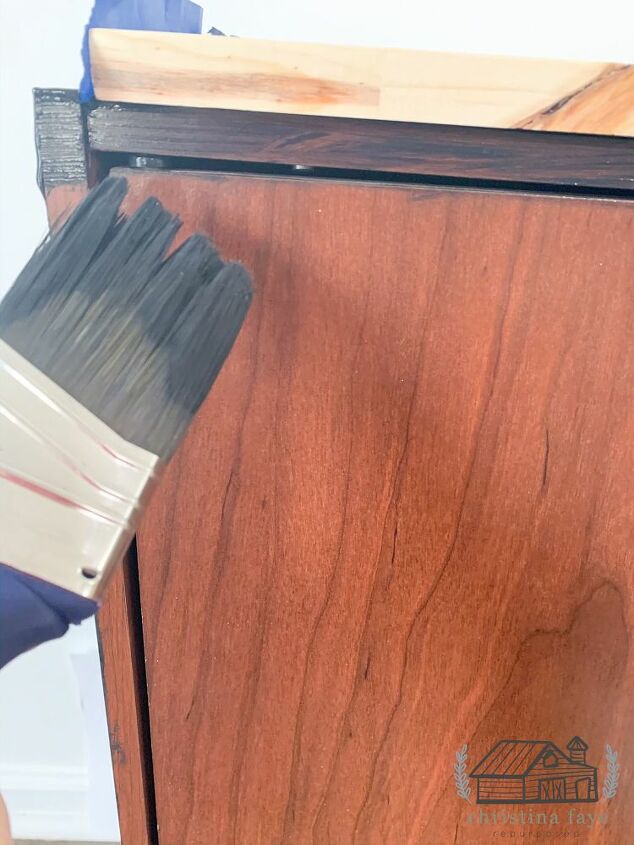
I painted the entire set of cabinets. It only took two coats of paint to cover nicely.
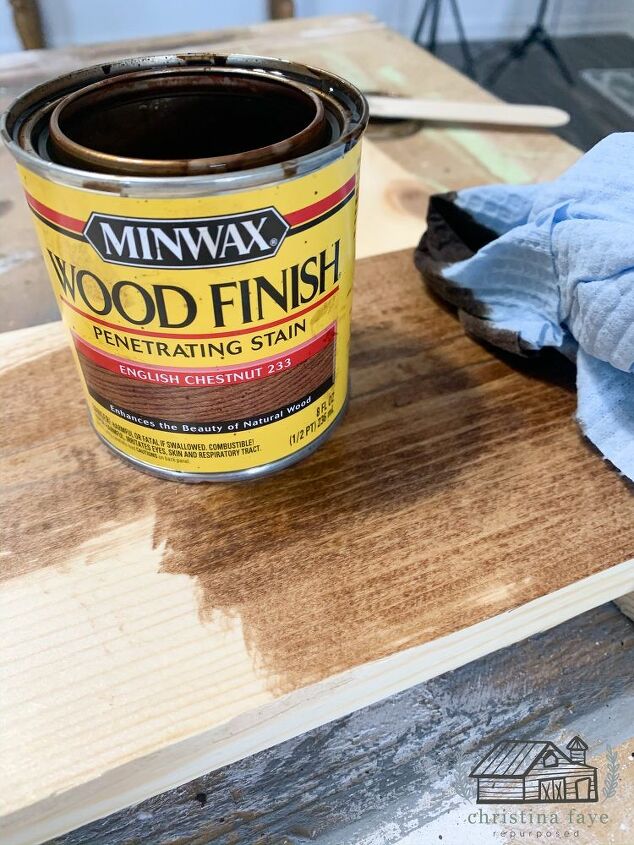
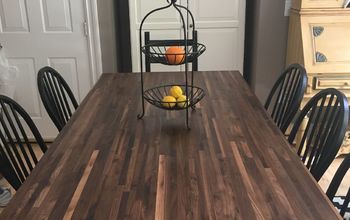
While the paint dried, I gave the wood top one coat of English Chestnut stain.
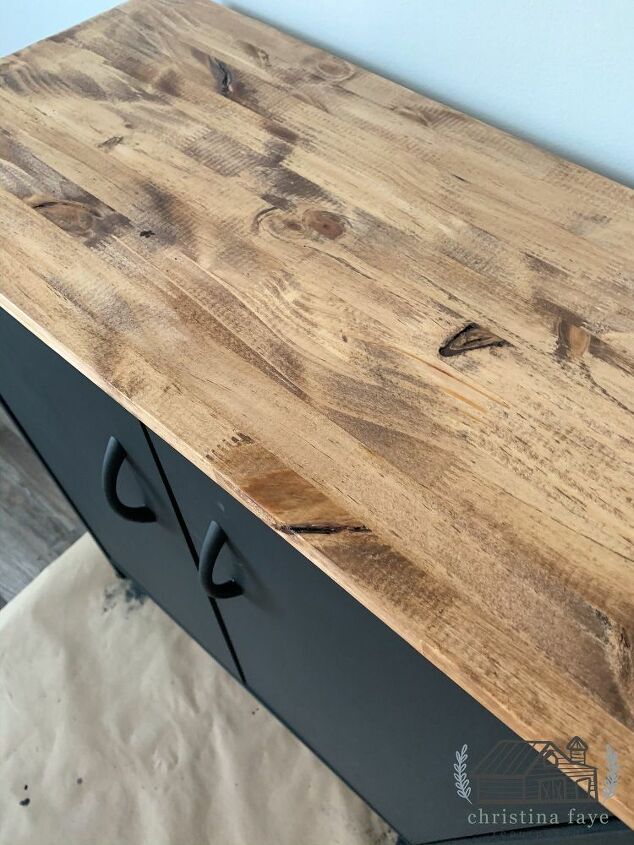
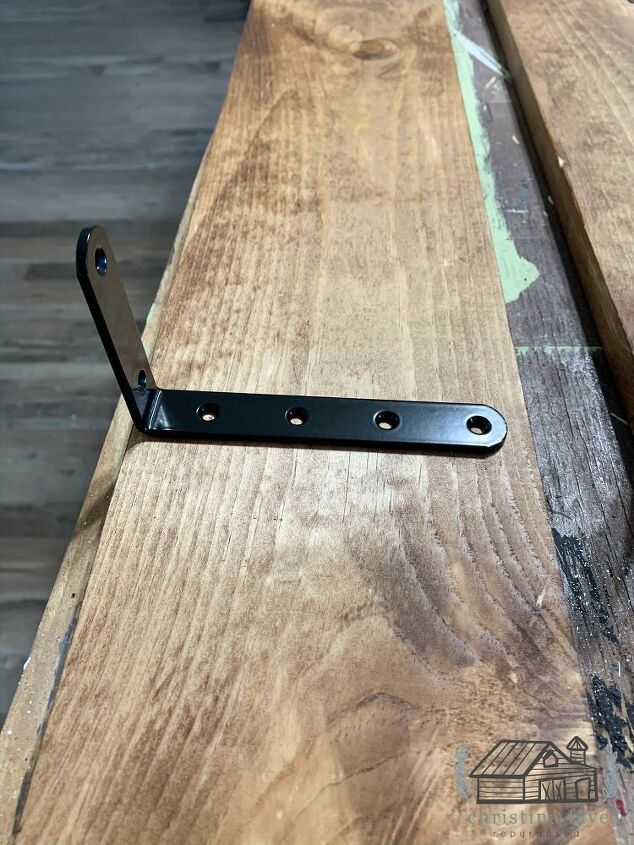
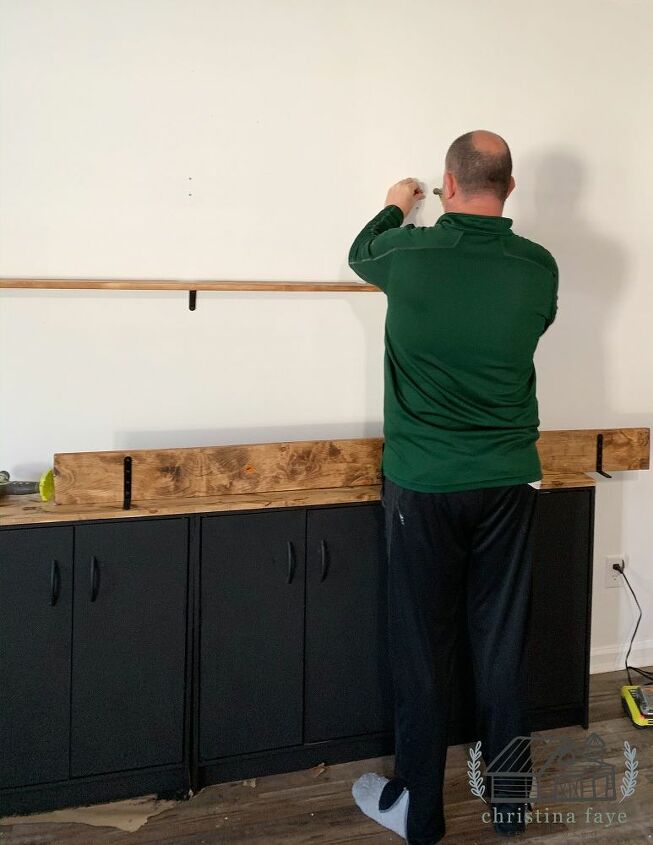
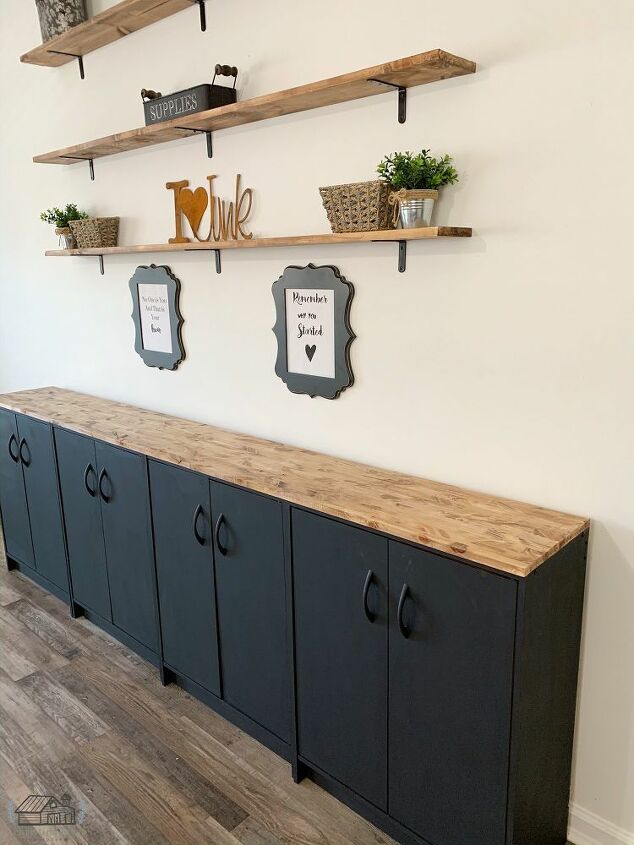
I allowed the top to dry for 24 hours and then sealed the wood with one coat of Polycrylic.I sealed the painted surface with Dixie Belle Dark Wax. We added three shelves above the cabinets on the wall for more storage. We purchased three 1x6's and shelf brackets. The wood was purchased from Lowes, and the brackets were purchased from Amazon. The length of the 1x6's was perfect, so we did not need to cut them. All I did was add one coat of the English Chestnut stain to both sides of the wood pieces.
The Hubs added the brackets.
The shelves were then attached to the wall.
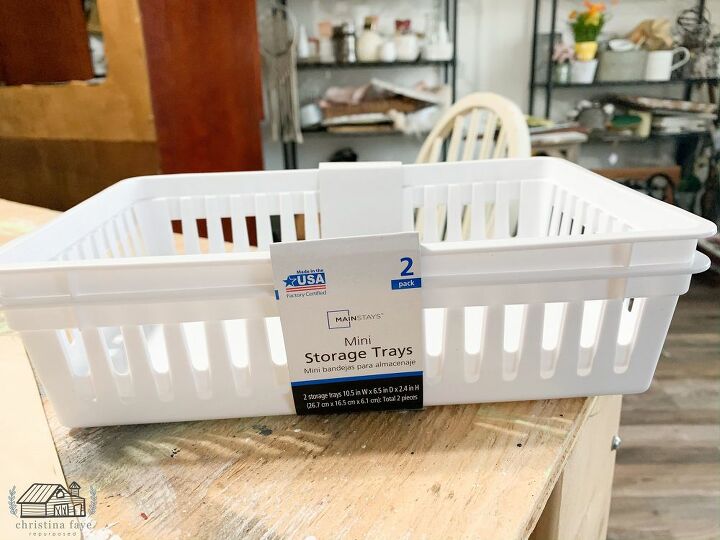
For storage inside the cabinets, I purchased cheap baskets from Walmart. They came in a set of 2 for 96 cents!
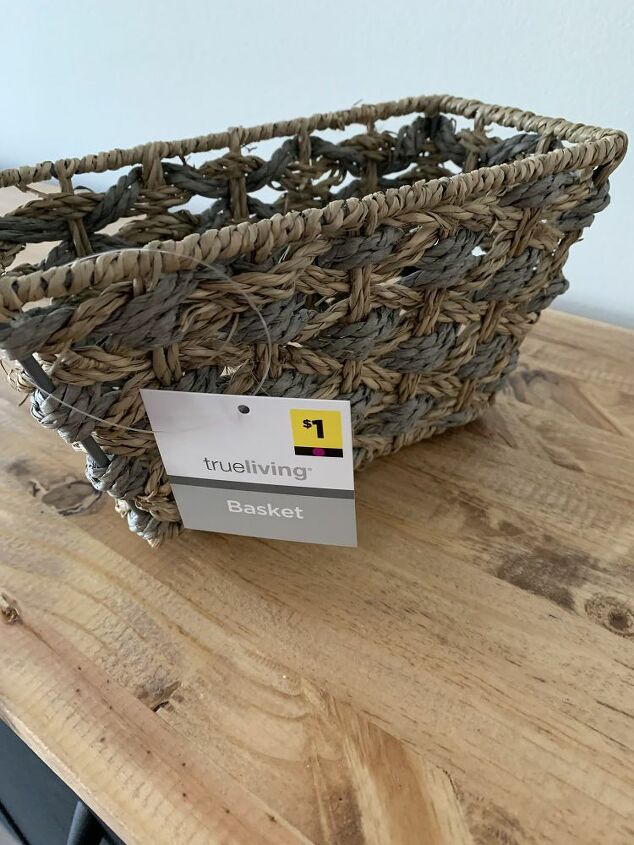
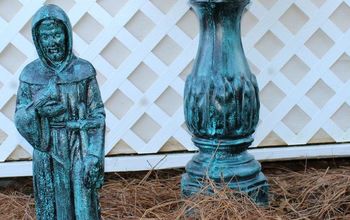
I found these two pretty baskets at my local Dollar General for $1.00 each.
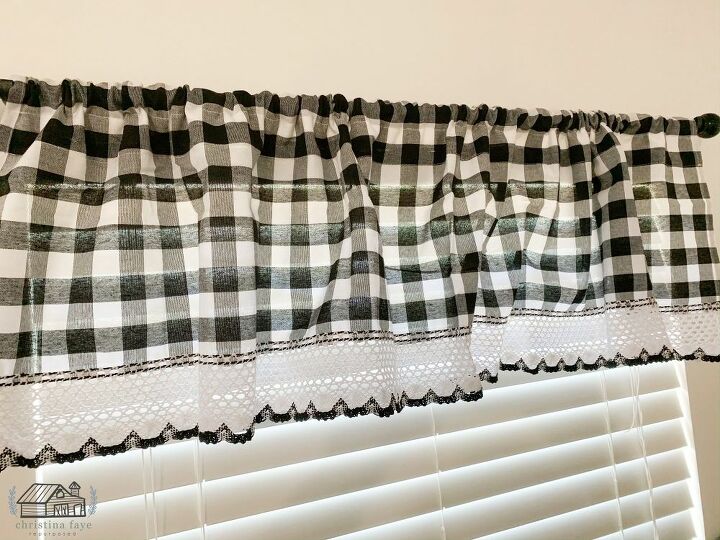
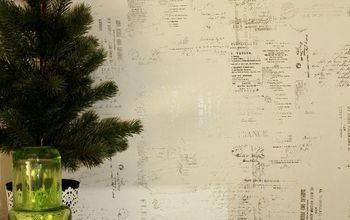
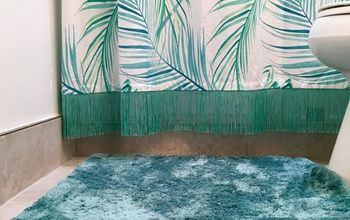
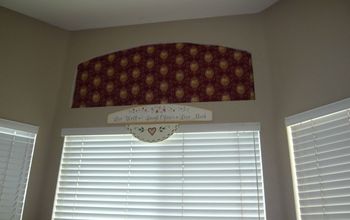
I also purchased this cute valance off of Amazon!
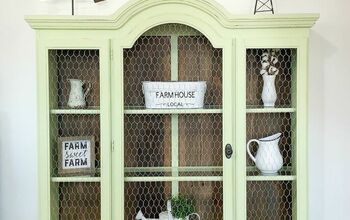
To sum up, the total cabinet build was less than $50.00 ($37.00 for the cabinets and $13.00 for the sheet of wood on top). I saved a lot of money by not buying new ones! I now have a functional workshop table/cabinet with lots of storage.

Remember, "It's not about what it is, it's about what it will be."ChristinaRemember subscribe to my email list over on the blog and receive my FREE Ebook!Check out items I have repurposed HERE.
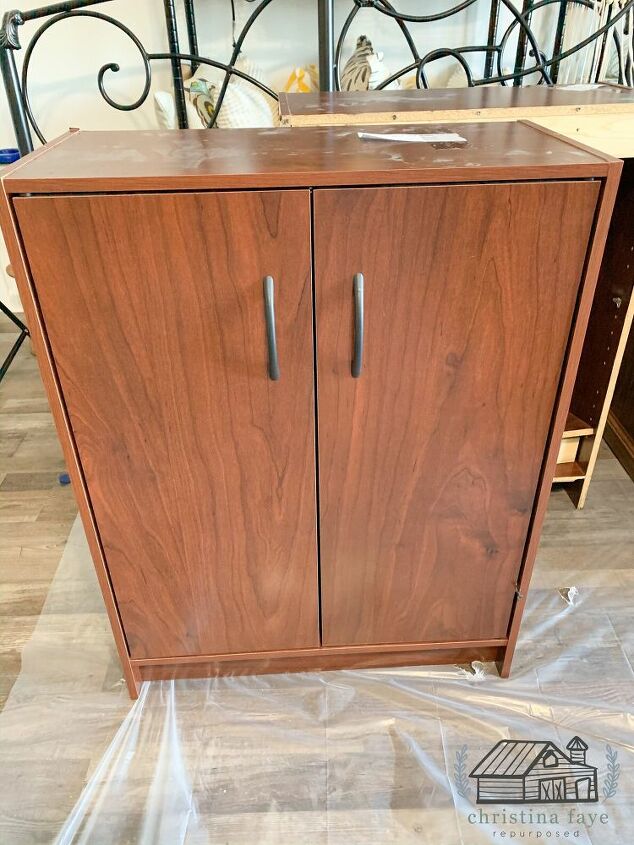
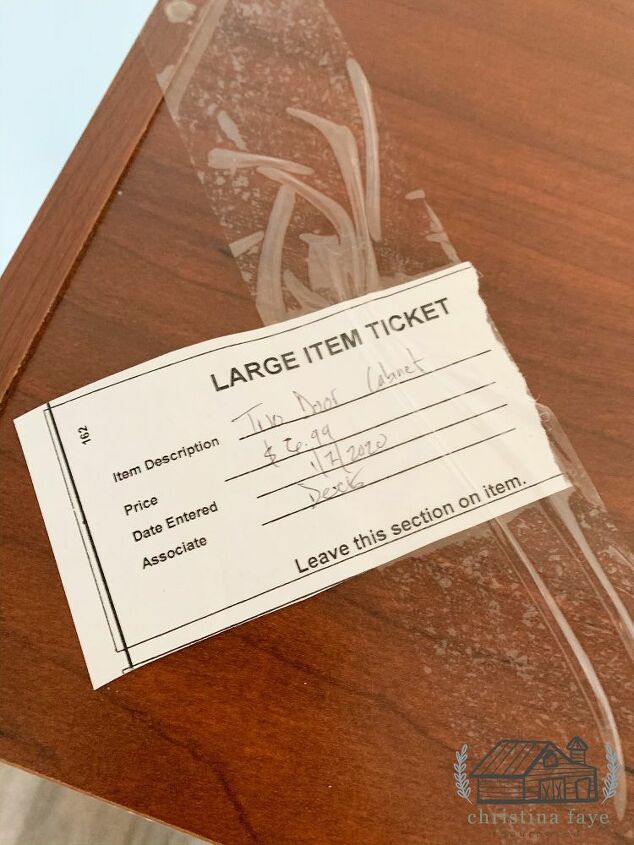
To my dismay, there were only two. Well, at least that's what we thought. After deciding to leave the cabinets because there were not enough to make the 8’ length that we needed, we walked to another aisle that was blocked by large sofas and other items. And, BAM there they were. Two more sets. I am not sure why the thrift store split them up, but at that point, it didn’t matter. Three of the cabinet sets were marked at $9.99, while one was marked at $6.99. I assume this one was cheaper because it did not have a back.
Resources for this project:
See all materials


Comments
Join the conversation
-
Great job!
happy for you but very jealous! Lol
-
Excellent job!! I love organizing!! You know where everything is!! Congrats on an awesome job!!!!


Frequently asked questions
Have a question about this project?
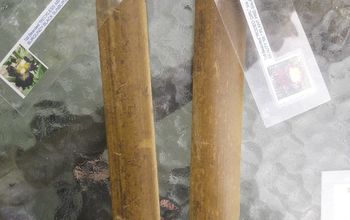
Could you please tell me what the sayings are on the two blue pieces??? Tried to enlarge them to see but then it’s too blurry to read!!!! Thank you.
What did you make with the other two cabinets
Just a thought, take the label off your paint jar, let the pot dry completely, make another label and you have a perfect holloween jar.
Love your tutorial