


DIY Plant Pot Out of Empty Paint Cans
5 Materials
$20
2 Days
Medium
I have a closet full of empty paint cans that I don’t know what to do with – you know the ones that have a tiny bit of paint left that you think you should keep just in case, but then you keep them too long and the paint goes all hard with a film on top and you aren’t realistically going to use it anyway? – ya tons of them. Instead of just disposing of them, I plan on experimenting with a few upcycling ideas. The first is to make a couple of paint can planters for my outside patio.
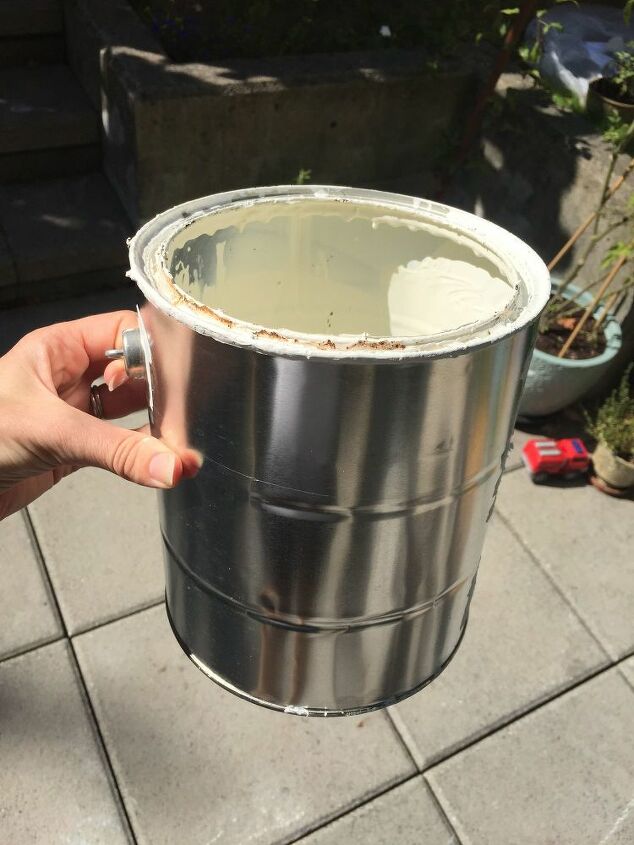
The first step is cleaning the paint can. Even if you used up the whole can for your painting project there will still be paint dried up along the sides and bottom of your paint can, it’s just inevitable.
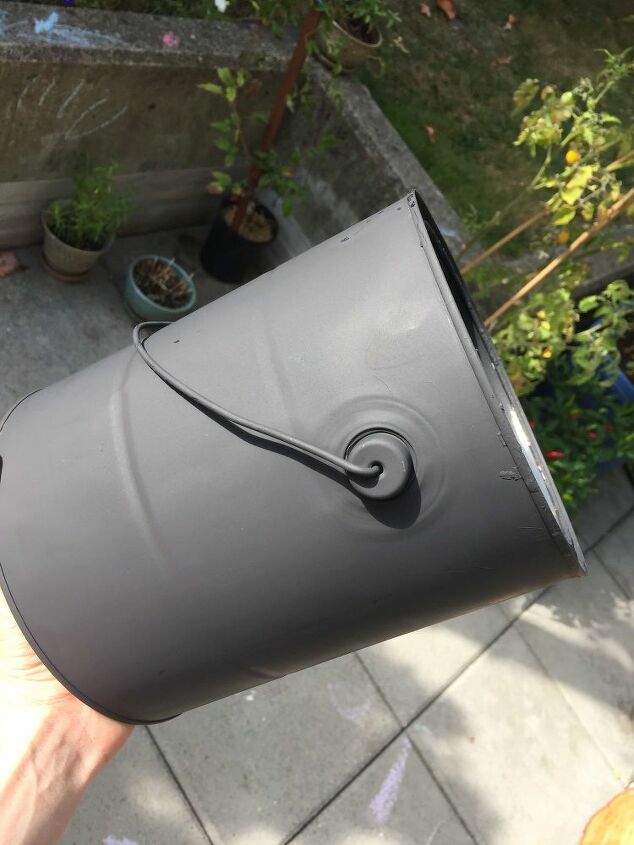
Any planter needs some drainage. To accomplish this in my paint can I drilled 4 small holes around the bottom. I don’t have any science as to whether it should be 2 holes or 6 holes, I just put a few in different places around the bottom to ensure water wasn’t going to pool up in one spot and not drain out. I just used my everyday drill and a medium sized drill bit.
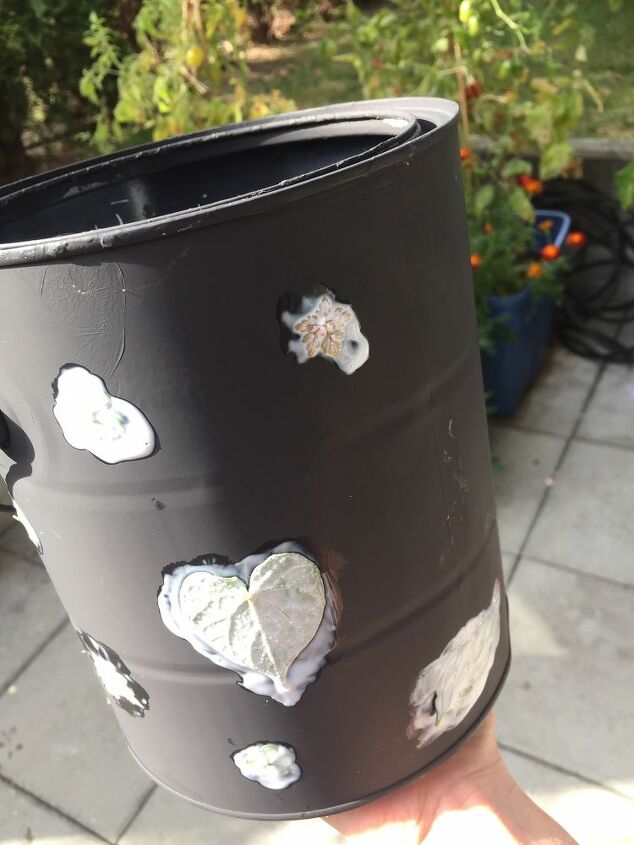
This next step is the fun bit. You can pick whatever you like as decoration for your paint can planter and use mod podge to affix it to your paint can.
You could really use lots of things for the decoration but I liked the idea of the botanical decoration.
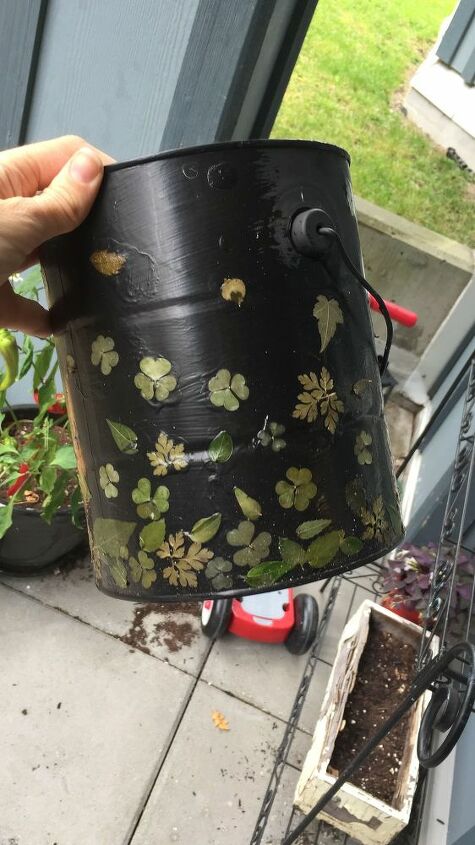
With the round shape of the can I found it easier to work on one side and let it dry then work on the other side. I was working on this project in the late fall and learned that mod podge doesn’t dry well when left over night outside in cold temperatures!!
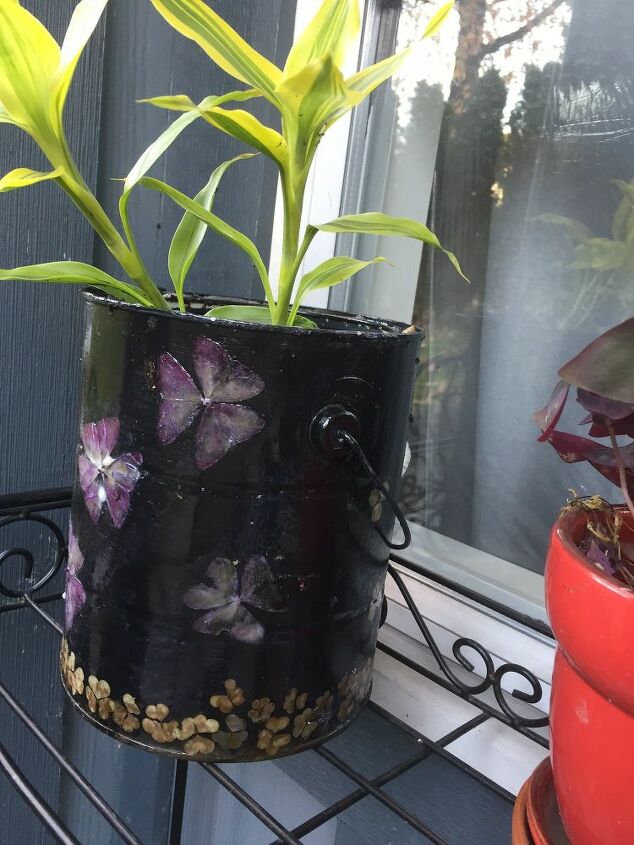
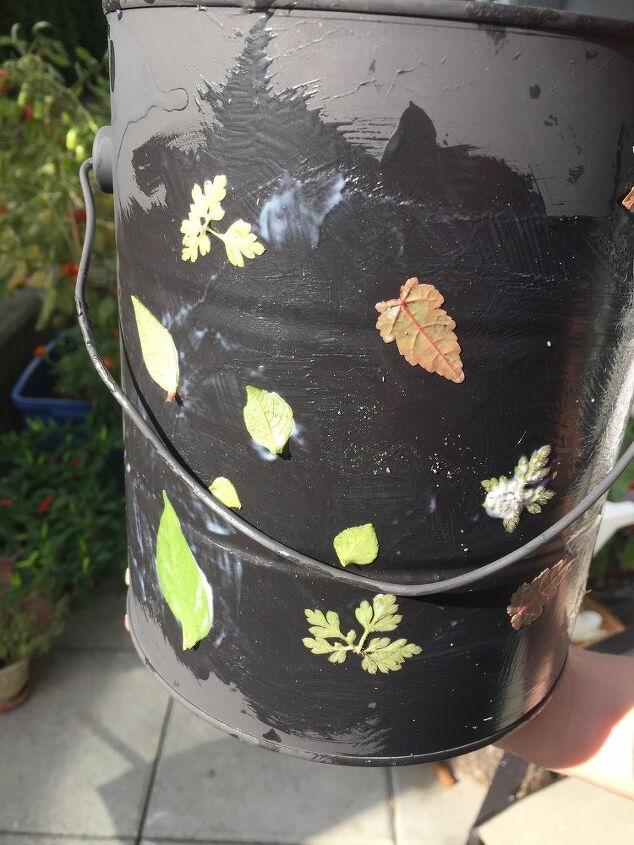
The last step is to apply a finishing varnish or gloss to seal and cover your work. The pot will inevitable get wet when being watered so you want to make sure your decoration is protected. And yes, mod podge is a sealant, but for something that is going to live outside all year round you really need some added protection.
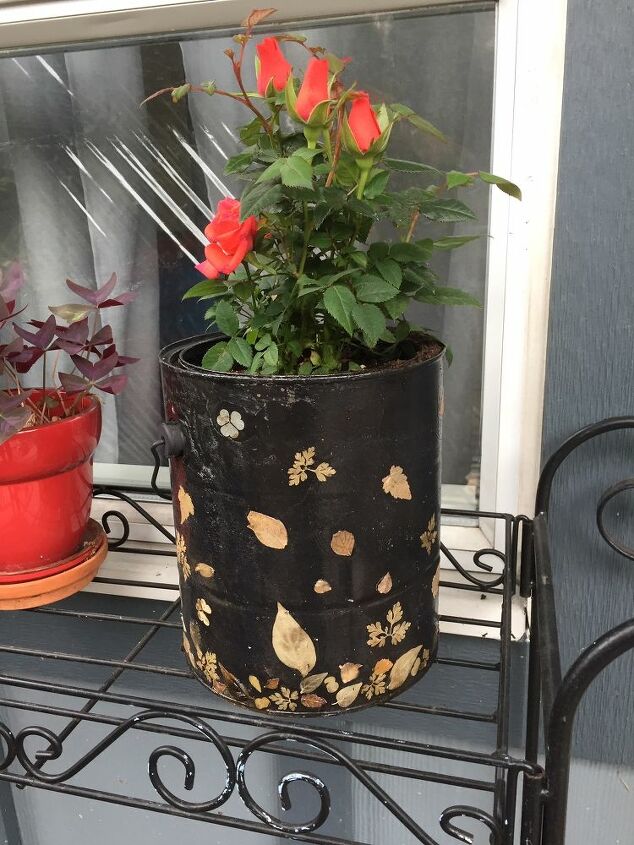
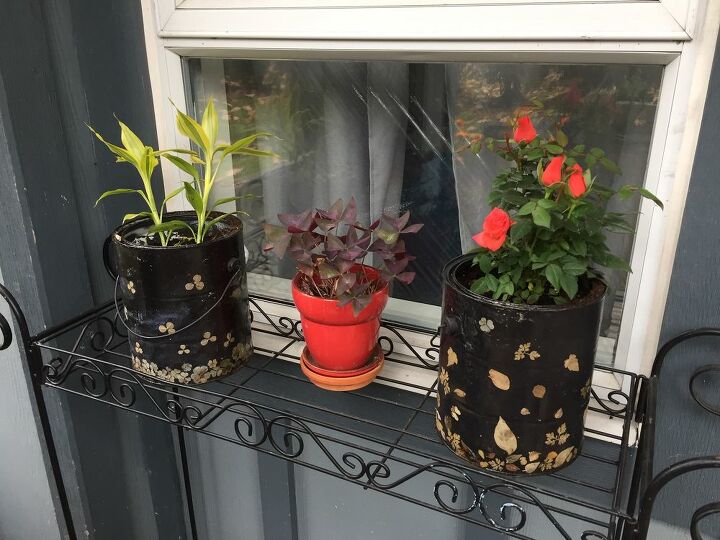
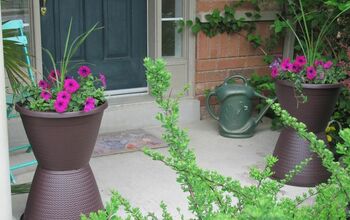
And these are the finished products, two DIY paint can planters – saved from the landfill and growing new life!
For lots more DIY Planters & Garden Upcycling ideas visit the Garden category on my blog here or check out this popular post about Summer Upcycling Ideas from uses for old beach balls to gorgeous DIY wind chimes and Chair Planters!
Resources for this project:
See all materials


Any price and availability information displayed on [relevant Amazon Site(s), as applicable] at the time of purchase will apply to the purchase of this product.
Hometalk may collect a small share of sales from the links on this page.More info

Want more details about this and other DIY projects? Check out my blog post!
Comments
Join the conversation
2 of 21 comments
-
Super pretty. Great job and very creative. Thanks for sharing. I have several paint cans from the office/spare bedroom makeover and the main bathroom. I was going to put a plastic bag in them and use them for spices. This has changed my mind. 😀🌷
-
The paint doesn’t bother the plant


Frequently asked questions
Have a question about this project?