


Oh Buoy! Turn Scraps Into Adorable Nautical Decorations!

If I’m not outside enjoying every minute of summer, I’m somewhere dreaming about its return. So while I look out the window watching the snow accumulating on the ground, I like to distract myself with something that makes me think about the sunshine. These buoys are one of my favorites, as it’s an easy and inexpensive project. You likely have all of the materials already in your garage.
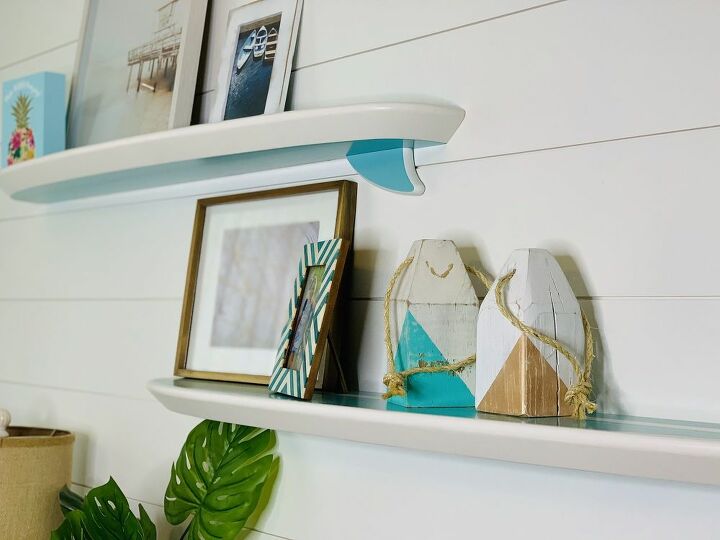
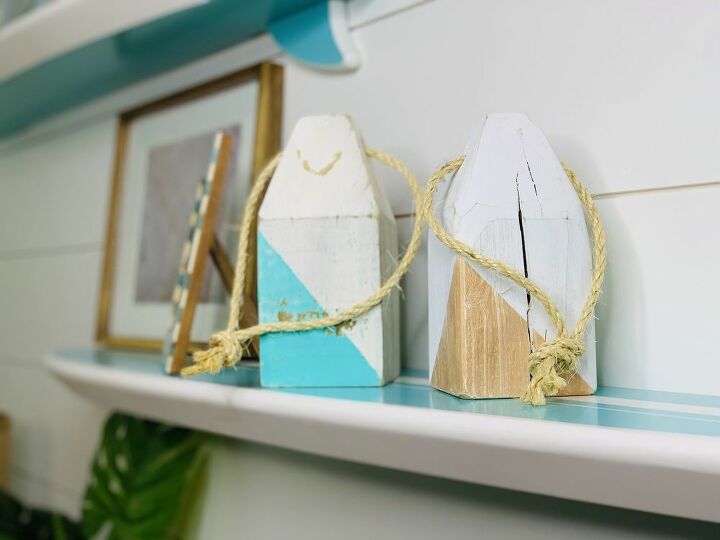
Once you’ve gathered your supplies, the first step is to decide how tall you'd like them to be. I like to make 2-3 in varying heights so I can arrange them together. In this picture, the smallest one is 5.5 inches, and the largest I make are 10 inches tall. Ultimately, it will come down to personal preference.
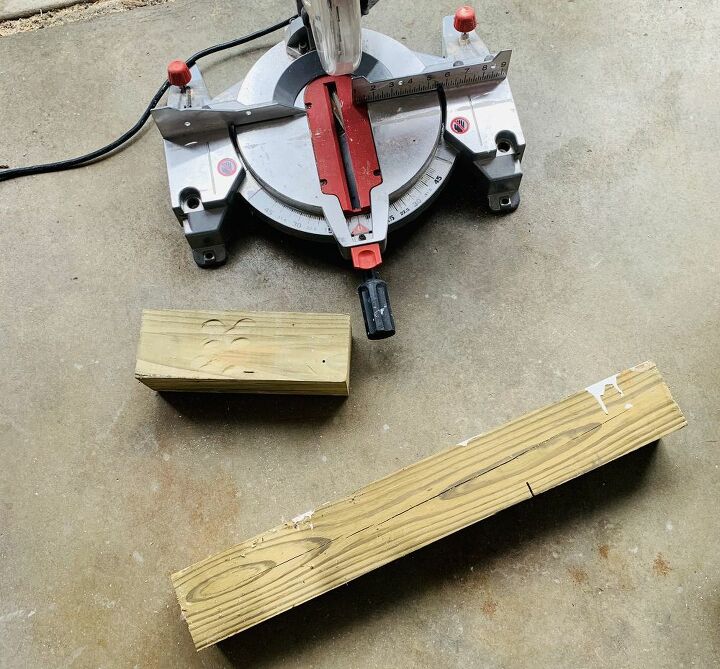
Measure and cut your pieces to your desired sizes.
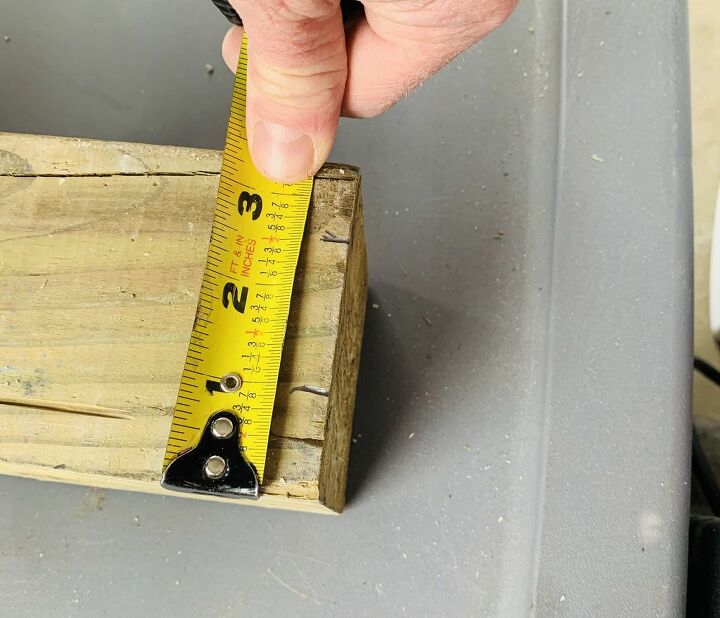
After cutting them to size, you’ll want to trim the corners. Again, the angle you cut is going to come down to personal preference. I like to make the top a 1- to 1 3/8-inch square, but you can make it a little larger or smaller. Start by measuring in 1 inch from each edge, on each side and mark it.
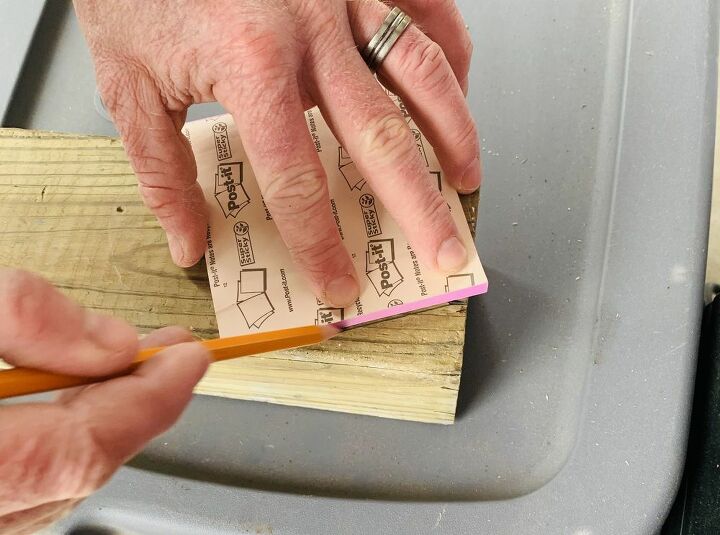
Decide on your angle and mark that on each side. You can use a speed square if you want it to be perfect, but I like to just eye it.
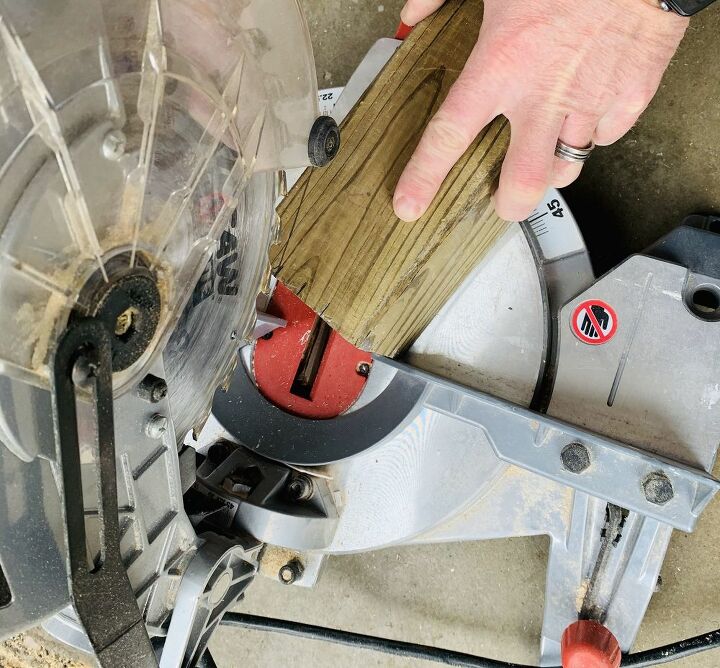
Then, line it up on the saw and cut each corner.
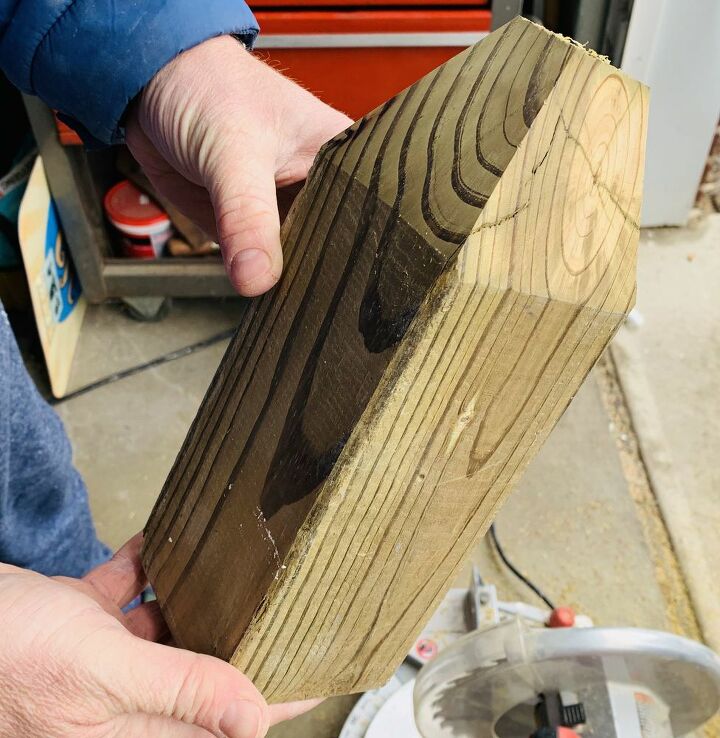
Here is what it looks like after you cut each corner.
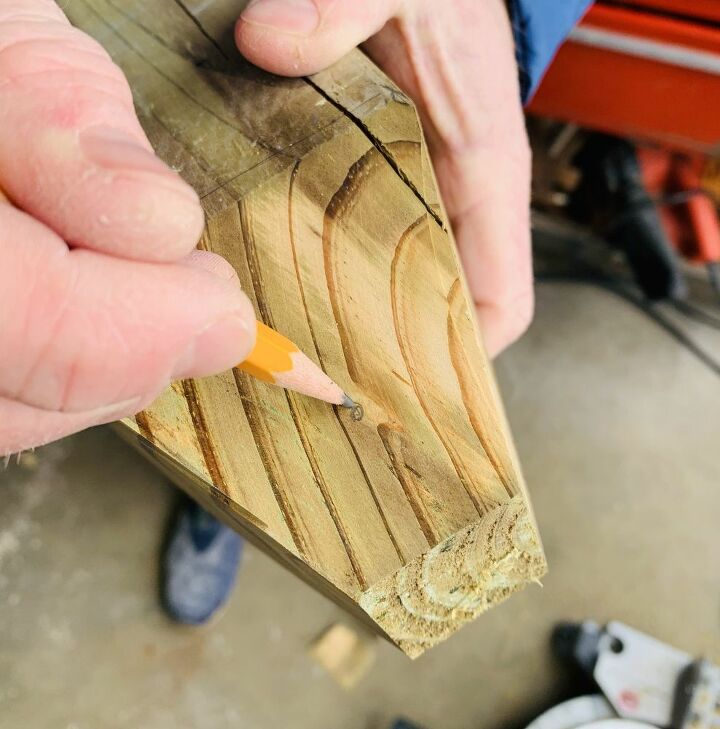
You’ll also want to drill the hole for the rope during this stage. Decide where you want the hole and mark it.
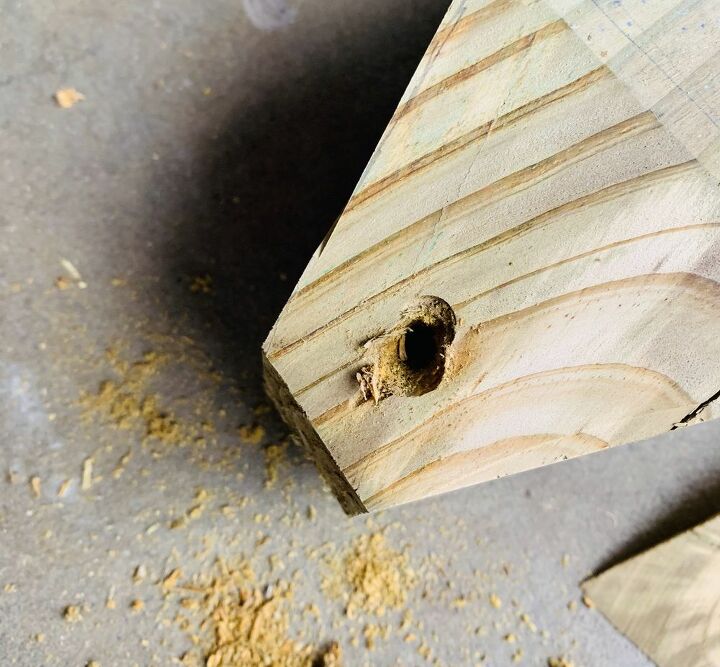
You’ll then drill the hole and twist the drill around to make it rough and weathered looking. You can sand it down a bit after so it's not quite so rough.
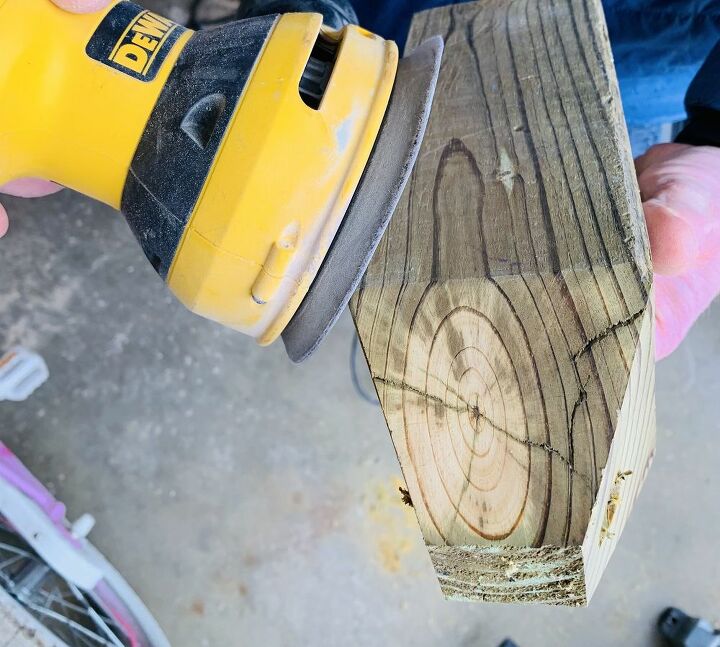
Now that the cutting is finished, I like to sand some of the corners with an orbital sander to the make it slightly more rounded and worn looking.

Next you’ll paint them whatever color you decide. I like to paint the base a white or cream color, and then add colored stripes or triangles. After you’ve finished painting the base, you’ll want to wait plenty of time before the next step (I usually wait at least a couple hours, if you want to be certain, wait overnight before you apply tape for painting).
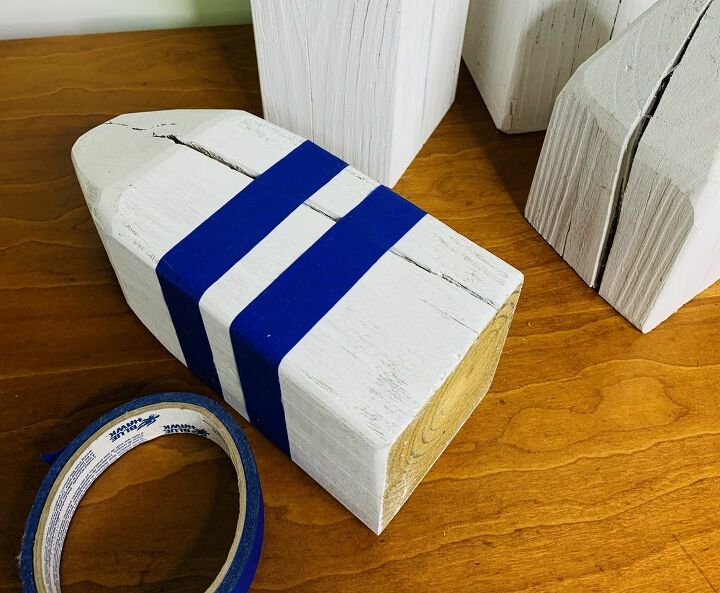
Pick the pattern you'd like and tape the areas you want to paint. Press firmly on the tape to reduce the amount the paint bleeds. Painting with a sponge and tapping to apply the paint can help reduce how much ends up under the tape and on the white areas. Generally, the rougher the surface, the less contact the tape has with the wood and the more if may bleed. Don't worry too much if it bleeds a little, as you can sand it and roughen it up a bit to create a worn look. When you are done painting, remove the tape and allow some time to dry.
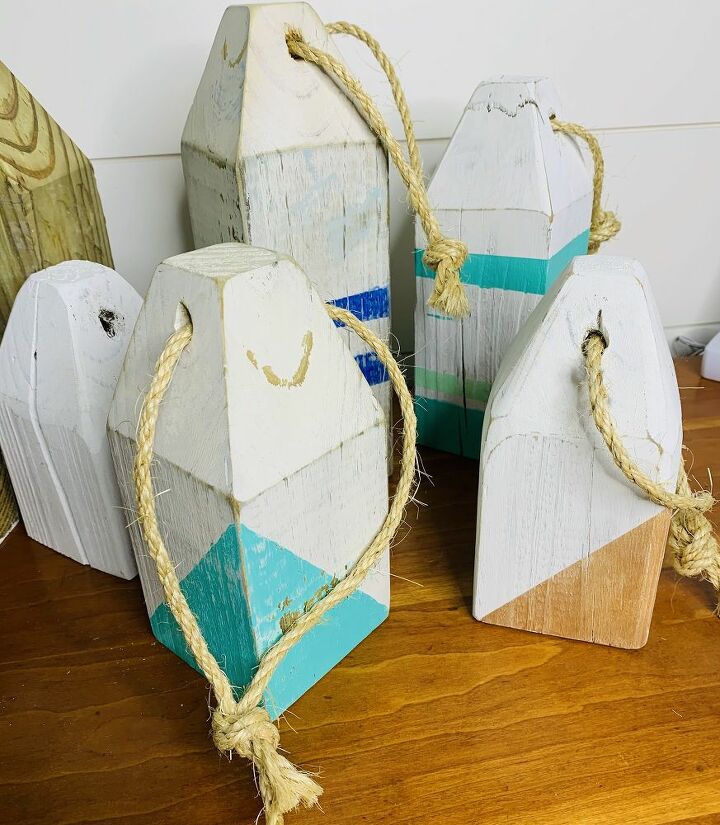
Then sand to distress to your liking and insert and tie the rope.
There you have it! A nice little reminder of summer and warmer times...only 120 days away : )
Resources for this project:
See all materials


Comments
Join the conversation
-
What a cute item for a coastal themed home without being over the top. Love the look on the shelf.
-
I really liked the surf board shelf!


Frequently asked questions
Have a question about this project?
What is it supposed to be?
What is the angle you used for the cut? I LOVE these!!!