


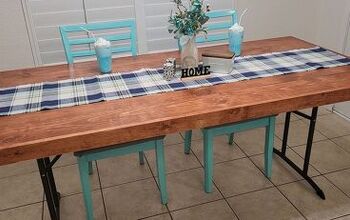
How to Build Your Own Table: No Carpentry Skills Required

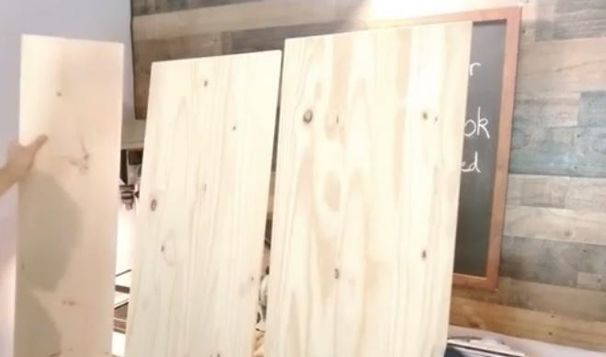
Did you know wood goes on sale? The clearance sections at home improvement stores are a fantastic place to look for wood that is damaged or in some cases, simply purchased and returned but still in new condition. Do not pass up a great deal on wood that is perfect for DIY projects like this one!
I felt like I hit the jackpot when I found four 1x12 and some 1x18 untreated pine boards for a whopping 70% off in the clearance section of the home improvement store and was thrilled to use it to build a table. Don’t be scared off by the idea of building a table or think that it is too complex to try. Follow these simple steps to build your own table and enjoy the low costs associated with doing it yourself!
You Will Need:
- Circular saw
- Hand sander
- Drill
- 2x4s
- 1x18 for tabletop
- Metal brackets
- Screws
- Wood stain or polyurethane
Step 1: Choose Table Size and Purpose
I wanted a table for a basement workspace and chose a table height best for my most common projects and best suited to the clearance tabletop wood I found. If you want to adapt this tutorial for a shorter, coffee table or taller bar height, measure legs to a suitable height.
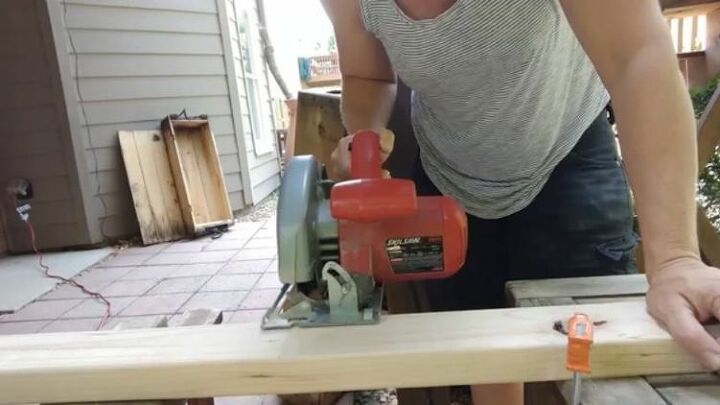
Step 2: Cut Legs for Table
I used a circular saw to cut my table legs to the height that I wanted my table to stand and then used a hand sander to smooth them.
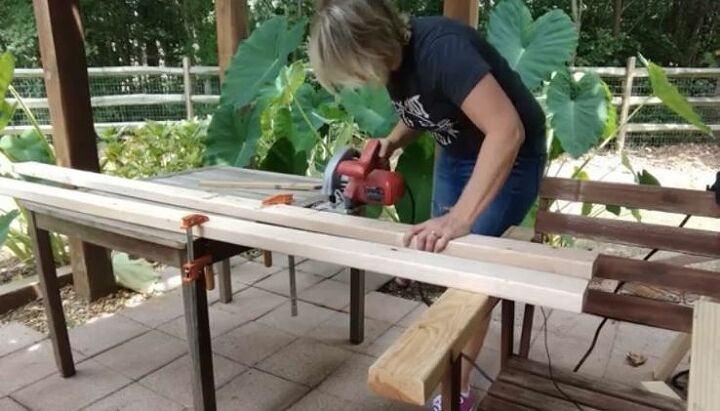
Step 3: Cut Boards to Brace Table Legs
I cut 5 boards to attach to the underside of my tabletop to brace the table legs. First, cut two long boards for each long side of the table, and then three shorter boards to connect across the tabletop to both long brace boards. The long brace boards should be about an inch shorter than the table. Next, measure and cut three boards that will join the two long side brace boards on each long side of the table. You will use two of these boards as the base for each set of legs and the other will fit across the center. Sand the ends.
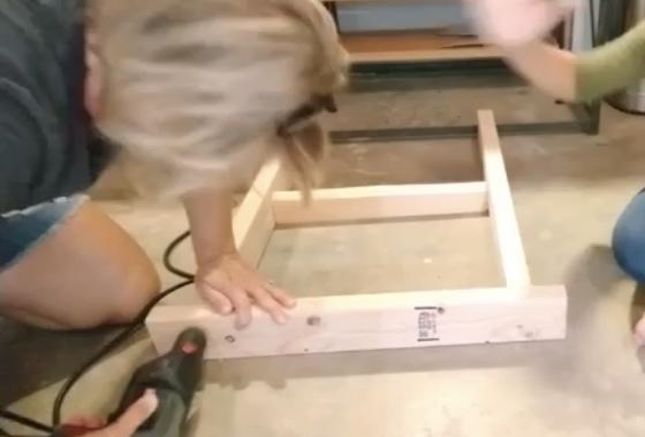
Step 4: Build Frame for Table Legs
I created what is essentially a mini-table with the legs and two of the three shorter pieces of the 2x4 cut in the previous step to attach to the bracing boards under my tabletop. Drill the small piece of wood into each table leg.
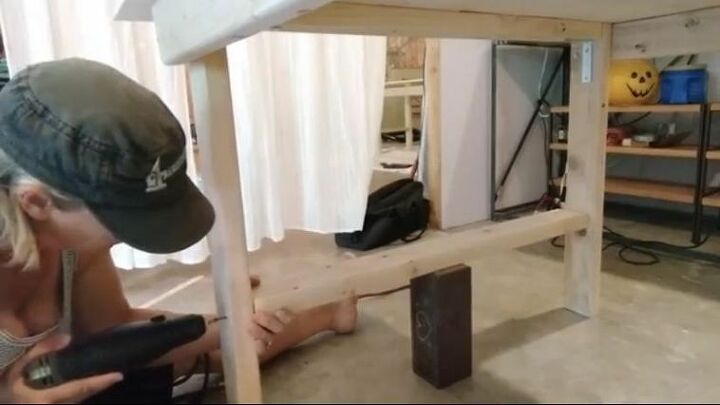
Step 5: Add Stability to Leg Frames
For added stability, I cut a board to fit in between the two legs and drilled it into the legs at the bottom of the legs’ frame when the table is upright. Use a brick to hold the wood in place as you fasten it to the legs.
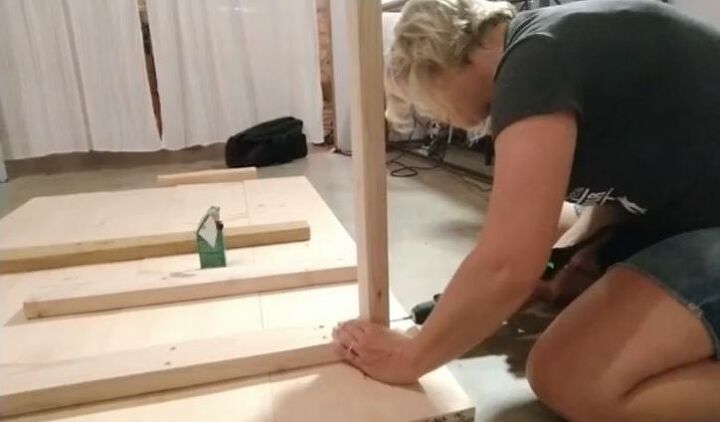
Step 6: Attach Legs to Table
First, I attached my table legs to the underside of the tabletop by drilling the board they were fastened to into the tabletop. At this time, I also drilled the center 2x4 into the center of the tabletop.
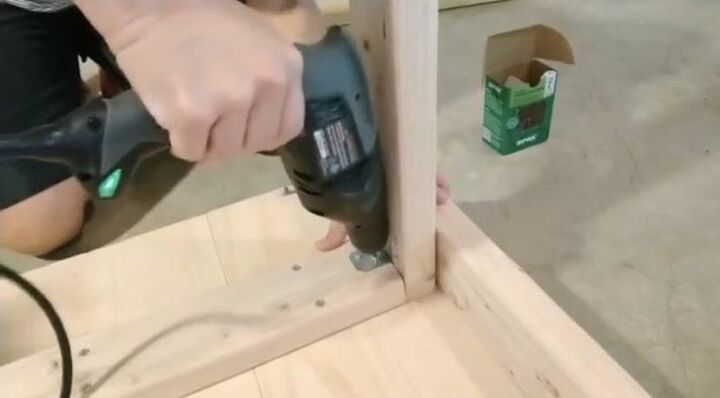
Step 7: Install Brackets on Legs and Braces
The weight of my tabletop was heavy for the legs and to prevent wobbling, I reinforced the legs with brackets. Connect each leg frame to the brace boards with screws on both sides and then connect the center 2x4 to the brace boards with brackets.
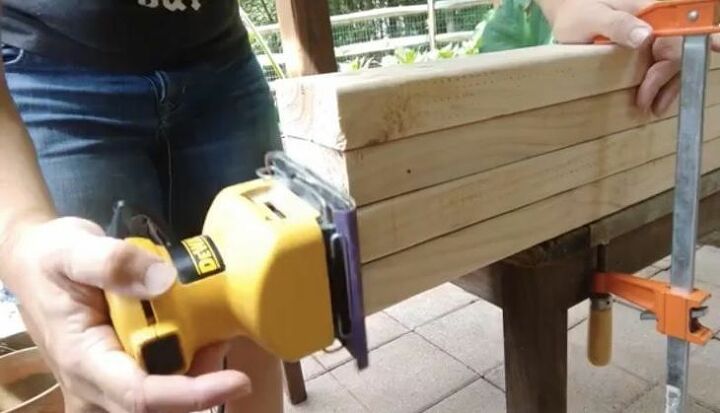
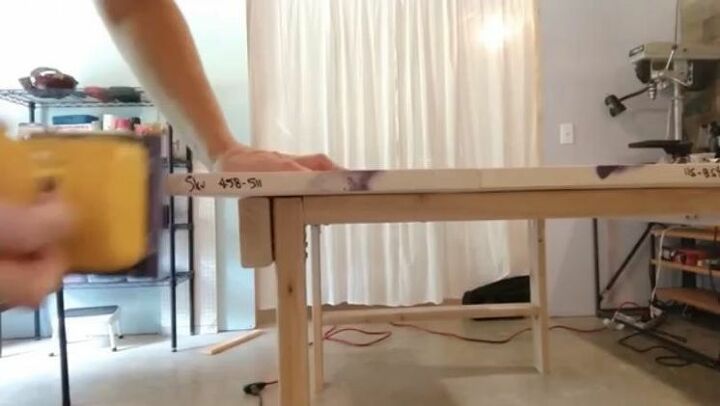
Step 8: Sand
I used a hand sander to go over the edges and surfaces of the table one more time to prepare for coating the table with polyurethane.
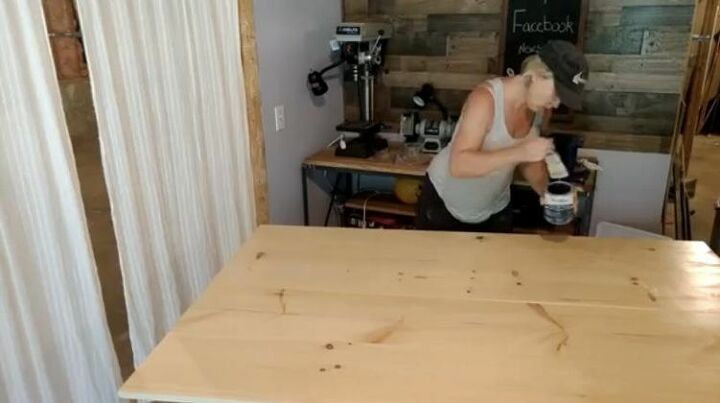
Step 9: Brush on Polyurethane
My table was for a craft and work project area and I knew that it would be getting paint on it so I chose to coat my table with four coats of polyurethane. I brushed on the polyurethane, let dry, and sanded between coats. This will allow paints and other spills to be wiped away after projects. If you want to use the table in another area of the home you can choose a wood stain or paint color for a less casual appearance.
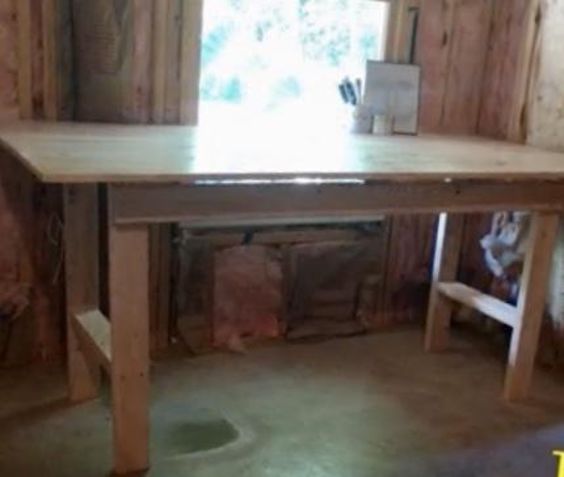
Step 10: Set Up Table and Use or Decorate
I put a few picture frames and some frequently used tools and writing supplies on my work table and look forward to using it each day!

This table project was very simple and someone with very little carpentry skills can create a similar table with the right tools and careful measurement. Be sure to check the home improvement clearance sections or make use of wood you have leftover from other DIY projects to keep the costs of building your table low! Apply the same design principle shown here and create a unique table for your own workspace or home office.


Comments
Join the conversation
-
Love it. I'm going to do this. I need a sewing machine table. Thank you🇨🇦
-
I'm building a little paint table for me n also one for a little desk for doing those writing n figuring every month..lol.
Great idea! Specially since I'm by far a carpenter. Thanx for sharing!


Frequently asked questions
Have a question about this project?