


Thrift Store Pub Table Makeover
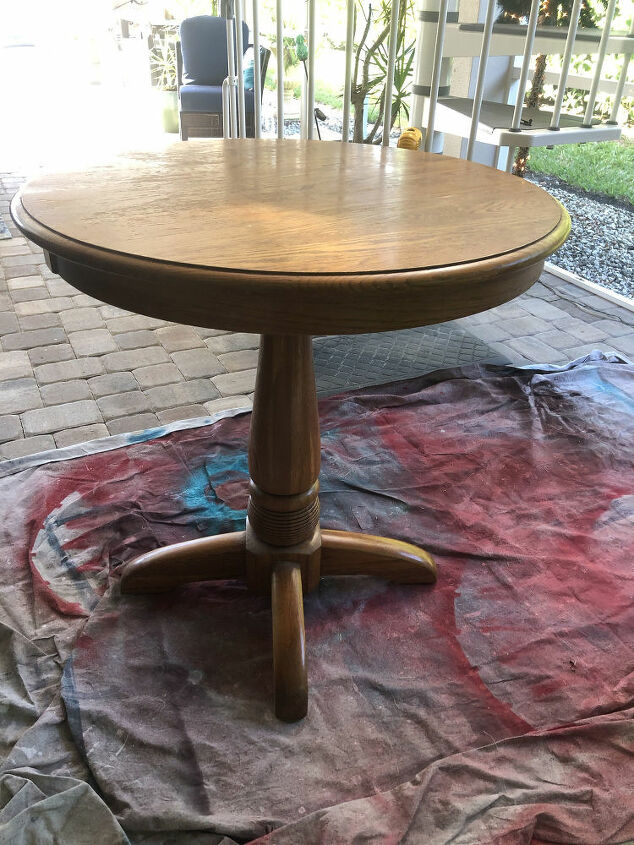
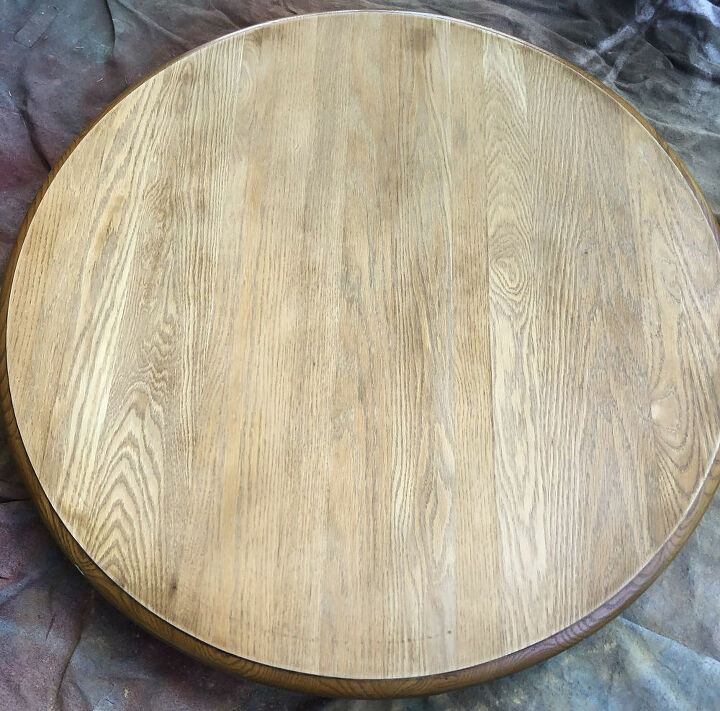
I scored this fun little pub table for $35 at a local thrift store. I loved the height, size and shape of it. It had seen better days and was definitely beat up and needed a good makeover. The top was pretty scratched up and the color was a bit outdated. Read on to see what I ended up doing with it.
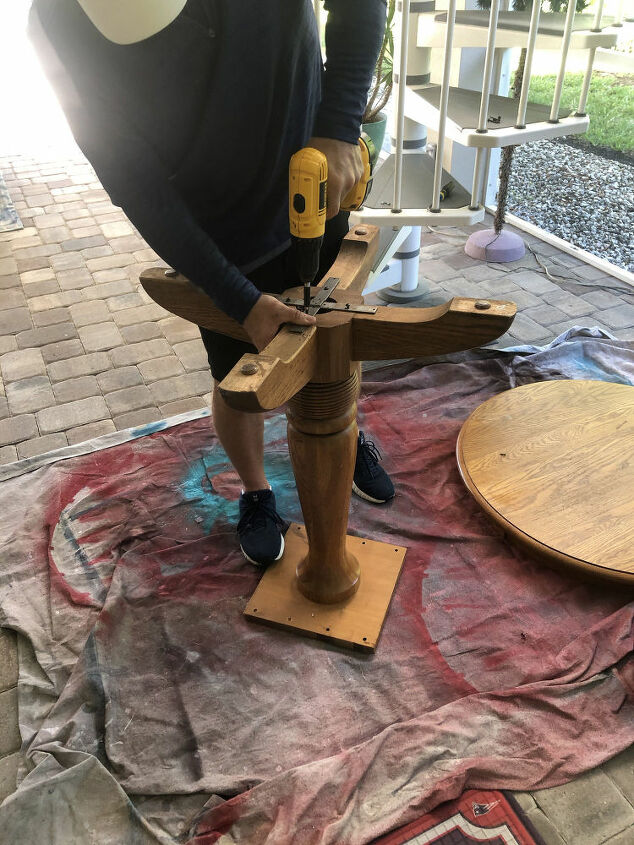
First, we took the top of the table off. The base legs were a bit wobbly, so my husband tightened them up for me.
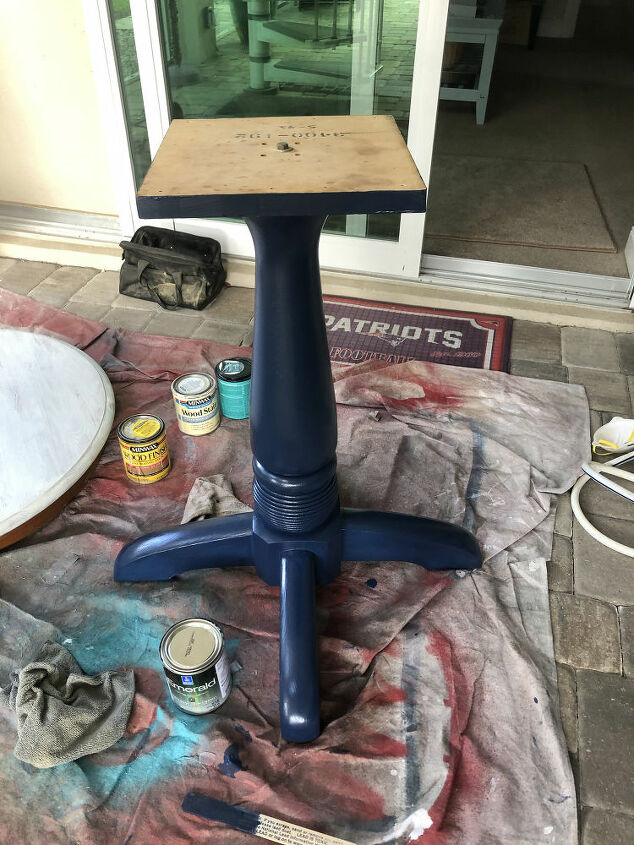
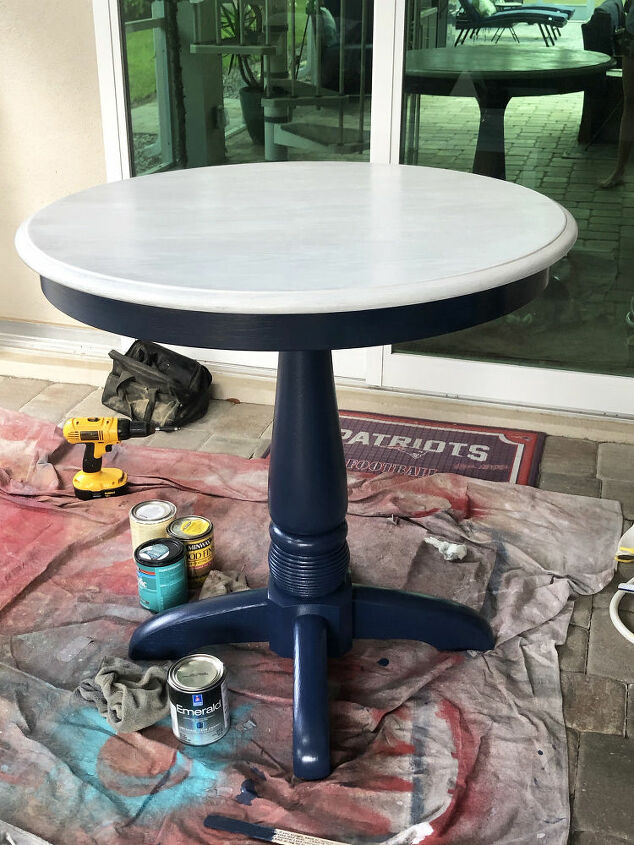
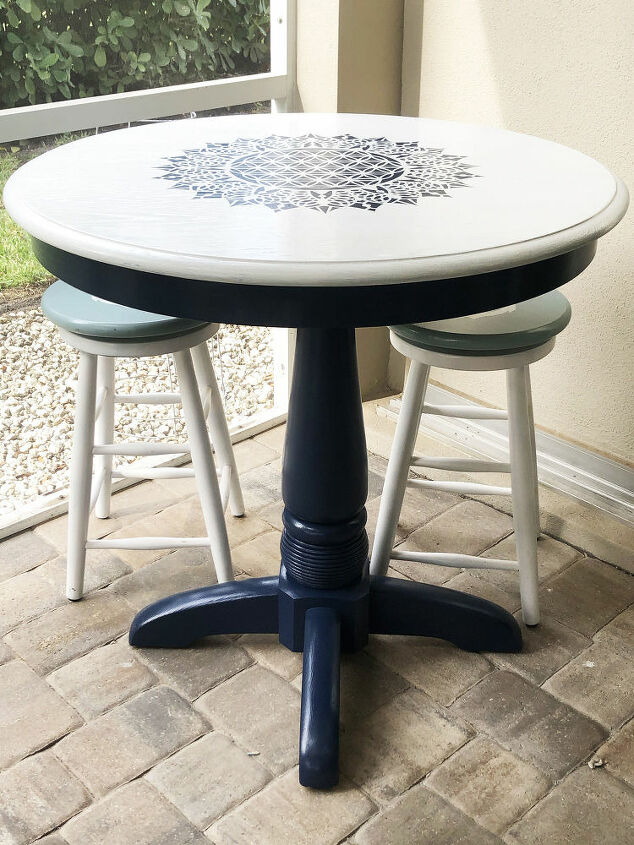
I wanted to paint the legs a navy blue, so I did a little research and decided to try a color called Naval from Sherwin Williams. Verdict….I LOVE IT! Before I painted the base I gave it a light sanding.
Now, what to do with the top? I sanded it first using my hand sander and did not even bother using any paint stripper. A good sanding got rid of the top layer of stain, and most of the scratches went along with it.Here is it below before I sanded...
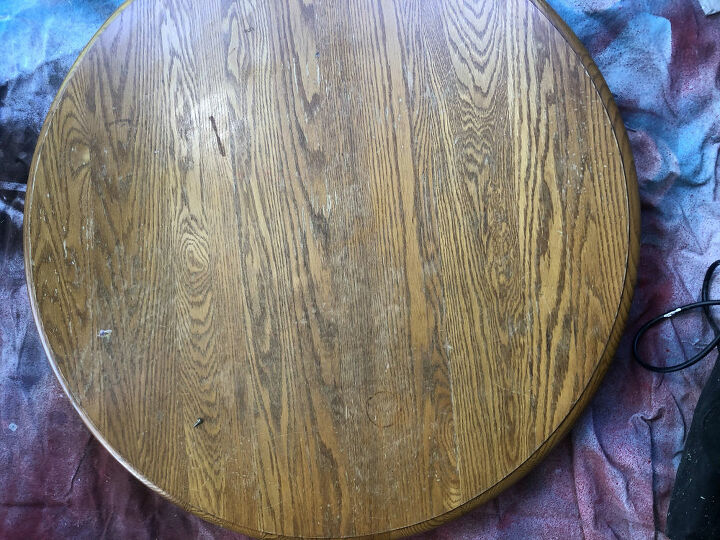
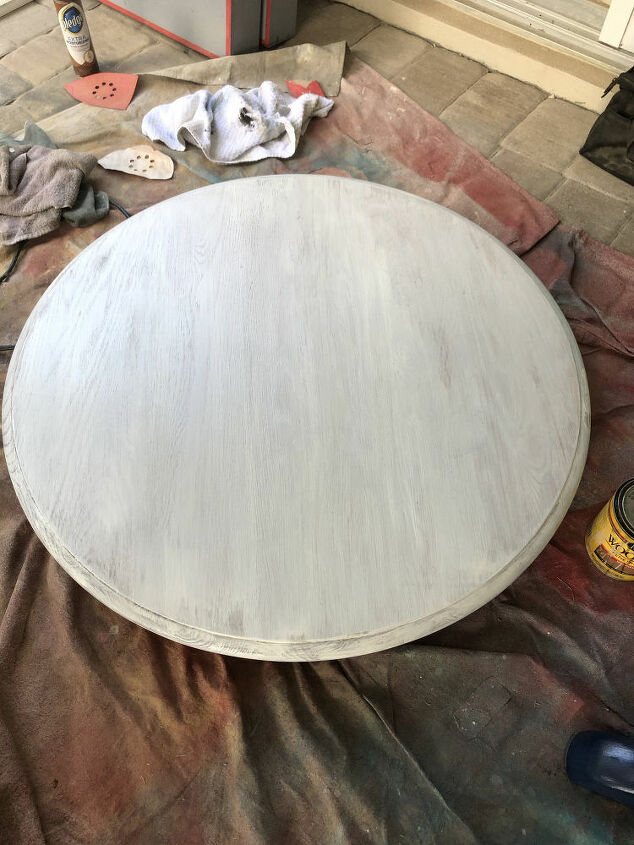
Here is it after I sanded...
I contemplated painting the top navy too, but instead decided to use some MinWax White Wash stain I had in the garage. I figured if I didn’t like how the stain looked I’d just paint over it with the navy, but it turns out that I really liked it! Below was one coat applied.
After applying 3 coats of stain and letting it dry, I put the top back on to the base and it all came together and I decided I was definitely keeping it.
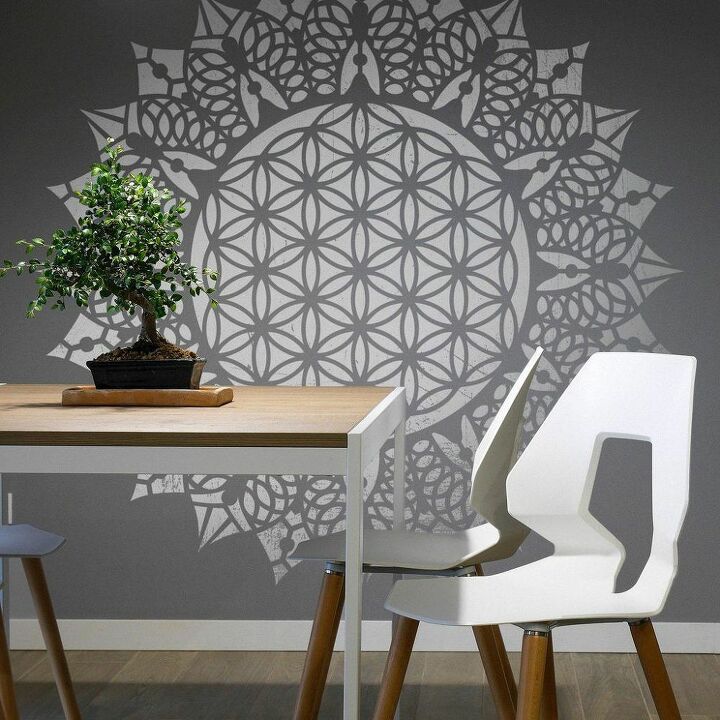
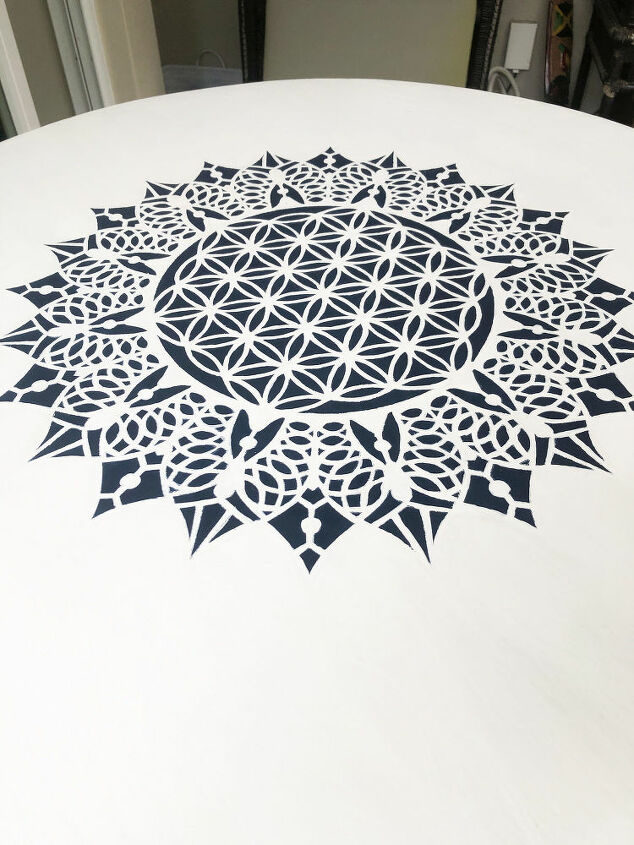
It looks nice the way it is, but I thought I would kick it up a notch and add a stencil to the top. Stencilslab.com agreed to work with me on this project and sent me this amazing Mandala stencil! (Use code thehousehouse for 10% off). Isn’t it gorgeous? My table is 36 inches so I ordered the 20×20 inch size.
I don’t have a ton of experience with stencils, especially ones as intricate as this. I researched a lot, and watched a few youtube videos on how to properly apply a stencil, before I attempted this project. All the experts had the same advice…1. make sure your surface is clean and smooth 2. make sure you use the correct materials 3. don’t overload your brush or roller with to much paint, take your time 4. use a small amount of stencil adhesive to adhere the stencil to the surface leaving less gaps to prevent bleeding 5. and most said you will get some bleeding, it is just the nature of the beast. I followed most of the advice above (except for using some adhesive), and still got a fair amount of bleeding. I am sure it is because of the surface of the table being very porous. It is wood after all. Anyway, it wasn’t hard to make touch ups, but it was time consuming.
Here is what I did…
I used painters tap and carefully pressed the stencil down and smoothed it out as best I could as I was taping. Next, I put a small amount of paint on the paper plate and rolled the foam roller in it until it the foam was saturated. Then I began to paint slowly and tried not to press to hard. I waited at least 10 minutes between coats and made sure to use a small amount of paint each time.
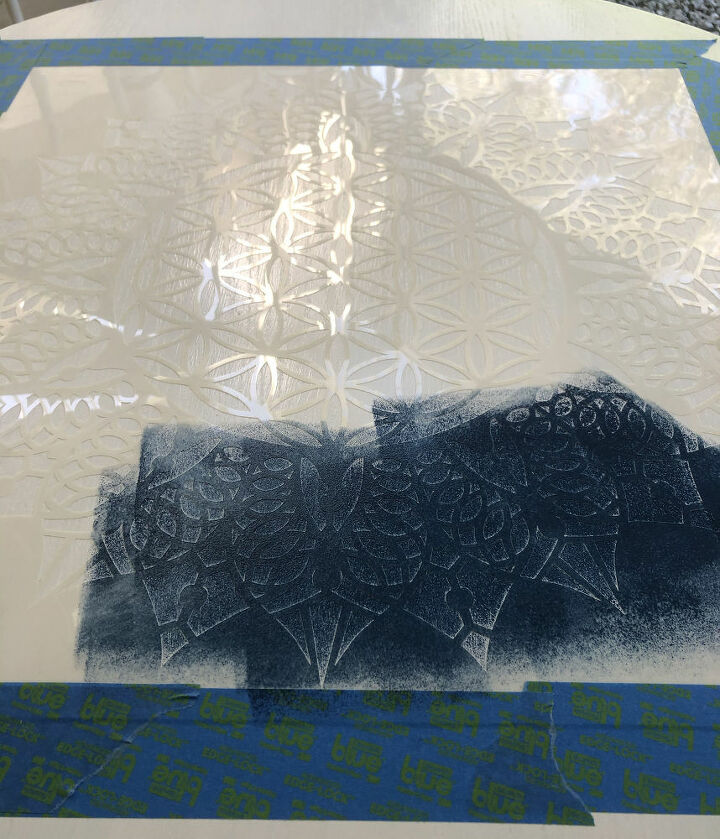
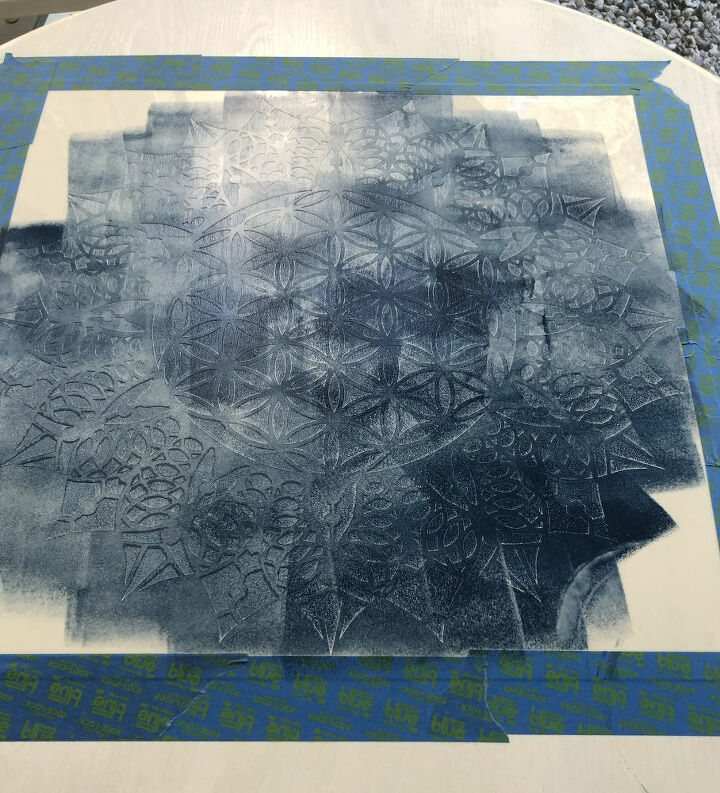
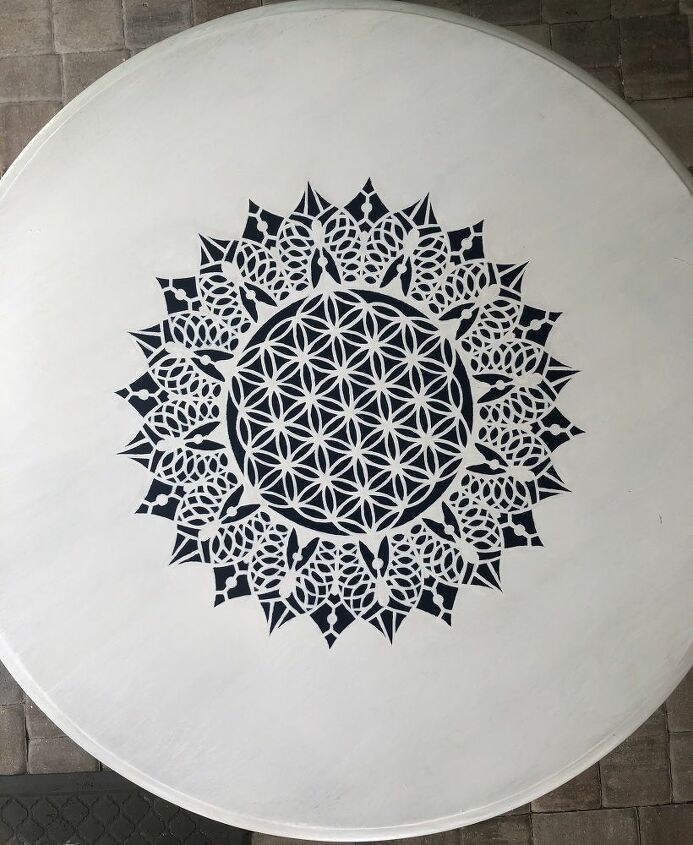
Here is how it looked when I took the stencil off. A good amount of bleeding in a few spots, but I knew I could fix that.
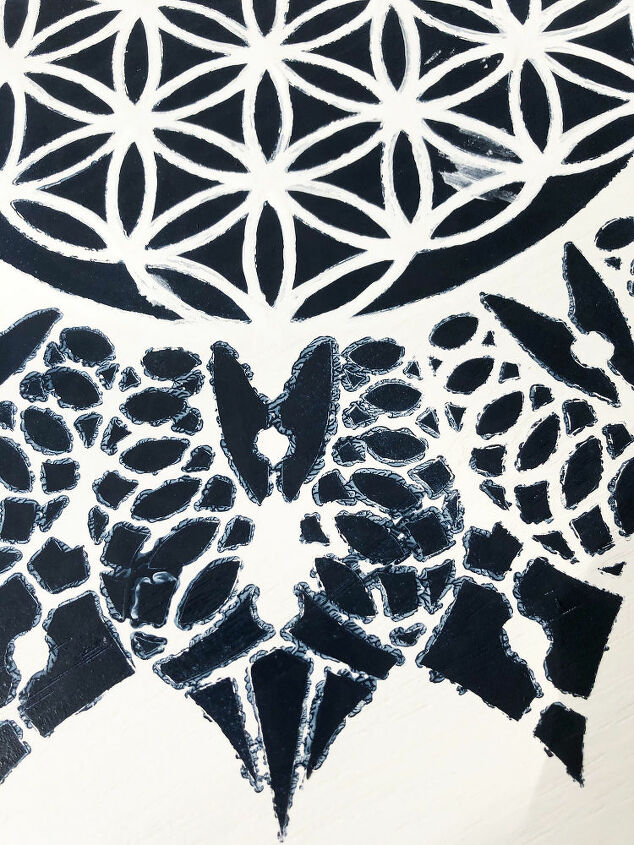
I used a small paint brush and the white pickling stain that I used on the top to fix any mistakes. Admittedly this took a bit of time. Approximately two hours. But, I am a perfectionist!
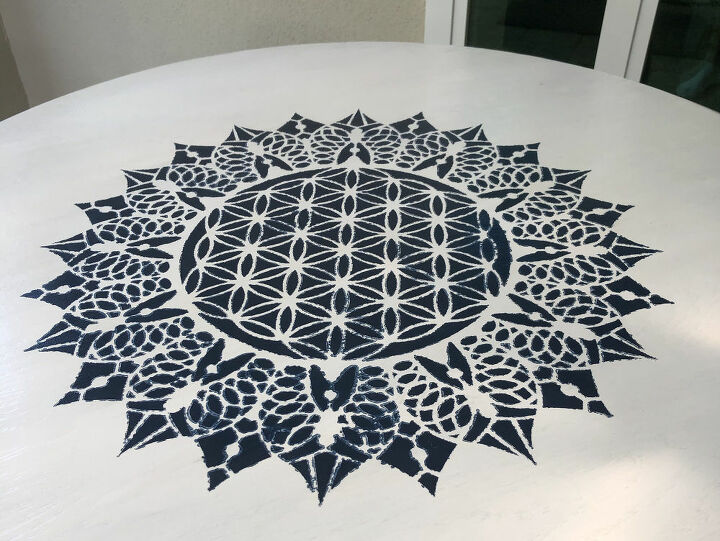
AND…..VIOLA! Below is the finished product. I am really loving it. (To seal it all, I used 3 coats of Minwax Polycrylic Satin Water-based Polyurethane.)

Check out my blog post for tips on applying a stencil from a novice like me.
Resources for this project:
See all materials


Comments
Join the conversation
-
Beautiful job! Love the blue and white. Great choice of the stencil. Perfect! Thanks for sharing. 🙂
-
lovely work!! love the stencil in the middle.


Frequently asked questions
Have a question about this project?
Quick question for you. Is this table being used out of doors or it is in a glass enclosed sun room ? The reason I asked is because I see a lot of posts from people using woods products for out of door furniture such as bed benches. To me that is such a waste. Even pressure treated wood designed to be used out of doors has a relatively short life span. I had a nice little table that had a marble top. I put out on my screened in porch and it literally fell apart in just a few months from the humidity. Just something to think about. This table is way to pretty to let it get ruined. Great Job!
Did you use a satin Paint finish and did you use anything like minwax to seal the finish??
A great hint for stencilling a project like this is to lay your stencil where you want it, paint a coat of base color first (in this case, pickled white), let dry then paint over with stencil color (navy). Your bleeding will be minimal if at all