


Easily Make and Install Brass Light Fixtures to Revamp Your Space!

In this guide, I’m going to help you to completely change the look and feel of your bathroom through the very easy method of updating your brass light fixtures.
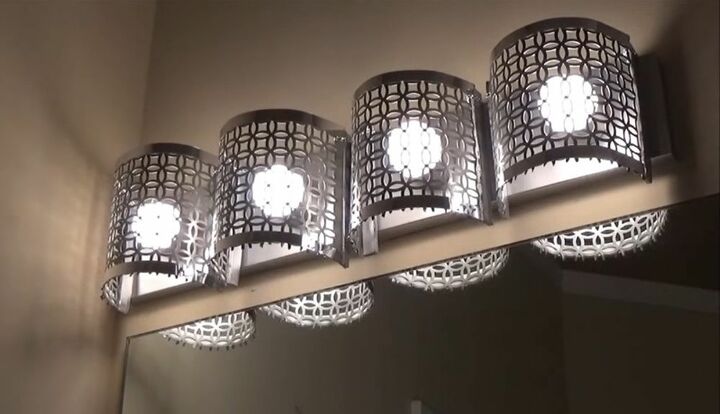
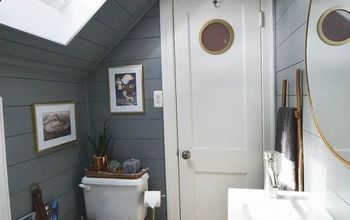
Starting out on my project, I saw the bronze coloring and exposed bulbs on my lighting sconces as looking aged and a bit boring. Now, I feel like my updated brass bathroom light fixtures add a new aesthetic to the room, making the sconces look more modern and classy.
While you may not have the same brass sconces in your home or in your shopping basket, you can still apply the same process as I have to help you to create unique and stylish brass bathroom light fixtures to install in your bathroom, kitchen, or wherever you please!
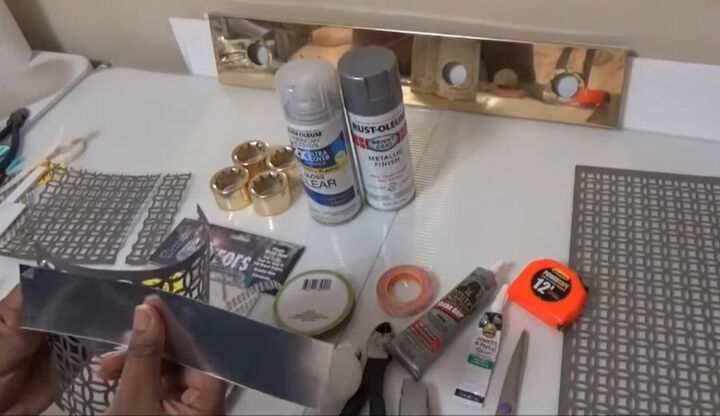
Tools and Materials
- Sheets of patterned aluminum
- Light fixture frame
- Metallic finish spray paint
- Black marker pen
- Wire cutters
- Glue that’s suitable for metal (not hot glue)
- Wire cutters
- Utility knife or scissors
- Mirror sheets
- Double-sided tape
- Bulbs (they will determine how you build your sconces)
- Protective clear gloss spray
- Measuring tape
- ‘Bling wrap,’ small chain, or floral wire
- Newspaper
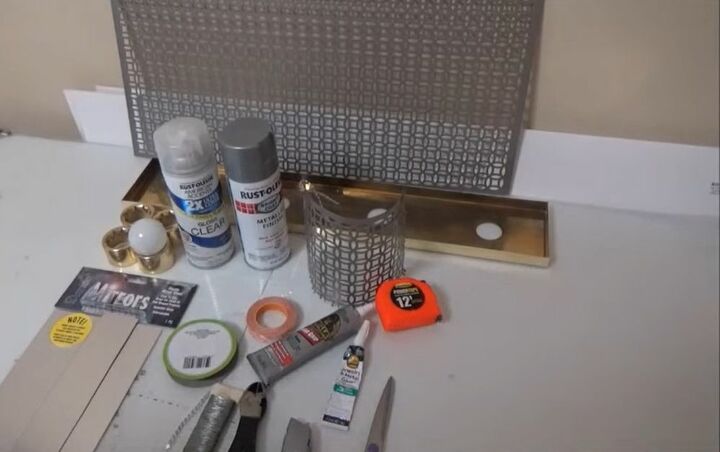
Step 1: Gather Your Materials
As is the case with any DIY project that I get started on, I always assemble all of the tools and materials that I’ll need before I get started.
I always find that, if you do this first, the whole process is much faster and easier than if you have to keep leaving your crafting area to grab the next tool or material.
Make sure that you have all of the tools that I’ve listed above as well as the materials that you’ll need to build your brass bathroom light fixtures.
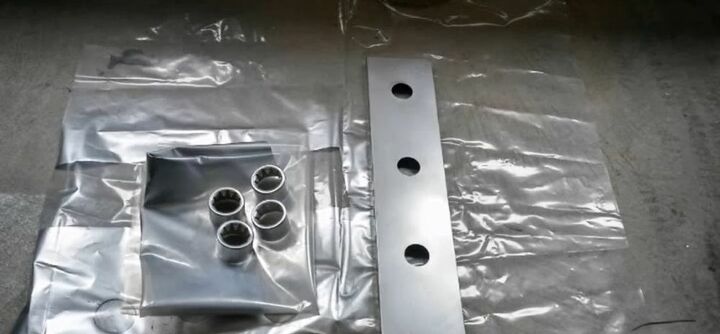
Step 2: Spray Paint the Fixtures
This part is very simple: All you have to do it lay down some newspaper, lay the metal light fixtures out on the newspaper sheets, and then spray it all with your metallic finish spray paint.
To make sure that your home stays clean, safe, and doesn’t suddenly feature silver stains on the floor or worktops - it’s best to do Step 2 outside.
When I was creating my brass light fixtures, it was a bit windy outside but, as the parts that I was spraying were quite heavy, they kept the newspaper from flying off. As an added bonus, the paint dried quicker in the wind, meaning that I could spray the top layer, turn over the fixture pieces, and spray the other sides within 30 minutes of the first coat of paint.
Now that you have spray painted everything, a good idea is to use the protective clear gloss spray. This isn’t a necessary step, but using the protective spray helps to stop the paint that you’ve just sprayed on from peeling or being easily scuffed.
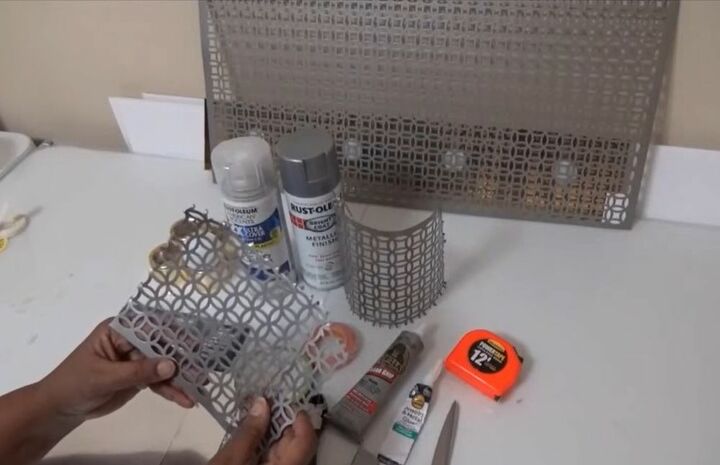
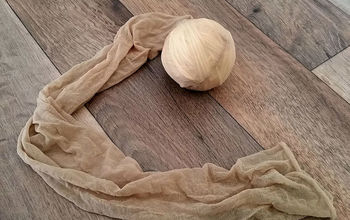
Step 3: Cut and Shape Your Aluminum into Sconces
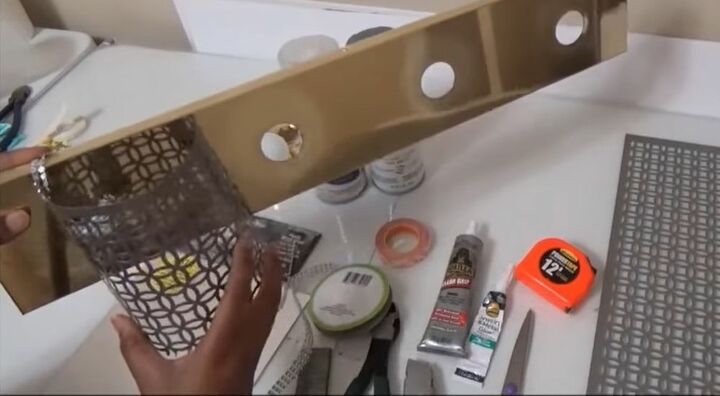
The first aspect to consider when you’re working out how much of your sheet of patterned aluminum to cut, is the size of your light bulbs. If you’re using large bulbs, you’ll want to allow for a little extra width to your original cut so that the curved sconces can fit around the bulb once you install your lights.
Now that you’ve considered the extra tolerance that you need to give to your calculations, take your measuring tape and mark out equal-sized sconces to cut from the sheet. This is where I found my black marker pen came in handy as I could easily mark exact measurements along the aluminum sheet, instead of count my way up the pattern.
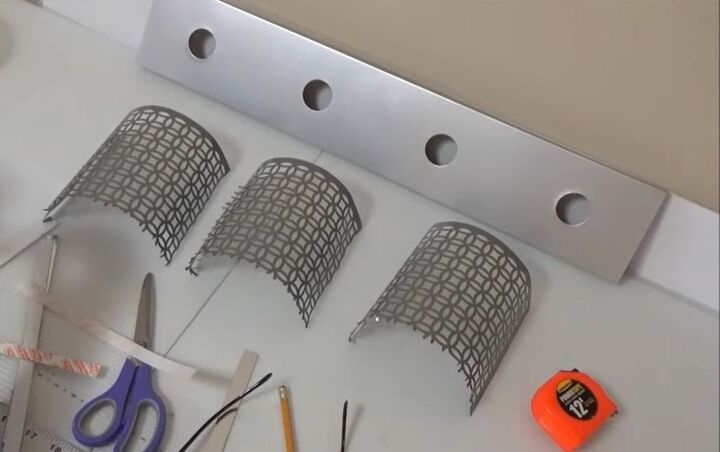
Use your wire cutters to cut out the sconce shapes that you desire from the aluminum sheet. You might find, as I did, that once you’ve cut out a shape, but want it to be a little shorter, you can quite easily bend and snap the aluminum.
With your sconce sheets at the ready, just gently take hold of the two sides which will meet the backplate of the fixture – which you spray painted earlier – and bend them inwards.
You’ll want to be careful while doing this to avoid cutting your hands on any of the sharp edges, and to not over-bend the metal into a full circle or until it snaps. You’ll find that the aluminum is very malleable and quite easily bent into a semi-circle shape – when looking down on the sconce.
Step 4: Attach a Chain to the Top of Your Sconces and the Fixture
Step 4 is where you’ll really get to show off your ingenuity to anyone who asks about your upgraded brass bathroom light fixtures.
To hold your aluminum sconces in place on the backplate fixture while also allowing access to the light bulb – for when you need to change it – all you need is some bling wrap, small chains, or floral wire.
For the purposes of this guide, I refer to the bling wrap, but feel free to use either of the other two options as they’re all strong enough to hold up the sconces.
I find that the best thing to do first for this step is to lay down your fixture backplate and place your fixture on top to see where you want them all to line up. When they’re in line, use your black marker pen to put a little dot along the very top face of the backplate so that you know where to stick down your sconces next.
To attach your sconces, all you need to do is, thread the bling wrap trough the top left corner so that it loops through, and do the same with another piece of bling wrap in the top right corner as well.
Next, you need to bring the backplate to your sconce to line up with the little marks that you made beforehand. While threaded through the corners, lay the bling wrap over the top face of the backplate fixture, and stick it down with your metal glue.
You’ll want to wait a while for the glue to dry (a few hours at least) before you go about sticking down your next sconce, so lay the fixture on its back so that nothing moves around while the glue dries.
With all of the fixtures attached by two bits of bling wrap on each, feel free to cut off any excess that hangs over the back of the fixture. You’ll also find that, because of how you’ve fixed them down, you can easily raise and lower the sconces for quick access to the light bulbs.
Step 5: Wrap the Fixtures with Sheeted Mirror
When I’m making anything like these brass light fixtures, I find that there’s plenty of room to be creative and personalize my creation. With this project, I got a hold of some mirror sheets to add a bit of shine to sconces while also concealing any frayed edges or factory-cut edges.
Most mirror sheets have a white back, which you peel off to reveal the adhesive side. So, you can use your measuring tape and marker pen to measure along the strip, and mark exactly how much you’d like to cut off.
I recommend cutting off two strips per sconce – one for the top and one for the bottom – so that you can cover all of the naked edges with the mirror sheet.
After cutting the mirror sheet and sticking it to your sconce, you might see that the mirror part is quite dull. But don’t worry, most mirror sheets come with a protective film which makes them appeal less reflective and shiny than they actually are when finished.
I advise leaving the protective film on until you have installed the whole brass bathroom light fixture just in case an accident damages the mirror strip.
Step 6: Install Your Updated Brass Light Fixture
By now, you should have your new aluminum sconces attached to your brass light fixture via some bling wrap as well as mirror sheet strips stuck to the top band and bottom band of the sconce.
If you’ve just put all of the pieces together, it’s a good idea to leave your brass bathroom light fixtures overnight to allow the glue to dry on the metal and the mirror sheets.
When everything’s dry and just as you imagined it to look, all you have to do is take your DIY project and attach the fixture back to where it was in your bathroom. This should be quite an easy process as your upgraded brass light fixtures didn’t require you to change any of the installation features, not to mention the sconces are very light.
Installing your new lighting is where everything can go wrong, though. As the sconces are only made of aluminum, they will bend very easily. So, as a rule, I made sure never to touch or apply pressure to the metal fixtures themselves when reattaching everything. I instead lifted them up and applied pressure underneath and round the light bulb space if needed.
Once your new light fixtures are sturdy and in place, it’s time to lift up your sconces, screw in your light bulbs, and turn the lights on!
Admire Your Work!
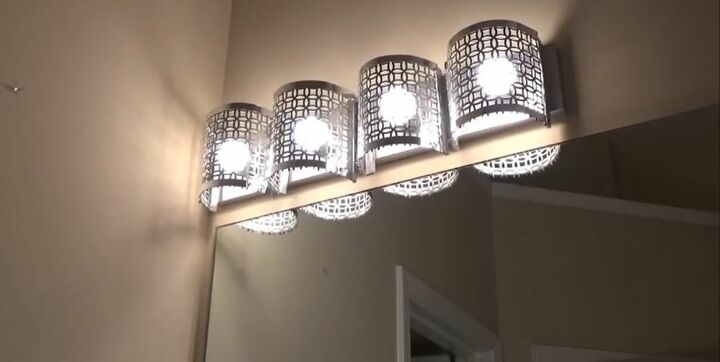
By following the steps that I’ve laid out above, you’ll easily be able to make your outdated and old brass light fixtures into a bright and shiny piece of décor.
Quite possibly the best part of the process of updating your brass bathroom light fixtures is that it’s very cost-effective, fun, and easy if you follow the method above.
Some of you, particularly those who are a bit heavy-handed, may find that applying the mirrors before the chains is preferable. You can mix around the order of steps 4 and 5 if you’d find it easier to attach the mirror sheet to your sconces before the bling wrap.
However, I find that doing the chains first then allows you to measure the mirror sheet and mark where to make an extra cut to allow the wrap to be on show, instead of the mirror wrap covering it up. If you use something quite eye-catching like bling wrap or chunky like a small chain, you will want to cut a little bit out of the end of the mirror strip to allow the chain or wrap to loop through.
Be sure to drop us a comment if you plan on taking on your own brass bathroom light fixtures project, have some pictures of your finished brass light fixtures after following these instructions, or even have some additional tips for our readers!


Comments
Join the conversation
-
Hate those lights! Your idea is the first&only one I will use! Thank you so much&keep your projects coming, I like your style!!
-
Super cute and keeps the old fixture out of the dump. Ŵin, win!


Frequently asked questions
Have a question about this project?
I'm not experienced or talented in crafting, but I have those dang lights that I absolutely hate. I'd love to try this. What the heck is bling wrap?
Could you not just use silverware strainers? I have seen some pretty patterned ones. Amazon and Ikea have them. Less cutting.
Have looked for aluminum sheet with the pattern shown w no luck. Where did you get the patterned aluminum sheet?