


A Gilded Cage to Display Jewelry

You won’t miss the long gone hamster if you transform its cage into a glamorous way to display jewelry.
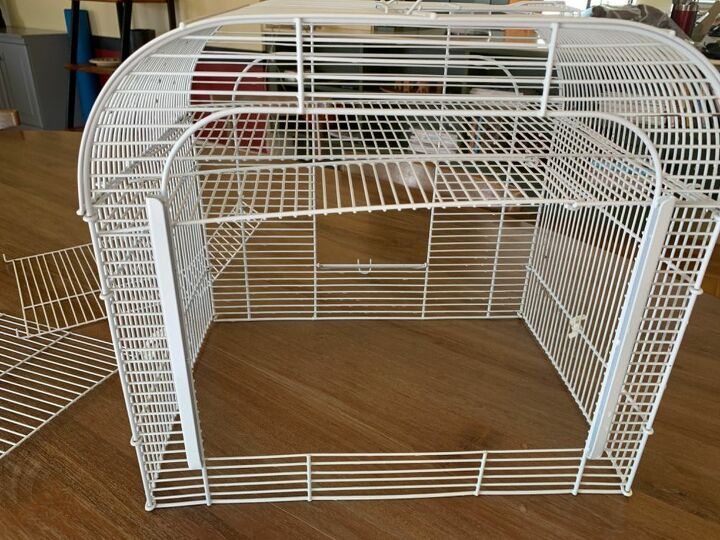
What’s the saying about the wheel still turning but the hamster is long gone? I hope you won’t be applying that to me when you see this project. But as it happened, the last hamster is long gone and the cage was laying in the garage taking up space. I noticed that the roof arch is very Neo-Memphis and the grid pattern is very 80’s-rehash trendy. The cage designer was a visionary - who would have thought!
So I scrubbed it clean with a brush and water, let it dry very well and then sprayed it with a coat of plastic primer.
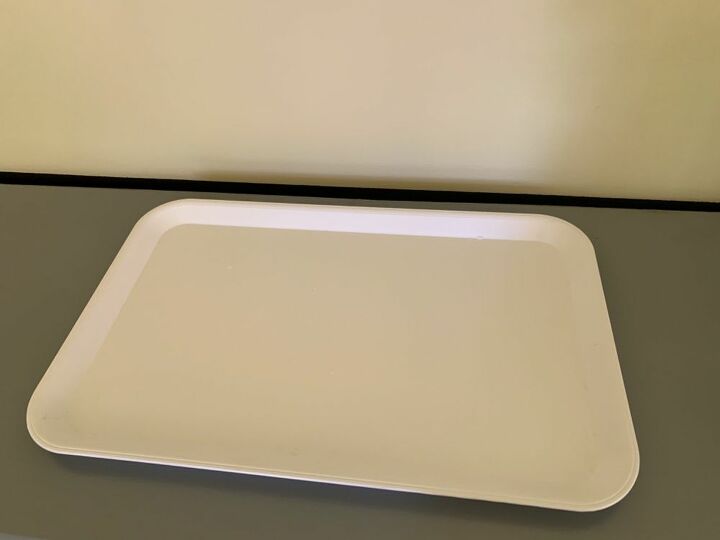
Instead of using the actual cage base I bought a plastic tray and also gave it a coat of plastic primer. So, aside from a hamster cage and tray you also need:
plastic primer
spray paint and a prepped area to spray in
tack
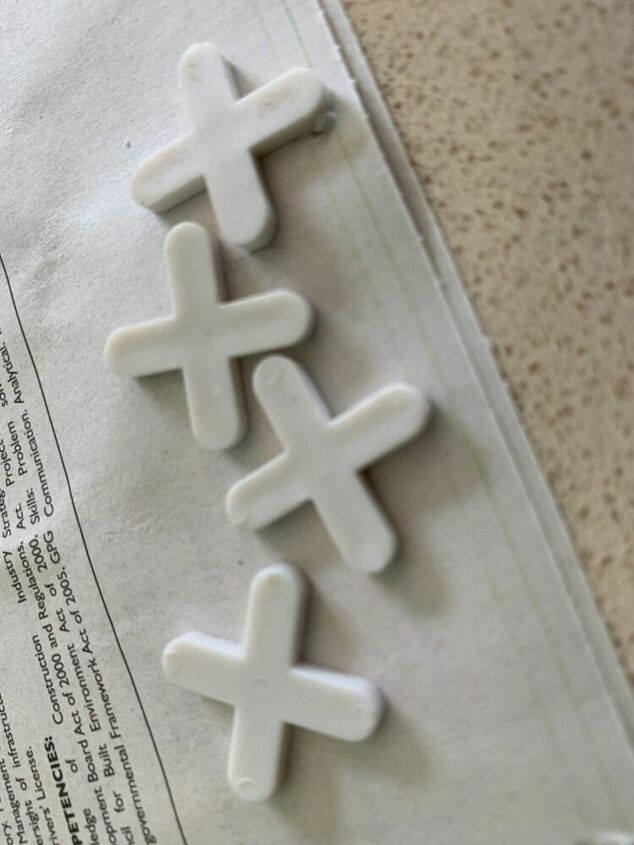
tile spacers, large
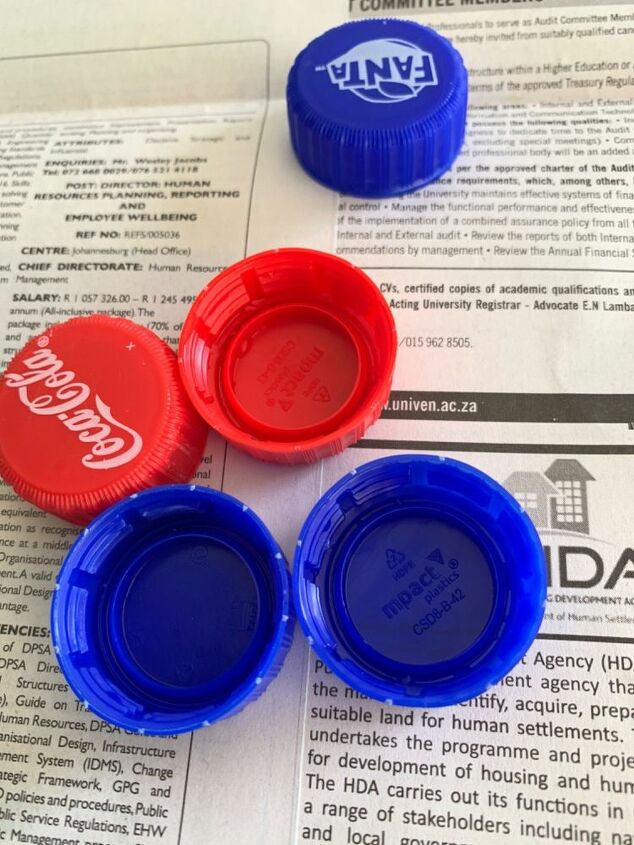
plastic bottle caps
felt
scissors
glue (hot glue or stronger)
Optional decorations such as tassels, beads, sequins, fake flowers etc
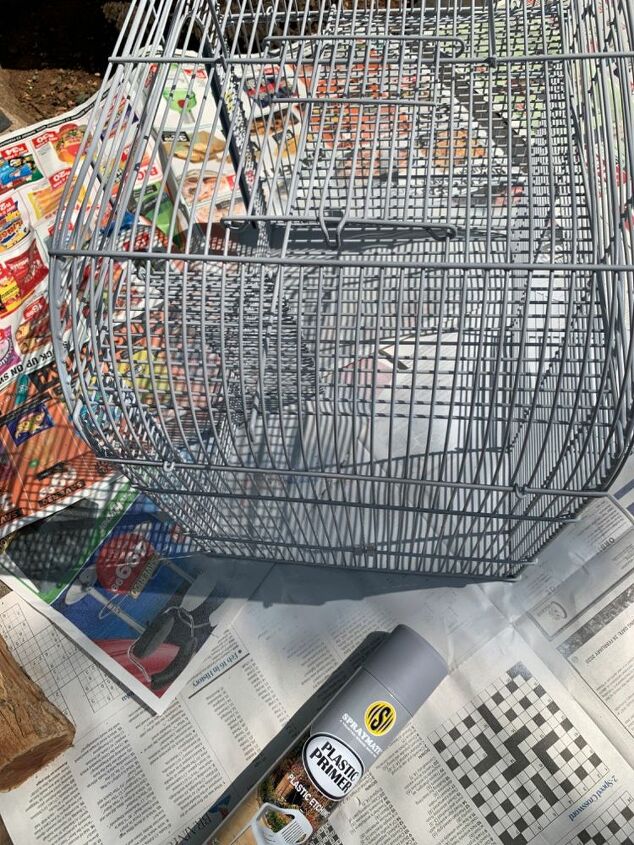
You would think that painting an already white object white is superfluous, particularly when you see how much spray paint you use but the primer etches the plastic so that the colour clings better.
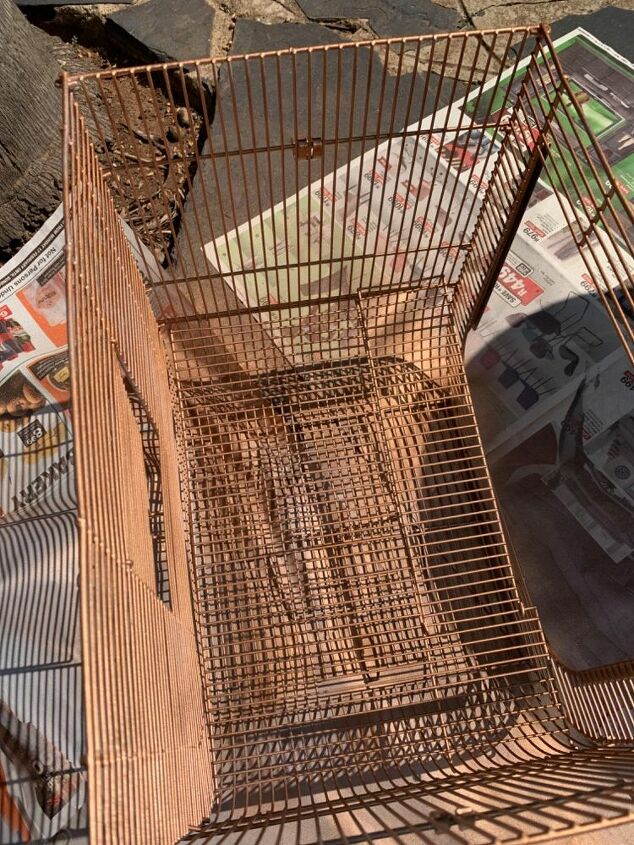
Next I spray painted everything with two coats of Spray Mate Metallic Bronze. Once again, it takes a lot more spray paint than you think because you are essentially spray painting more thin air than actual cage. It is also difficult to get into all the corners and it is essential that the cage be sprayed from all angles. One plus is that it is very easy to spray as there are no vast expanses just waiting for you to lose concentration and turn into drips of gunk.
The same doesn’t apply to the tray, I had drips and patches aplenty. I consoled myself with the fact that I only needed to get the edges nice, the rest would be covered by felt or hidden underneath.
By this time I had run out of spray paint and instructed my husband to buy another can on the way back from work. Despite photos and bar codes he still managed to come home with the the wrong colour, although I only discovered this after priming(with plastic primer) and spraying the tile spacers and plastic bottle caps that I was going to use as hooks and ring trays. Oh well, perhaps the contrast between bronze and gold would look intentional, I thought.
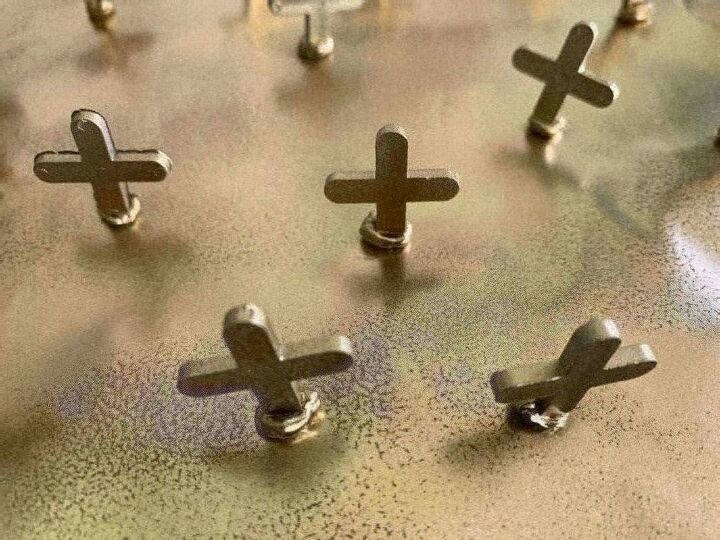
Make very sure everything, particularly the caps, is bone dry before you spray paint. As you can see from above, I planted the spacers upright with tack. I primed one side, waited until it to dried before turning them upside down and priming the other side (okay, I’m lying about the last part but you really should). Then I sprayed them gold, waited for them to dry, then turned them upside down again and sprayed the part obscured by the tack.
The caps received a simliar treatment but without the tack - also primed on the one side, then the other part that was obscured, then painted on the one side, then the other.
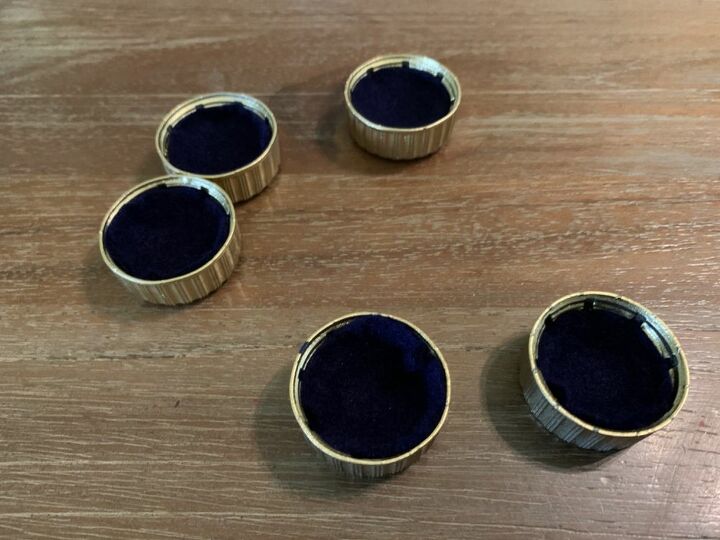
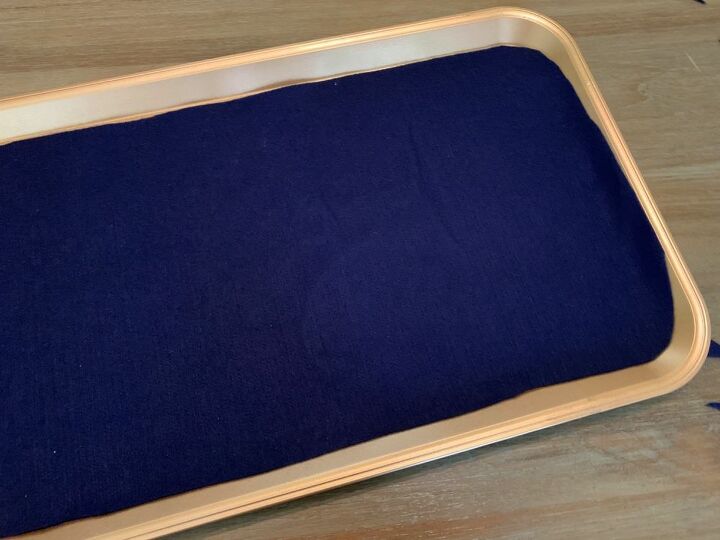
I cut felt to fit into the tray and lids. I didn’t use glue because it seemed more practical to be able to take the felt out when it got dusty.
To decorate the handle with beads, I undid one side with pliers and threaded a couple of wooden beads through and then bent the handle back into place. In the process I scratched off some paint. I could have touched up with spray paint but I decided to rather camouflage the spot by wrapping a tassel around it.
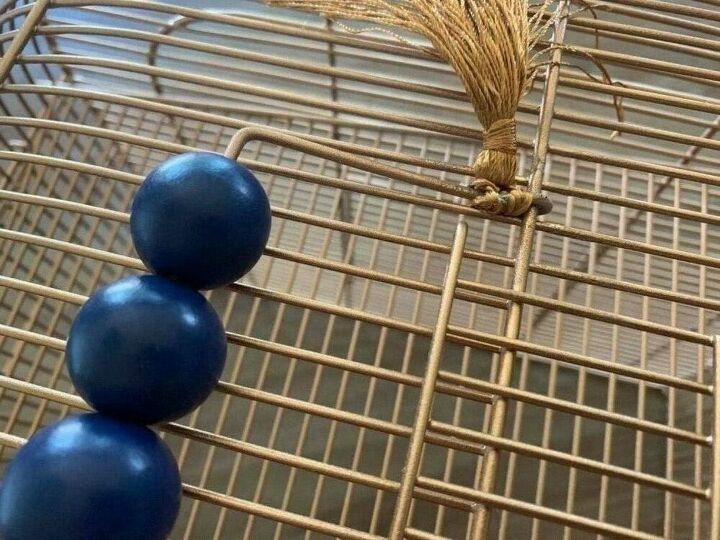
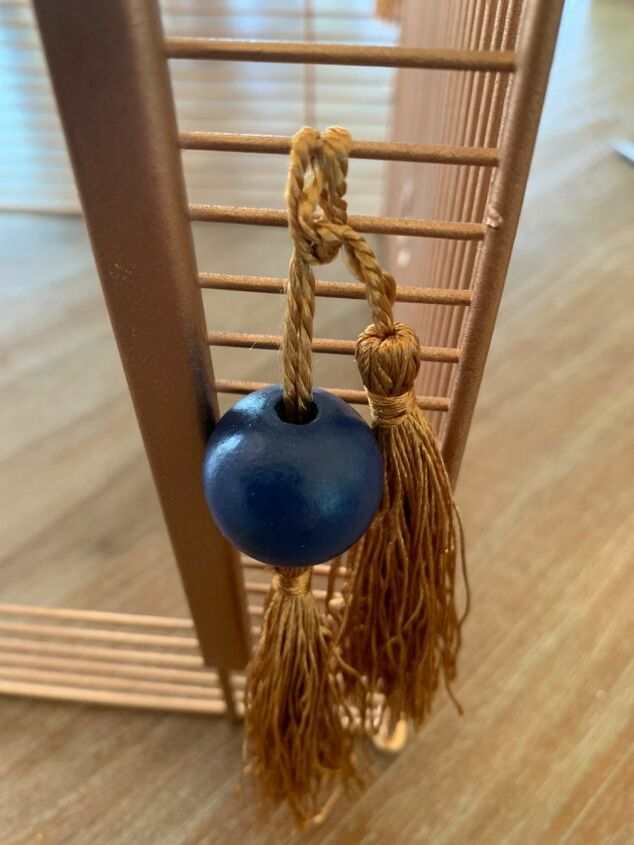
I continued to decorate the cage with beads and tassels. In some places I threaded a bead onto a tassel and then joined another tassel to them. In some places I simply tied a tassel to the cage by using a piece of wire resembling a crochet needle i.e. a little hook to retrieve the chord once stuck through the cage.
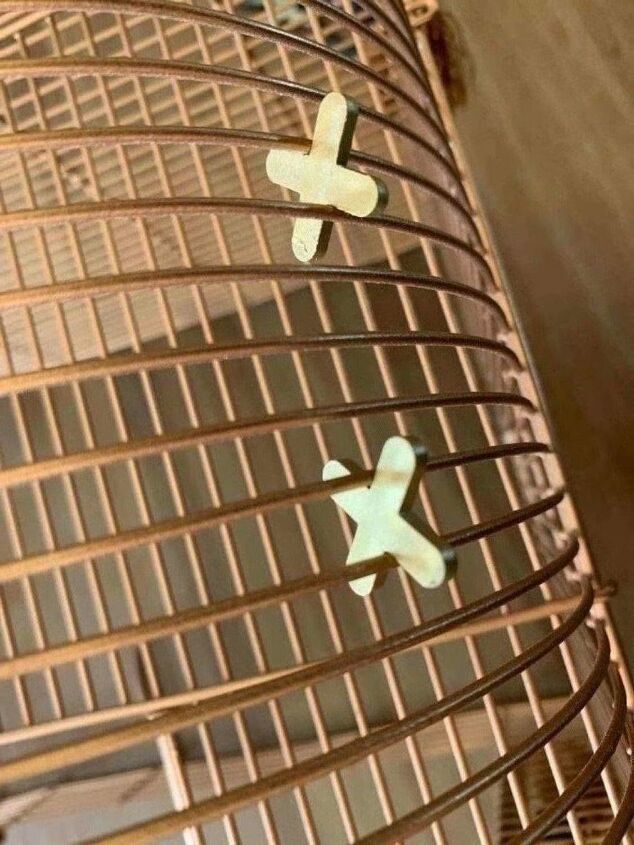
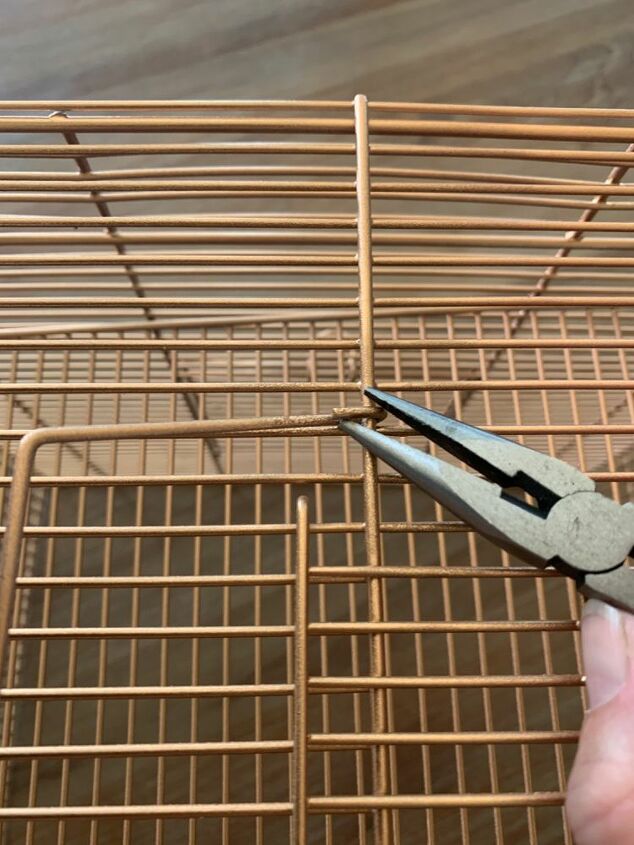
I placed the spacers as shown above. These serve as hooks for necklaces, so have to be placed quite high up. Initially they are inserted parallel with the wire and then twisted by 90°. I was quite surprised at how well this works, particularly where the wire ribs run close to each other. One would think that they are always an equal distance apart but this is not the case. Also, they can still fall out. Perhaps you could stick them in place.

To provide for rings or smaller earrings I used the glue gun to stick the bottle caps into place on the ladder - a bit of glue on the bottom and some on the side. You can see some glue sticking out on the photo above. If you are concerned that the hot glue will come undone you could always use something stronger like superglue.
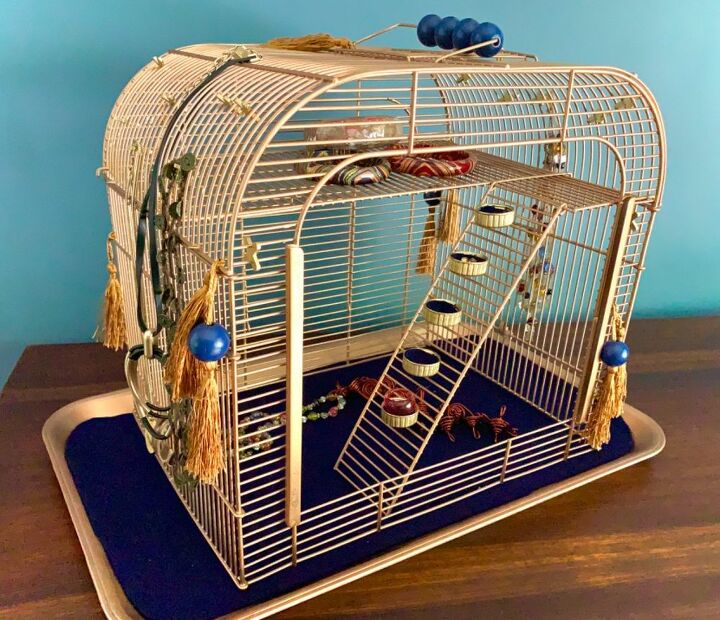
And there you have it: a great 3-dimensional addition to your dressing table which is flexible enough to display almost any type of jewelry.
Comments
Join the conversation
-
Hello Friend,
What a clever idea! I love it. It’s kinda boho and I dig that look. Really nice. Tfs!
❤️💜💚
-
Love it! Would be cute with a decorative grate wired to base, painted, etc. Then hang for more space on your dresser. Flowers or a small vining plant,fake or real would be cute too. Inspired!!! I have a few odd bird cages and I see them often for sale. Well my brain is buzzing! 😁


Frequently asked questions
Have a question about this project?