


Painted Vintage Suitcase

I had this little vintage suitcase which was my mum’s when she was a child. The outside was a bit damaged and I didn’t love the colour. So when Poppie’s Paint Powder sent me their I thought this was the perfect piece to try it out on.
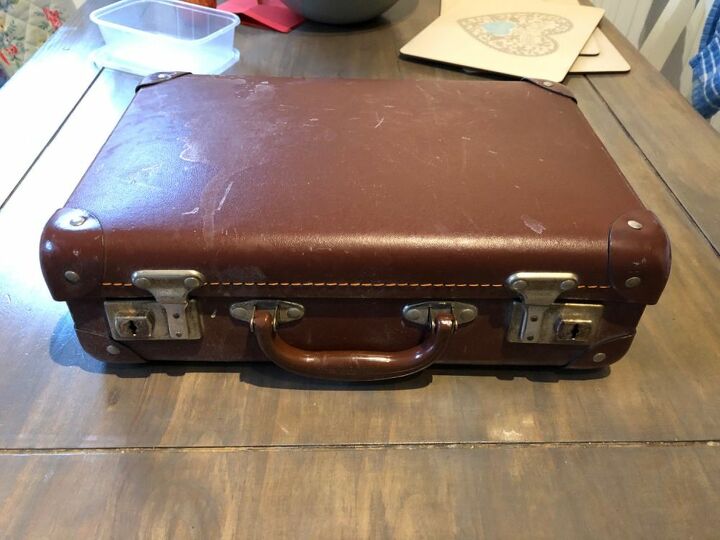
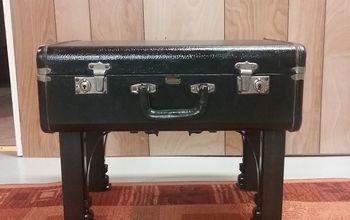
This is the before. I gave it a good clean before applying primer.
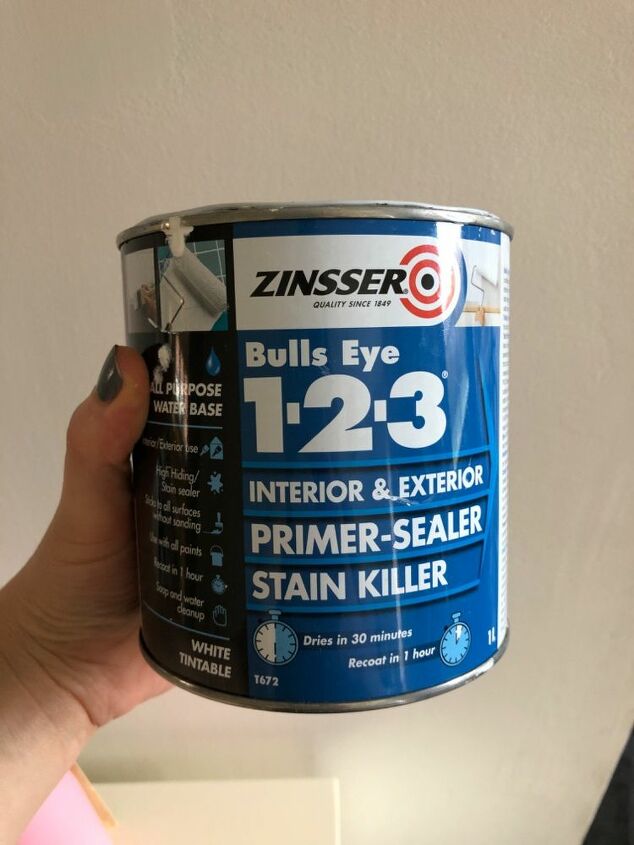
This is my absolute favourite product for priming, it is the perfect base coat and adheres well to the surface of plastic and metal.
I just applied one coat as that gave me good coverage and since I knew I would be applying a chalk paint on top I knew there shouldn’t be any issues with adhesion.
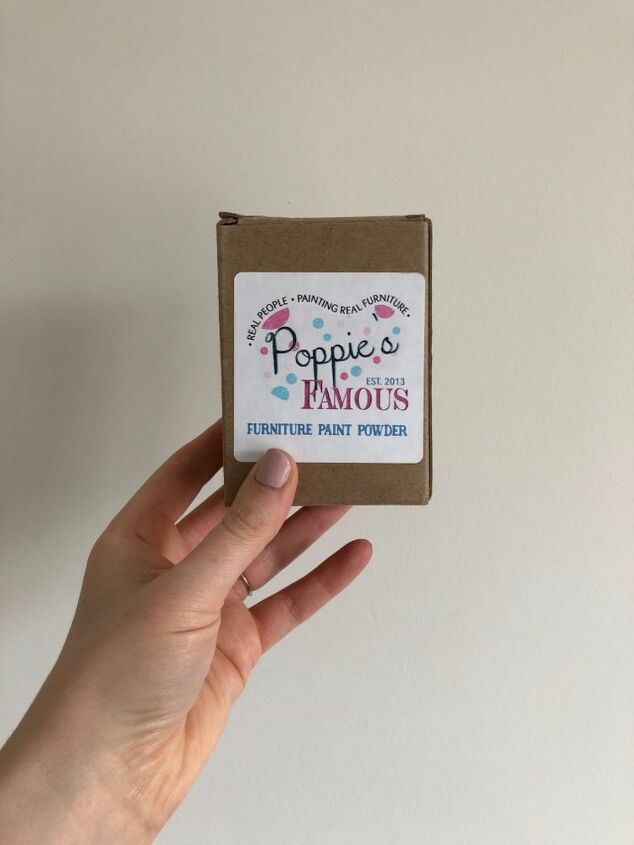
The comes in this sweet little box with great instructions for use. All that you need is 1/4 cup of the powder and 2 tablespoons water and 1 cup of paint. The instructions say you can use any type, colour and brand of paint and this powder will turn it into chalk paint. The paint was really fast and easy to mix up and it mixed smoothly without any issues with lumps.
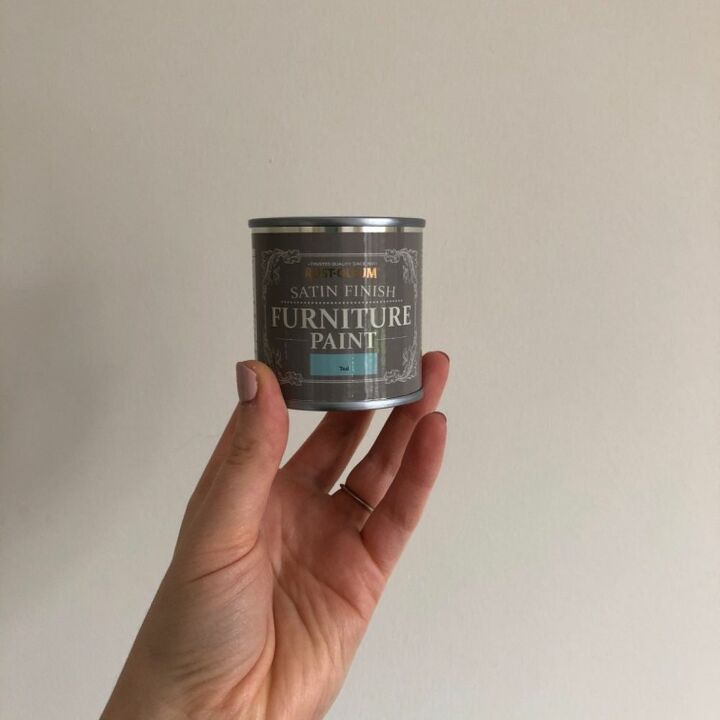
I found this colour in the format of furniture paint and was pretty sure it was the colour I had in mind for this piece and just hoped it would turn out the right shade.
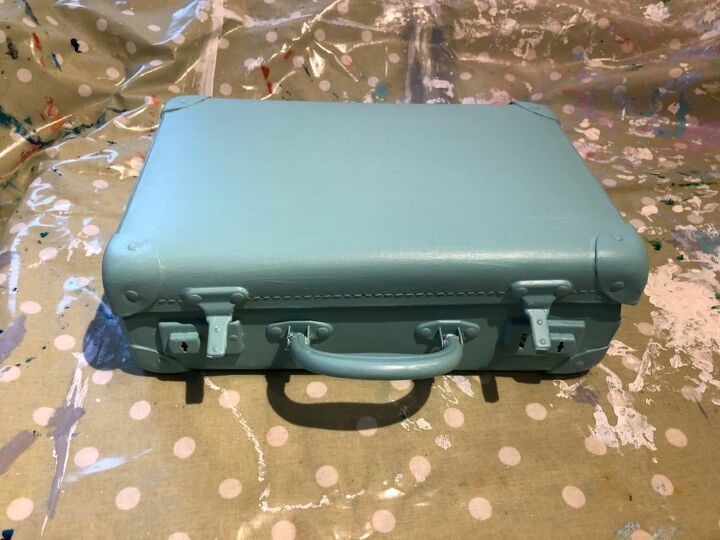
I applied one coat of paint which went on really smoothly and the coverage was good.
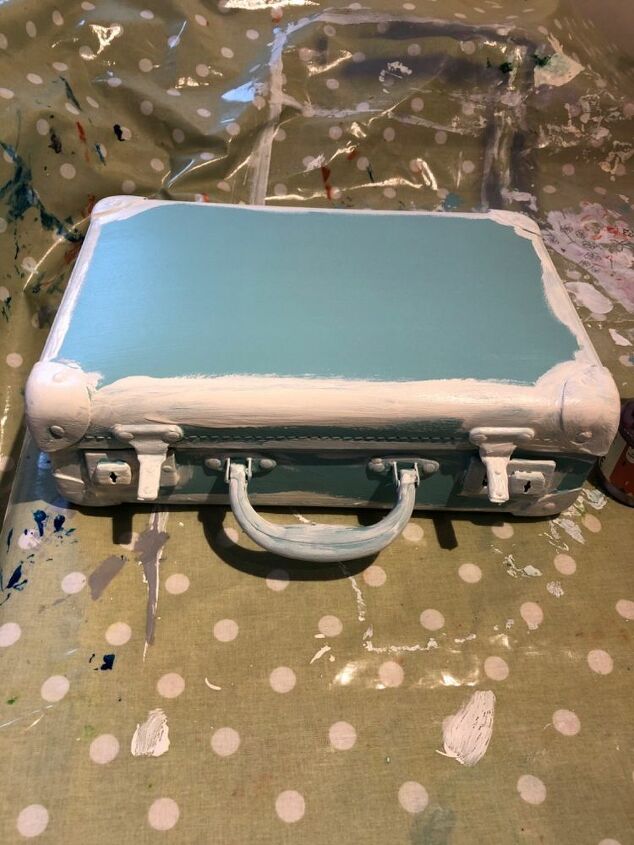
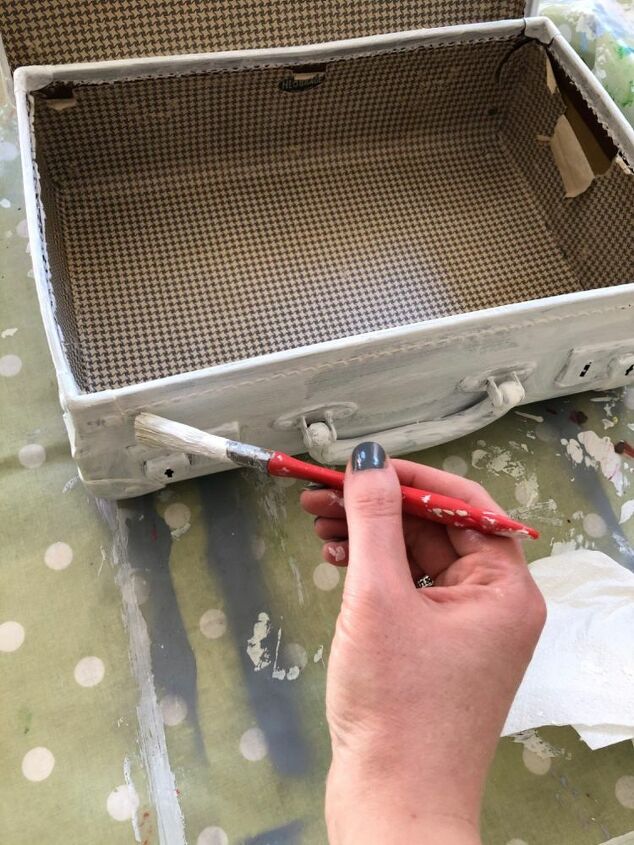
After seeing the first coat I decided that I wanted some white on this piece to break up the colour. Since I had already applied the first coat I applied some white chalk paint over the edges of the piece on the areas which would be distressed. Ideally I would have done a white undercoat over the primer prior to painting the coloured coat. However, since this was an afterthought, to save some time I just added the white to the areas that needed it.
I applied another coat of colour which gave good coverage over the white areas.
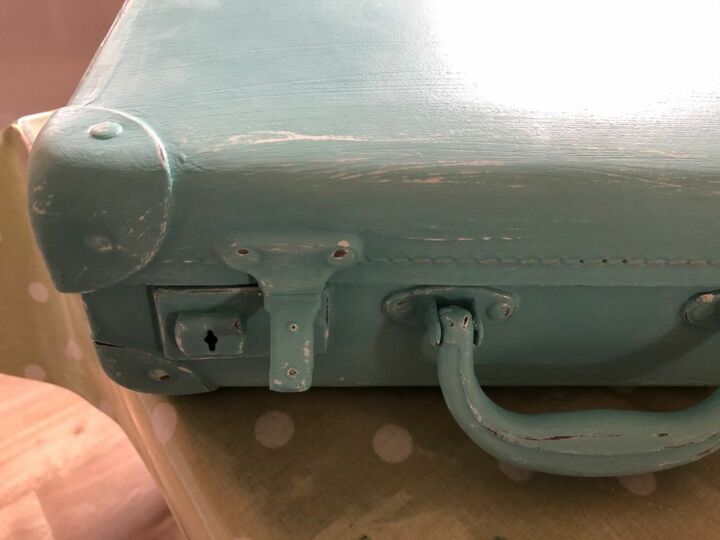
Once that coat was dry I took some sandpaper to the edges and prominent areas to distress. I went for a lightly distressed look and didn’t sand too heavily.
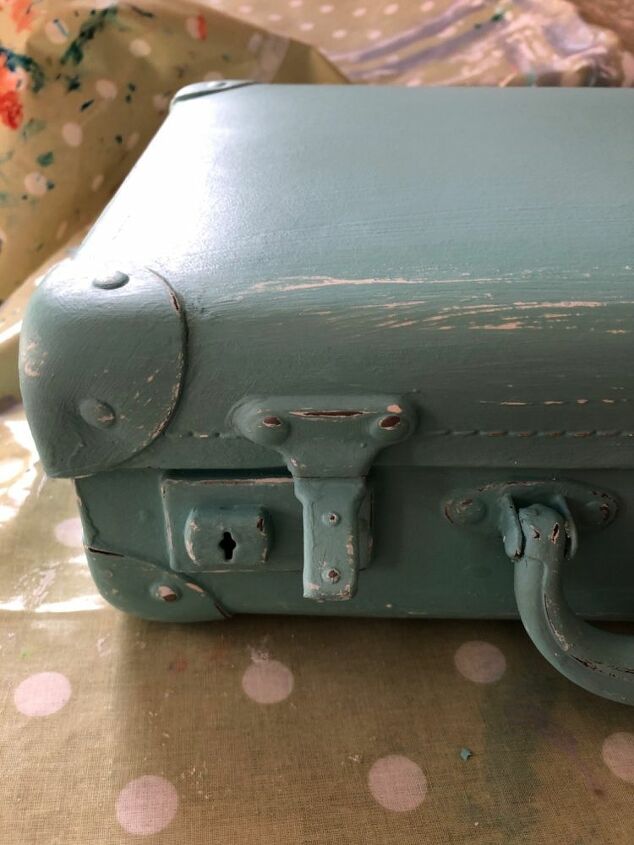
The white layer came through nicely with some of the original brown colour too. I did have to put more effort into sanding to remove the paint to create a distressed look than I have with other chalk paint brands. I’m unsure whether this was due to the paint I used with it or whether this would be the case with any type of paint. Anyhow, I was pleased as I’m hoping this means the paint will stay well adhered since this piece will be used by children!
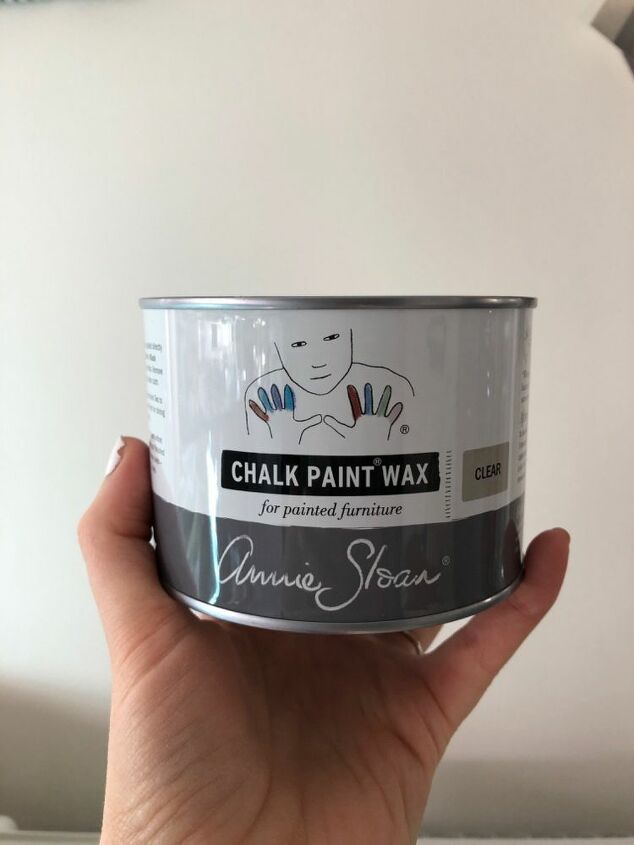
Once I was happy that I had distressed enough for the look I wanted I applied a coat of clear wax to seal. Since this is going to live in my daughter’s room I was initially going to use Minwax Polycrylic to ensure a long lasting finish and to provide better protection from wear and tear of use. But since I had to work for longer to distress the paint I figured wax would seal it well enough.
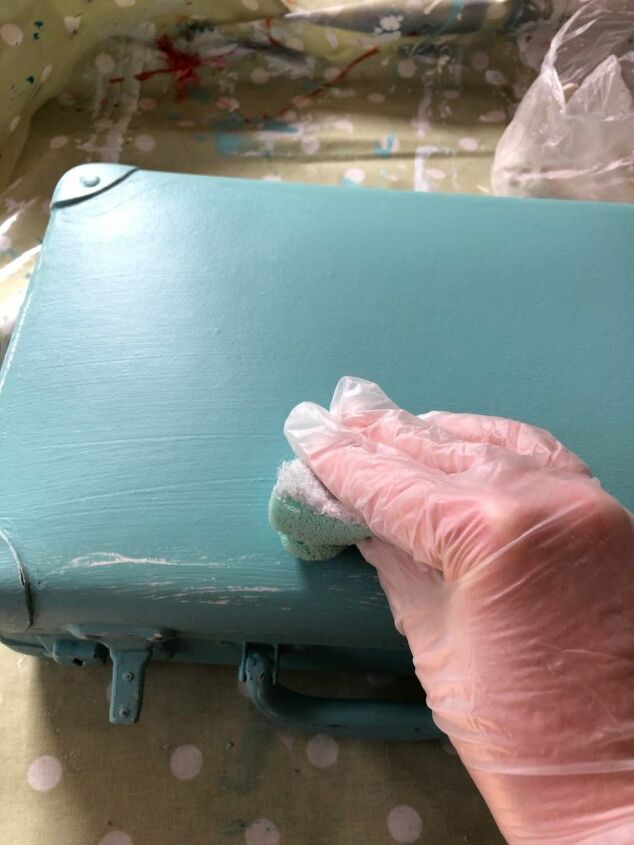
I applied a coat of wax with a sponge and once dry, buffed with a lint free cloth. Then repeated and buffed well to ensure the surface was completely smooth and to remove any excess wax.
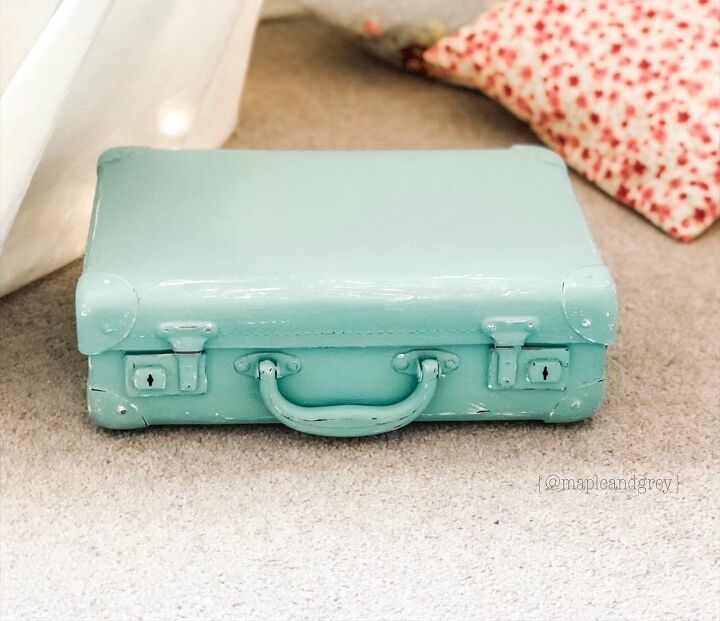
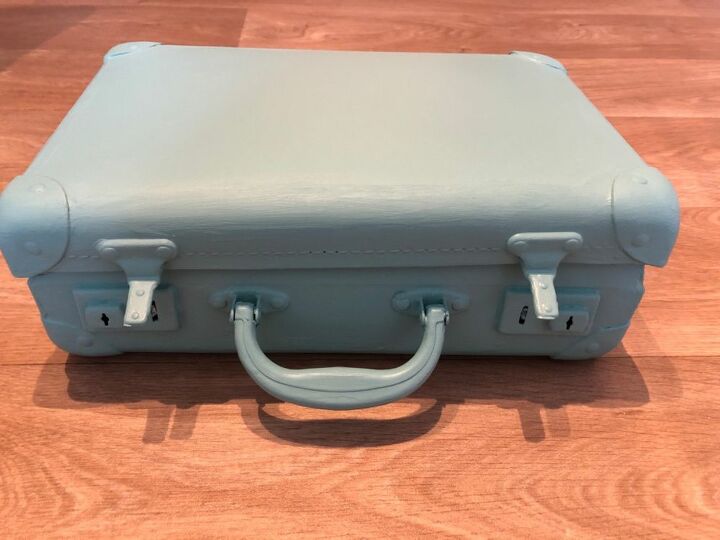
Here is the finished result and I love how it turned out! The colour is just what I had in mind and was so easy to achieve because I could just turn the paint into chalk paint with the paint powder. This meant that I didn’t have to spend a long time mixing up the colour with different colours of ready made chalk paint.
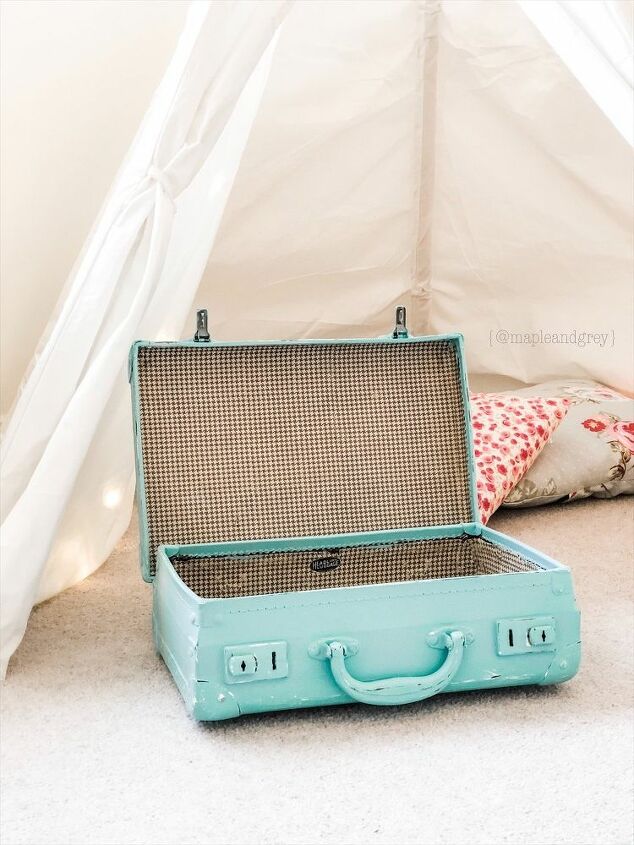
I left the inside lining as it was as I quite like it against the colour. But obviously you could go a step further and line the inside with another paper or even fabric.

It goes perfectly in my daughters room and will be a great little storage piece.
Comments
Join the conversation
-
This is gorgeous!
-
I love these old suit case projects. Made one for each of my grandchildren to save report cards,school pics and other small treasures each year as they grow up. Also made one into a travel bed for my dog when we travel also carry food and toys for him in it.


Frequently asked questions
Have a question about this project?
Is there a reason you painted the handle and hardware?