


Wall Decor With Playing Cards
Years ago we framed a set of beautiful French fortune telling cards. The deck cost just $2.00. The same set today is worth $60! We were glad we framed them. Here are some tips on how to frame beautiful and interesting game cards to make unique, graphic wall decor. See more of our easy projects here.
You'll be amazed at the many subjects depicted on playing cards … the variety is astounding. There's something for everyone and every room. Most card sets are not very expensive, even vintage cards. Because they are all the same size, it's easy to arrange them into one-of-a-kind wall decor.
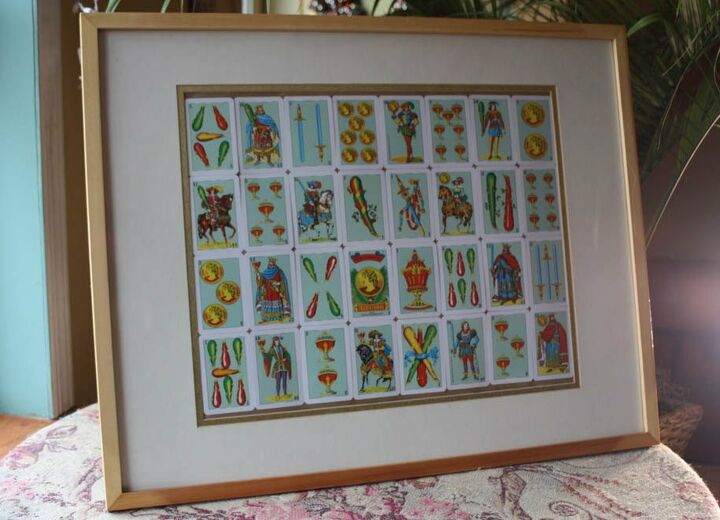
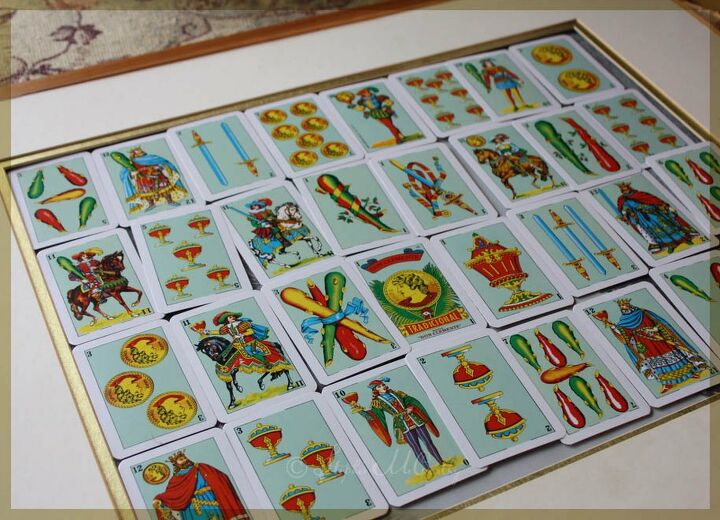
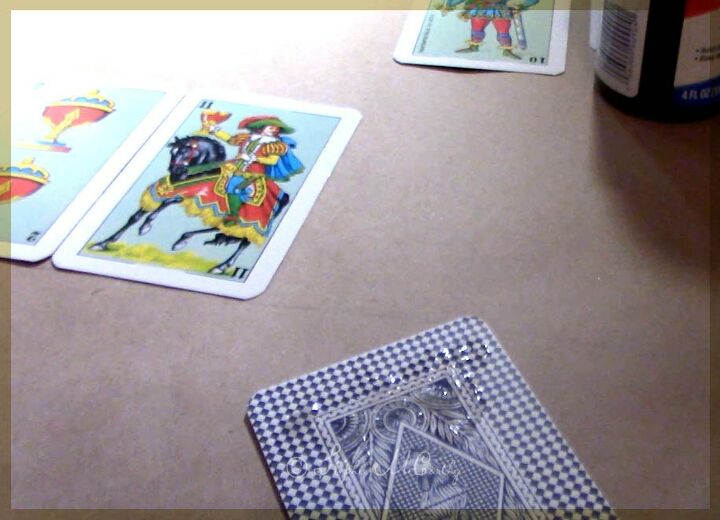
These Latino Rummy cards really caught our eye with the mint green background and vivid illustrations. They make an interesting wall decor with both graphic and illustration work combined.
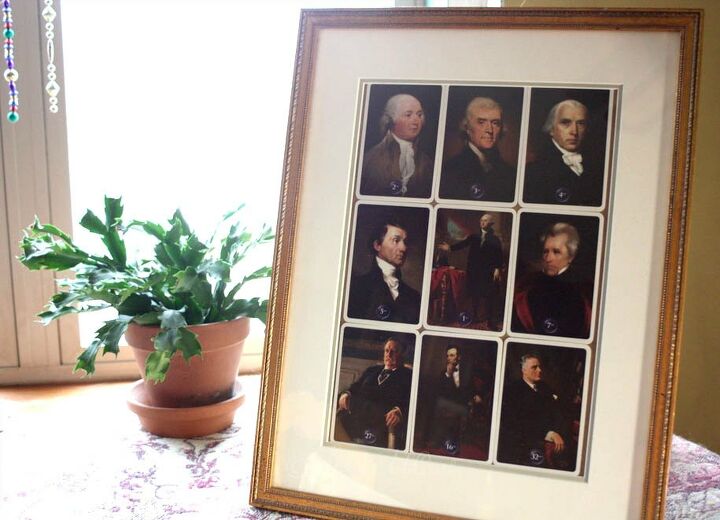
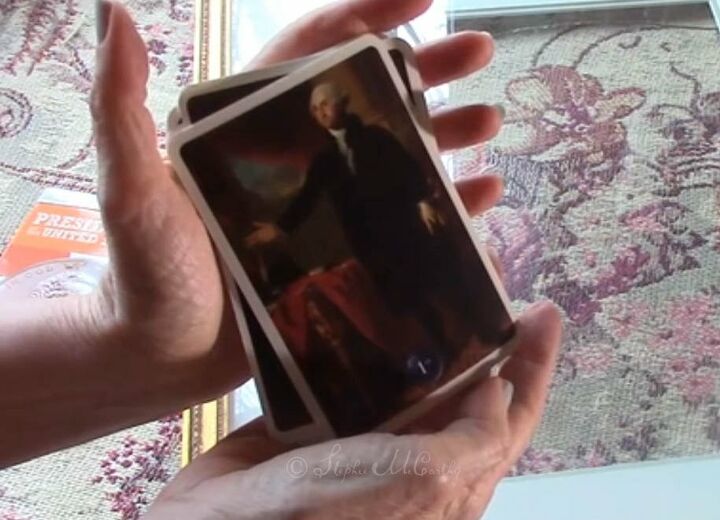
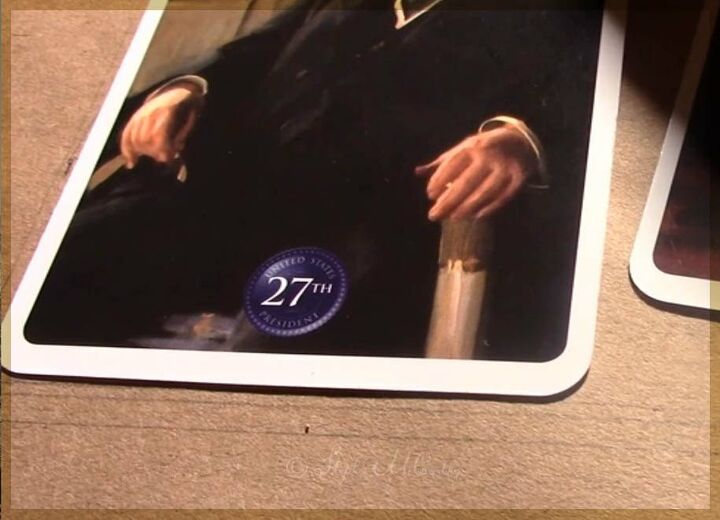
Our U.S. Presidents cards were just 99¢ in a thrift shop. We chose nine cards that were reproductions of oil paintings from the set.
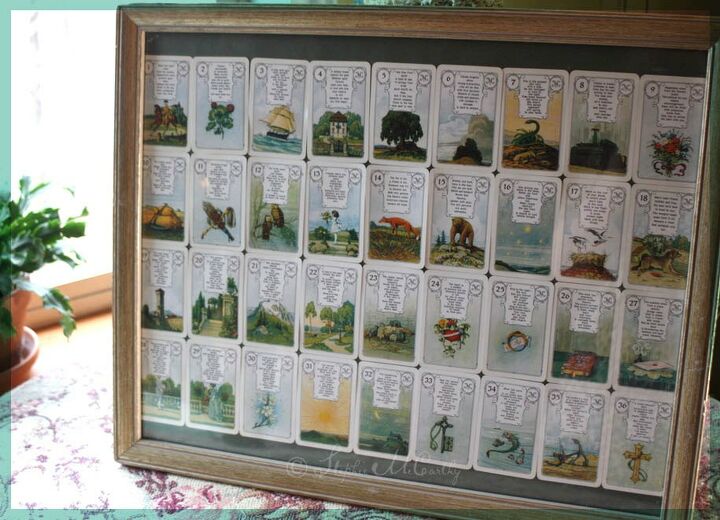
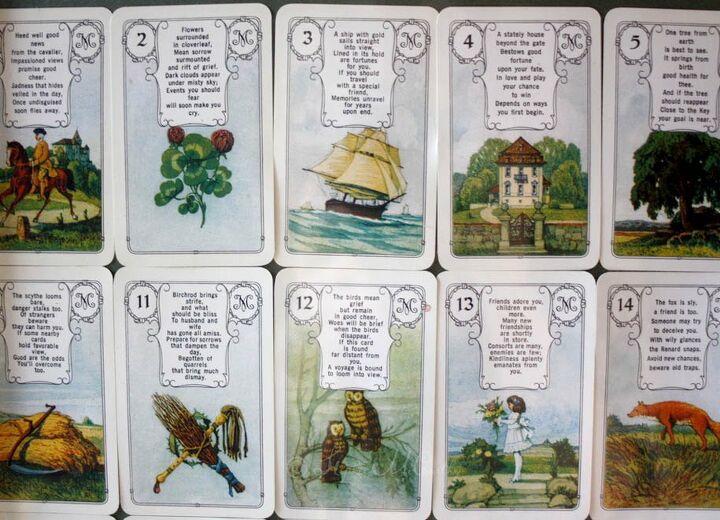
Here are the French fortune-telling cards which started our hobby of framing interesting illustrated cards. These have an interesting history and were once used in a reading for Napoleon. He was told he would rise to a high rank, but be unhappy and ungrateful.
We've never grown tired of looking at these card illustrations. It's fun to hang them near a sitting area so they can be studied in detail.
Choosing and arranging interesting game cards into wall art is like a game in itself.
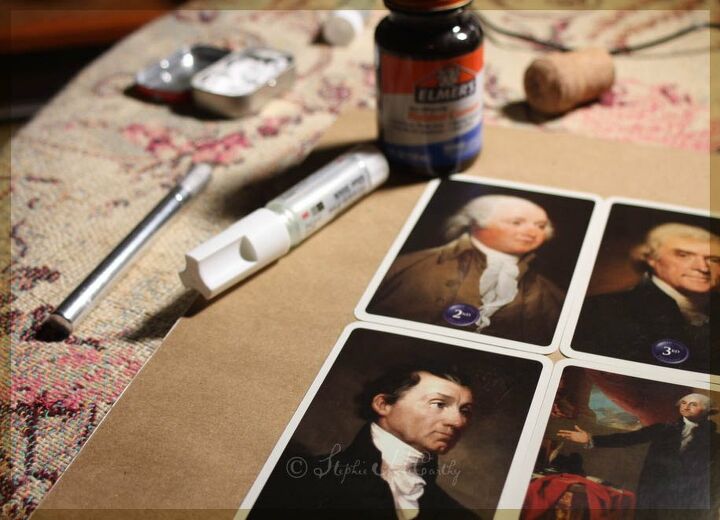
We glue ours to large sheets of heavy paper. We mark the paper with a right angle in one corner and glue the first card there. It's easy to butt the other cards end-to-end. The rubber cement allows for a little 'slide' while arranging straight lines. It's also acid-free so won't stain the backs of the cards if you want to remove the glue some day.
Lining up the first card on a lightly drawn pencil rule is how we start. We like to use an X-Acto knife to scoop a tiny bit of Scotch Glue stick (also acid free) to slide under any corners to lie extra flat. Burnish the cards with a soft cloth to get everything flat against the paper.
Part of the fun is finding a layout that will fit your matte or backing material. Don't worry if it's not a perfect fit. Go for a close fitting arrangement, or use pretty backing paper to fill any empty areas.
It takes very little time to glue the cards to the paper. When the glue is dry, you can fit the paper to your backing board, or behind your matte. Make sure everything is centered, then use double-sided tape to hold the paper to your boards as needed. Trim the paper to fit before assembling everything into the frame.

The completed arrangement of Latino Rummy cards! We'll see if these go up in value as much as Napoleon's fortune teller's cards did. Someday, we think they will! In the meantime, so beautiful!
Resources for this project:
See all materials


Comments
Join the conversation
-
Love this idea, will start looking for the perfect deck night away.
-
I have a deck of cards buried somewhere, going on a hunt to find and display them! Great idea!


Frequently asked questions
Have a question about this project?