


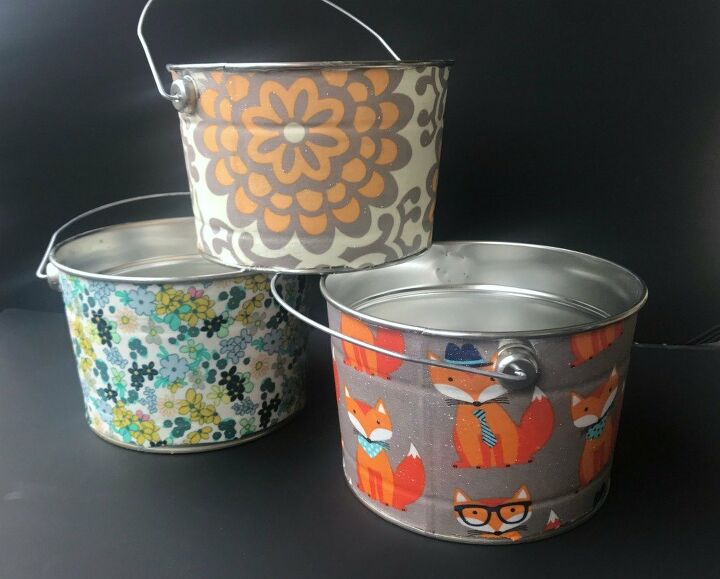
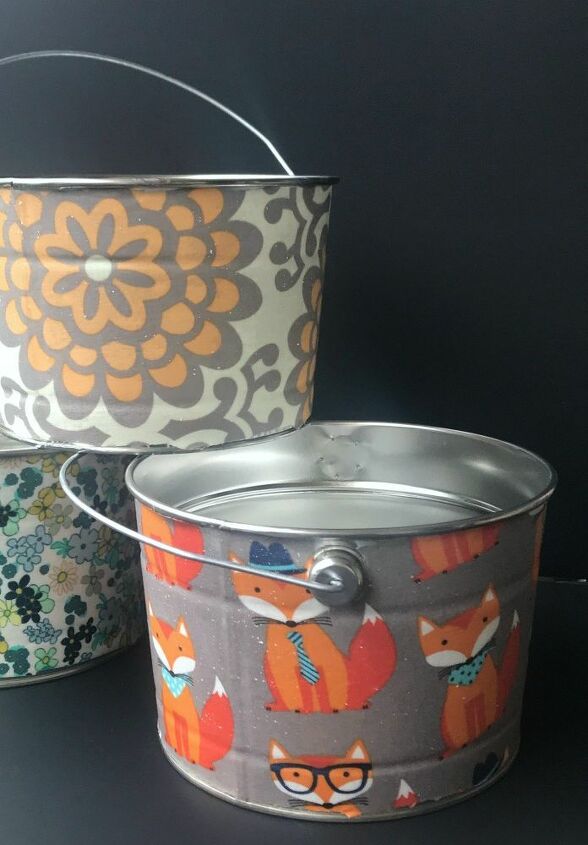
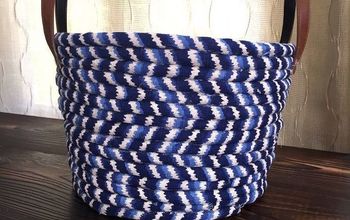
Fabric Covered Buckets
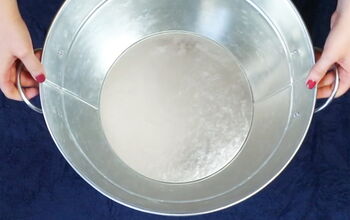
Fabric covered buckets are not a new idea, but they never cease to make me smile. Depending on the whimsy of the textiles and the shape and size of the buckets, the results vary enormously. Think big galvanized tubs for throwing beer on ice at a barbecue. Or mini buckets covered in vintage calicos for a windowsill herb garden. For this project, however, I bought several small paint buckets from Home Depot to use as Easter pails.
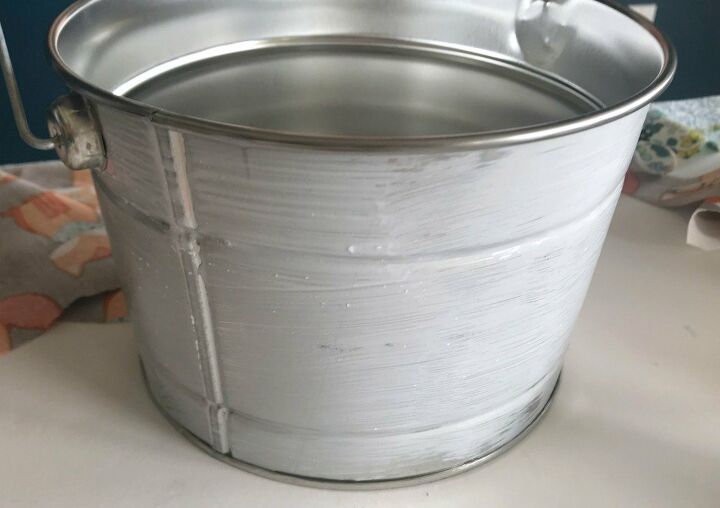
The first step is to apply a light coat of Mod Podge with a brush to a clean bucket.
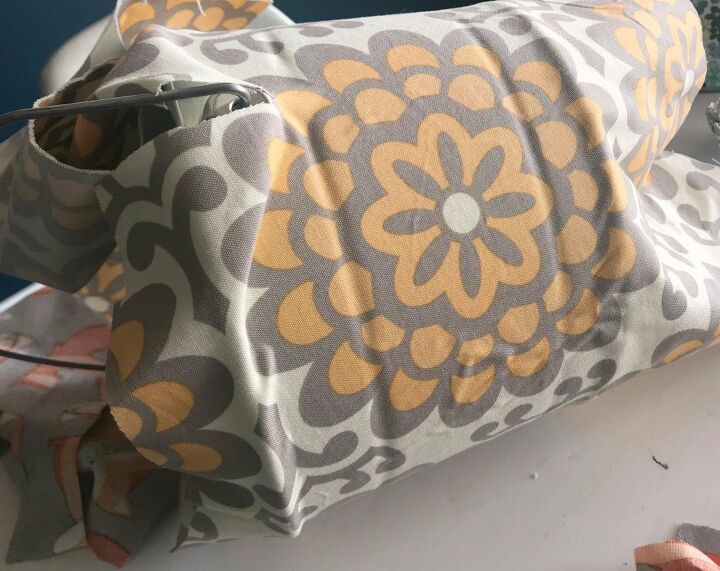
Immediately wrap the bucket, before the Mod Podge dries, with a remnant of cotton fabric, smoothing out the wrinkles with your hand. Trim the fabric, leaving an inch or two excess over the edges. Cut a small slit in the fabric on each side where the handles attach. This enables you to smooth out the fabric more evenly.
Once the fabric is in place, apply a top coat of Mod Podge. Don’t worry about applying it too heavily, as it will dry clear.

Finally, trim the fabric closely around the bottom and top rims and around the handle attachments. Let dry completely.
Once dry, spray the bucket with a clear acrylic sealer. And that’s it! Once you get the initial hang of the process, these fabric covered buckets are easy to make.
Resources for this project:
See all materials


Comments
Join the conversation
-
Adorable!
-
Thank you!


Frequently asked questions
Have a question about this project?