


How to Paint Leather Skates for Use or Decor
We may be longing for Spring but here in Canada we have lots of winter left to enjoy. Leather skates are a staple and making them unique couldn't be easier with paint. This is also the perfect way to spruce up an old pair that you just want to use as decor.
Step 1: Cleaning the Skates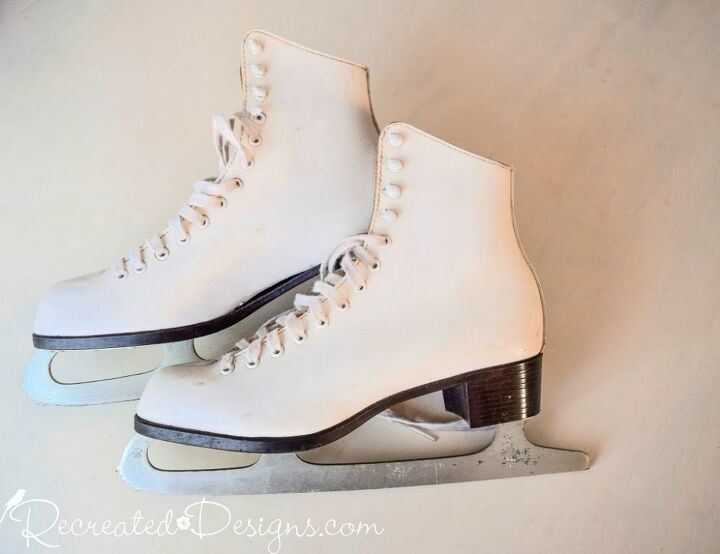
I found this pair of leather skates at the Dump reuse building last summer and had planned on using them for decor but my niece had other plans once she saw their transformation!
The only prep needed for the skates before painting them was to give them a good cleaning with soap and water. I removed the laces as well; it made painting them much easier.
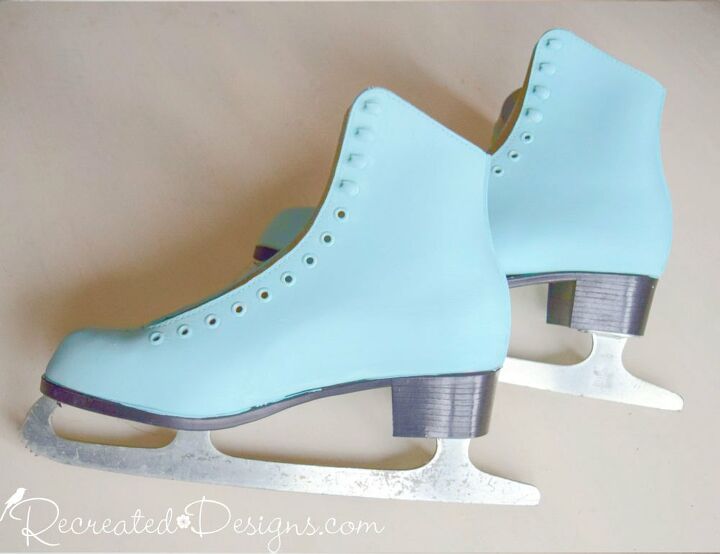
I gave the skates two coats of Country Chic Paint in Ocean Breeze; a gorgeous soft blue colour. A small 1" artist brush was perfect for applying the paint.

The skates needed a little sprucing once the paint was dry and I though a piece of a feather boa I had found would be just the touch. I snipped the boa to the correct size and then attached it to the top of the skates with a line of hot glue.
I love how delicate the feathers make the skates look. It almost gave them a vintage feel.
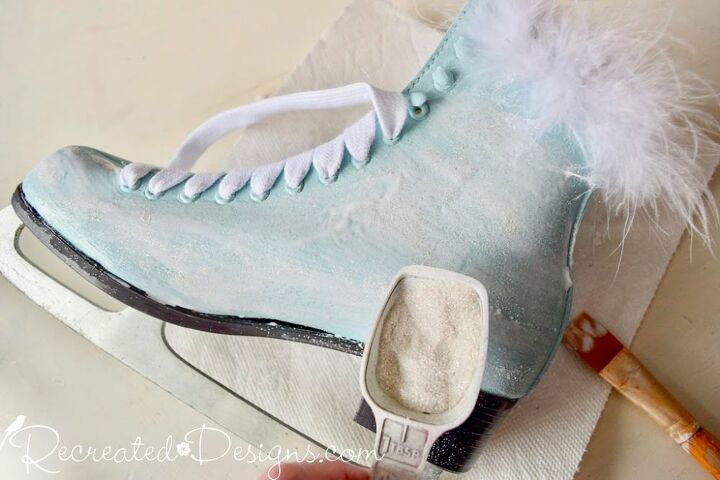
To give the painted skates a last something to make them dance on the ice, I added a little very fine sparkle. I spread white craft glue all over the skates and then sprinkled on the sparkle. Doing one side and letting it dry before doing the other worked well.
Once the glue was dry, the sparkle gave the skates a beautiful shimmer.
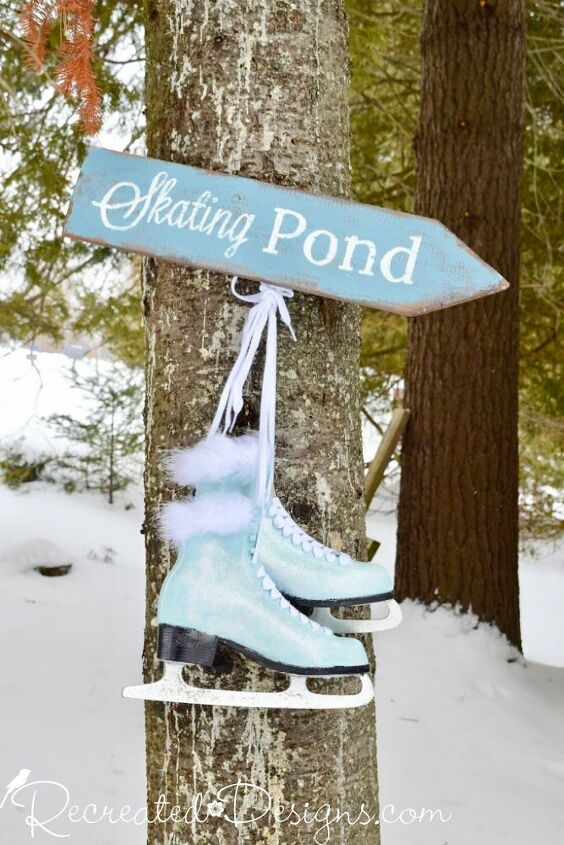
I am thrilled with the transformation of the found skates... and so was my niece. She asked for them before they were even done as she has a skating pond at her house.
It was so easy to transform these skates and they would have been just a lovely painted and used as winter decor. The options are endless.
To find the pattern for the Skating Pond sign and all of the directions, click here.
To see the original Recreated Designs post as well as more diy upcycles and vintage finds, please hop over to the blog here...
Resources for this project:
See all materials


Frequently asked questions
Have a question about this project?