


Wall Mounted Pot Rack
Hi! I'm Liz from Simple Decorating Tips, a DIY and decorating blog.
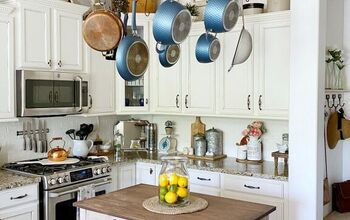
I love pot racks! They can offer beautiful and convenient pan storage. In the last 3 houses we’ve owned, I designed a pot rack to fit each kitchen’s space best, both wall mounted pot racks and a free hanging pot rack. You can read about some of those other pot racks I’ve written about here.
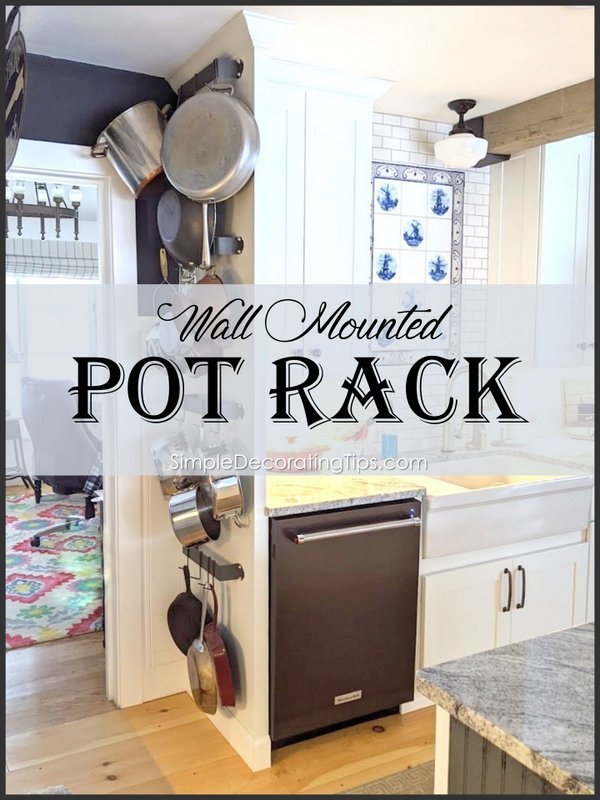
In our house we call ‘home’ these days, as I was designing the kitchen, I was able to squeak just enough space for a wall mounted pot rack at the end of the cabinets. This is a convenient location to the cooktop too, (you can’t see it in the picture, but the cooktop is behind the camera to the left). This wall mounted pot rack is a really simply designed smart use of space to store those ‘space hogs’!
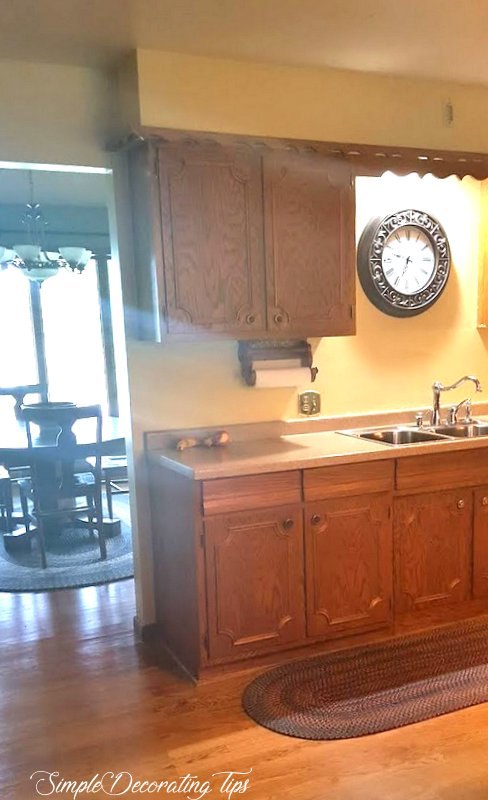
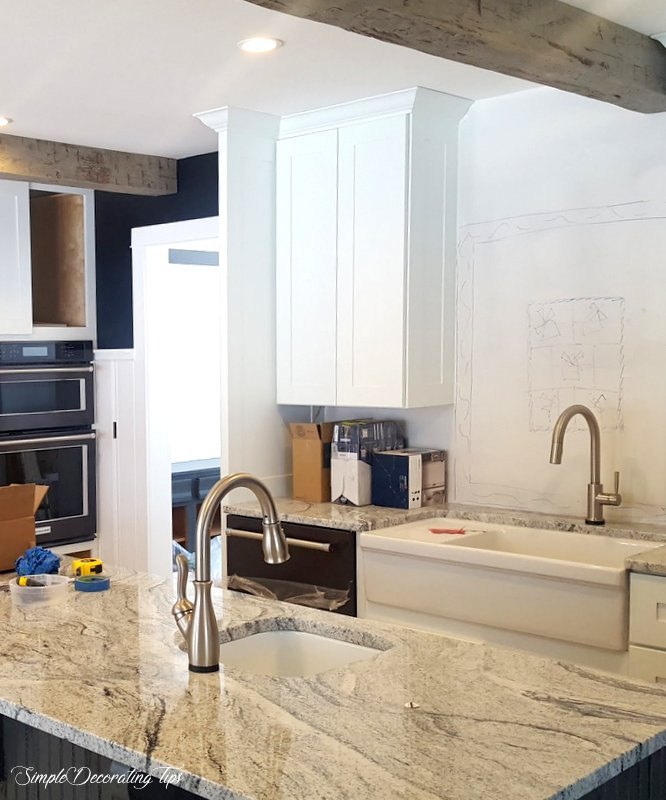
Here is the kitchen before we started remodeling it:
The demo of the kitchen involved removing the existing cabinets, and moving them to the basement apartment kitchen. (You can read that HERE) It also involved removing a dividing wall that was between the kitchen and a room the previous owners used as a family room, but we would use as a dining room. It was that wall removal that gained the kitchen 6″, I used that little bit of extra space for my pot rack! ( HERE you can see more about the renovation of our home)
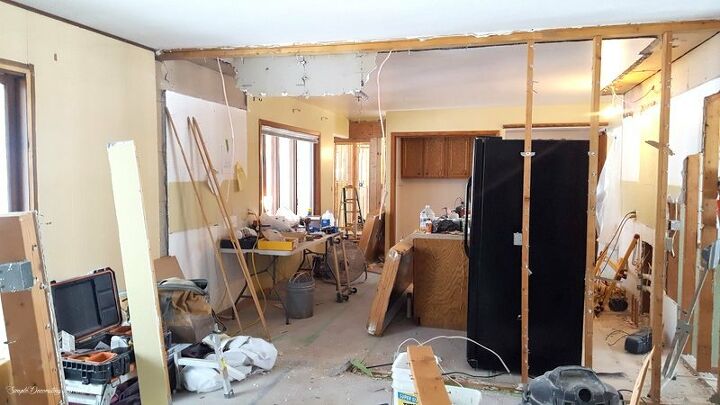
It was such a mess for months…
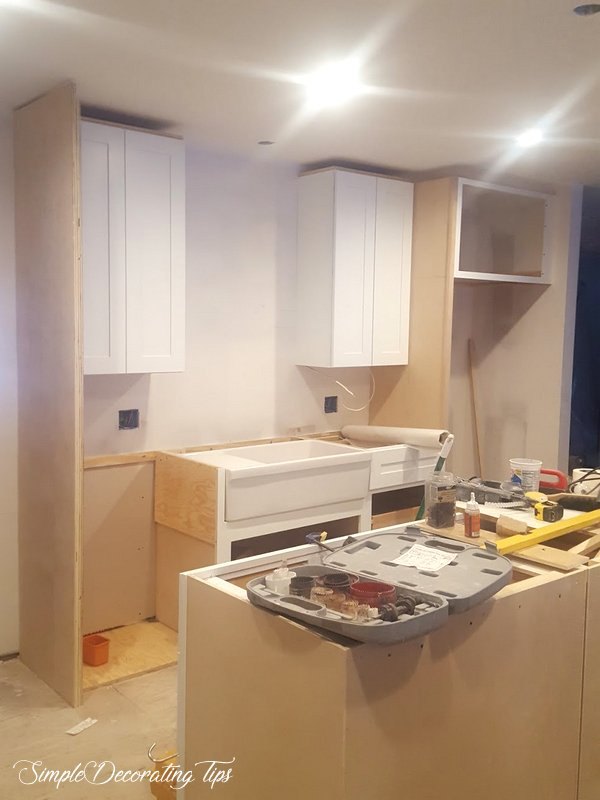
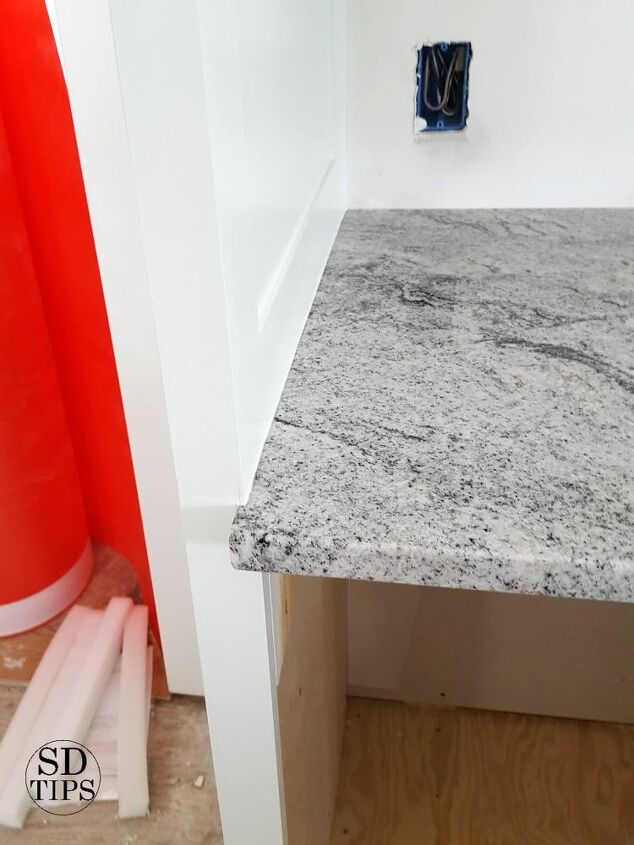
Finally the new cabinets were installed, (I’ll share more posts about the kitchen, this one is basically just about the pot rack). In the pic below you can see the cabinet left end, pretty close to where the previous kitchen cabinet end was, only about 6″ further away from that doorway just to its left. Those additional 6″ are important though! They give the pans just enough space to hang and not block that doorway opening.
To build the wall, our carpenter used cabinet grade birch plywood. He doubled it up so that it’s extra thick. It would be awful if I screwed the pot rack brackets on the wall and the screws went through to the other side! This way we can have good sized screws to hold the pot racks nice and sturdy and not worry about them coming through the other side of the plywood wall.
I primed and painted the plywood.
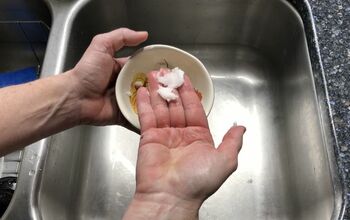
Here’s a tip: I learned to get a super smooth finish in the painted finish, the secret is to use wet black sandpaper, (it’s super duper fine). With the sandpaper wet, it doesn’t removed much if any paint, but smooths it out incredibly well. Then a final coat of paint, beautiful! I used to see that ‘wet sandpaper’ in the store and think “how can you sand something when the paint is still wet?” DUH!! It’s not the paint that’s wet, that definitely has to be dry. It’s the sandpaper that’s wet!
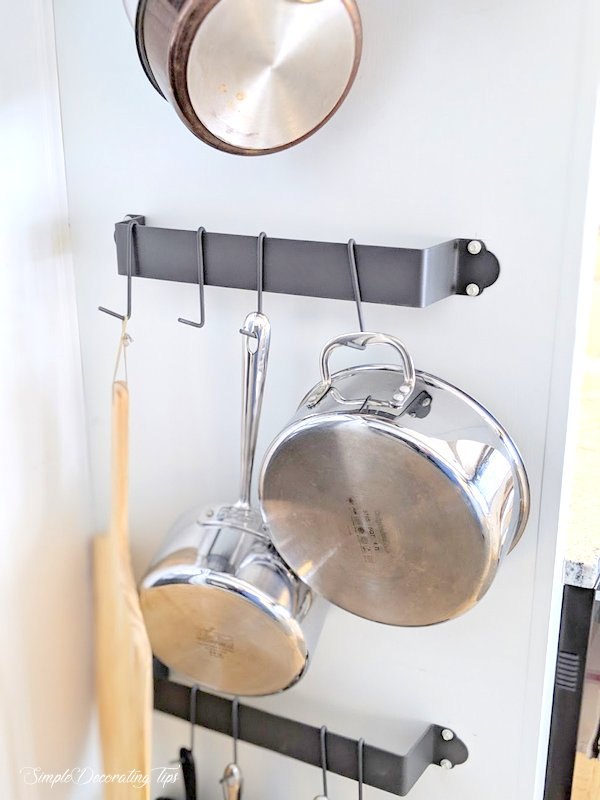
The metal bar pot racks came with the hooks attached. I like that the hooks are attached, you can slide them back and forth, but they don’t lift off the bar.
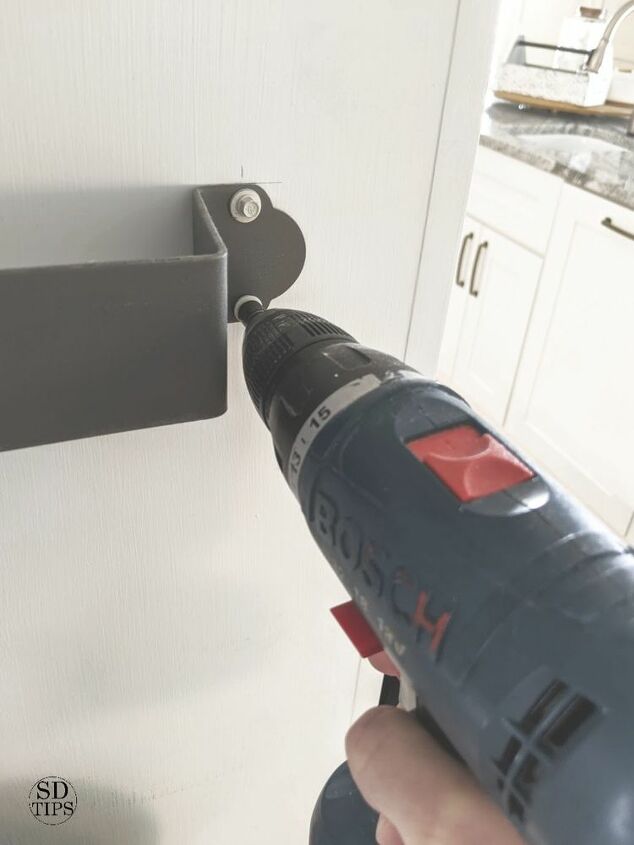
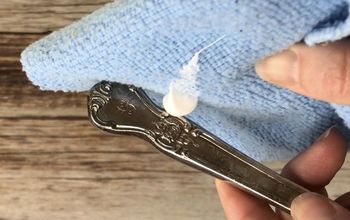
The screws that came with the pot rack bars didn't seem sturdy enough, so I opted to use stronger ones. After marking the placement, I pre-drilled starter holes in the plywood and then screwed the bars into place.
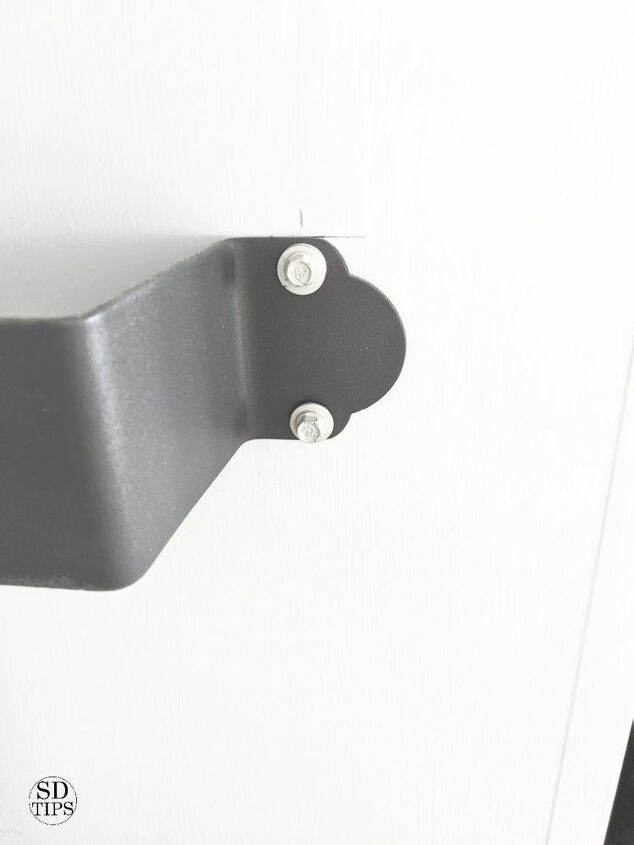
I just need to touch up the white screw heads with a little black paint.
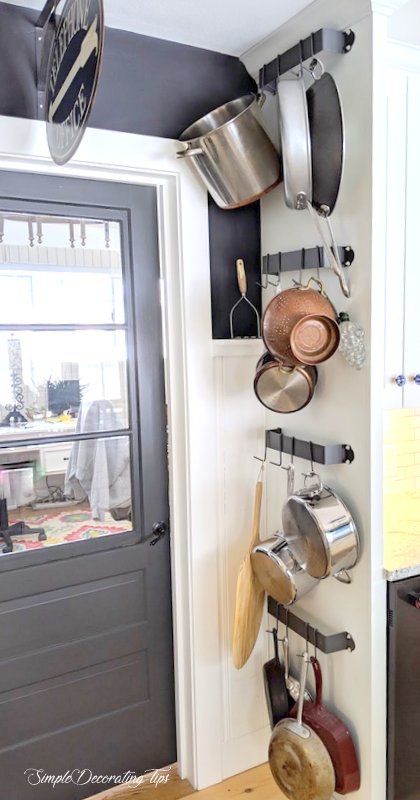
The ceilings in our kitchen are 8′ tall, so 4 pot rack bars were able to fit. You can see that the extra sturdy screws I bought were white. I was going to touch them up with dark grey paint to blend with the pot rack, but honestly I got so busy doing everything else, I totally forgot and didn’t notice until just now writing this post!
It should be noted that plywood is NOT the same as MDF. (MDF is medium density fiberboard, in other words, it’s sawdust pressed together) Though MDF is nice and smooth and relatively inexpensive and great to use for some applications, it is not good to use for structural applications. The weight of the pans on the pot rack screwed into MDF could just pull the screws right out. Plywood is the way to go for something like this where you need structural strength.
Here is our new kitchen with the pot rack all finished:
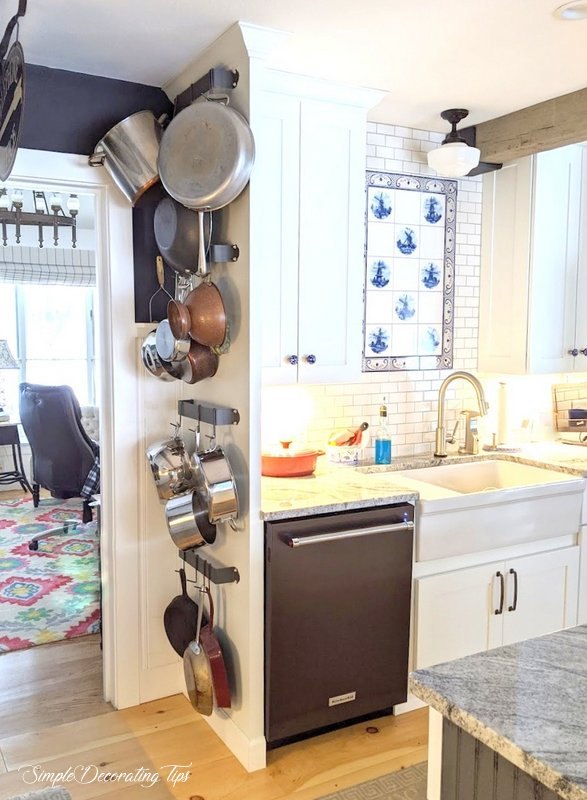
You can see how that little 12″ of space from the cabinet end to the doorway was all we needed to squeeze it in and not interfere with walking though that doorway! (When I design a kitchen every inch really does matter!)
HERE is the shopping link for the metal pot rack bars I used for this wall mounted pot rack.


Comments
Join the conversation
-
What a great idea! And I love your navy accents on the walls!


Frequently asked questions
Have a question about this project?
Got anything for lids for pots and pans.
By the way love your ideas