


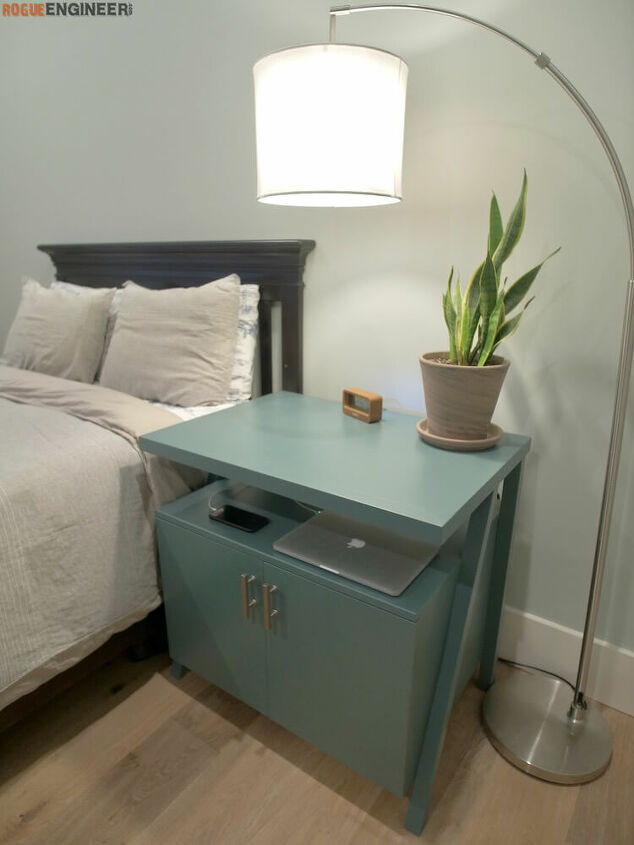
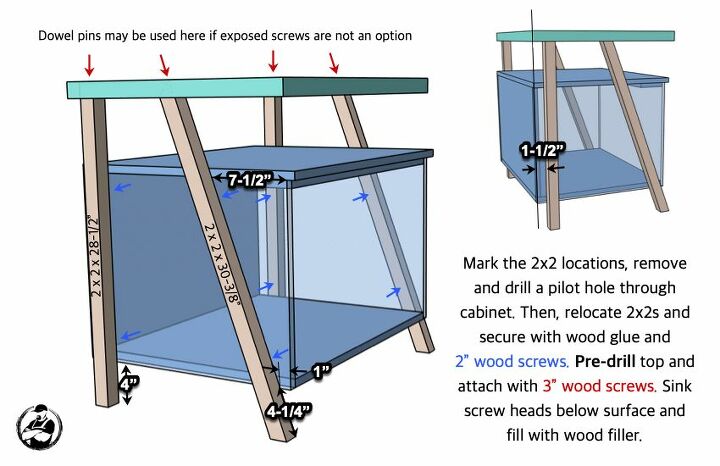
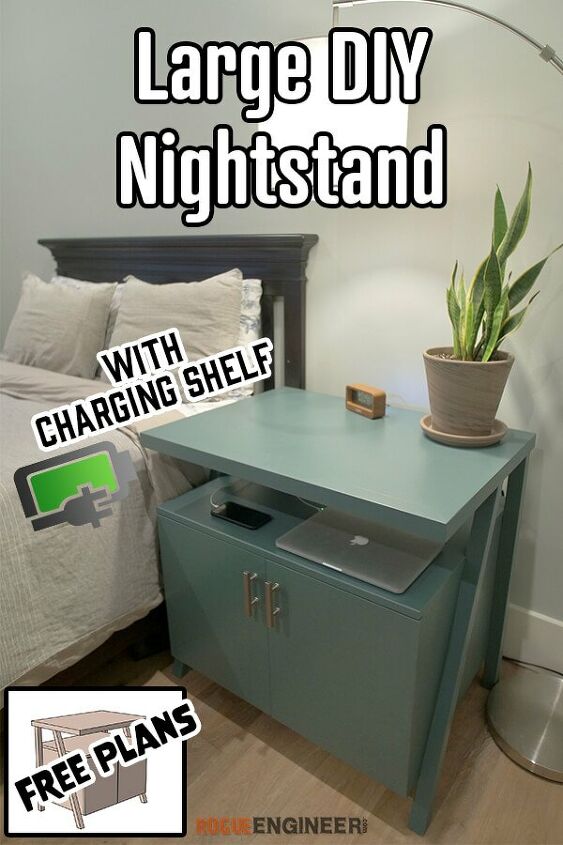
Large Nightstand With Charging Shelf
When it comes to nightstands I feel like you can never have too much space. And, with all the devices that we need to store and charge at night I thought that integrating an open, and accessible, shelf just below the top with outlets and USB ports would be a welcomed accessory.
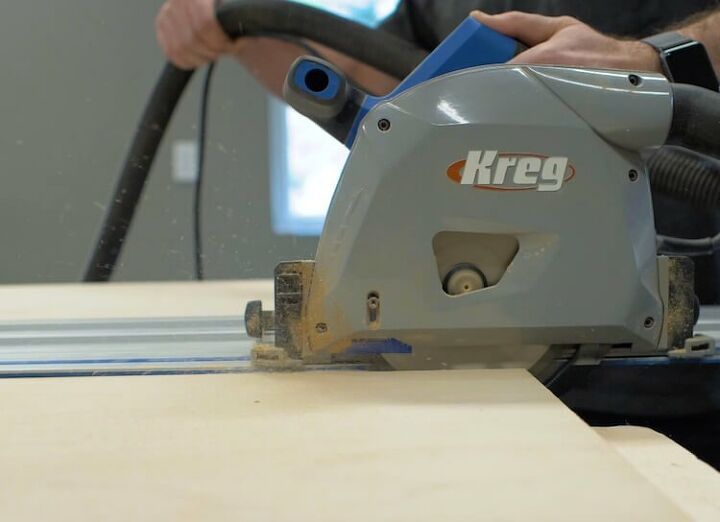
The doors should be cut to fit so wait on those until the unit is assembled. When cutting down plywood you can do so with a table saw or a track saw. I have been loving my Kreg track saw lately because it is safe and easy to handle. A piece of foam board under the plywood when cutting will support the wood completely and not slow the saw down.

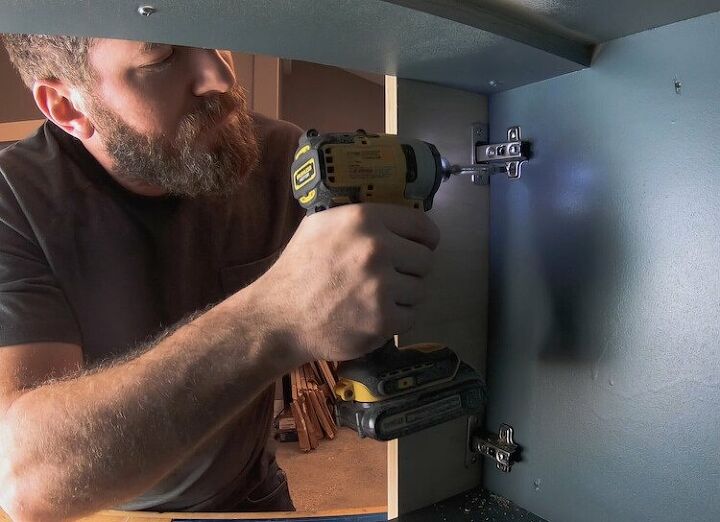
The cabinet doors were cut to size and edge banded. When measuring, for the doors, leave 1/8″ gap at the top and 1/4″ Then, we drilled the holes for the concealed hinges in the doors just before priming and painting.

Finish off the nightstand by installing door pulls and the recessed power strip.
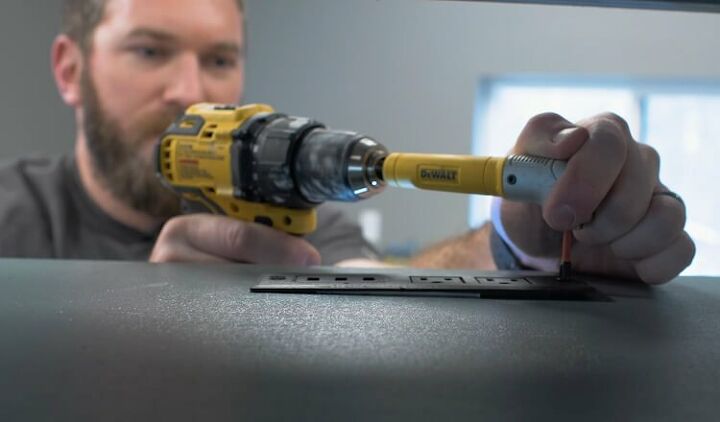
With limited access to the shelf area I utilized my right angle attachment to install the power strip.


Frequently asked questions
Have a question about this project?