


How to Build a Fun LED Lighted Headboard for Your Teen

My daughter was constantly using a flashlight to read in bed. I decided to make her something better and built this fun LED lighted headboard. It wasn't a complicated project, but I did have some stops and starts as I modified it on the fly. However, it was all worth it, because it turned out great. I'm very happy with the end result and so is my daughter. So, if you're thinking of adding a little fun to your teen’s bedroom, or your own for that matter, check out my latest build.
Tools and Materials
- 2x4's
- Plywood
- Wooden molding or slats
- Clear acrylic sheeting .08 thickness
- Utility knife
- Drill
- Screws
- Measuring tape
- Table saw
- LED light strips
- Level
- Nail gun
- Brads or small nails
- Wood glue
- Paint
- Brush
- Dropcloth
- Goggles
- Mask

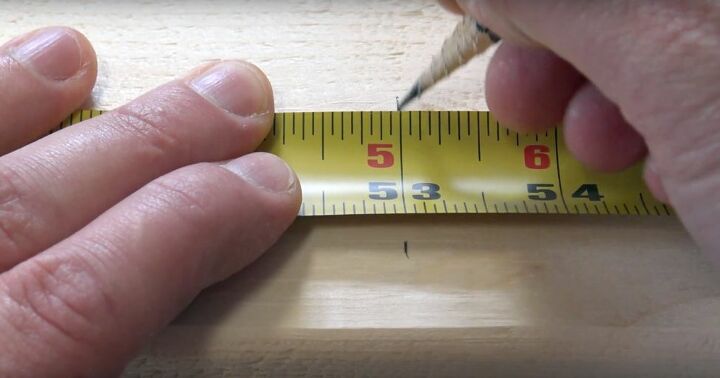
I started by measuring the wood to build my frame, you can make it to fit any size bed. Once you’ve decided on a size for your own headboard, you need to measure out your wood so you can create a rectangular frame. You’ll also need to measure the inside of the rectangle so you can cut your horizontal and vertical support bars.
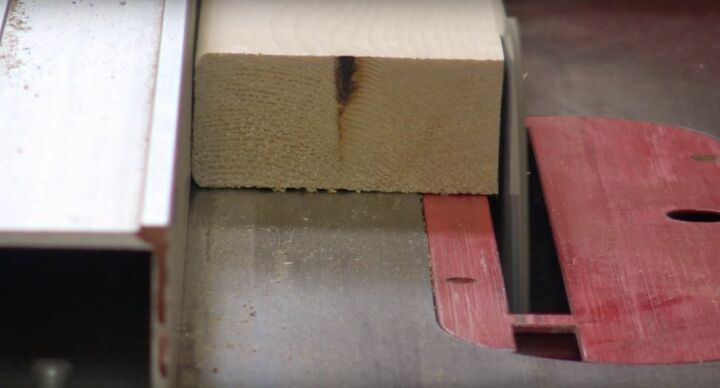
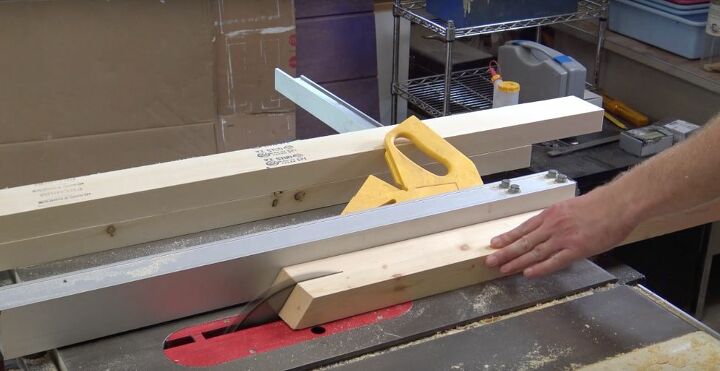
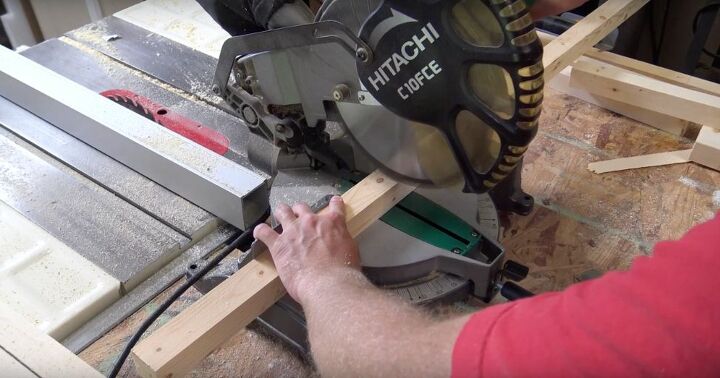
I planed the edges of my 2x4’s by running through my table saw, so they’d be perfectly square. Then I cut them to the lengths and widths I needed to construct my outer rectangle and three inner pieces. I also notched the center pieces a bit on each end to accommodate the lights I added later.
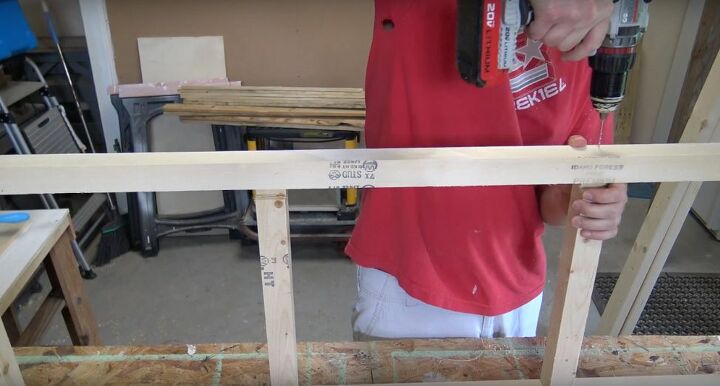
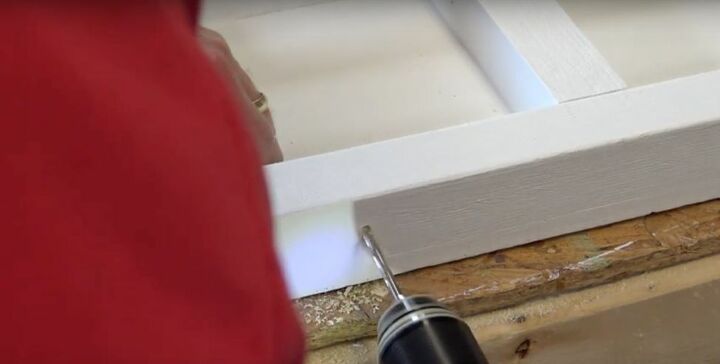
Once the wood was cut, I placed it on my worktable and began to screw it together. I drilled pilot holes in the wood first, then I used my drill to place the screws in the wood. This prevents the wood from cracking. It also makes it easier to add the screws. I started screwing the outside together first, then added the center supports with the notched sides facing down.

Next up, I cut my plywood into three pieces that covered the entire back of the wooden frame. I screwed then into the frame wood the same way I screwed the frame together. First, I made pilot holes with my drill and then I added the screws. Then I sanded the entire piece, before I painted it. This is the point where I decided that I needed to adapt my design a bit.


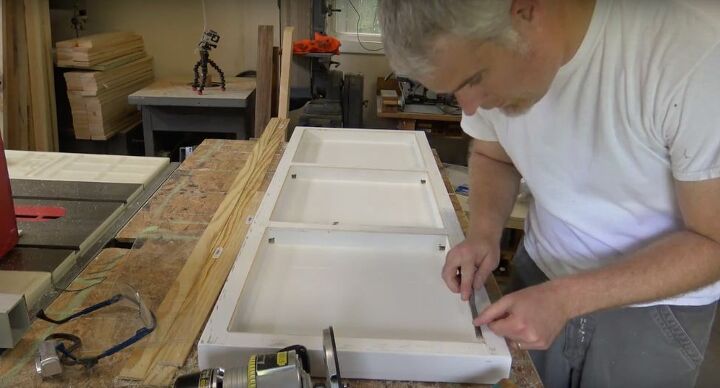
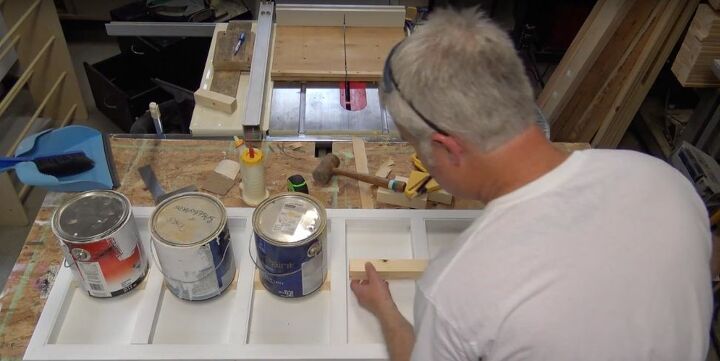
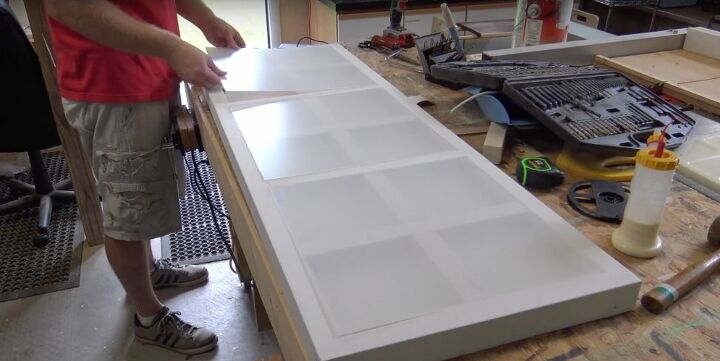
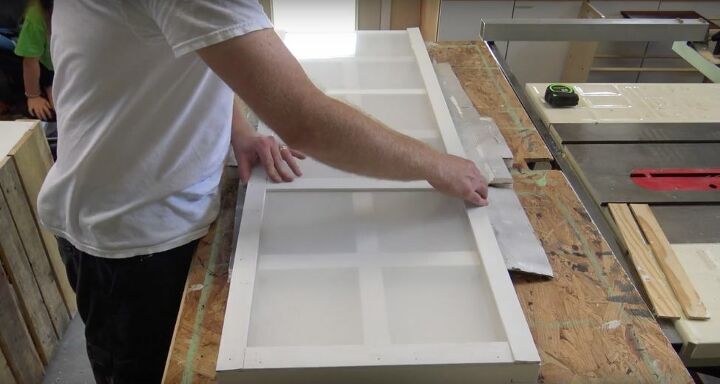
I needed some additional support, for the clear acrylic, especially since my daughter would be leaning back on the headboard, so I cut more strips of wood and notched them. I also used my router to cut a small edge so the acrylic would be recessed. Then I added 3 additional vertical supports and then I added 6 shorter horizontal ones. I used wood glue to hold these in place, bracing them with some heavy objects I had around the garage. Then I sanded the entire piece and painted again.

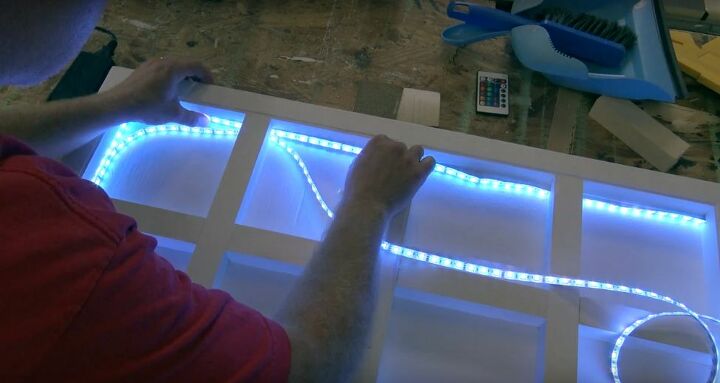
With the frame complete, it was time to add the LED lights. I chose LEDs because they stay cool. The lights came on a strip that had adhesive on the back. So I threaded them through the notches, made sure they were placed correctly, then peeled the backing away and secured them in place. In order to plug them in, a drilled a small hole in the base of the frame to run the wire for the power cord.

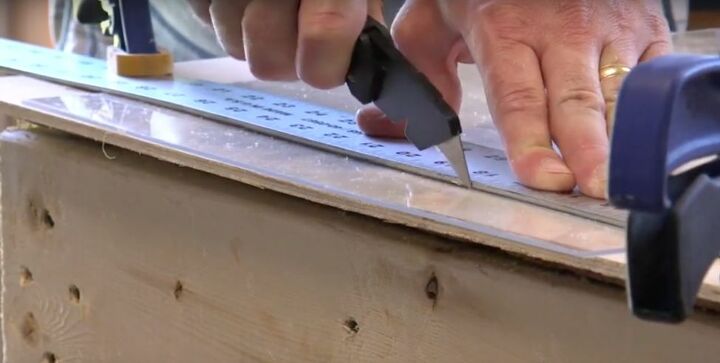
To cover the front of the frame, I cut the acrylic pieces to fit. I measured out the sizes I needed, clamped the pieces to the table and then scored them repeatedly with a sharp utility knife, until I was able to snap the excess off. To secure the acrylic sheets in place, I cut thin slats of wood to place over them and used my nail gun with small brads to keep them in place.
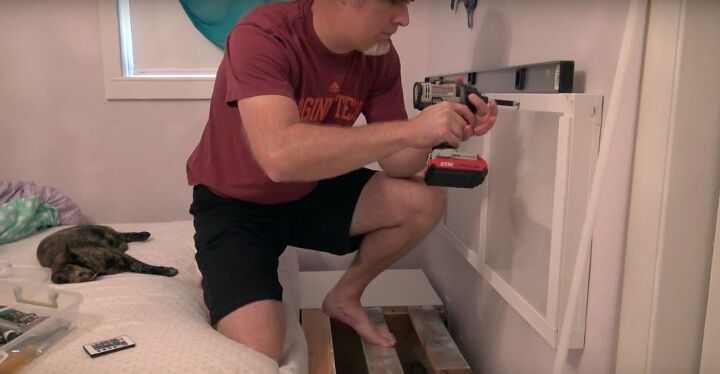
The final step was to hang the new headboard on the wall and add a top bar. First, I decided on a height, then I located the studs in the wall and screwed the piece into them. I used a level to make sure it was straight. Then I screwed a piece of pre-painted wood on top of the headboard to create a more finished edge and I plugged it in!

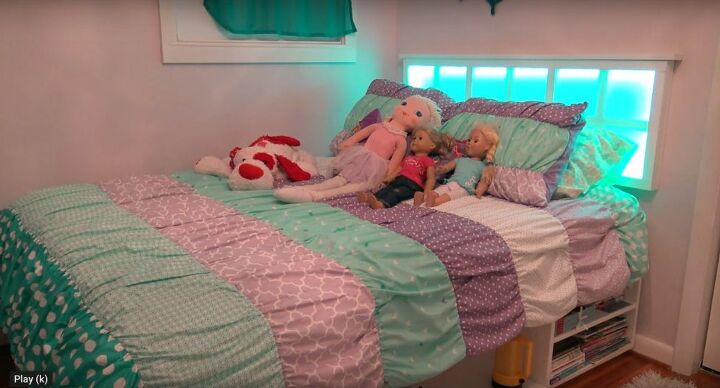
This project took me a little bit longer than I'd hoped because of the modifications I had to make along the way, but besides a little extra painting, it was still a pretty quick DIY. My daughter loves her new LED lighted headboard. Now, not only can she read in bed, but since the LEDs blink in colors, she can host dance parties with her friends. The room looks super polished, the headboard is supportive and that makes me one happy dad.
Would you light up your teen’s bedroom with this simple headboard? Let me know in the comments down below!


Comments
Join the conversation
-
Brilliant idea and so creative.
-
COOL, your a great dad. Job well done.


Frequently asked questions
Have a question about this project?