


DIY Wooden Bench at My Litle Patisserie Amsterdam...

by
Mr ATC
2 Materials
$60
3 Hours
Medium
Hi Guys,Welcome back to Mr. ATC DIY projects!I am back again with some interesting ideas of making a DIY wooden bench in minutes.
And this time, I will use an old damaged bench to make the new wooden bench at My Little Patisserie in Amsterdam.
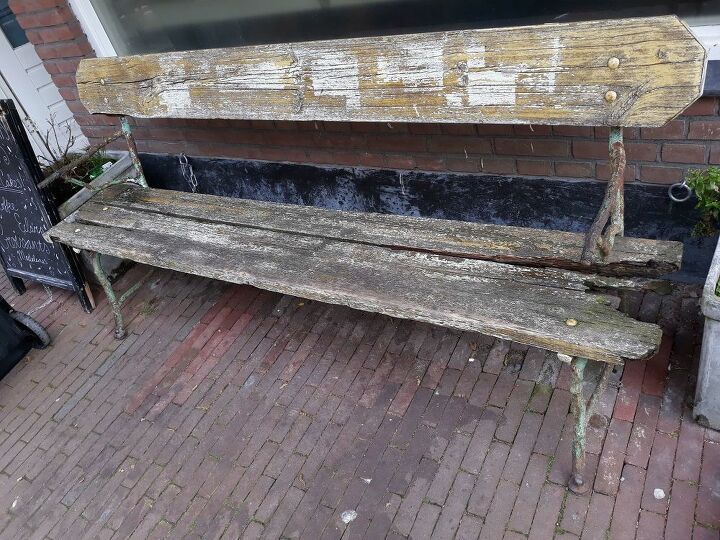
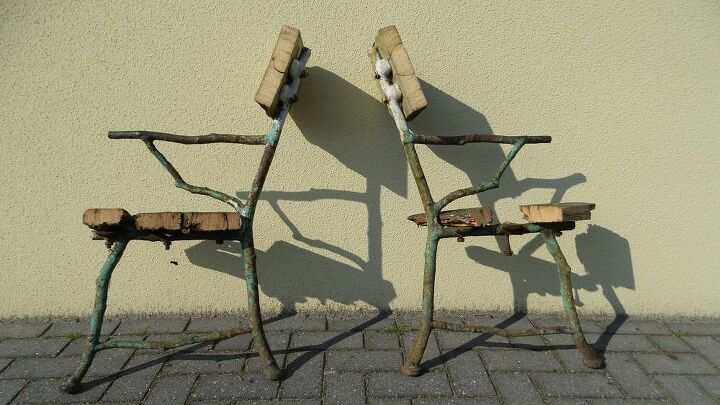
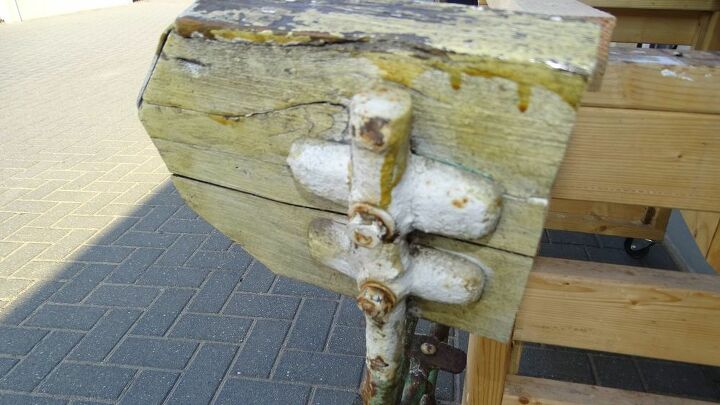
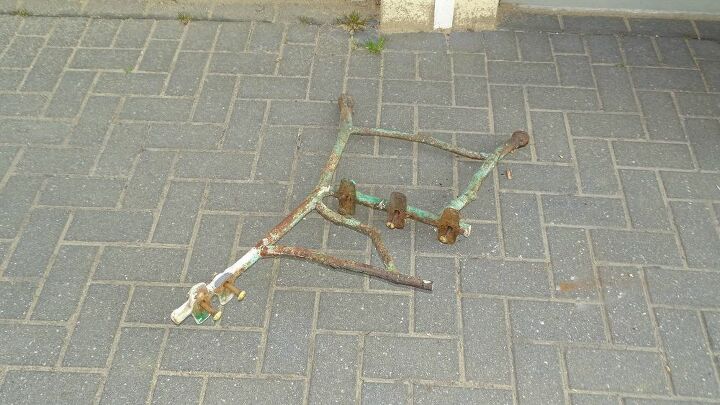
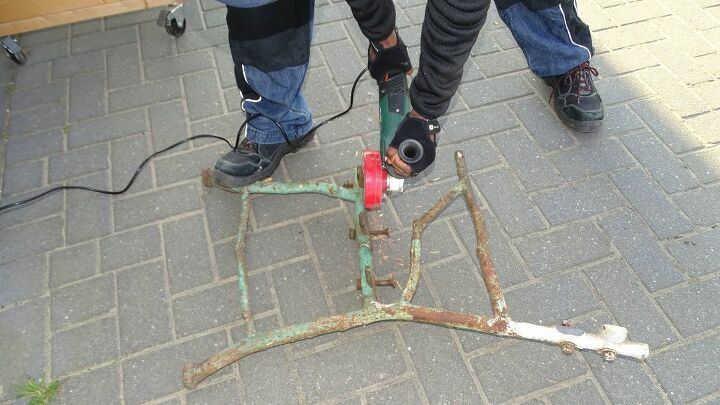
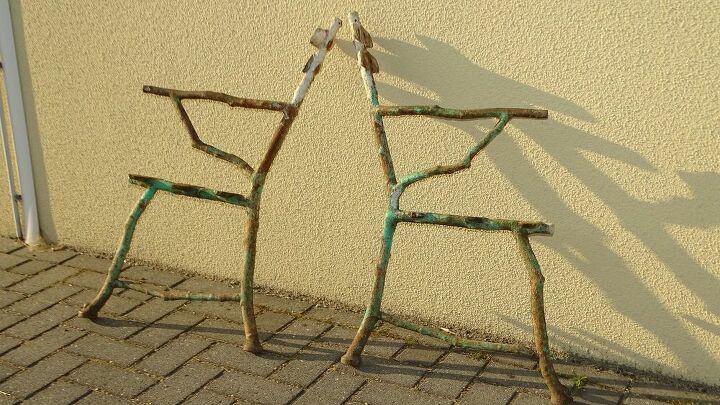
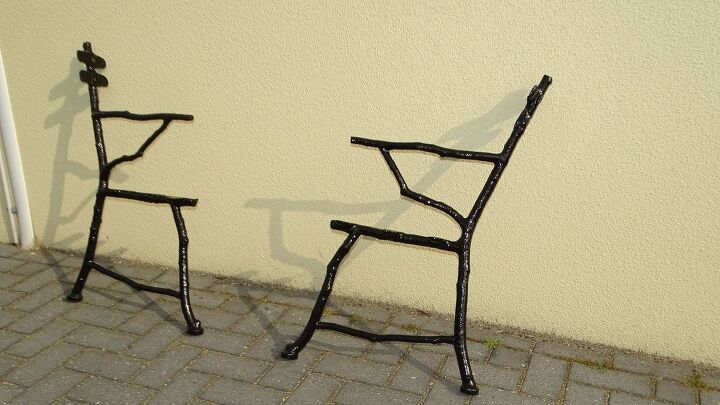
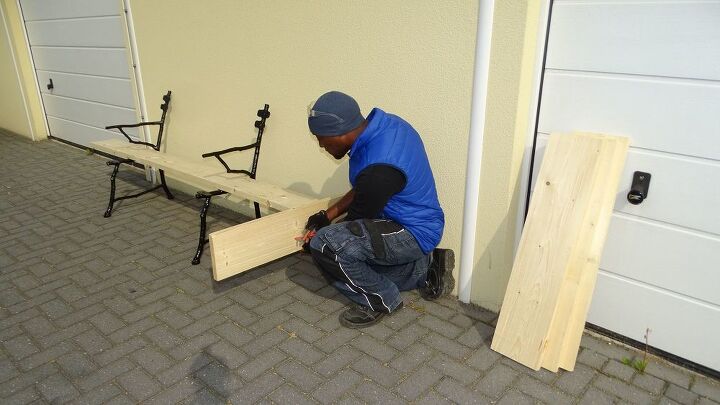
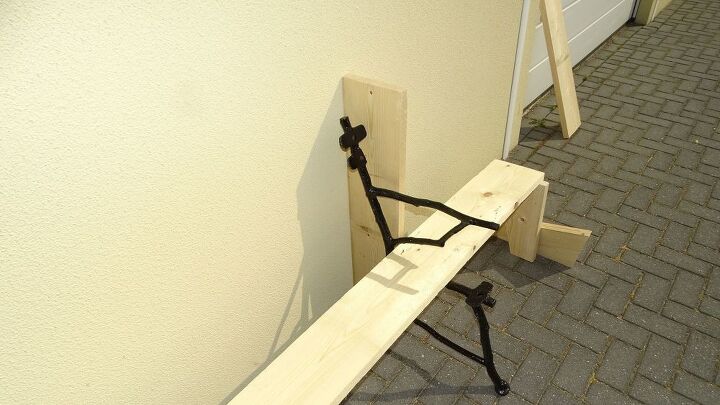
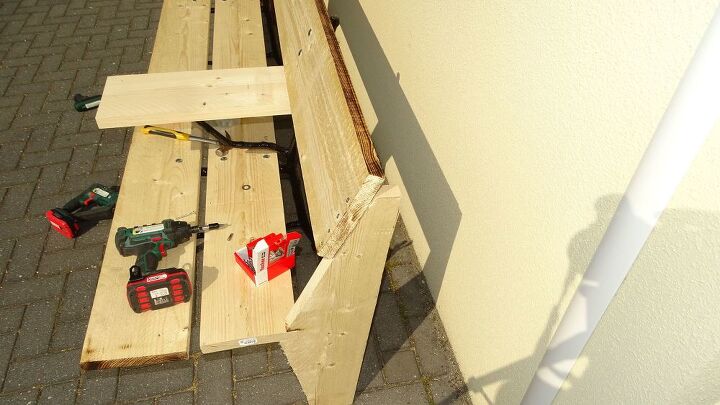
For this amazing creation, I will be using wooden boards….... For more interesting creations join me on my YouTube channel MyATCtv DIY.And a big thanks to My Little Patisserie for sponsoring our project.Below, I am sharing some pictures and drafts of DIY wooden bench that will help you in making an attractive seating for the garden.If you would like to see more images of this DIY project… Check out my YouTube video Tutorial for better understanding!!!Step 1: Dismantle the Old Damaged Wooden BenchDon’t throw away old and damaged bench, use it to create a new garden wooden bench. How?I will disassemble the old furniture and use its supportive legs in a DIY wooden bench. I will smooth the legs with a metallic brush and then will paint them with black color. This will give them a new finish and an attractive look.Check out my video to know more about the dissembling of damaged bench.
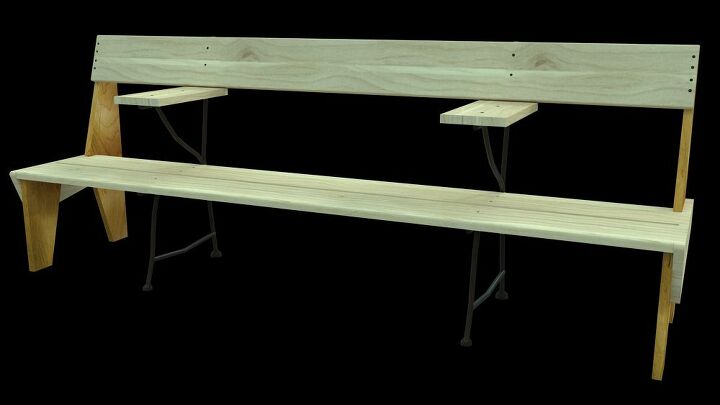
Step 2: Make A 3D Plane of Wooden Bench with Proper DimensionsI will make 3D wooden bench plan on paper. This will help me to cut the plywood with precision and build the perfect outdoor furniture for the garden.You can view or download our 3D plan from the DIY wooden bench project online.
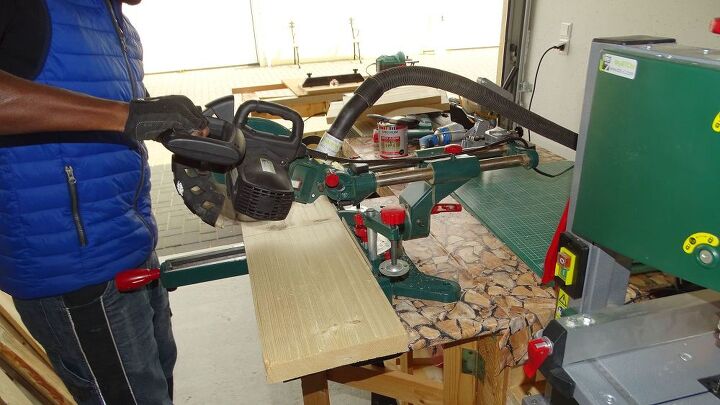
Step 3: Gather Plywood and Make Them SmoothNow, after ready with the 3D plan, I will cut the plywood accordingly. For making wooden bench I will use four long plywoods and four small plywoods boards.
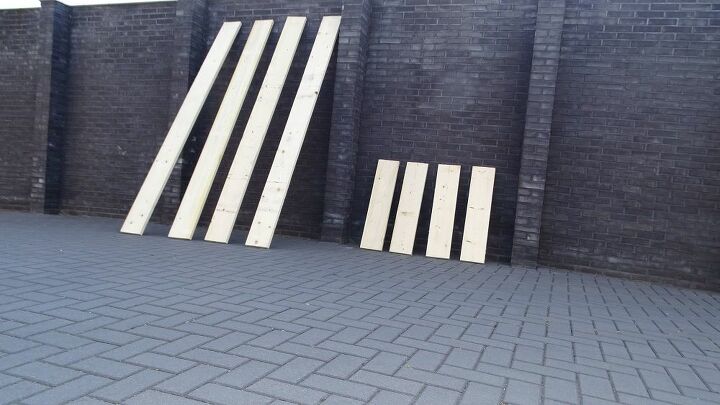
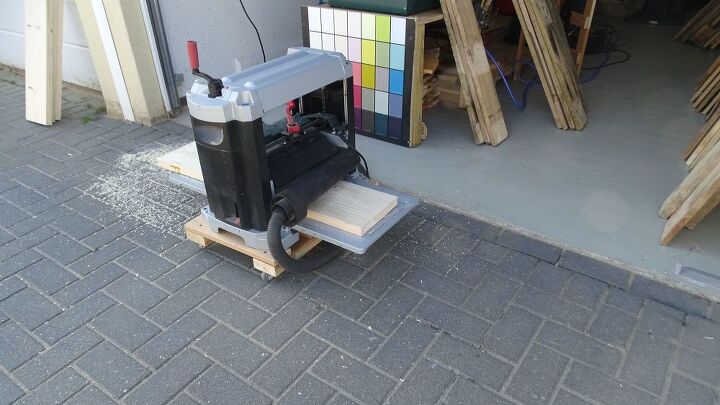
First, I will make all of them smooth by using my sander machine to give the wood a fine finish.
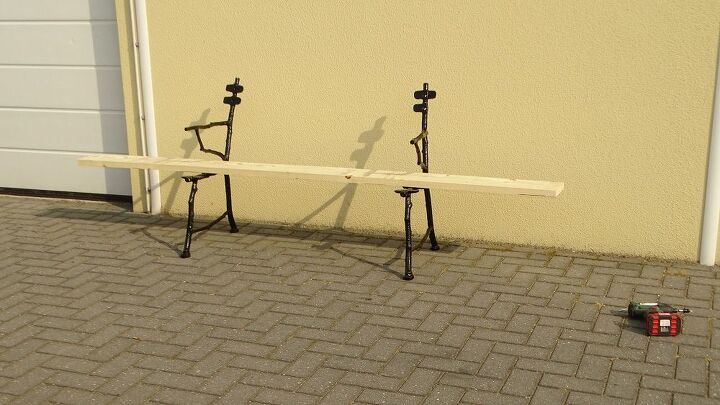
After this, I will arrange the black painted supports at some distance and place long plywood on them to make seating space.
Fix the plywood with supports with the help of screws.
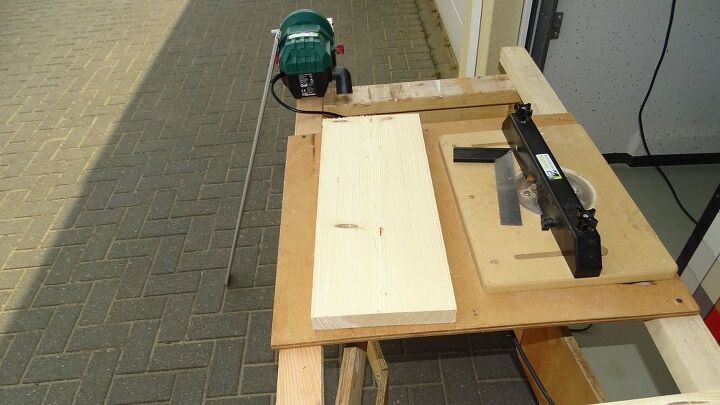
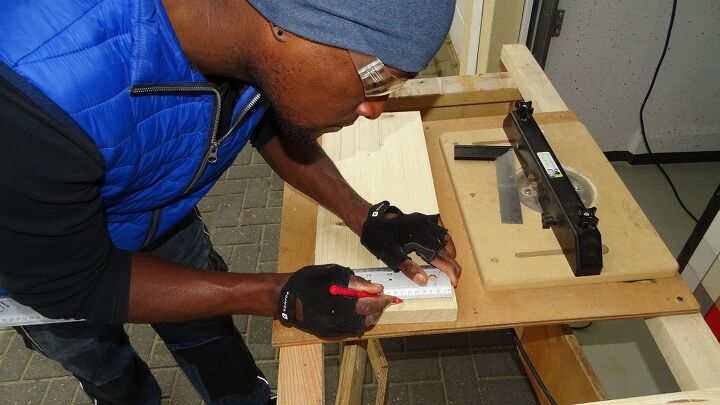
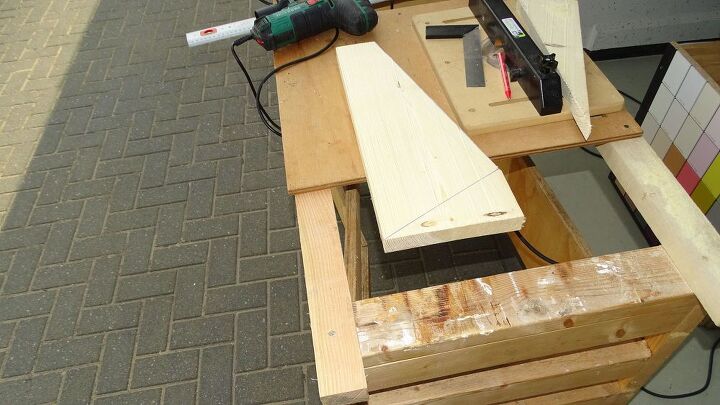
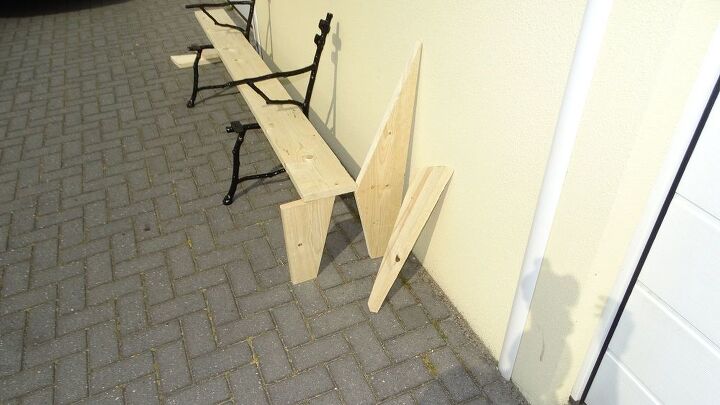
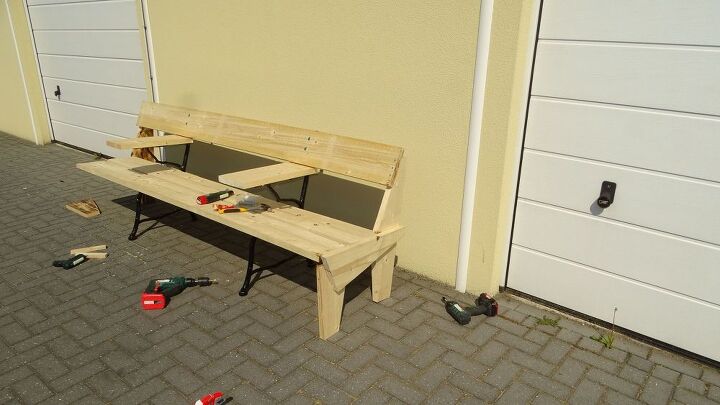
Step 4: Cut the Plywood According To 3D PlanNow, for the sides of the bench I will use small plywood. I will use a pencil to draw dimensions on plywood and then will cut according to design with my power saw.
Step 5: Fix the Sides with screws and GlueHey, now I have all the required pieces of plywood with proper dimensions. So, now I will fix all of them one by one in an effective manner to make strong outdoor furniture. Screwl them all carefully.
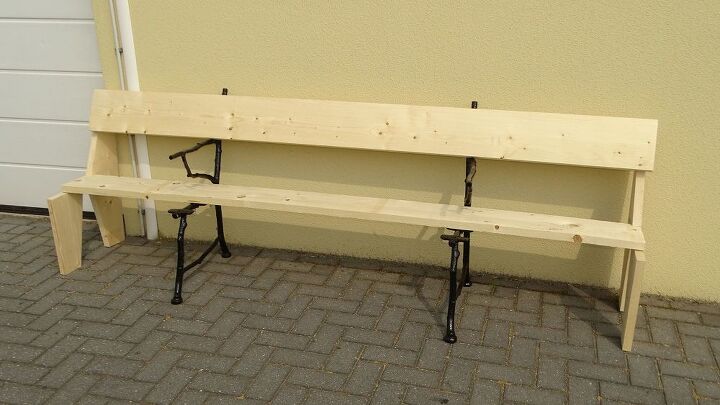
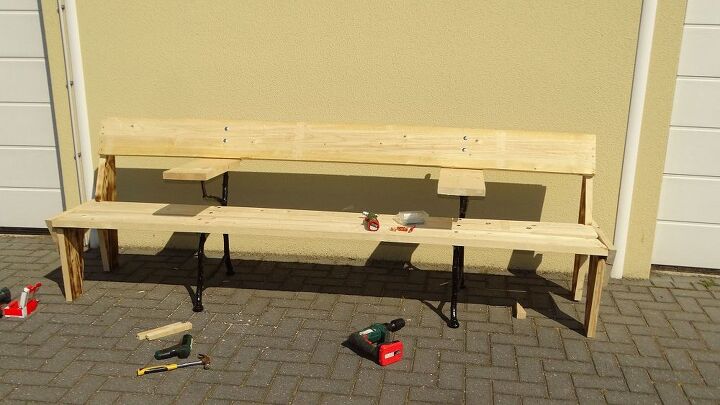
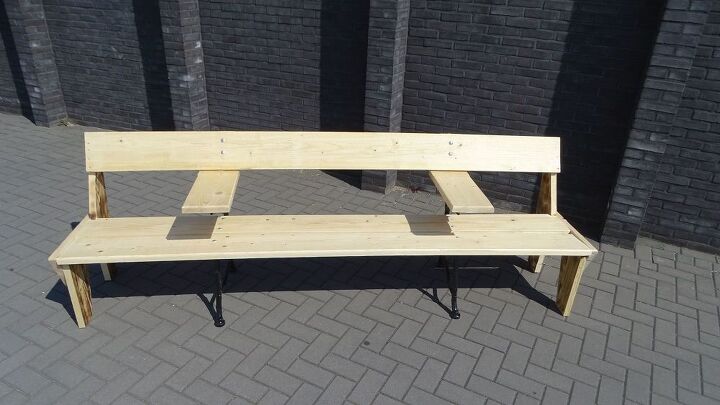
Step 6: Use The Long Plywood At Back Of BenchWe are almost done with the sides, supports, and wooden bench seat, now the left is its back. For back support, I will use long plywood and fix it with long screws tightly.As you can see in the video or images that I have used two plywoods for the seating area of the wooden bench. Keep a small gap between these two.
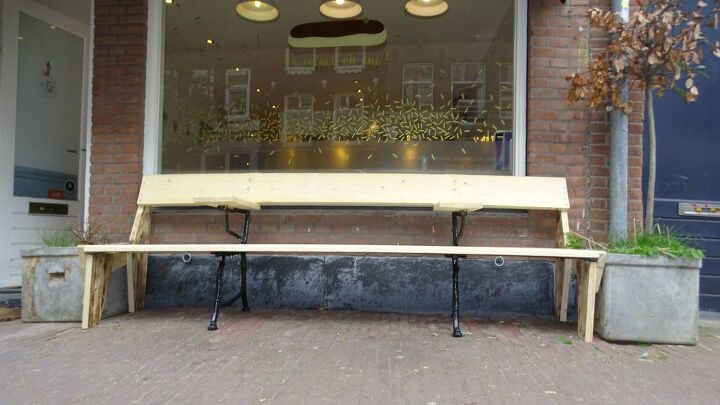
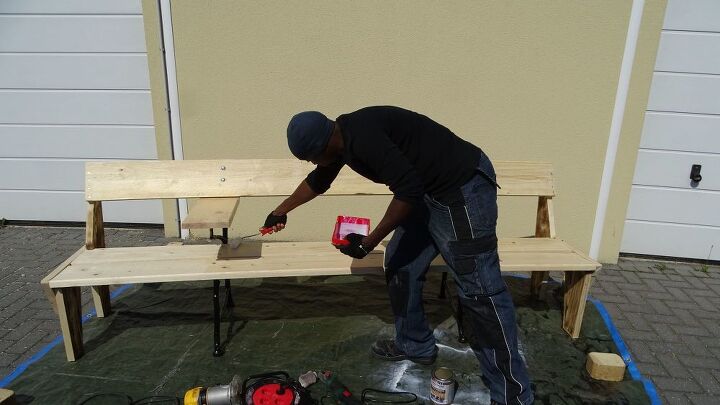
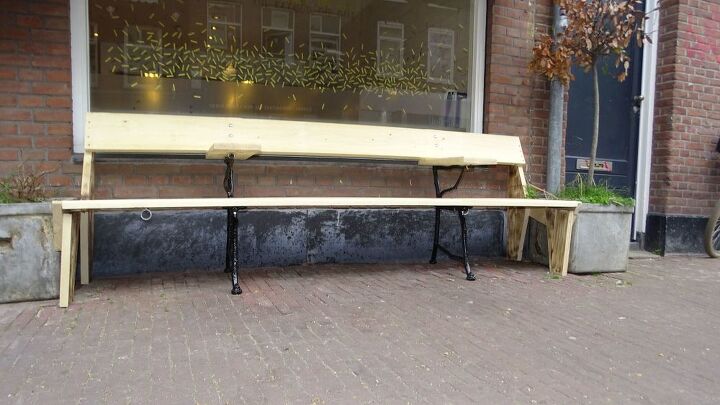
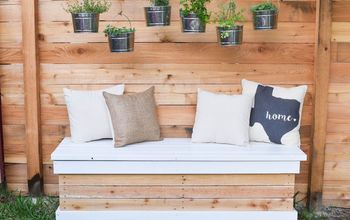
Step 7: Apply A Protective Coat On The BenchFinally, the bench is ready, now I will apply a transparent protective coat on the bench to make it more attractive, impressive and free from germs.
Step 7: Apply A Protective Coat On The BenchFinally, the bench is ready, now I will apply a transparent protective coat on the bench to make it more attractive, impressive and free from germs.
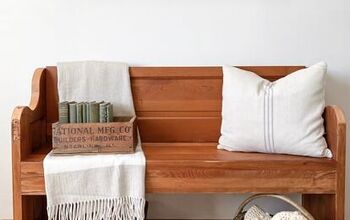
And here the beautiful wooden bench is ready; place it in your garden or outside your shop to make space more attractive and unique.


I hope that you like this project and if this is the case, leave a comment below to let me know what you think!
{
"id": "6078720",
"alt": "",
"title": "",
"video_link": "https://www.youtube.com/embed/0K90DlzJZuk",
"youtube_video_id": "0K90DlzJZuk"
}
{
"width": 634,
"height": 357,
"showRelated": true
}


Any price and availability information displayed on [relevant Amazon Site(s), as applicable] at the time of purchase will apply to the purchase of this product.
Hometalk may collect a small share of sales from the links on this page.More info
Want more details about this and other DIY projects? Check out my blog post!
Comments
Join the conversation
2 of 26 comments
-
Great project! I wonder about a couple of things: couldn't you put the pretty metal legs/supports at the outsides so they could be seen and put the wooden parts inside? I also would have loved you to shou sugi ban all the boards (which also keeps it bug-free and weather preserved). Your choices are wonderful too!

-
Wow! A few minutes to make this? Seriously? It's really wonderful! Thank you for sharing.


Frequently asked questions
Have a question about this project?
Looks like you started to burn the wood. Did you change your mind?