


DIY Metal Table Legs

We built a beautiful live edge maple farmhouse tabletop for our eating area and fabricated metal legs to give the table a unique, contemporary meets farmhouse design. The leg assemblies were made using 2x4 metal tubing with 1/8th inch wall. I used my TIG welder to tack each table leg assembly together and then used my MIG welder to fill any gaps while adding durability and strength. The contrast of the sleek black metal and modern angles with the warm wood of the tabletop creates a timeless design using materials that guarantee the longevity of the table for generations to come.
You Will Need:
- 2x4 Metal tubing
- TIG welder
- MIG welder
- Band saw
- Angle grinder
- Sanding disc
- Wire wheel
- Jig
- Spray Paint
- Bolts, flat washers, and lock washers
- Self-adhesive felt furniture pads
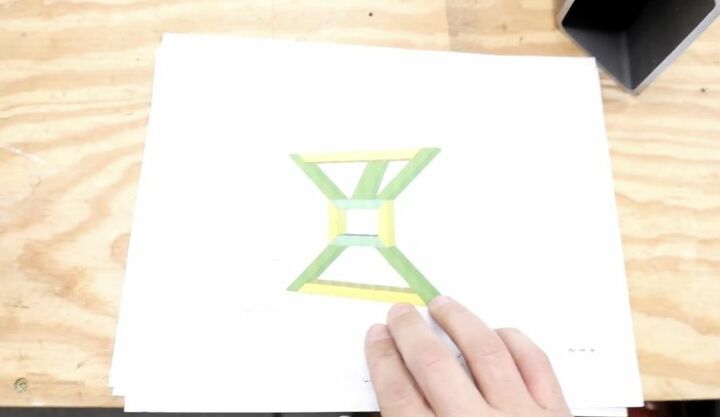
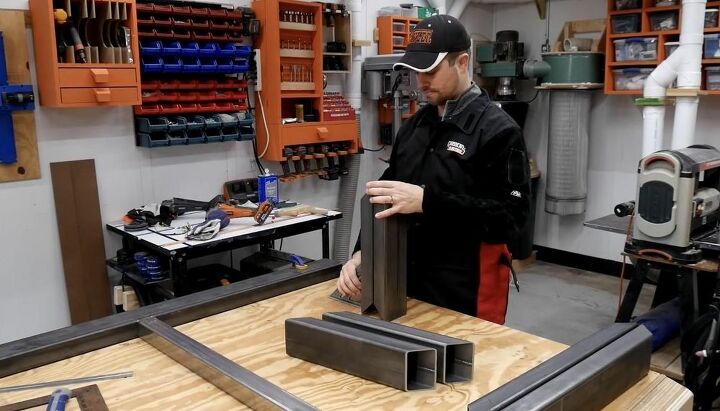
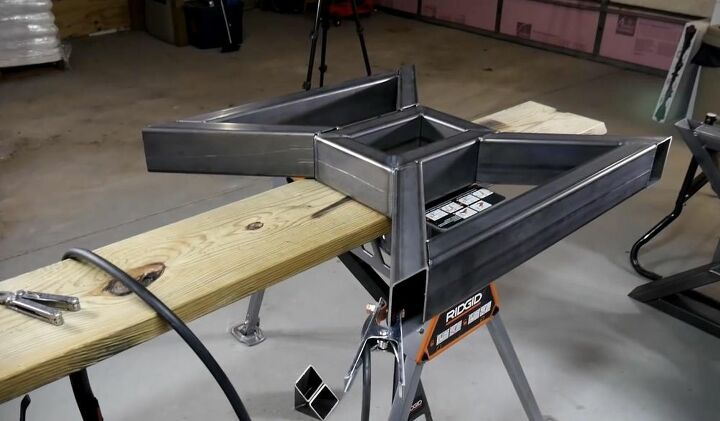
I designed the model for the table leg assembly and printed the sketch for reference throughout the project. My design included a center rectangle and bars radiating out at an angle from both the top and bottom of the rectangle, capped off by an angled bar.
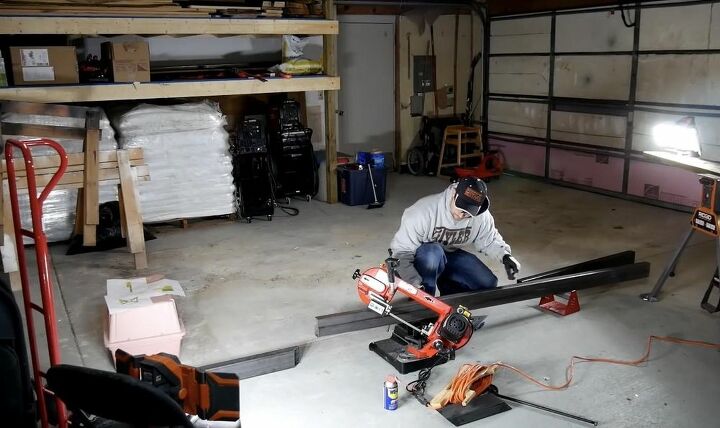
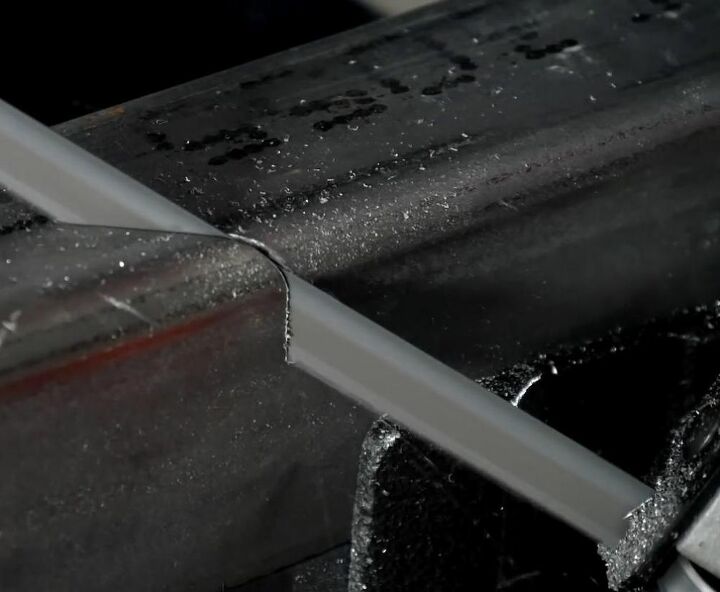
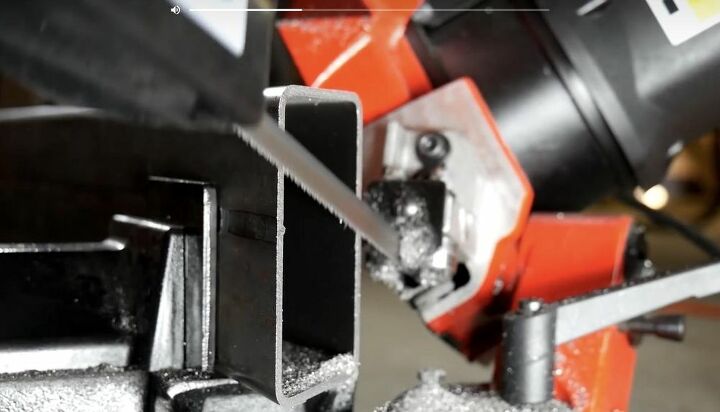
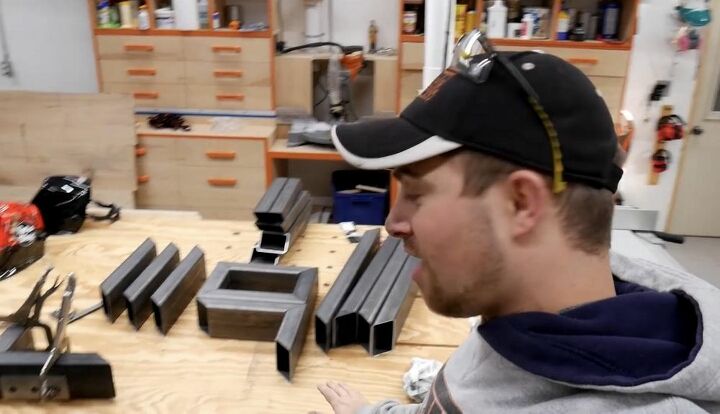
I broke down the 2x4 metal tubing using my portable band saw in the garage for the mitered cuts needed. I cut all of the pieces needed to create and weld my design.
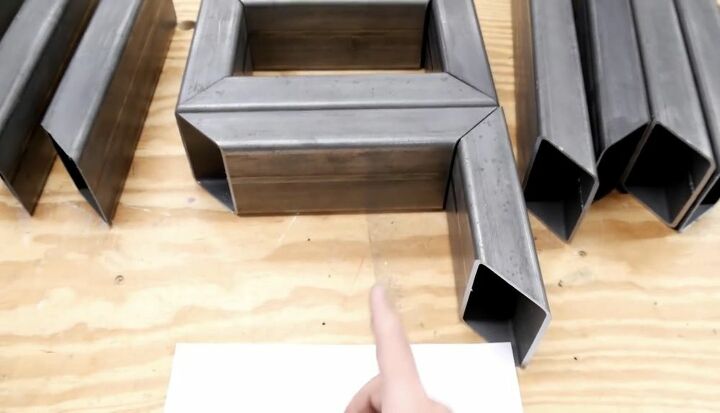
I started with the center rectangle and used a TIG torch to weld the center rectangle of the leg assembly. Ensure that the rectangle is very square to build the rest of the assemblies off of.
Once the inner rectangles of both leg assemblies were completed, I used a speed square and a flat surface to make sure the parts that I was assembling on either side of the center rectangle were the same length. Any deviation will have a big effect on the rest of the leg assembly later on.
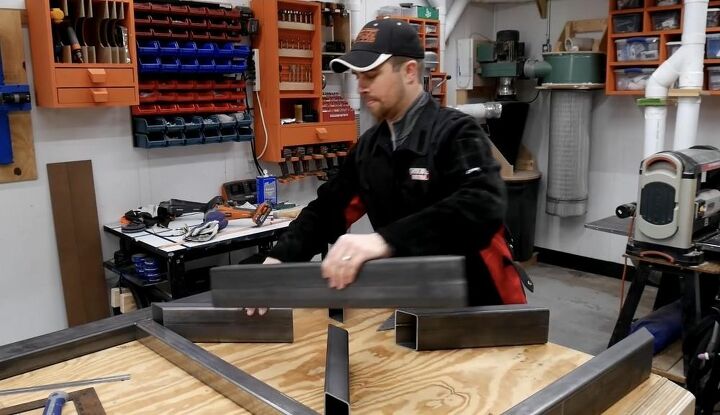

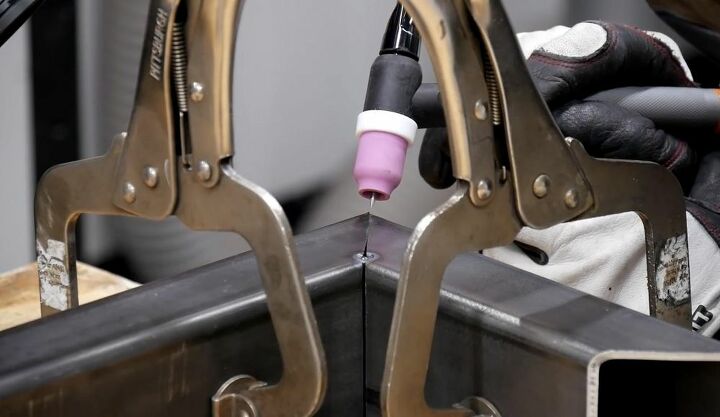
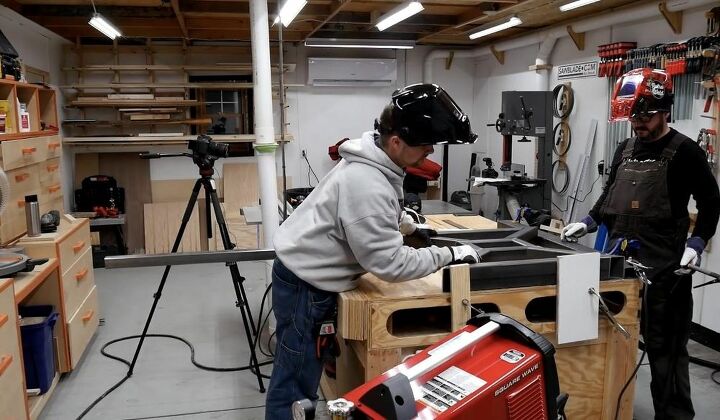
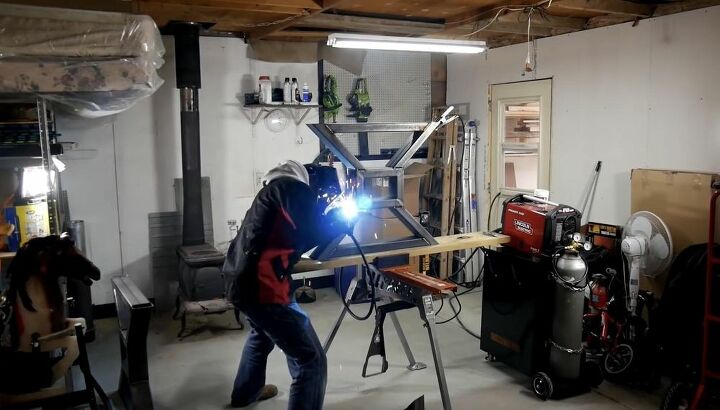
After setting up a square jig on the assembly table I used my speed square to layout the 45 degrees of either side of the leg assembly and then tacked it together with the TIG welder.
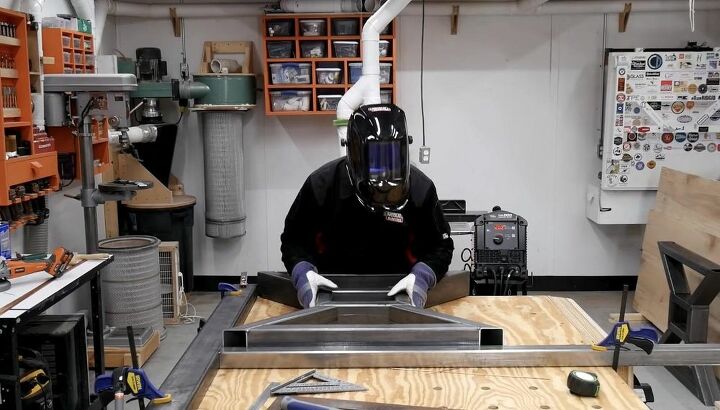
I arranged the upper and lower portions with my jig on a flat reference surface ensuring that all was square and then placed the rectangles in the center. I tacked them in place with the TIG welder and placed at least two tacks on every joint on one side and then flipped the assembly over and repeated the process on the reverse side.
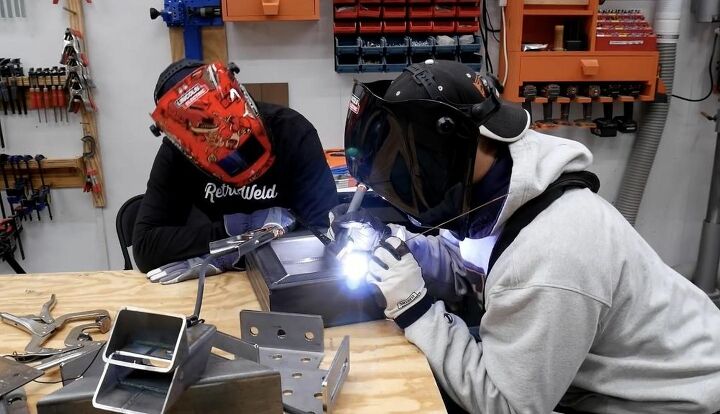
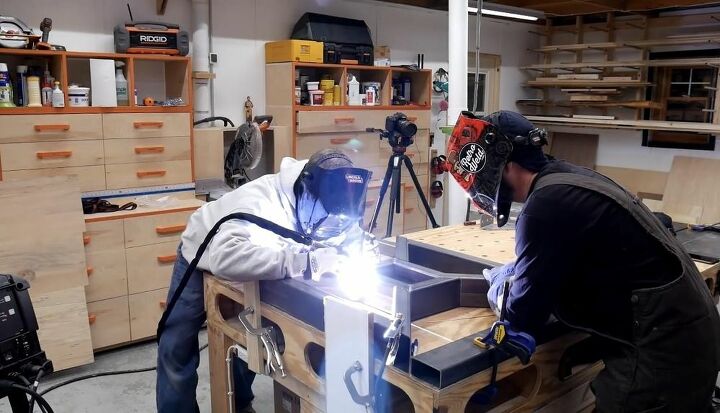
Once the assembly was all tacked together, I used the MIG welder to correct any slight deviations and large gaps that needed to be filled in a more efficient amount of time.
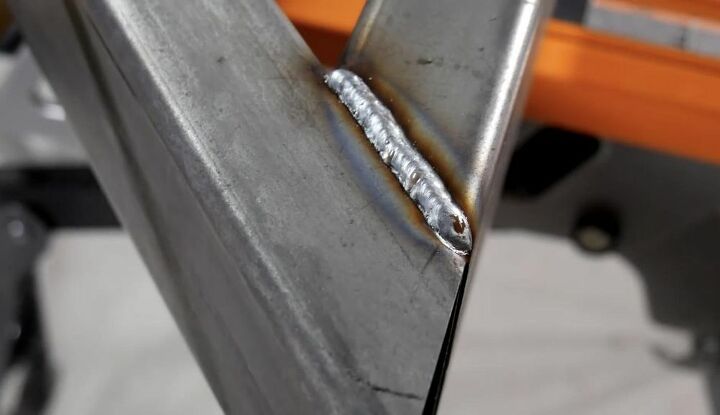
After I laid down the beads with the MIG welder, I placed it on a flat surface and used a sanding disk to sand it down a bit and then went back over the MIG welds with the TIG welder to make a weave pattern.
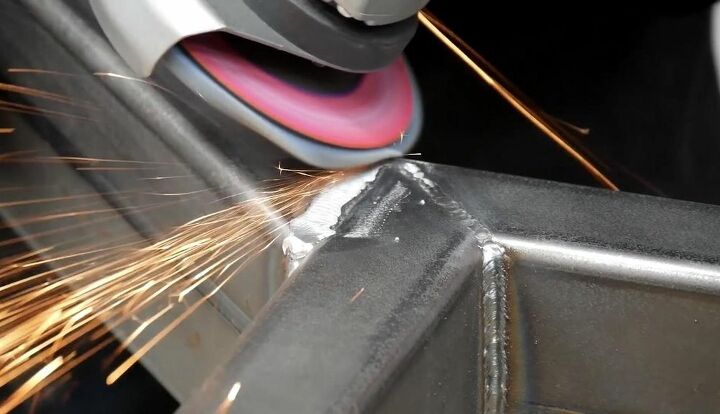
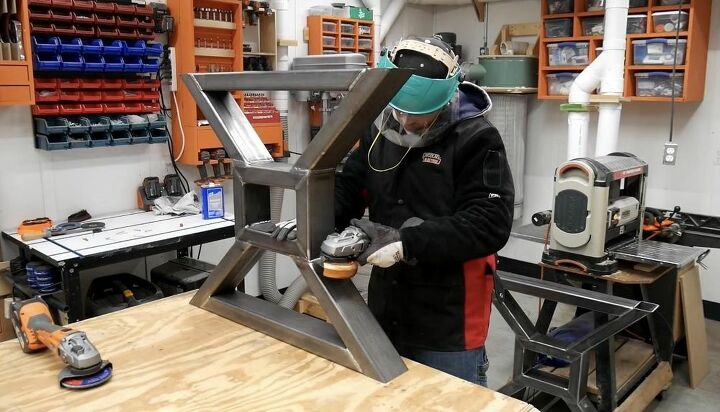
I used a wire wheel to buff and shine the welds and to clean off any rust that had developed on the steel while it was awaiting assembly.
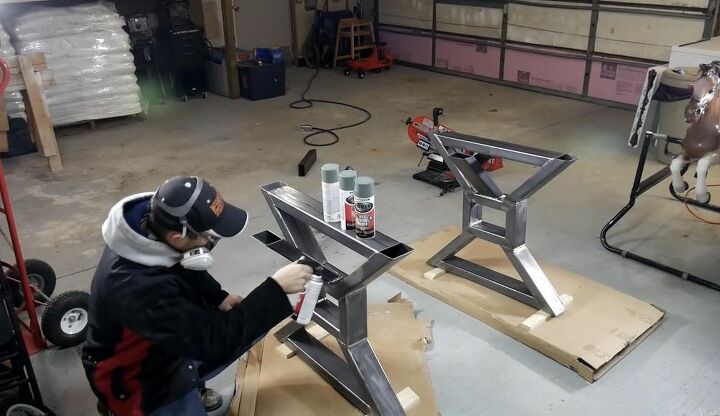
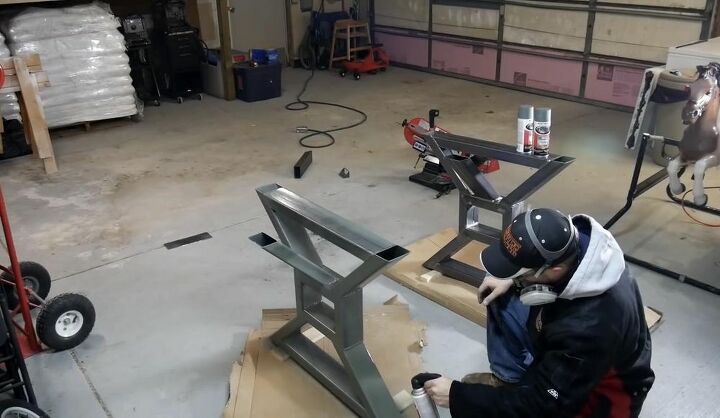
I started with a coat of self-etching primer and then finished it with several coats of semi-gloss black enamel spray paint. Once the paint cured, I brought the assembly back into the shop.
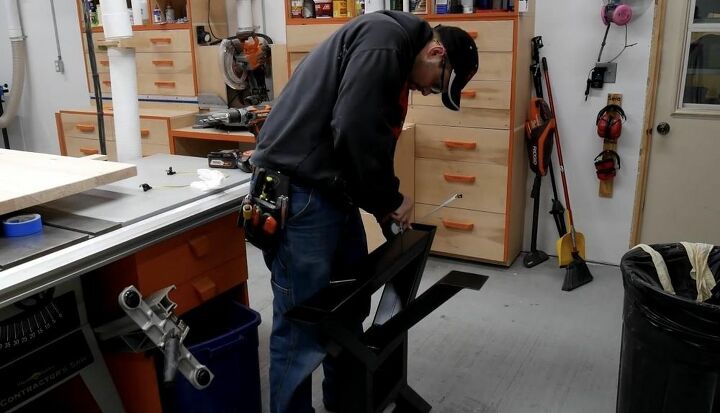
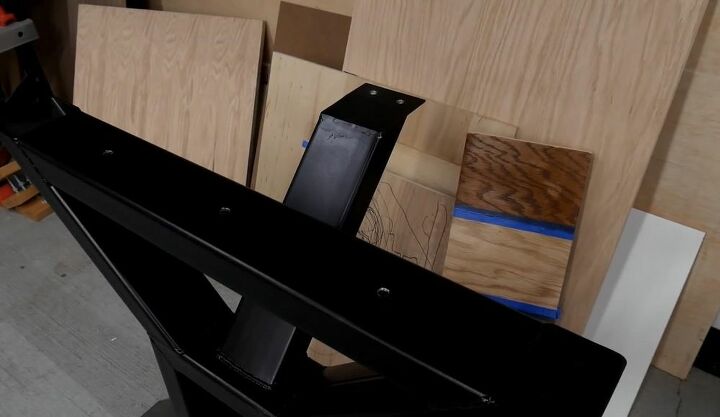
I pre-drilled the holes to attach the tabletop to the leg assembly. I drilled the oversized holes and placed the bolts in the middle of the holes so that the table can expand and contract over time with no issues.
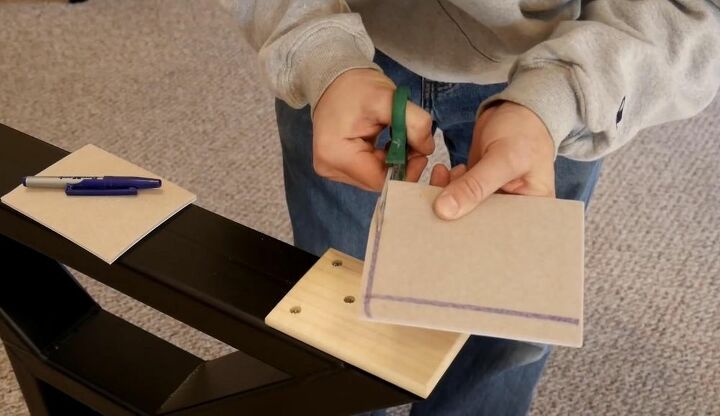
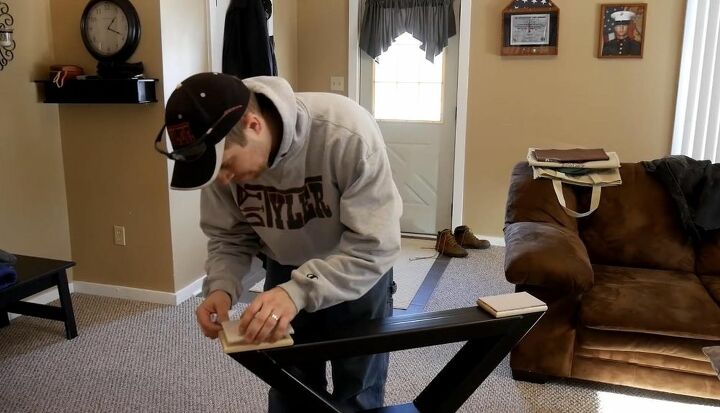
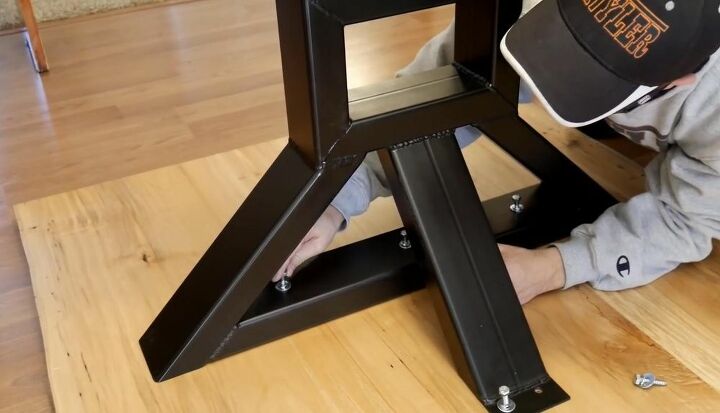
To protect the floors and keep the metal tubing from sliding, I created maple pads that I bolted to the leg assembly and attached self-adhesive felt pads cut to size to them.
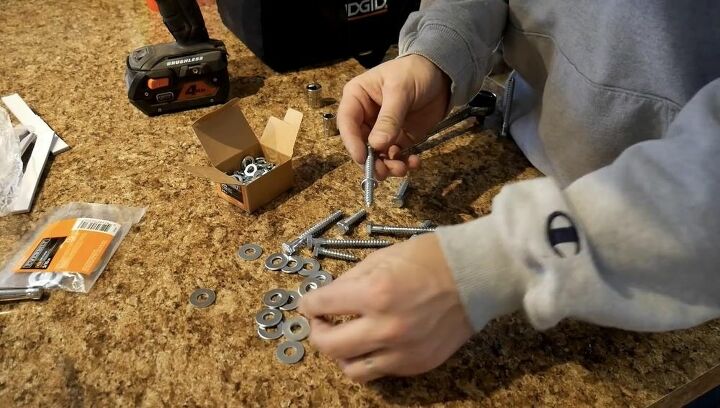
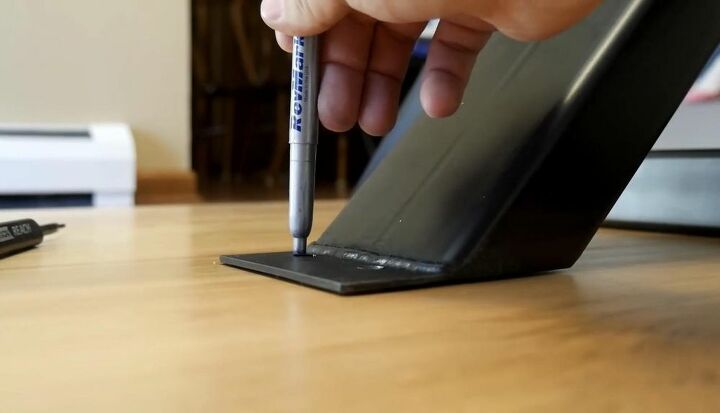
I staged lock washers and flat washers with the bolts to go through the leg assembly and then through the mounting pad. I staged the leg assemblies in place on the overturned tabletop and marked through the holes where I would pre-drill and install the leg assemblies. I marked the drill bit with painters tape to prevent drilling through the tabletop. Place a blanket on the floor and set the overturned table top on it to install the leg assemblies on both sides. After pre-drilling the holes, bolt the leg assemblies to the tabletop.
With help, I slowly raised the overturned table onto its side and then lifted it to an upright position in the eating area. Remove the blanket and slide the table into place.
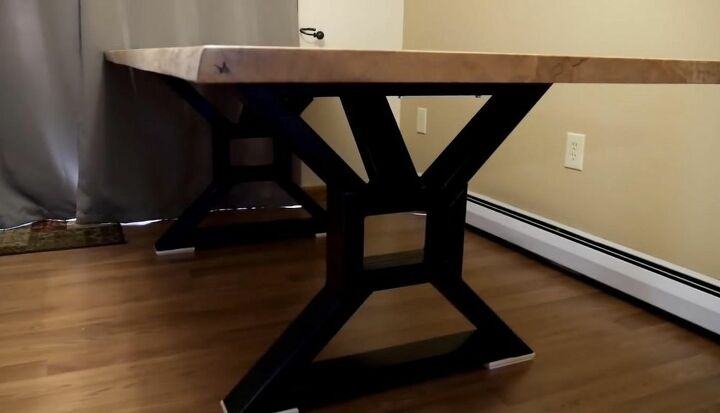
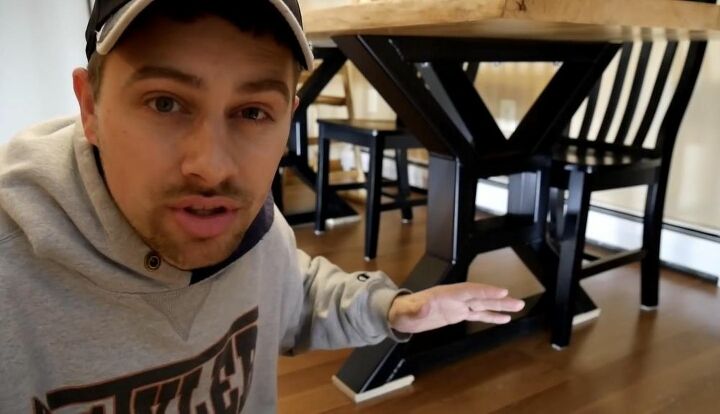
We are so happy with the look, sturdiness, and longevity of our DIY metal leg design. There is absolutely no wobble in the table because of the strong metal base and we know that the table legs will outlive the tabletop! This welding process was a great learning experience and I enjoyed using the technique to create such a stylish, strong, and unique design for our dining table. We could not be happier with the look of the metal legs with our wooden tabletop so don’t hesitate to mix materials and styles to create a one of a kind furniture design for your own home.
Have you mixed wood and metal to create custom furniture for your home or have you always wanted to incorporate both industrial and farmhouse style in your home decor? Share your DIY building projects photos and tips or find inspiration for more modern meets rustic furniture ideas like this one at Hometalk!
Resources for this project:
See all materials


Comments
Join the conversation
-
Geez man,2x2 box tubing would have been plenty in this configuration.That is unless you plan to have table dancers nightly.You never devoted much description to the top,which everyone sees and usually comments on. that table will definitely be around for some time,it is almost as strong looking as my main work table.Great job,but most people would have mig welded it.
-
Outstanding work. The only difference that I'd do is do wooden legs, since I have no welders. I could do the same idea with 4X4 wood, should look similar.


Frequently asked questions
Have a question about this project?
How much steel did you use?
I have been inspired , who has the plans. want to build these out. love this one.