


How to Hang a Microwave Over Your Range in 30 Minutes

Out with the old microwave, in with the new. A few surprises on the install, I hope these hints help someone else. Remember the old carpenter addage, measure twice, drill once ; )
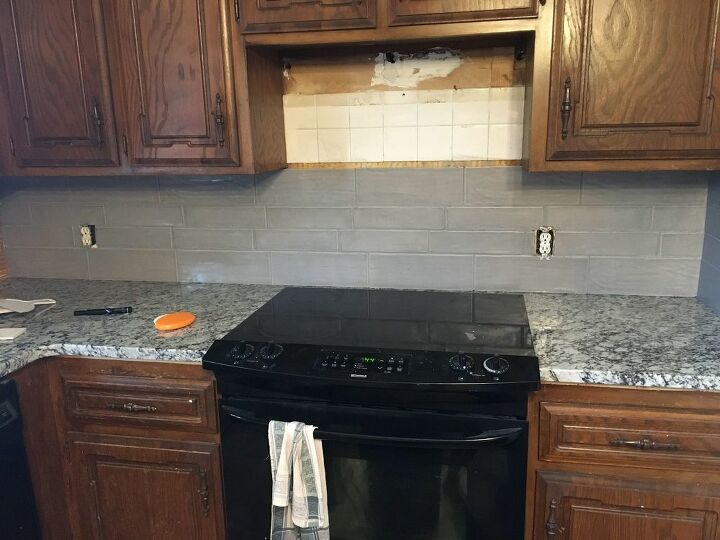
Here's the new backsplash in the kitchen. I had to remove the microwave to complete the tile install, so while it was out we decided on a new microwave. The first tools you'll need are a tape measure and a sharpie. Read the entire instructions for your install before you start marking or drilling. Note - costs for this project do not include the microwave 
I left the old white tile in place on the back wall so the new microwave would sit plumb against the same vertical plane.
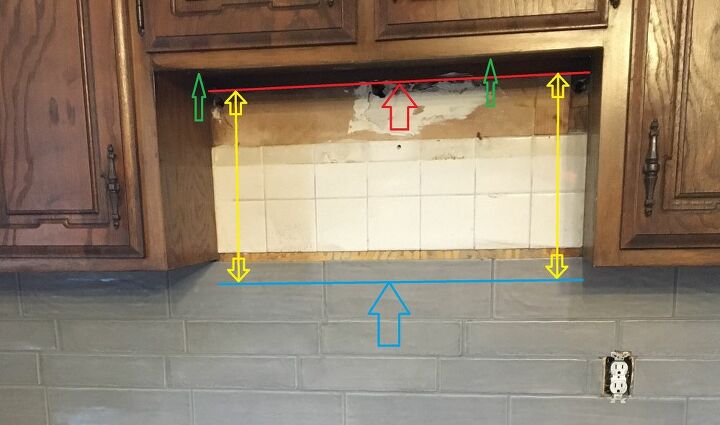
From my microwave's instructions (yours may be different): Find the top most point where you will mount the microwave ( as shown here with the RED arrow & line) at the back of the opening. You should also make sure the back and front are the same height. Measure down each side (in yellow) to determine the location of the wall bracket. Our instructions dimensioned the top row of mounting holes, not the top of the actual bracket itself. I marked either side with a sharpie, and then used a straight edge to draw a line the full lenght left to right (as shown here with blue arrow and line). The GREEN arrows are the location of the mounting holes specific to this microwave.
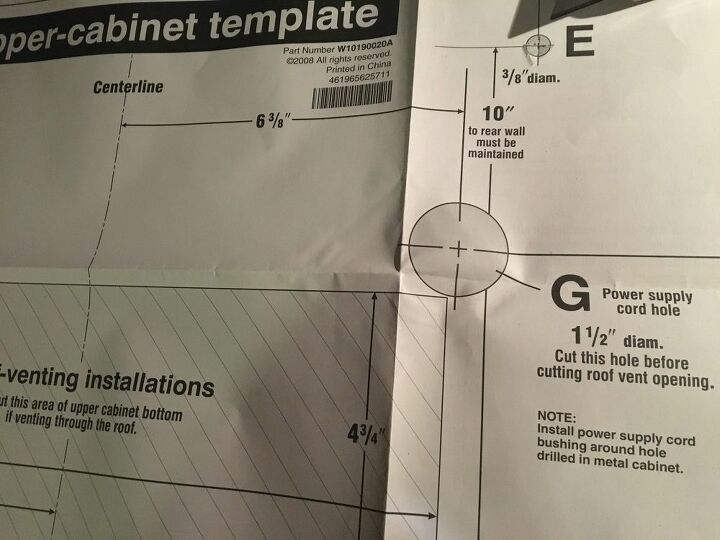
I used a box knife and cut an X in the center of the template's mounting locations (marked "E" on my template). After this I taped the template to the underside of the location of the microwave with blue masking tape.
Since I don't have three hands... I did not get a pic of me drilling this. I drilled UP thru the template with a 1/8" bit, removed the paper template, and then used the 1/8" holes as guides and drilled 3/8" holes as instructed. (See GREEN arrows in previous photo)
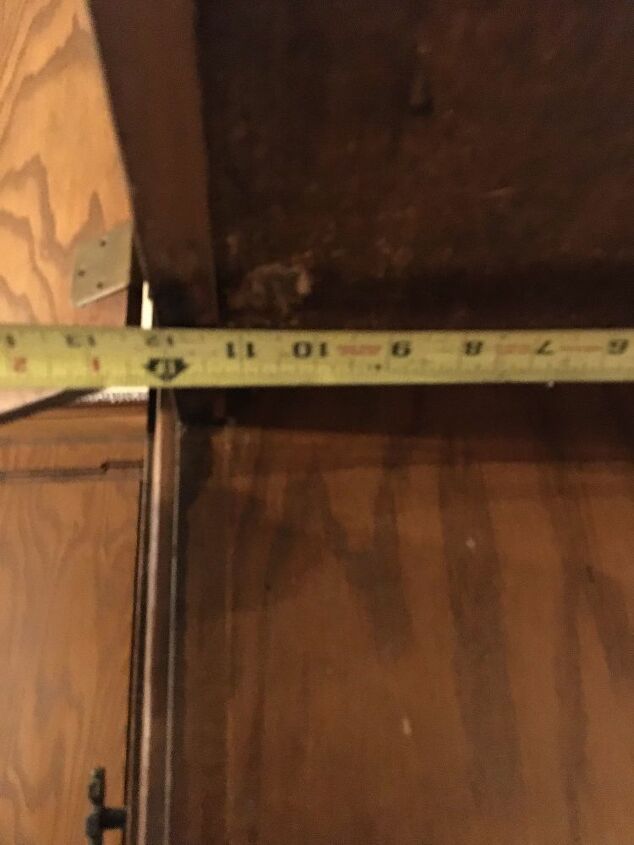
I pulled the template down and verified I had drilled the holes in the correct locations. You can be off up to 3/16" or so in some instances because of the bolt / washer combo that came with this microwave, but yours may be different, so be as precise as you can. Our holes were good so we moved on. This hole was next to a previous one, and it's particle board, so things look a bit messy.

I checked the back wall for studs, and sadly only found one. We would have to get creative on this.
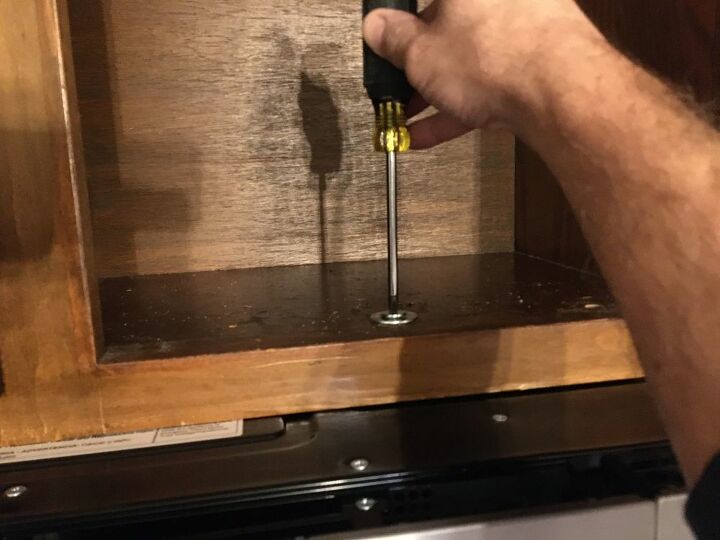
Here's my back bracket. I taped it in place, and then used the holes themselves as a template to mark the back wall. Let the tape help, but hold the bracket in place as you identify the holes. I marked every hole on the top row, and one on the bottom row where it lined up with my single stud location. The microwave came with two toggle bolts wich require HUGE holes, that I really don't want to mess with. We WILL be driling thru the ceramic, but no worries...
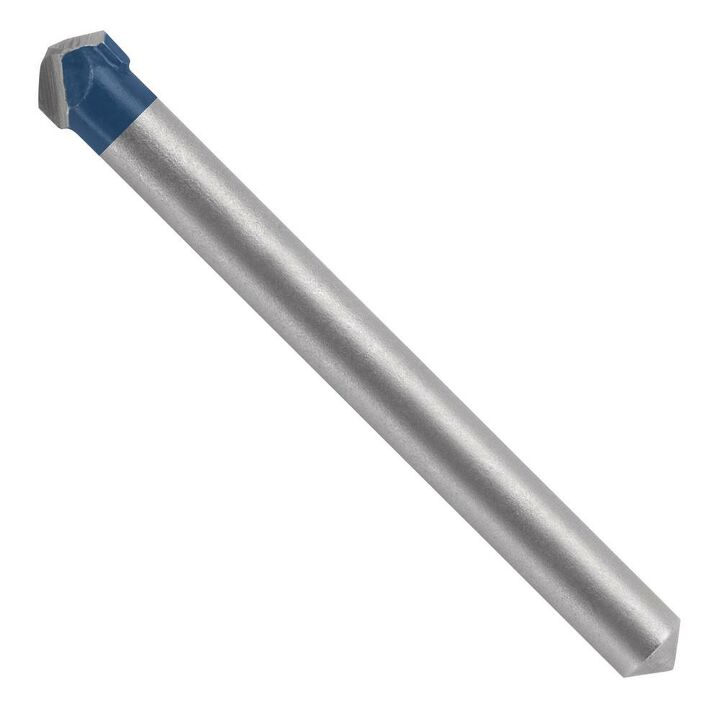
Here's the magic tool: A $13 Bosch 1/4" glass drill bit from Home Depot. Made drilling thru the ceramic tile SO EASY!
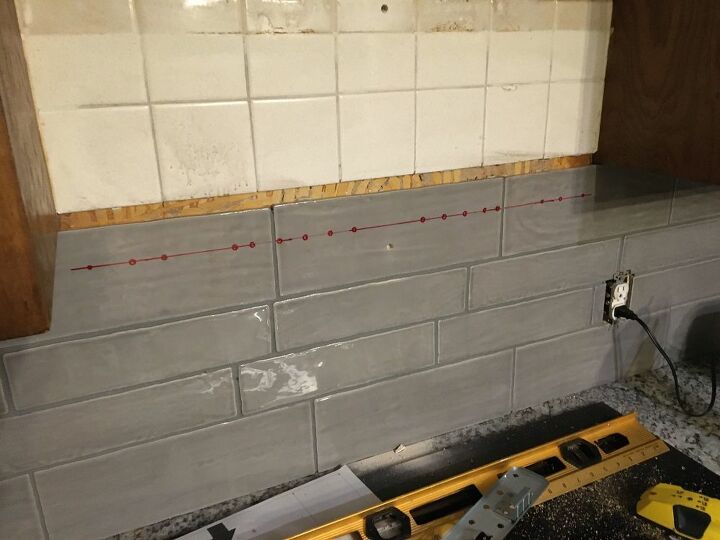
Here you can see the line I drew from dimensions, and the red sharpie showing each hole in the bracket. You can also see that I drilled the bottom hole for hitting the one stud in the wall. I"ll use a 1/4" x 2" lag screw for this, and something else for the top row. I ended up drilling four in the top row. Took less than two minutes to drill them all. I did NOT drill thru the drywall, only the tile, to the best of my abilties, using the drill bit itself as a guide to how deep I was going
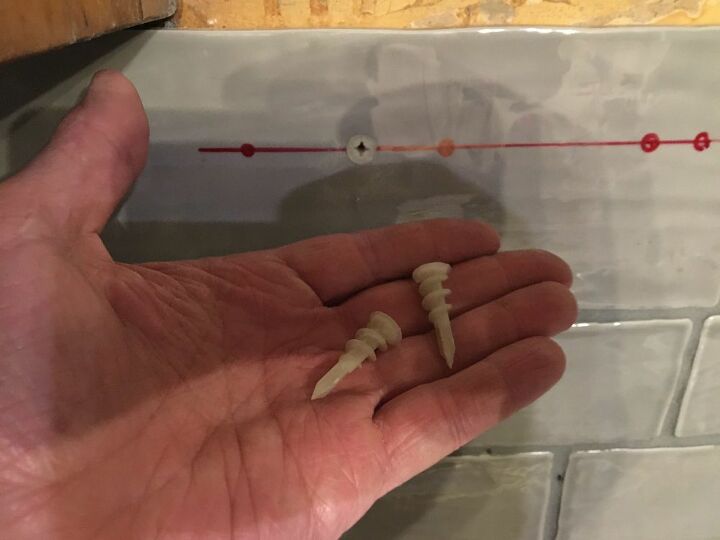
I cheated and used some small drywall anchors right into the tile. These are on the smaller side, and probably good for 40 pounds each. I have used the larger ones to hang a 70" TV. I put four into the wall and attached my bracket with four included No. 8x3/4" screws, and the one lag screw for the bottom hole ( and I forgot to take a pic of the finished bracket ). This microwave weighs 52 pounds according to website, so we should be ok.
Gently set the microwave on the back bracket. This will take two of you.
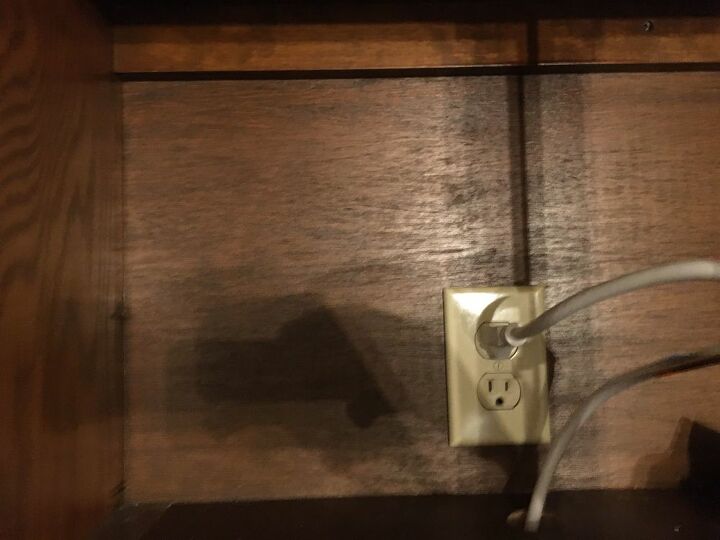
Route the power cord up thru the bottom of the upper cabinet. I went ahead and plugged mine in to hold the cord out of the way.
LIft the microwave up against cabinet...
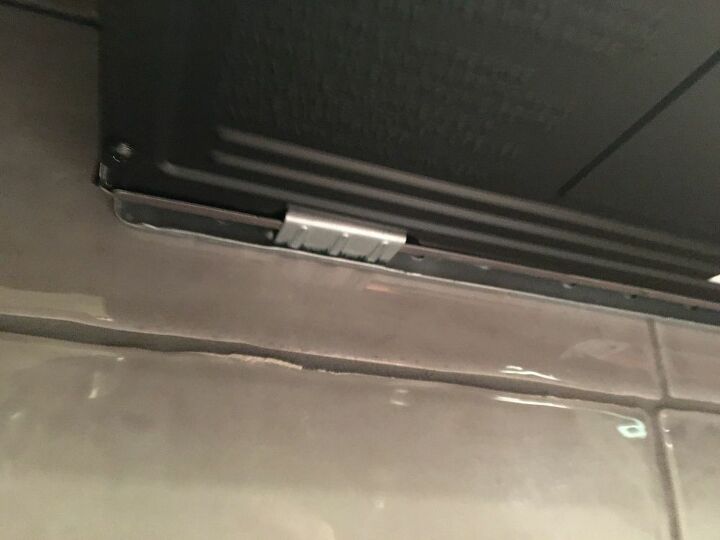
... and put the top bolts in place. Hold the microwave up and the screws will go in much easier. Take turns left and right gettting them tightened down so you don't get anyting in a bind. Use a quality screwdriver that fits the screws correctly.
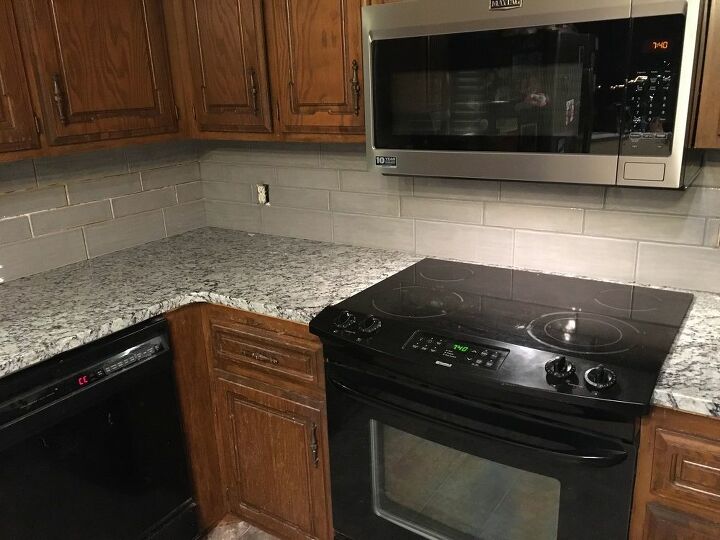
And now you have a NEW microwave in place. I liked the no-handle look of this one. Now we reeeeeaaaaaaly need to update those cabinet doors. Caulk and outlet covers still need to be installed, but we'll get there ASAP.
As always, holler if you have ideas to make this easier for the next person. Follow me to see what else I have planned for this kitchen, along with a few electrical projects currently in the queue, and happy Hometalking!


Frequently asked questions
Have a question about this project?