


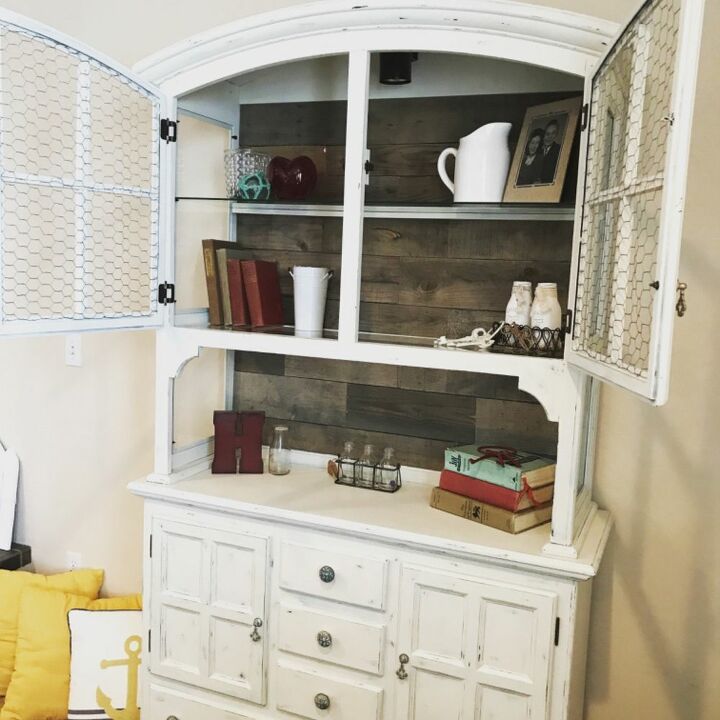
Reclaimed Wood Backed Hutch
This hutch was headed for the dump, when we stumbled across it on a Facebook ad. It was in good shape, but nobody wanted a dark green, outdated hutch in their home. Deciding to try to give it new life- we saved it from the dump. Keep reading to see how we used reclaimed wood, chicken wire and paint to breathe new life into this hutch.
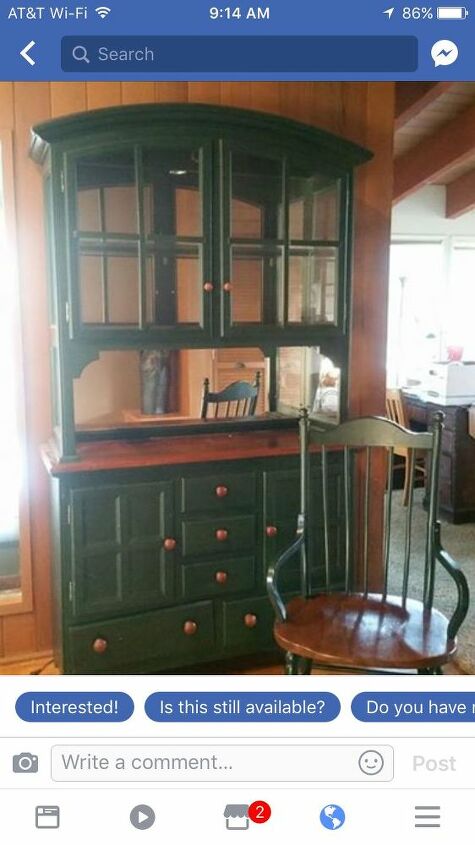
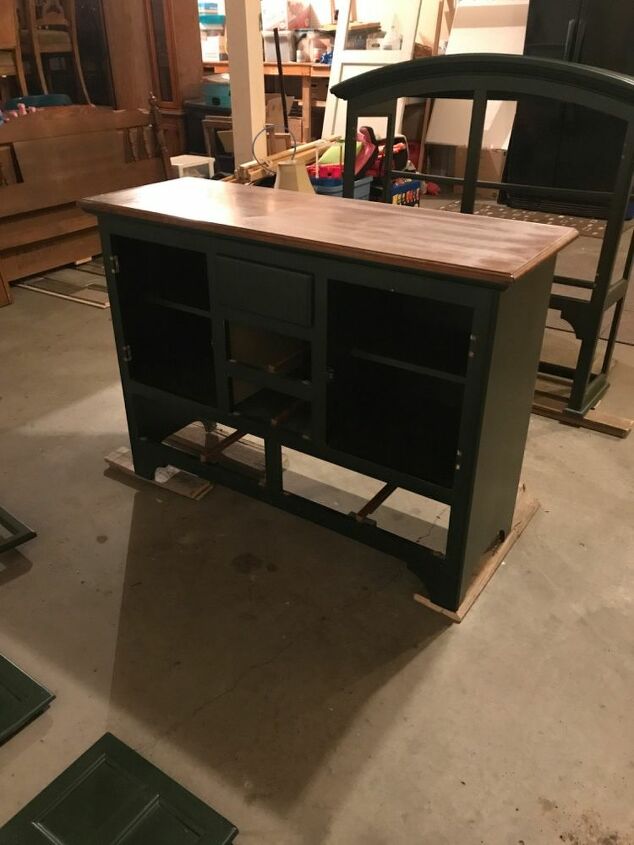
Before Photo!
This hutch was outdated and in need of a makeover.
Materials we used:
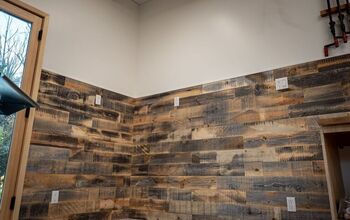
•reclaimed wood fence slats
•chicken wire
•knobs & pulls
•chalkpaint
•sealing wax
•sandpaper
•wood glue
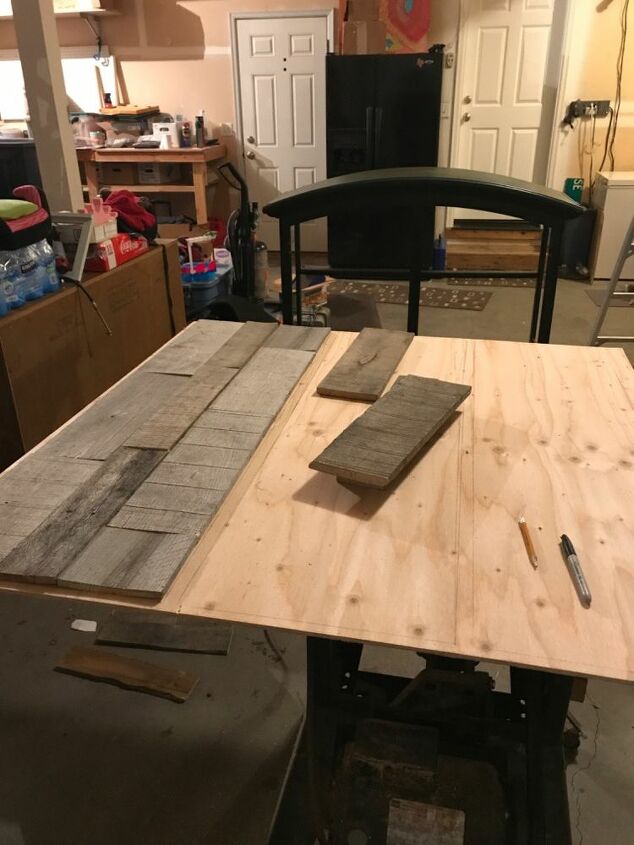
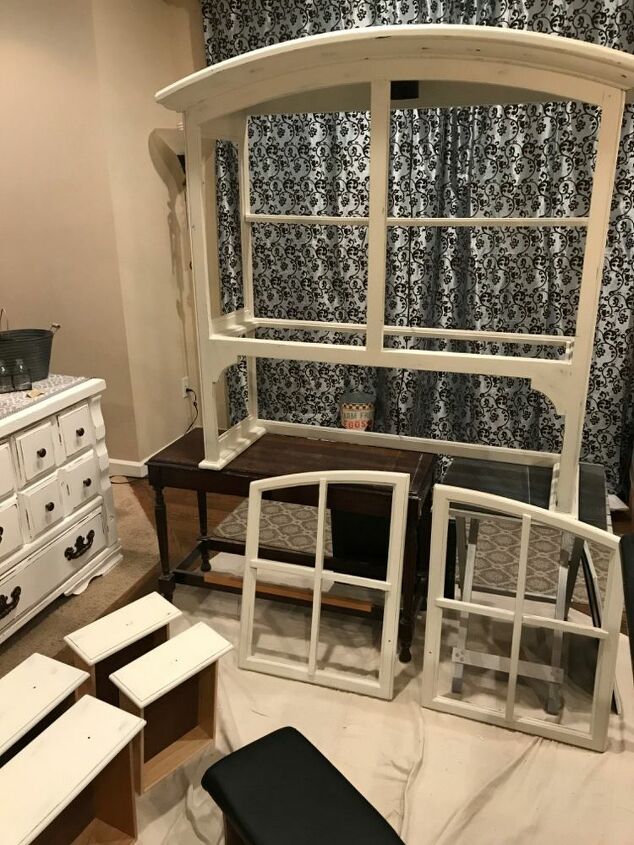
Reclaimed wood backing
The first thing we did was take the mirrors off the backing. Then we took the backside wood panel (this was behind the mirrors) and started placing wood slats on the back. Making sure we staggered the pieces. We did have to cut some down to size using a miter saw.
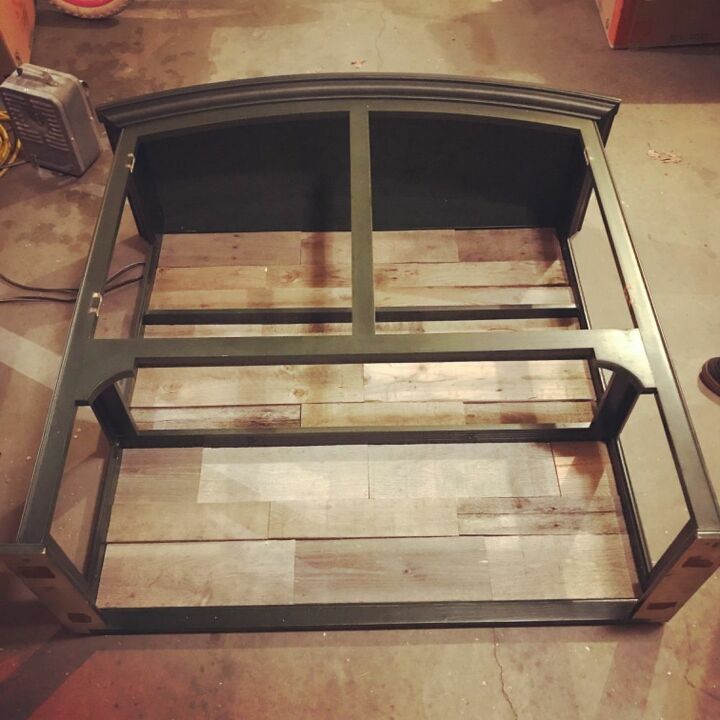
Backing finished
Before we started placing the wood slats, we measured and marked the frame on the backing as to allow it to lay flush.
Once all the slats were pieced on the backing and looked pleasing to the eye, using wood glue, we glued each piece into place. Allow the glue to dry over night before lifting, tilting or moving the backing. This keeps pieces from sliding out of place that may not be fully dry.
The reclaimed wood came from a neighbor who had torn down an old fence.
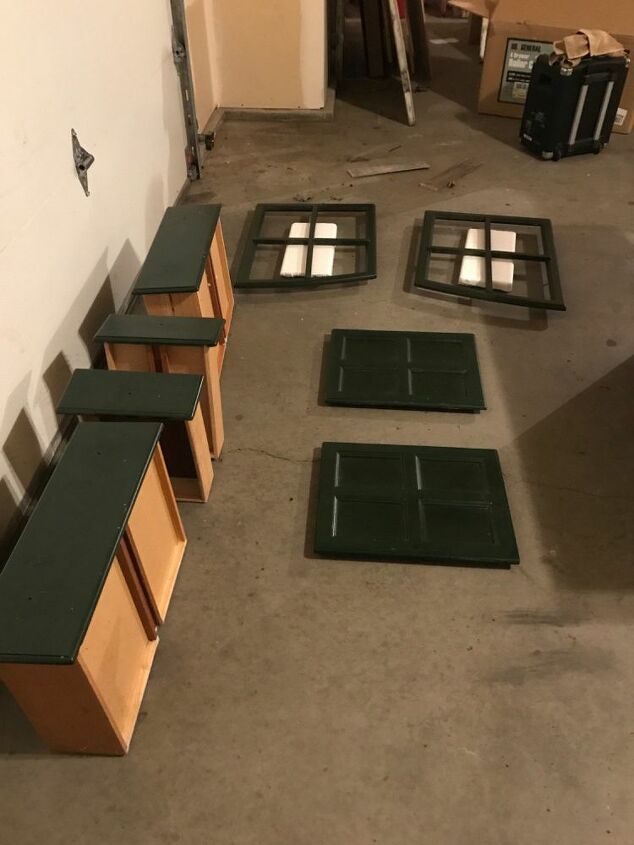
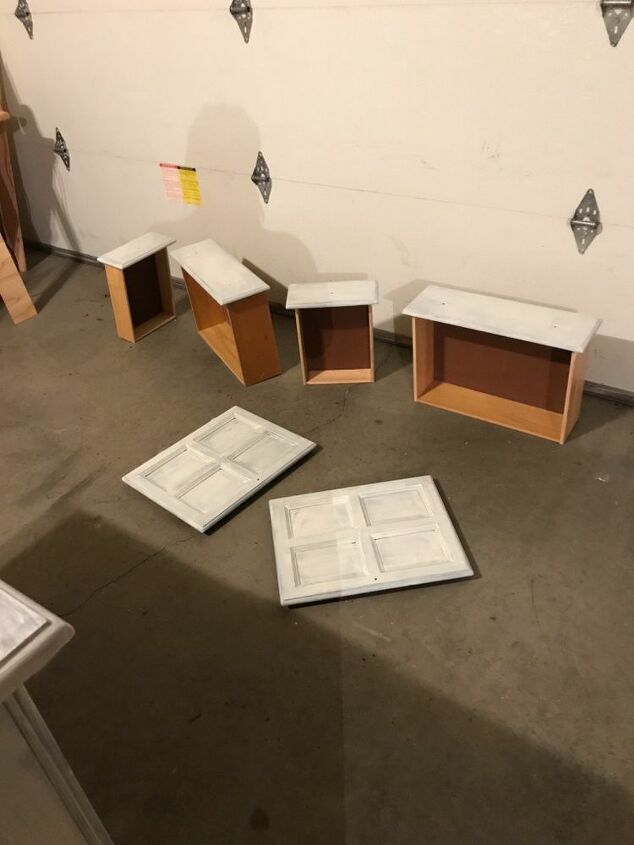
Preparing the doors and drawers
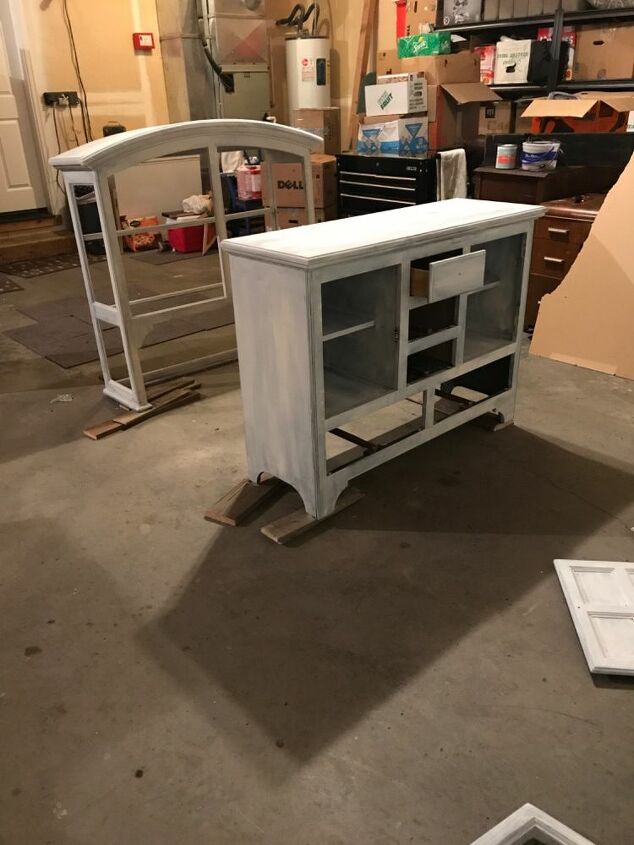
Removing all the doors and drawers from both the top and the bottom of the hutch will make it easier to paint. We also remove all the hardware as this gives the piece a clean and professional look when painting. We also made sure to remove all glass from the top’s doors and sides.
Ready for paint
Washing down the pieces and getting them ready for paint is an important step. There are many different washing solutions people use. I use hot water and a tiny bit of dawn dish soap or warm water with vinegar. It depends on how dirty and grimy the piece is.
**make sure all the pieces are completely dry before painting**
Painting the base and top
Because the green was such a dark color and was pressed into the wood (meaning we tried to sand it and the green color was all the way through the wood) it took 3 coats of the lighter colored chalkpaint to cover it. We used Valspar chalkpaint color: her danties.
Doors and drawers
The doors and drawers received 3 coats of paint as well. The temperature in our garage was perfect for painting outside. When the weather is too cold or too hot we bring our projects inside to paint so that it goes on smoothly. One of the reasons I like chalkpaint is there is little odor and most brands are non-toxic.
I also like to allow the paint to dry over night before adding another.
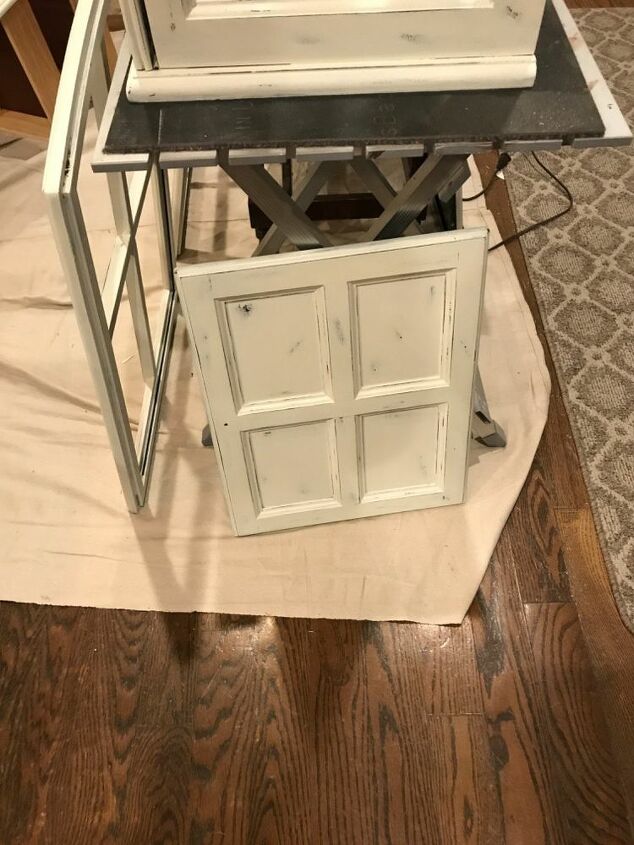
Distressing
When the 3rd coat of paint is dry it’s time to sand distress the piece. I like to use 220 grit sand paper. If there are any dents in the furniture, I make sure to distress that area as it adds character. I also make sure to distress the edges as well. Then I wipe down the piece to get all the “sanding” particles and dust off the hutch.
Sealing wax
Now it’s time to wax the piece. I love Valspar’s chalkpaint sealing wax. It’s easy to use and goes on smooth. One can will cover several projects. With wax left over from one of our other projects, we did not have to purchase more this time. We brought the pieces in to be wax sealed because the temperature dipped too cold outside.
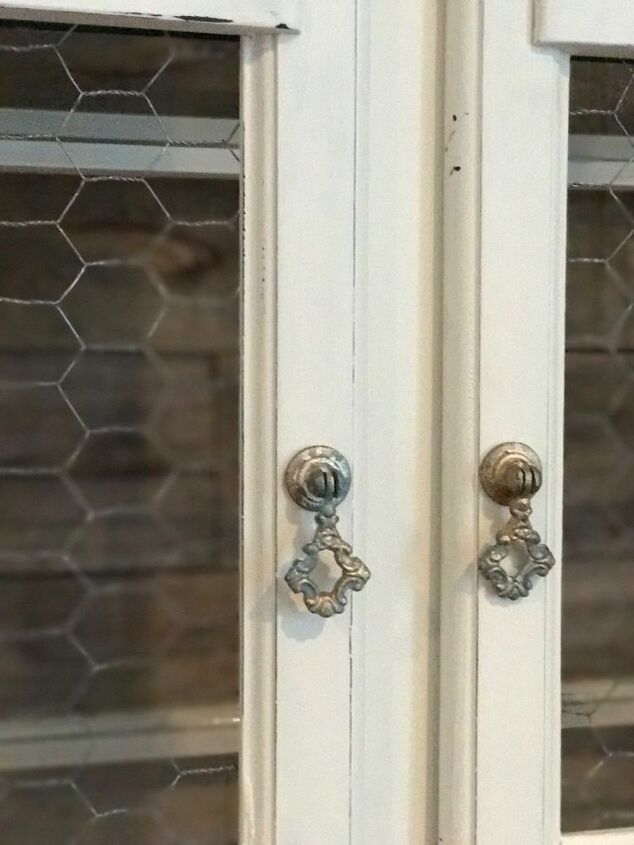
Chicken wire doors
Now that the piece was ready to be reassembled there was one more thing before we could style it. We decided on chicken wire to replace the glass in the doors. It completed the country chic look with the reclaimed wood. We placed the glass back in the sides and reattached the doors on the front.
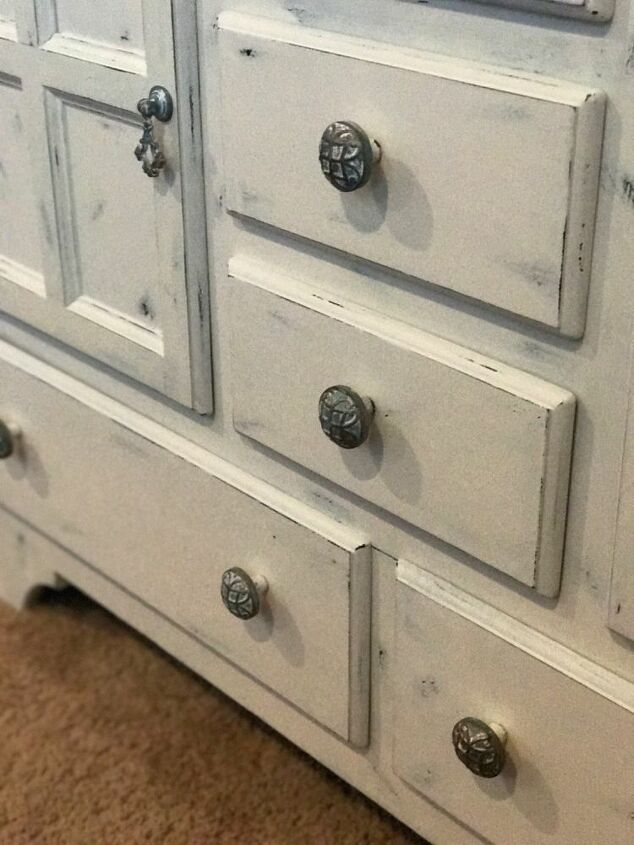
Replace Knobs and Pulls
The very last thing to do was replace all the knobs and pulls. We found great a great selection at Hobby Lobby and they were even on sale! Which was great because we needed 7 knobs and 4 pulls. Once the knobs and pulls are on the doors and drawers we place them back into the hutch. And she was all finished.
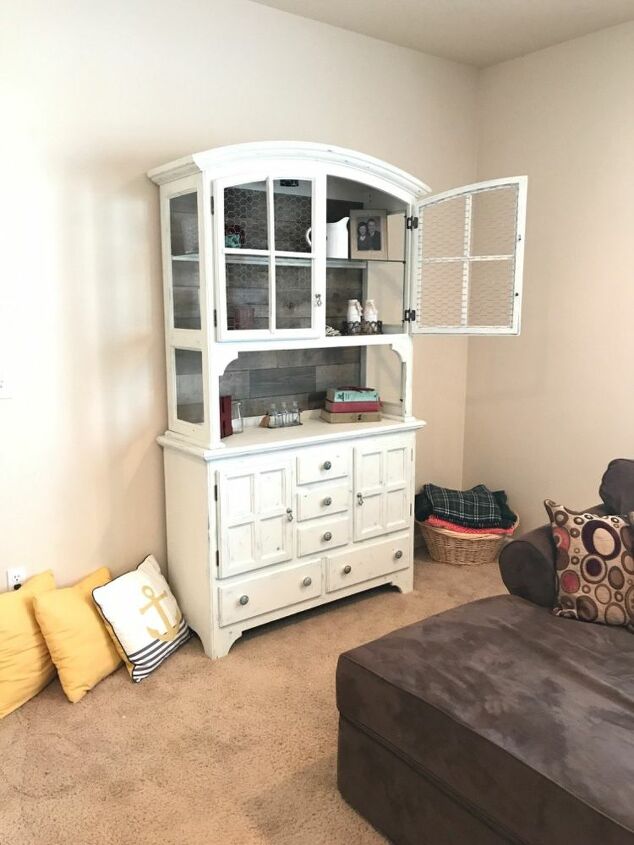
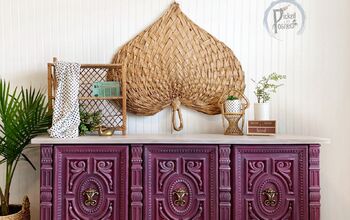
Styling of the Hutch
The fun part was styling the hutch and getting her ready to sale. She was a show stopper. With the darker back on the hutch the lighter pieces popped and stood out a little more.
Naming the Hutch
I guess this is actually the last step. Usually it’s something I think about through the whole process. The naming! We give most of our pieces names. With the country chic vibe and feel of this hutch- we decided on Dixie! And she really was the Belle of the ball. She sold very quickly with several offers and many others upset they missed the chance to barter for a chance at owing Dixie.
You can see more of the furniture we refinish and how we style our house on Instagram @beaus_and_belles
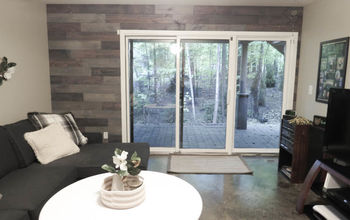
DIY home decor using reclaimed wood
Resources for this project:
See all materials


Comments
Join the conversation
-
You did a beautiful job refinishing this piece.👍 I myself like darker finishes and flat tops with my primitives. (I’m probably the only one that liked the green 😀)
-
Love this, ya'll did a great job! thanks for sharing!


Frequently asked questions
Have a question about this project?
Could you walk paper the inside instead of using wood? Pop of color, or flair in style. Less heavy.