


Faux Window Frame With a View

I needed a way to brighten up a dark, empty wall in my home so I designed and installed a faux window frame to display vacation destination photos in a way that makes them appear to be a beautiful view outside of my home. The window frame design is made more realistic by added paneled doors that frame the panoramic photo like shutters. Find and order a poster-sized photo of your favorite view and try this DIY faux window frame project to bring light and beauty to the area of your home that needs it the most!
You Will Need:
- Lumber (Decide the size for your window and measure and make cuts accordingly)
- Poster-sized photo print out
- Glue and nails
- Wooden plugs to fill screw holes
- 6 Hinges
- Sandpaper
- Primer
- Paint (gloss white)
- Chop saw
- Table saw
- Nailer
- Tape Measure
- Screwdriver
- Jig saw
- Electric sander
- Paintbrush
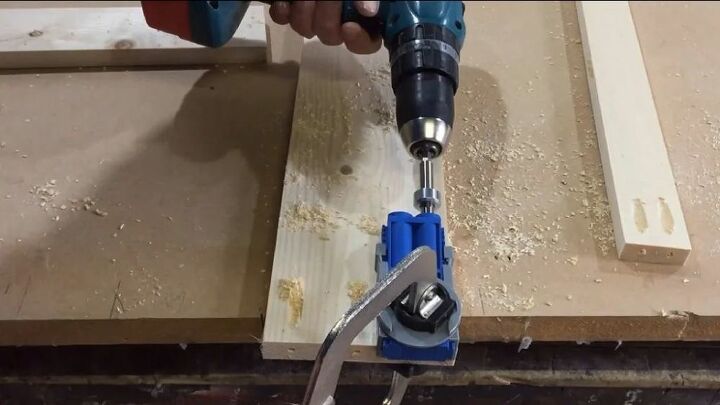
- Pocket hole jig and pocket hole screws
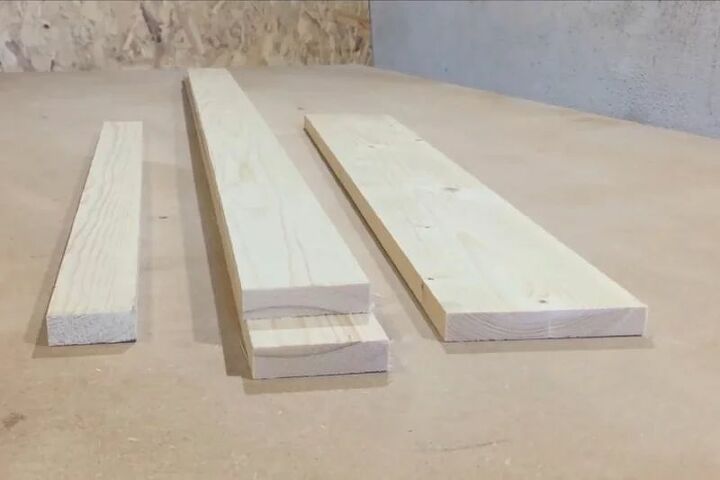
I cut two pieces of 1x3 for the sides of the frame and then a 1x5 for the top and 1x2 for the bottom. I cut the top wider in order to house the crown molding cornice piece later on.
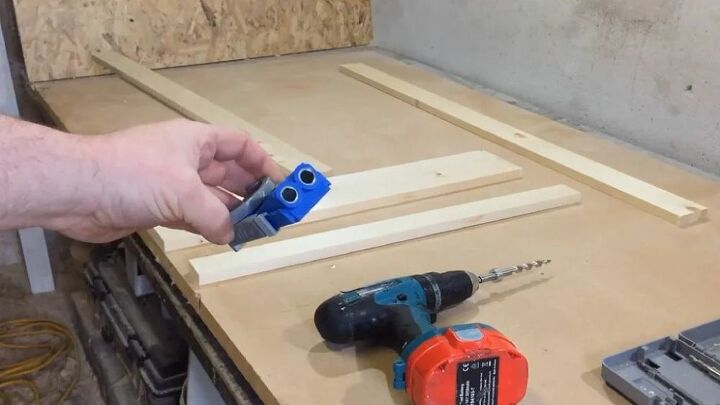
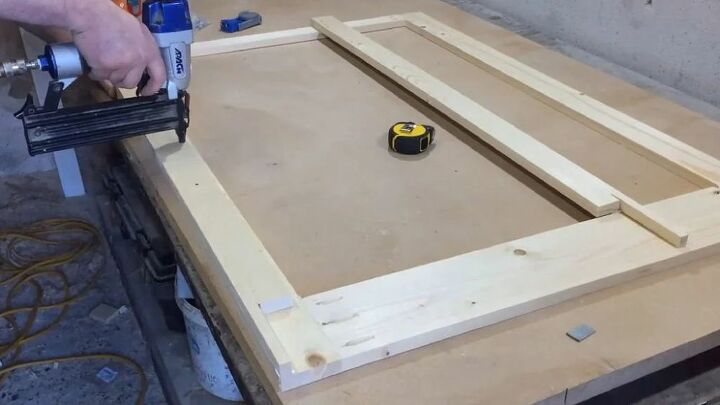
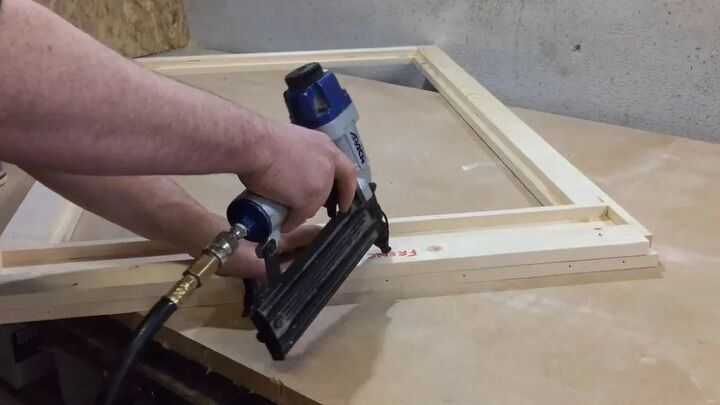
I used a pocket hole jig and pocket hole screws to attach the four boards together at the joints for my window frame. I used a combination of wood glue and pocket hole screws to create a sturdy frame. Insert two screws on your bottom joints and three screws on the top and apply wood glue to attach the frame.
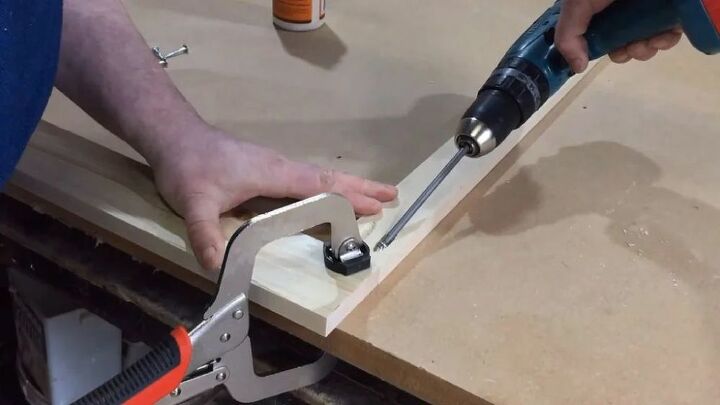
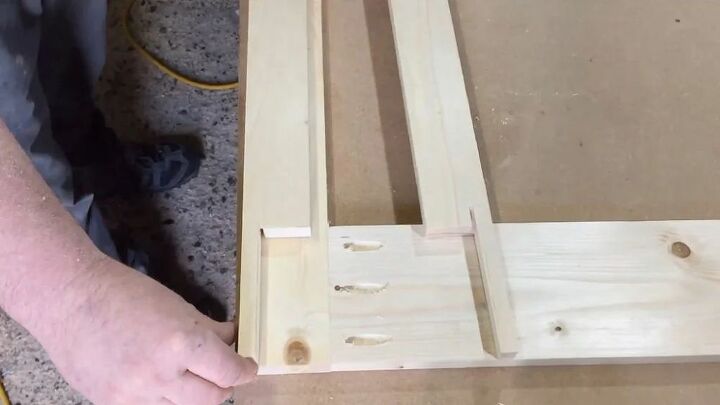
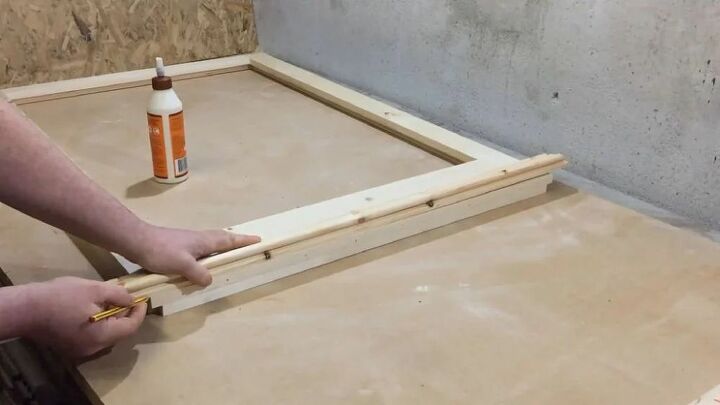
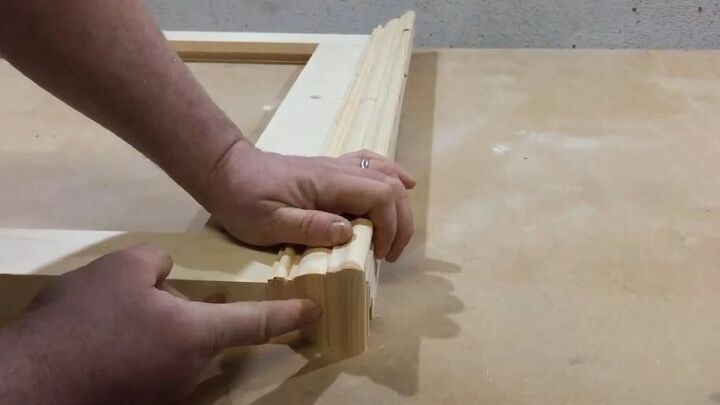
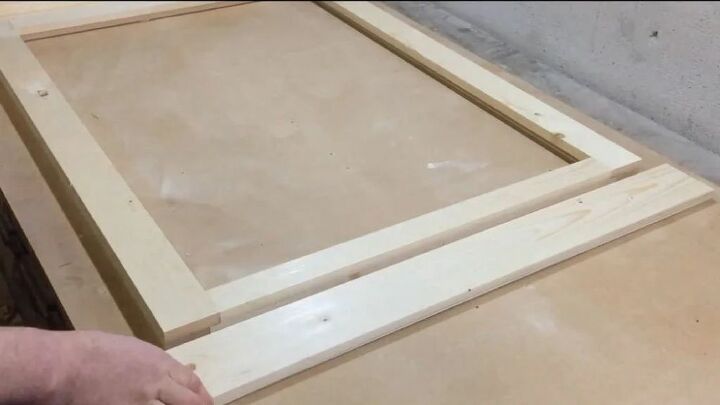
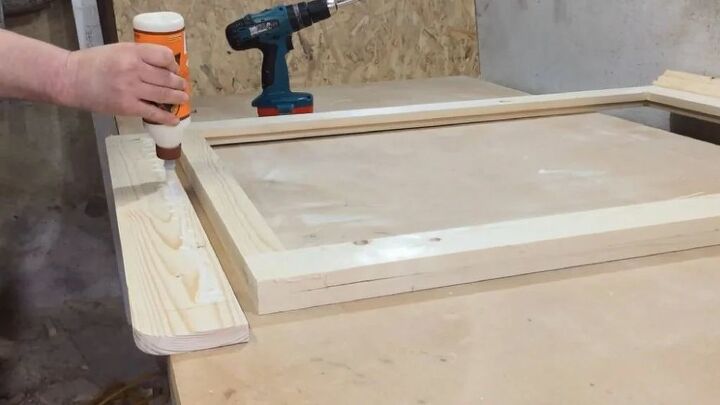
I joined two pieces of wood to create a recessed area to hold the backing board and photos. The back piece was ½ inch narrower than the front piece in order to create a recessed area to inset the backing board and photos. Join the pieces using wood glue and nails.
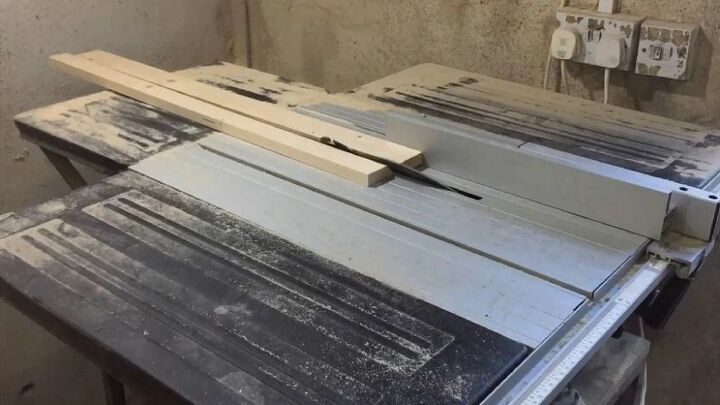
I cut a piece of wood at a 45-degree angle to create a french cleat to attach the frame to the wall. I used my table saw to cut the two pieces; one to attach to the back of the frame and another piece with a corresponding edge to attach to the wall. You can use any kind of hardware to install the frame to your wall but I chose to create the french cleat in order to hang the window very tightly and close to the wall.
I bought a piece of crown molding to create a decorative cornice on the top of the window frame. I mitered the corners at a 45-degree angle and attached it with wood glue and a nailer.
I used a 1x3 to create a window sill at the base of the window frame. I measured and cut the board to allow the sill to extend out by 2 inches on either side of the frame and rounded off the external corners with my jig saw. Attach the window sill piece with wood glue and screws.
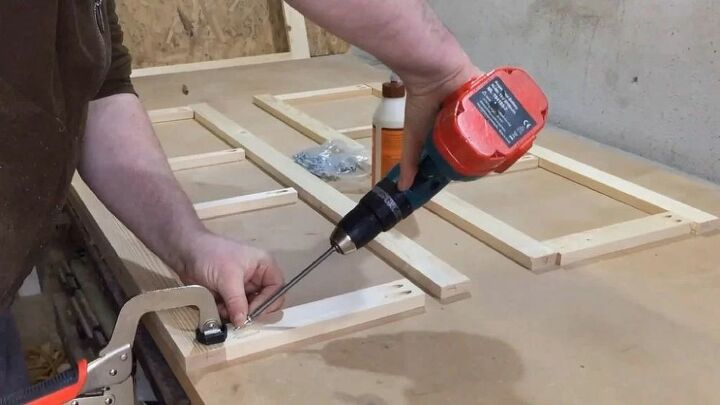
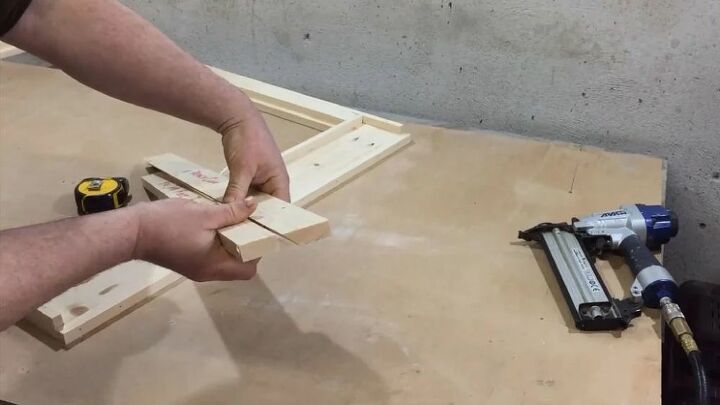
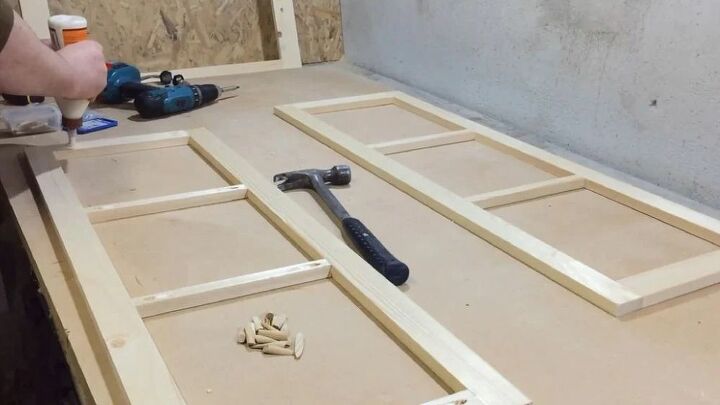
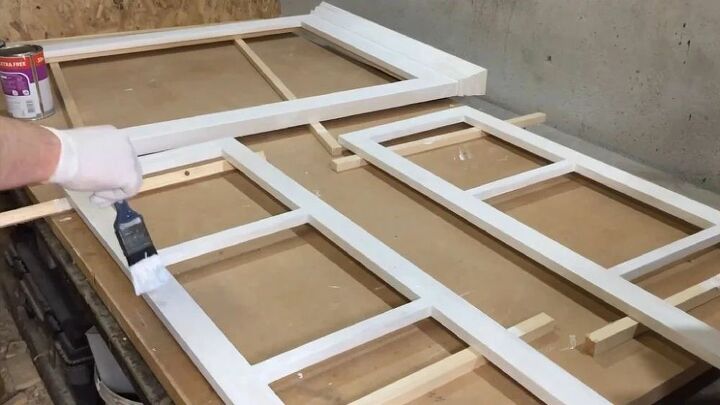
I cut side, top, and bottom rails to create paneled doors for the front of the window frame. I used pocket screws on the joints to create the doors and placed two screws in each corner with glue, then one screw and glue on each of the center rails. I covered the pocket hole screw holes that would be visible when the doors are opened with wood plugs.
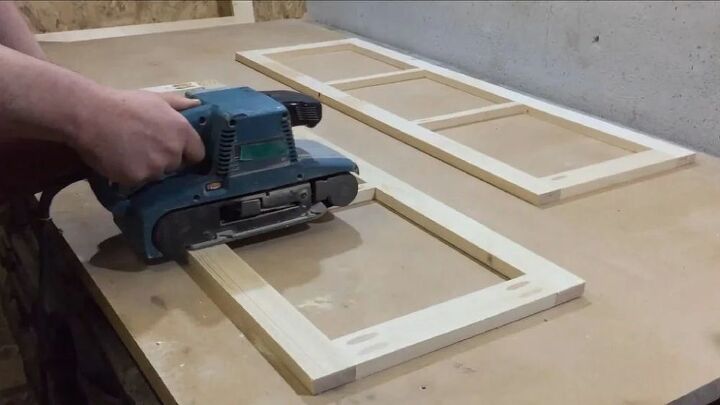
I filled in the nail holes and then sanded both the frame and the doors. I used a belt sander to lightly sand the wood plugs on the door and used a palm sander to smooth the rest. After sanding, I applied a coat of water-based primer. Once my primer was dry, I gave the entire frame a light sanding and then applied two coats of a water-based gloss white paint.
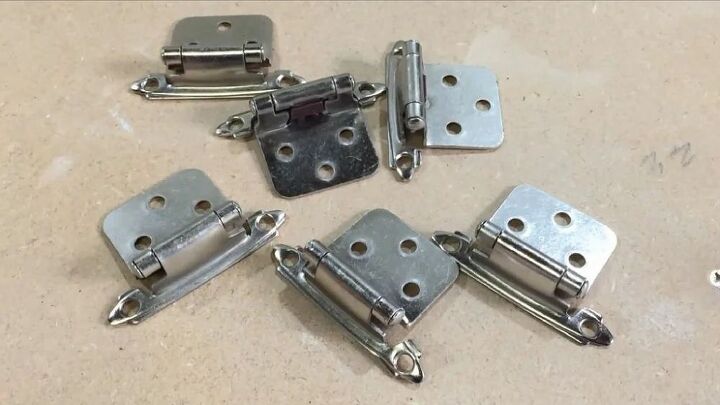
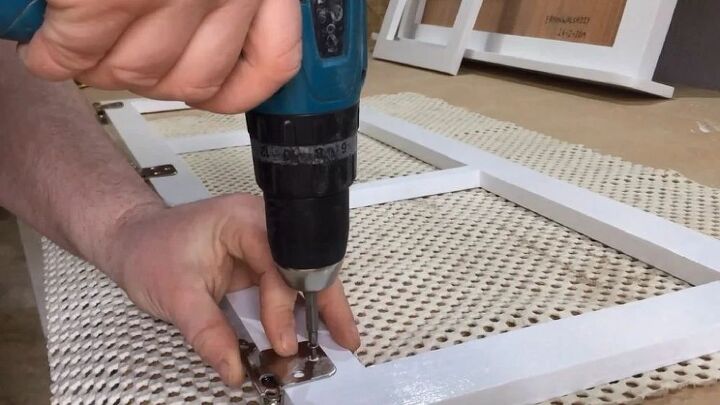
After the paint was dry, I installed three satin nickel cabinet hinges on each door and frame using screws. Choose hinges that appeal to you for your project and install for doors that open and close.

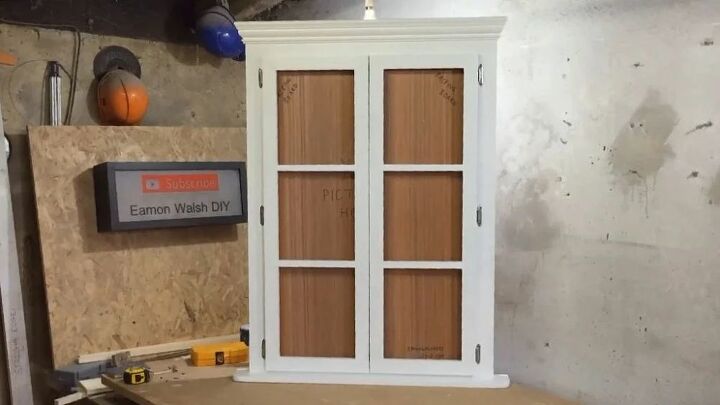
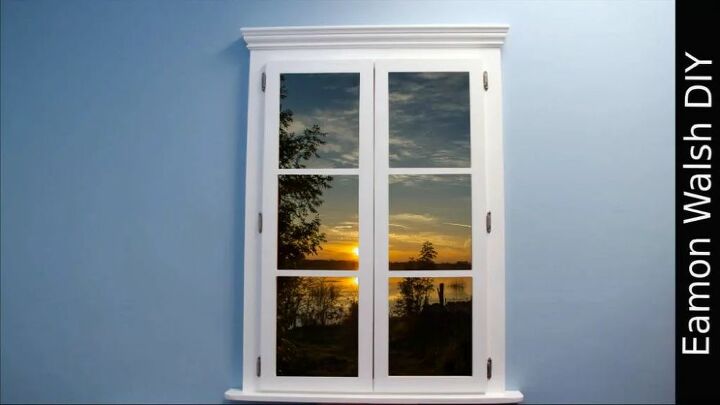
I photoshopped photos onto a sheet of plywood cut to size to act as the backing board inside my frame in order to get an idea of what I wanted to display inside. Place your favorite vacation photo or printed stock photo in a poster-sized print inside the window frame to create the view of your choice.

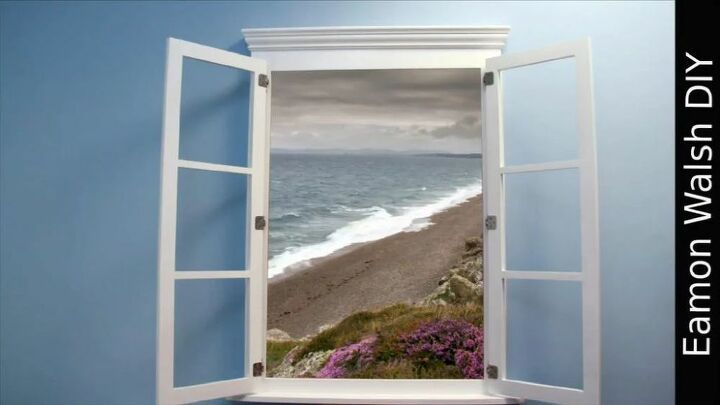
I’m thrilled with how the faux window photo frame adds the appearance of a beautiful view to a windowless space in the home, instantly changing its entire atmosphere. This could be finished with glass to even further create the illusion of a window. When you’re not able to be in your favorite place in the world, try this project to create a way to bring that view to you. Whether you use stock photos of a place you long to visit or your own photos from an amazing trip, you will be amazed by the light, depth, and the illusion of a larger space the faux window brings to the room.
Have you displayed your favorite vacation photos in a creative and beautiful way or built a faux window to add a view to a room without one? Share your tips and photos of your best faux window and photo display solutions at Hometalk!
Resources for this project:
See all materials


Comments
Join the conversation
-
I absolutely love this.
-
This would absolutely brighten a small windowless bathroom, or closet, pantry, or hallway. GREAT idea!


Frequently asked questions
Have a question about this project?
Beautiful and. . . . .what website do you sell on??
Can I buy one just like this one already finished?
Have you thought about adding a backlight?
My dream is to make a 'real' window in my dark living room with a flatscreen tv connected to an outdoor camera and surrounded by a frame like the one you made. Imagine using a remote to turn off the window light. Or have a stranger think they could step outside using the door beside the 'window' and find the master bedroom.