


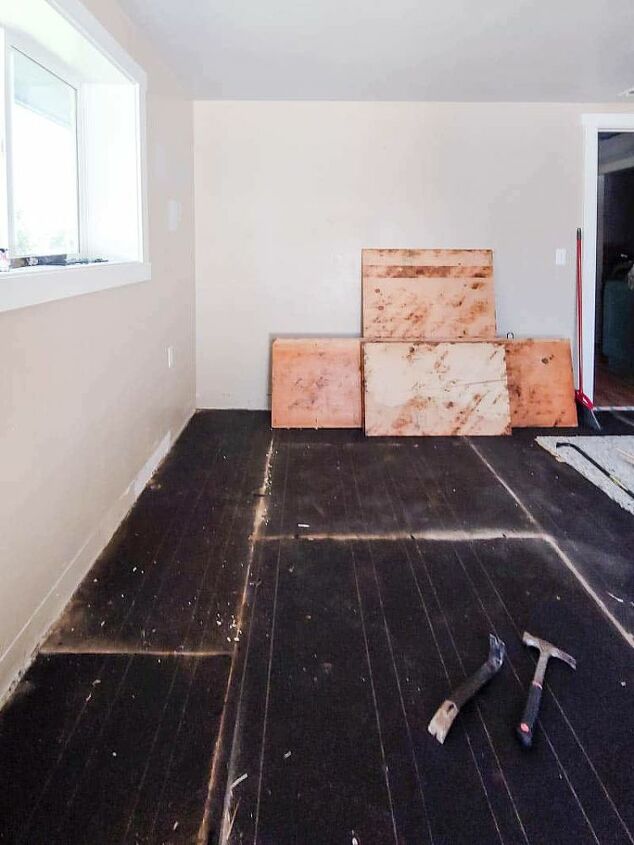
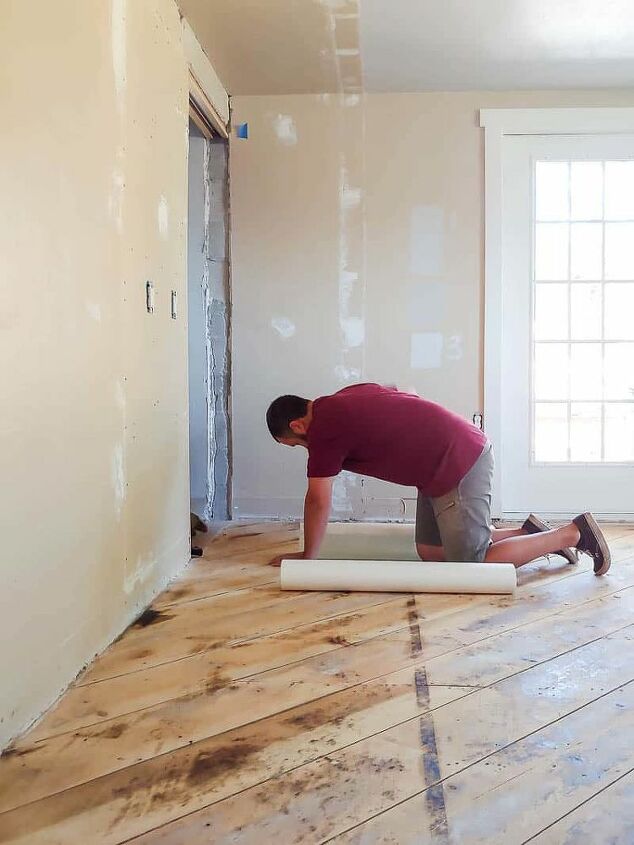
How to Install Cheap Hardwood Flooring
Interested in installing cheap hardwood flooring? You definitely want to read this post first! Learn about types of hardwood flooring, what utility grade flooring means, the pros and cons of working with cheap hardwood flooring and pick up some tips and tricks for installing cheap hardwood flooring! There’s also a video tutorial that walks you through the entire process!
If you love this project, grab your quick start DIY guide & subscribe to our blog!
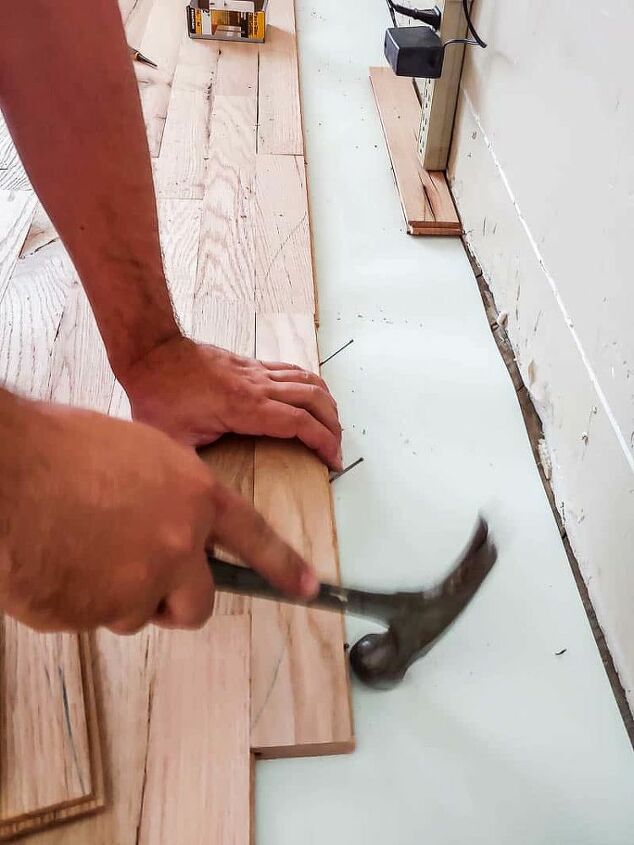
1.Tape the bottom of knots and holes in cheap hardwood flooring. Before we installed those pieces, we put piece of packing tape on the bottom underneath the knot. This was the prevent any of the floor finish from running all the way through.
2. Fill gaps and light colored holes with DIY putty for hardwood floors.
We made our own putty by mixing floor finish and sawdust collected from the sander after the first pass. After you mix to a peanut butter like consistency, you can apply with a putty knife to fill any gaps and knots in the cheap hardwood flooring.
3. Add dark wood stain to the DIY putty for dark colored knots in hardwood flooring.
To make it look more realistic, we added a dark wood stain to the DIY putty and then added it to the holes and knots.
4. Work around the damage
- For pieces that are damaged on one end, you can use them on the sides of the room. (which will be cut flat along the wall). Just cut the damage off and then cut to the correct size to fill in the space til you get to the wall.
- For pieces where the tongue and groove is damaged, you can use them on the top and bottom of the room (which will be cut flat along the wall). Remember also that the baseboards will cover about 1/2 inch.
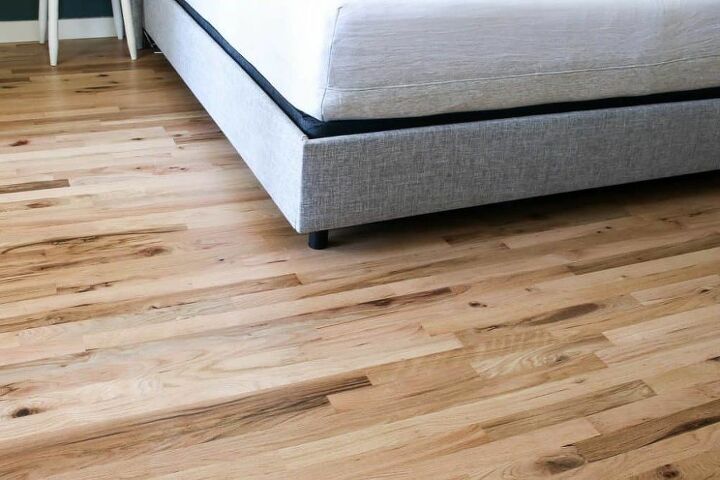
Even though we were working with cheap hardwood flooring, which was more work and took longer, it turned out AMAZING.
Resources for this project:


Frequently asked questions
Have a question about this project?
How much of the $400 cost (for 13 materials) went for the flooring, and what was the sq footage purchased?