


DIY Chalk Painted Table Makeover - Easy Step by Step Tutorial
If you've ever wanted to chalk paint furniture but felt intimidated, this easy step by step tutorial will show you how to DIY a chalk painted table.
Often, the hardest thing is just getting started.
Did you ever have something in your life that you put off for a crazy amount of time, only to find once you finally got into it that it was way easier than you expected and all you needed was to just start?
That’s exactly how I felt about painting furniture. Truth be told, I’ve been planning on tackling this for years, long before I had the specific piece I wanted to paint or the paints to work with. I knew in my heart this was something I should be able to do, but it intimidated me nonetheless.
Then both the piece and the paints found their way to me and suddenly there were no more excuses. It was time.
It’s not that there is a shortage of pieces of furniture in my home that I’d like to paint, but they are bigger pieces that play an important role in the rooms they inhabit and that’s not the place I wanted to start this experiment.
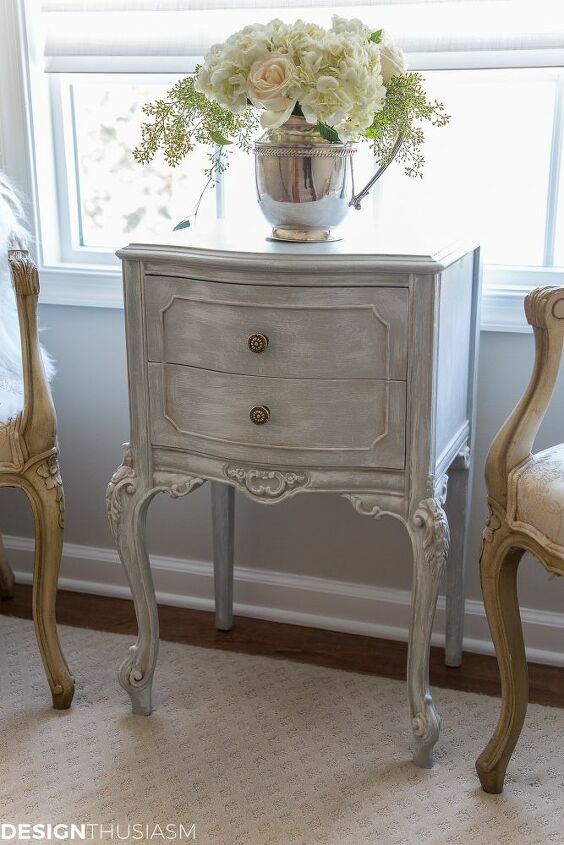
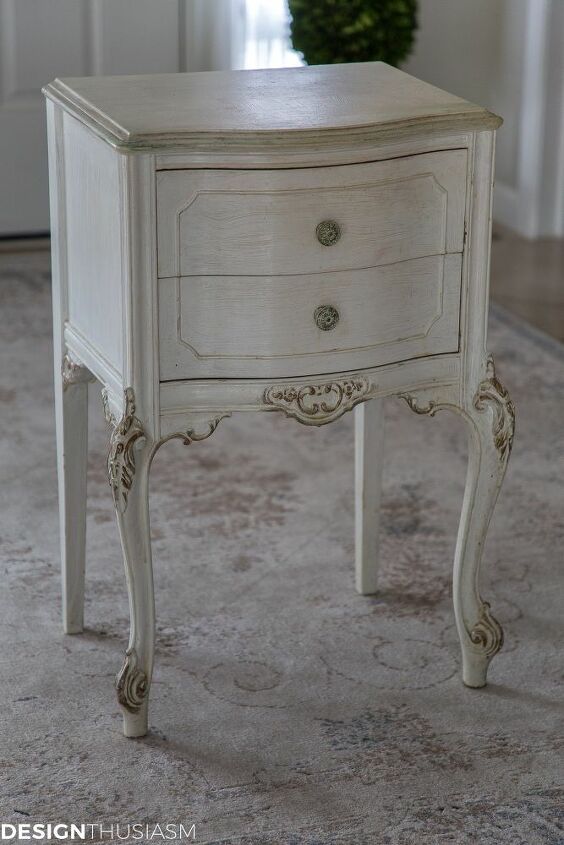
But then I began cleaning out my parents’ home and I found this little French table that was calling my name. My mom had kept it in the bathroom for makeup storage, and over the years it had gotten quite beat up. My dad, who was no stranger to painting furniture, had painted it white years ago with little gold accents to suit my mom’s French provincial taste. But he used latex paint which was a bit too shiny and easily revealed the brushstrokes in dimensional streaks.
While I love French style, this was an outdated look and I preferred an interpretation that would be a little more modern.
At about the same time, I received some paint to try from a sponsor. (For details on the paint, please see the original post linked below.)
With table and paints in hand, there were no more reasons to delay.
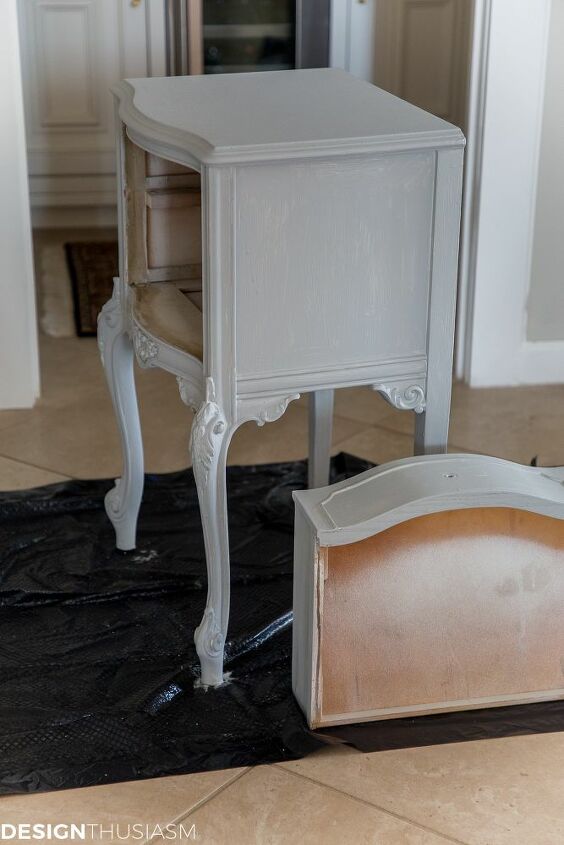
The curious thing about me is, once I finally decide to get going, I’m terribly impatient to dive in and I’m not the best about proper set up or prep. In this case, that just meant I didn’t have an appropriate drop cloth, so I just grabbed a trash bag and put it on my hall tile floor.
I removed the knobs on the drawers and lightly hand-sanded the flat surfaces because of the streaky latex paint. I’m not sure that sanding was necessary and I gave up after a few minutes. That was the extent of my prep.
Then I opened the luscious paint. For my first coat I used a lovely grey with blue undertones. It went on with a gorgeous velvety look. I used two coats for full coverage, although now that I know what I would be layering on next, I likely didn’t need the second coat.
If you simply want a matte look, you could stop here (and go for the two coats). But I love the look of aged patina and subtle distressing, so I kept going.
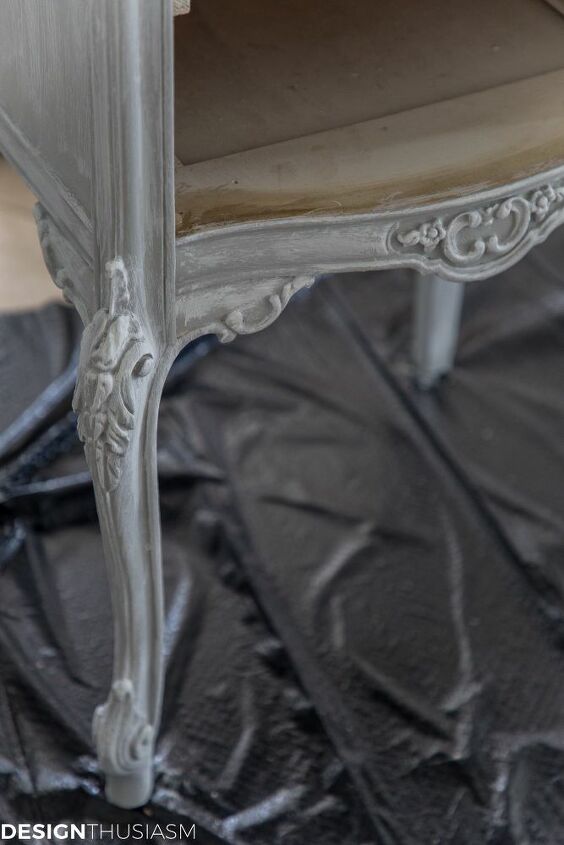
Next I used a bone from the same paint line. I lightly brushed it on the raised surfaces with a dry-brush technique (very little paint on the brush and no water) where you would naturally expect to see highlights. Much like applying makeup, think highlights on the raised surfaces and shadows in the creases.
For the flat surfaces like the top and sides, I just brushed some of the lighter color on somewhat randomly. Next time I might try a wash, with more water, but as I was getting used to the paint and wanted more control, I skipped that this time.
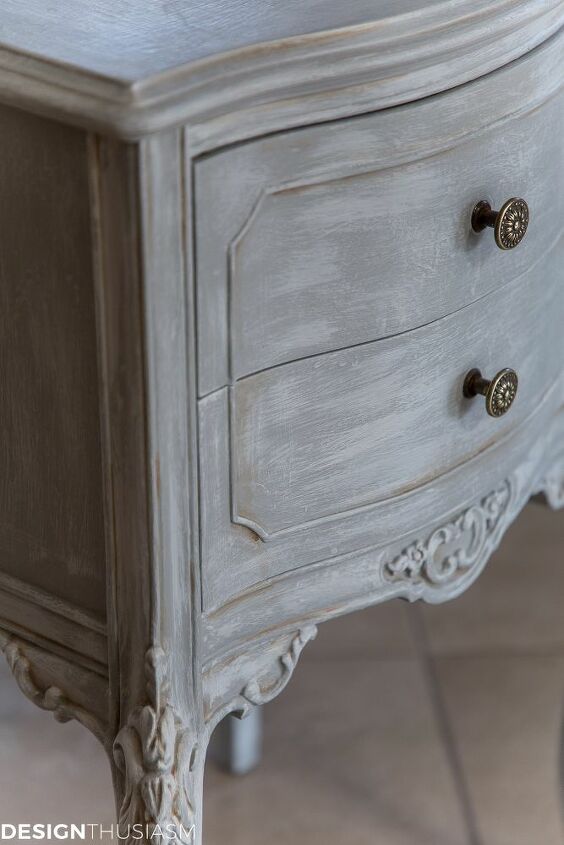
From here, I moved onto shadows in the recesses with a homemade glaze, then finished up with a clear wax. For the final details and some tips and hints, please visit the post linked below.
You might also like to visit my next project, a much bigger venture that is a large french dresser. I’ve since upgraded my technique so I think you’ll enjoy seeing this second project!


Comments
Join the conversation
-
This is beautiful!💙


Frequently asked questions
Have a question about this project?
How did you make the homemade glaze?