


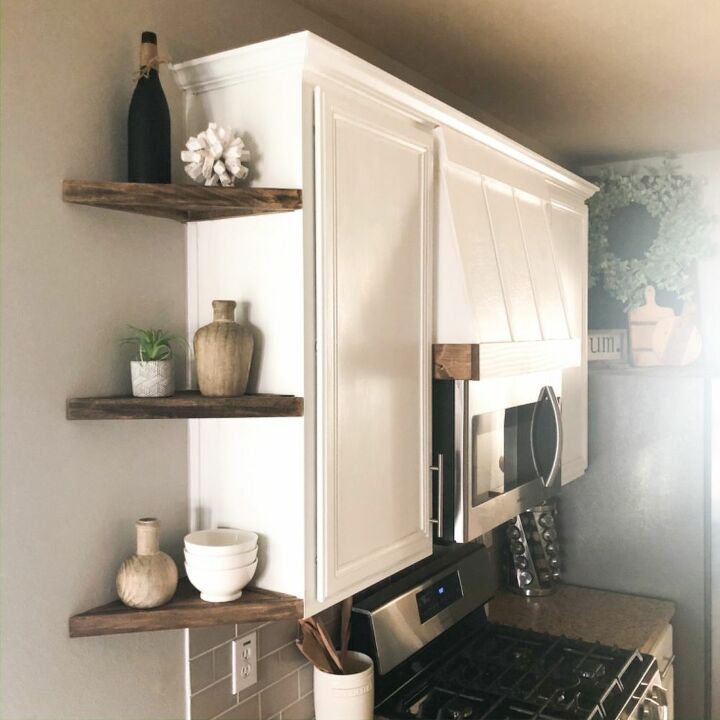
DIY Corner Shelves

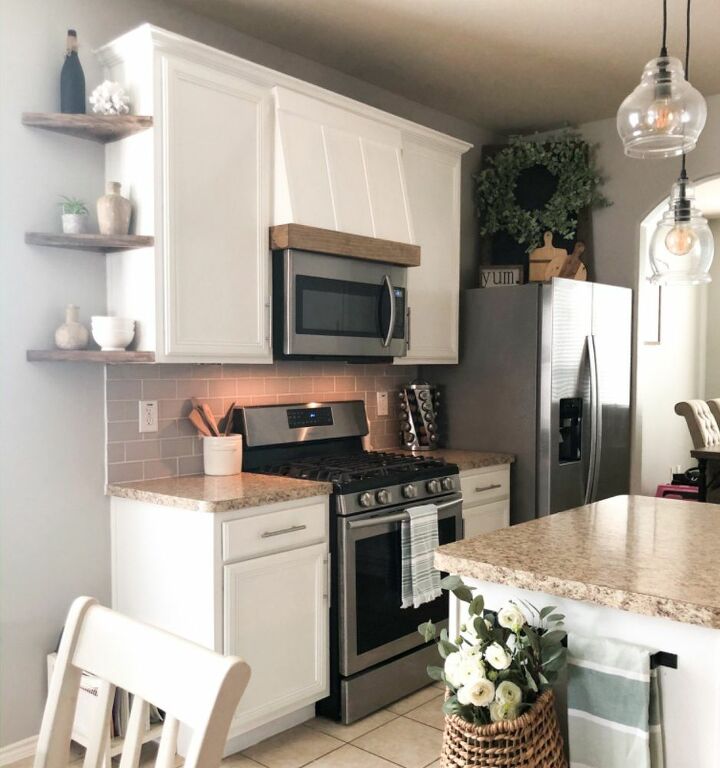
I’ve always wanted open shelving in my kitchen but I dont have a ton of space to work with. So I’m setting out to make my own corner shelves from scratch!

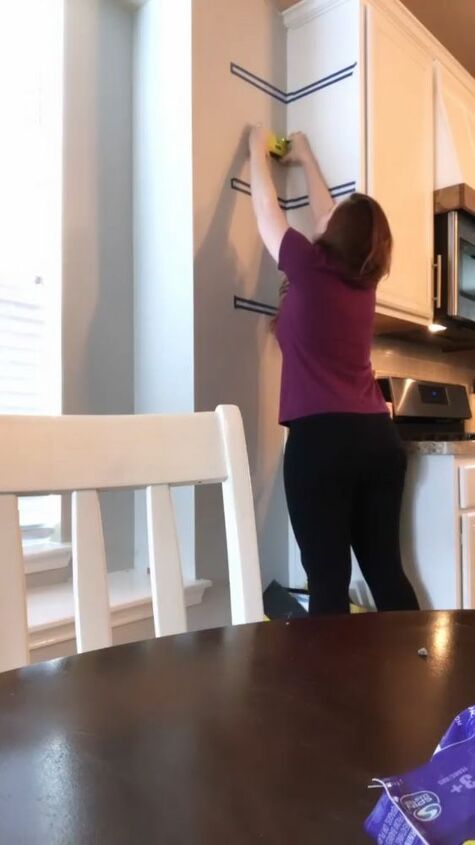
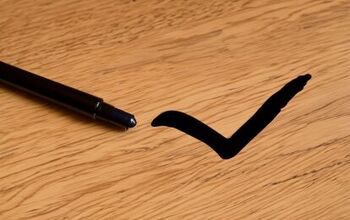
Its helpful to tape off your space to get a visual of what your finished product will look like and the measurements you want it to be.
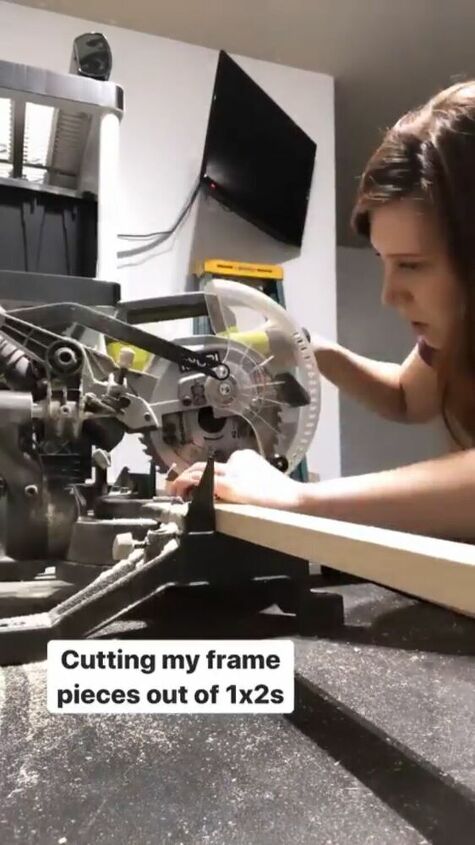
I’m using 1x2 pieces of wood and cutting with my miter saw. You can also have your local home improvement store make your cuts if you don't have a saw.
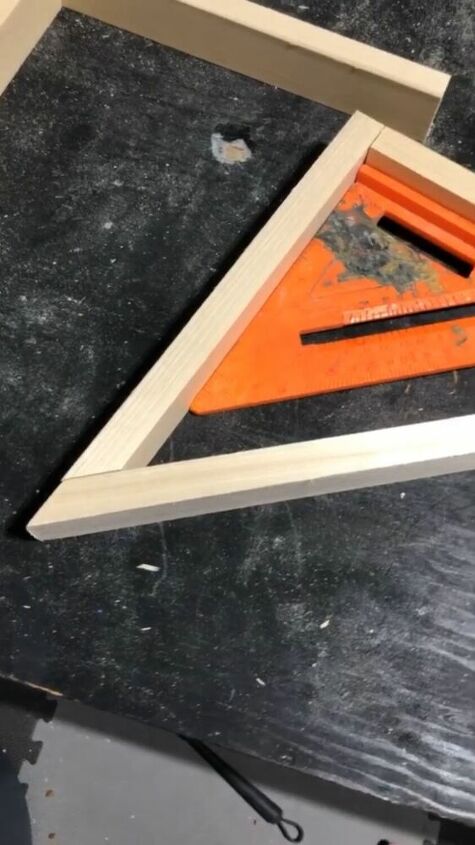
For the cleanest corner to corner look you will want to miter (cut) the ends of the long side of your triangle at 45 degrees. It took me awhile to figure out the right angles and math!
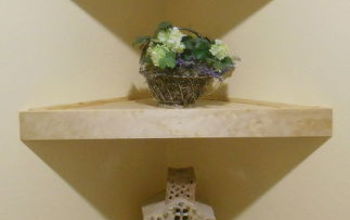
You should end up with a perfect right triangle!
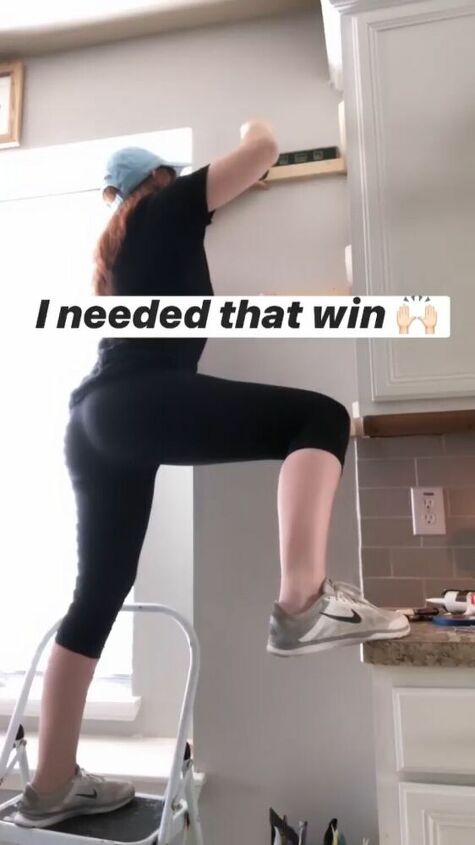
Using drywall anchors (or hitting your studs) attach 2/3 of your frame pieces to the wall. Don't add the front piece yet!
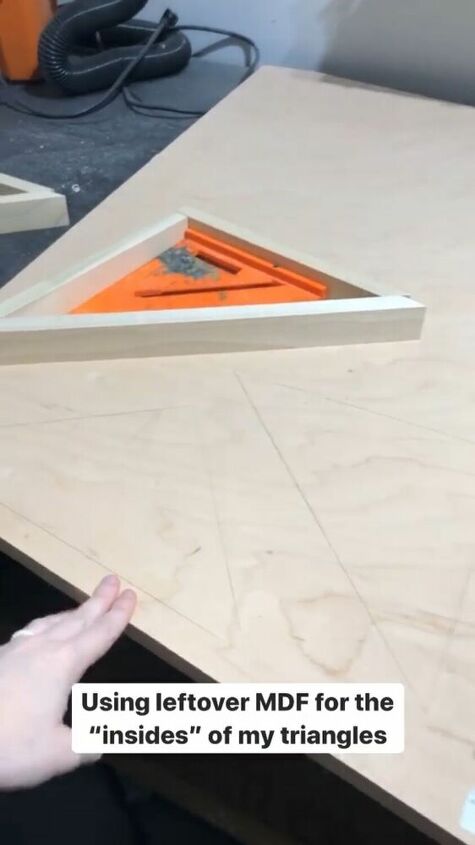
For the inside of the shelf I’m using a sheet of 3/4 of MDF. You can also use plywood. I traced the insides of my frame for the most accurate fit and cut out the shape with my jigsaw.

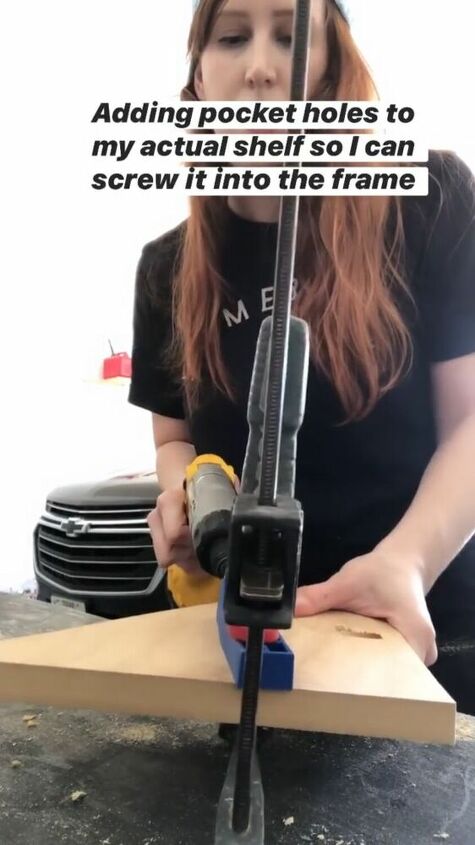
Using a pocket hole jig I drilled pocket holes into the underside of my triangles so that I would have a way to attach them to the frame.
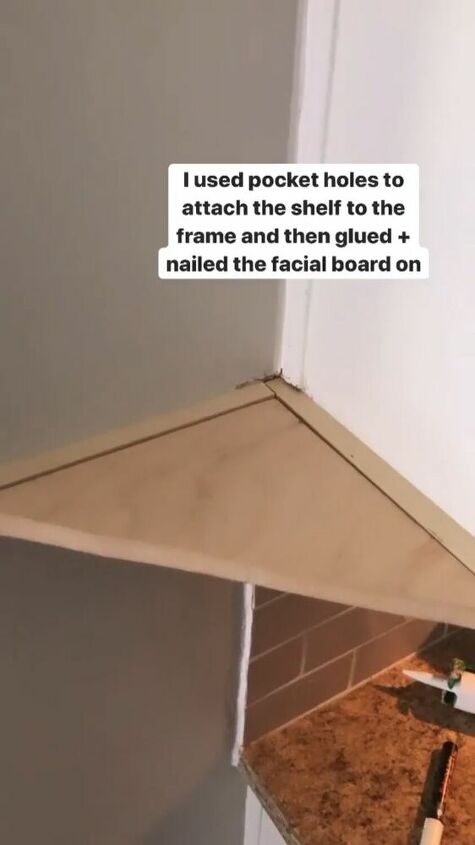
Attach the inside of your shelves to the frame using the pocket holes and then finally add the front/facial board. I used wood glue and nails for the front. I also stained my wood in the end.


Comments
Join the conversation
-
This is exactly what I was looking for! You are awesome! So doing this/ you made it look so simple. Thank you!
-
I hope your comments regarding safety are to be helpful and not to criticize, she did an awesome job.


Frequently asked questions
Have a question about this project?
What color stain did you use?
What a great project. Really looks great in your kitchen. The kitchen is adorable. I love it. Looks like a small but gorgeous kitchen. Mine may be bigger but I wish it had the pizzazz yours has. It needs everything. lol I had a question, is the hood a real hood or is it decorative? I know some people make the hood look real but is actually hidden storage. Was just curious. Thank you.