


DIY Planter Box For Front Porch
Want to add some life to your front porch? Download these easy DIY planter box plans and learn how to build these modern farmhouse planters.
If you love this project, grab your quick start DIY guide & subscribe to our blog!
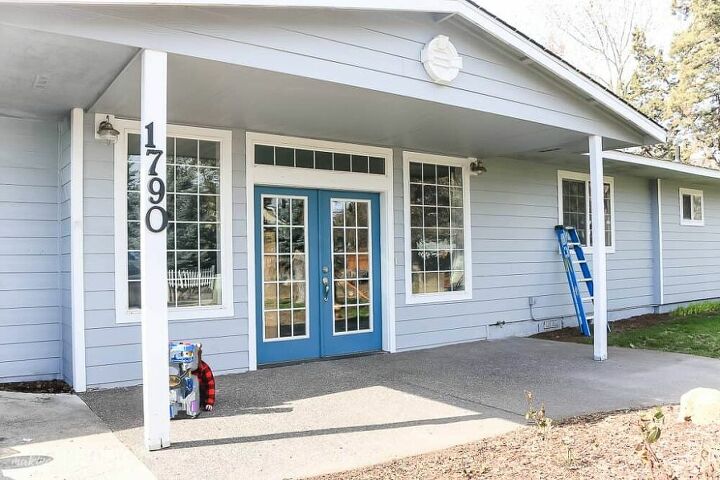
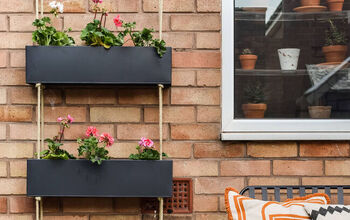
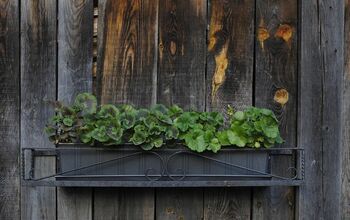
we decided it was time to add just one more outdoor project to really round out this front porch. What we needed was to add a little more life to the front porch..
..ENTER THE DIY PLANTERS!
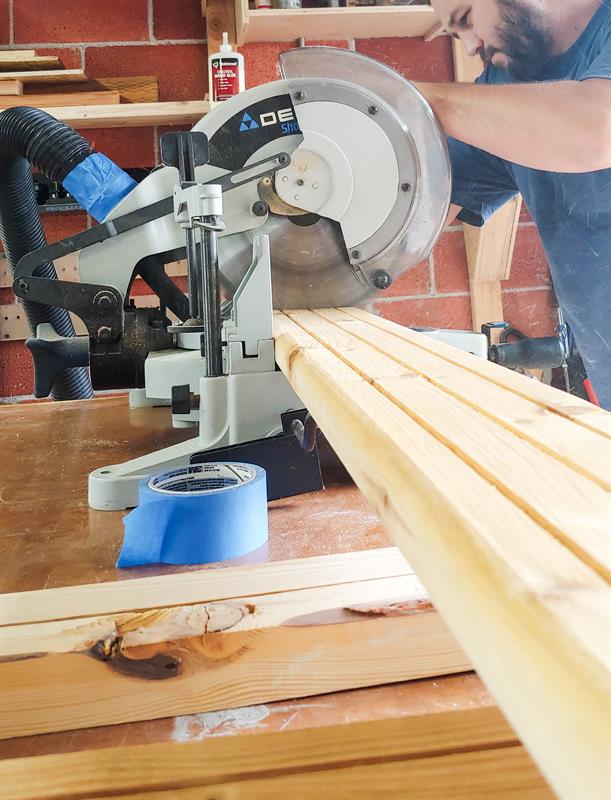
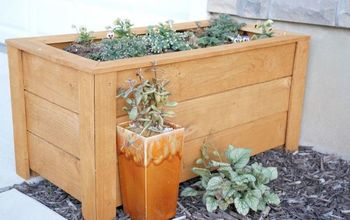
Step 1: Cut wood to size. Cut wood to size using miter saw. Refer to attached plans for cut list with sizes. Sand any wood that will be painted with orbital hand sander.
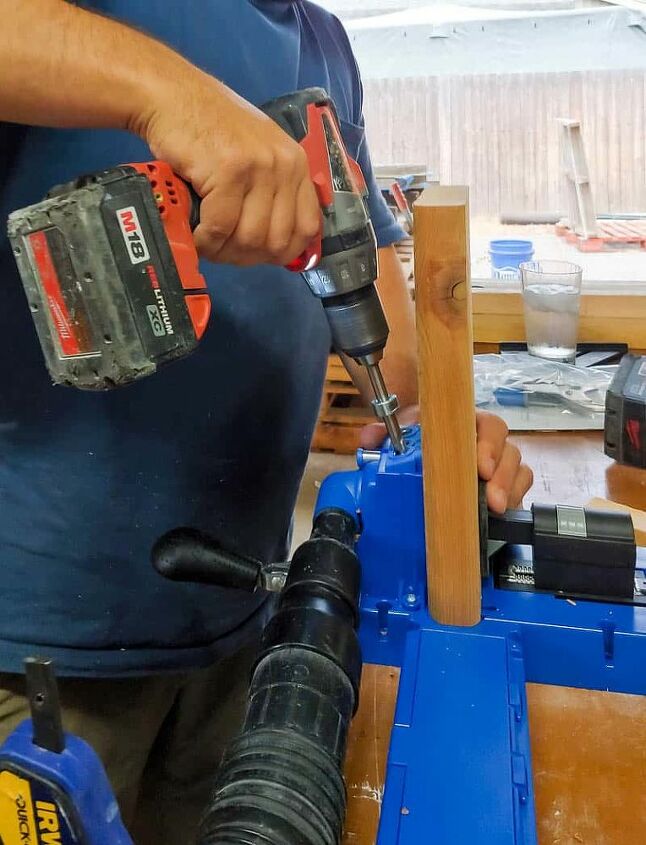
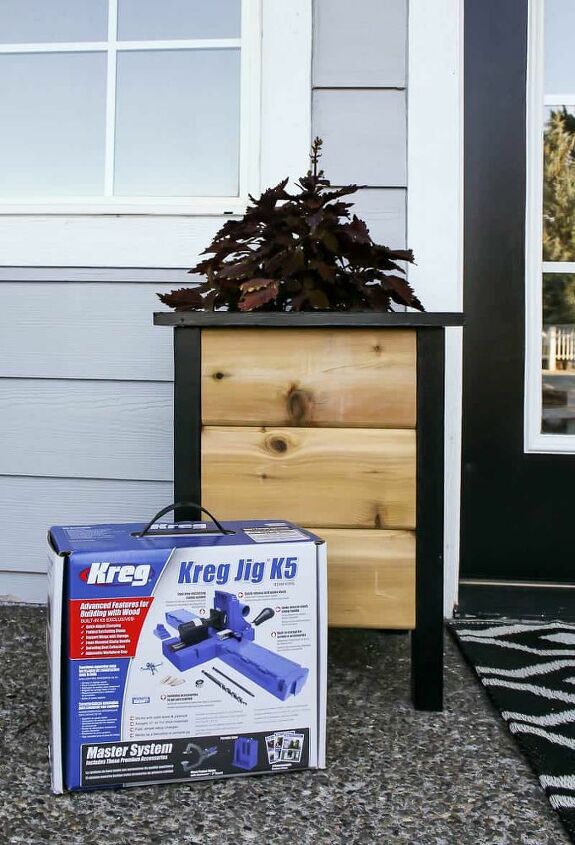
Step 2: Drill pocket holes. Using the K5 Kreg Jig system, drill 2 pocket holes on the edges of each side piece.
Step 3: Assemble sides. Put sides together into box by attaching to legs. Prepaint legs before assembly if desired.
Step 4: Add top trim. The trim is made from cedar that is three inches side and cut at 45 degree angles at the corners and connected with pocket holes on the underside. Prepaint the pieces black if desired and attach with staple gun from the top. Fill all holes with wood filler, sand and repaint black.
Step 5: Add slats.The planter pots will sit directly onto the slats so it is easy to swap out seasonally. We attached the slats (1 inch pieces of cedar) 11 inches from the top of the planter.
It’s going to be so easy to just drop the new plants in the boxes whenever I want.
Resources for this project:
See all materials


Frequently asked questions
Have a question about this project?