


Upcycled Vintage Framed Chalkboard
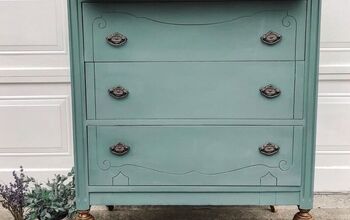
I bought this vintage framed painting a while ago through Facebook Marketplace and it's been sitting in storage for years. Inspired by some cool chalkboard art designs on Pinterest and Facebook, I upcycled this vintage framed print into seasonal decor. Do you have anything laying around like this that needs a quick refresh?
So I am on a DIY project binge lately. I have so many items laying around that I intended to work on but haven’t had the chance yet. They are clogging up my garage and storage areas, so it is time to use them or ditch them. Is it just me or do you have stuff like this too?
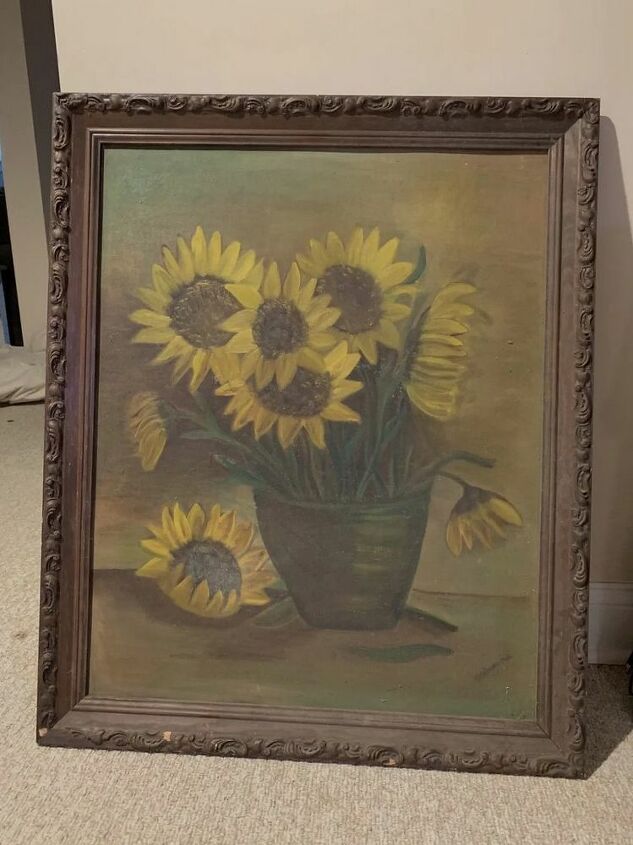
When I first saw this framed print on the marketplace, I loved the pretty detailed wood frame. After bringing it home, I wasn’t sure what I wanted to do with it so I set it aside. Having kept it in storage the last few years, it is time to do something with it.
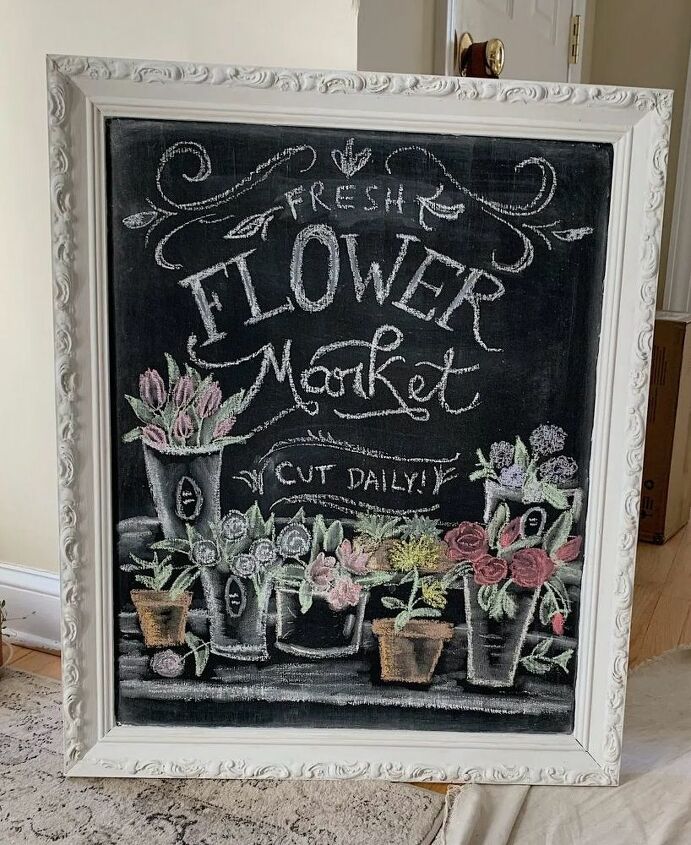
After thinking about it, I decided it would look great above my newly painted piano. Inspired by some really cool chalk art designs online, I decided to turn this piece into a pretty framed chalkboard that we could create seasonal designs. Here’s what I did…
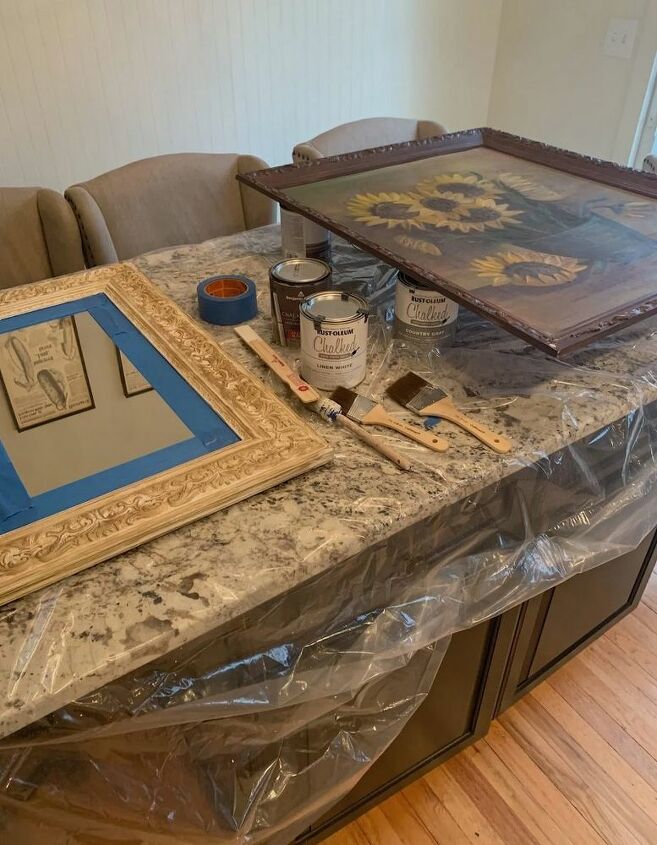
Supplies Needed
- Chalk Paint
- Chalkboard Paint
- Sanding Block or Sandpaper
- Drop Cloth
- Paint Brush
- Antique Glaze
- Paper Towels
- Paste Finishing Wax
- Old Sock or Rag
How to Update a Framed Painting as a Chalkboard
- Gather supplies.
- Clean the surface with soap and water. Allow to dry.
- Although chalk paint does not need to be pre-sanded, I like to do a very light sanding. I don’t spend too much time on it.
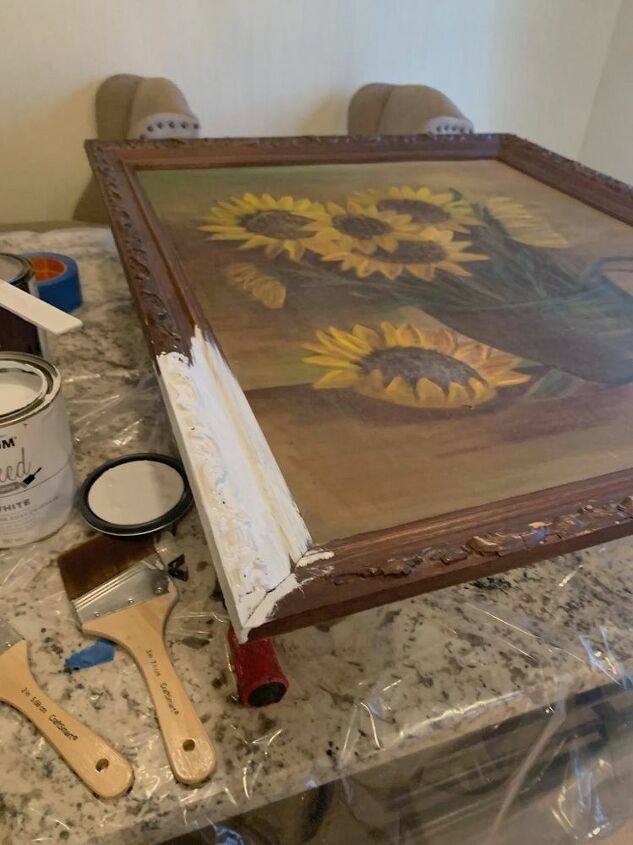
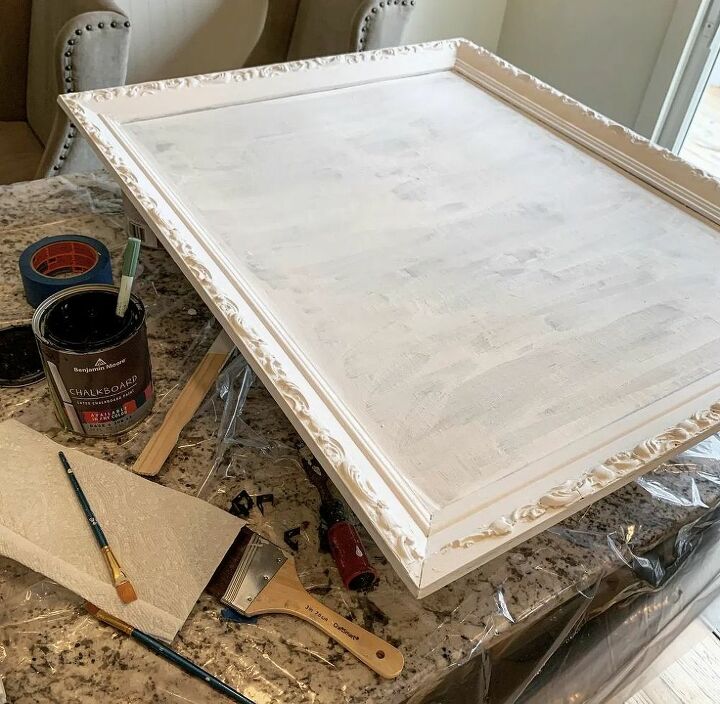
- Lift the piece up on a few paint cans or something similar so it is raised off the table. It is much easier to work on this way. Plus, you can paint the bottom without having to flip the whole painting over.
- If you want to protect the painting, either pop it out of the frame or cover it up to avoid hitting it with the chalk paint you are using on the frame.
- Paint the frame with chalk paint. I painted both the frame and the painting because I did not tape anything up. Because I didn’t want to see a line around the edge on the painting from painting the frame, I applied one coat of chalk paint to both the frame and the painting.
- Next, I applied a second coat to the frame only.
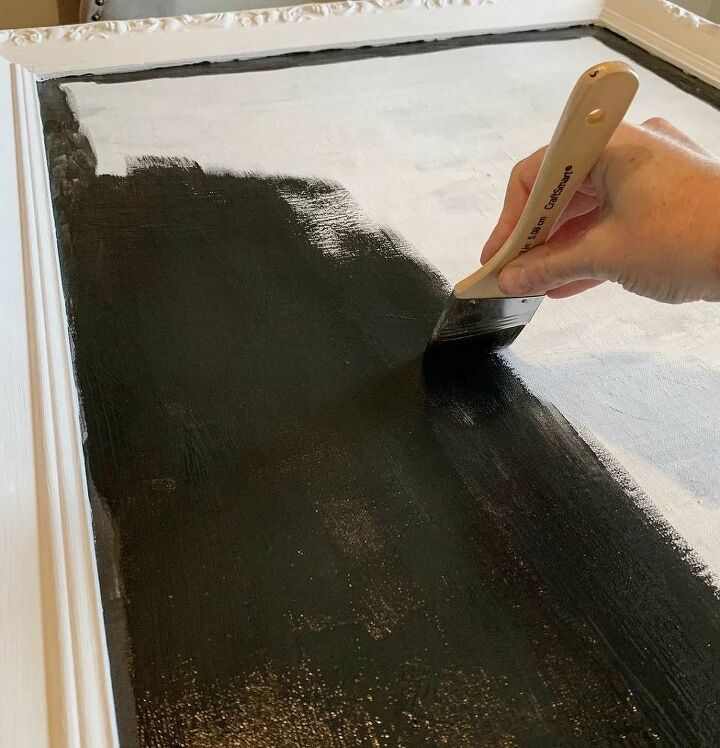
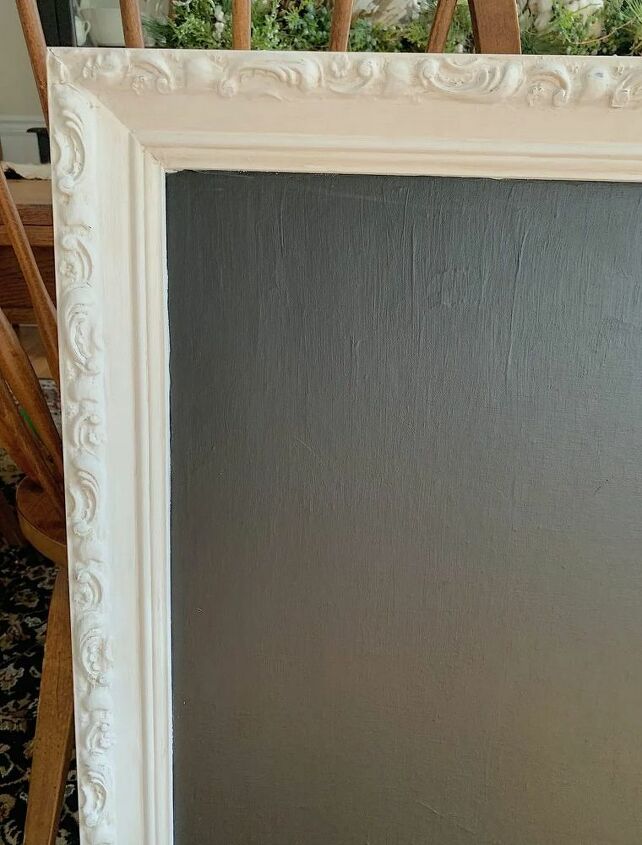
- When the chalk paint was fully dry, I applied chalkboard paint over the painting and was very careful around the edges where the painting meets the frame.
- After the first coat was dry, I applied a second coat of chalkboard paint, then allowed it to dry.
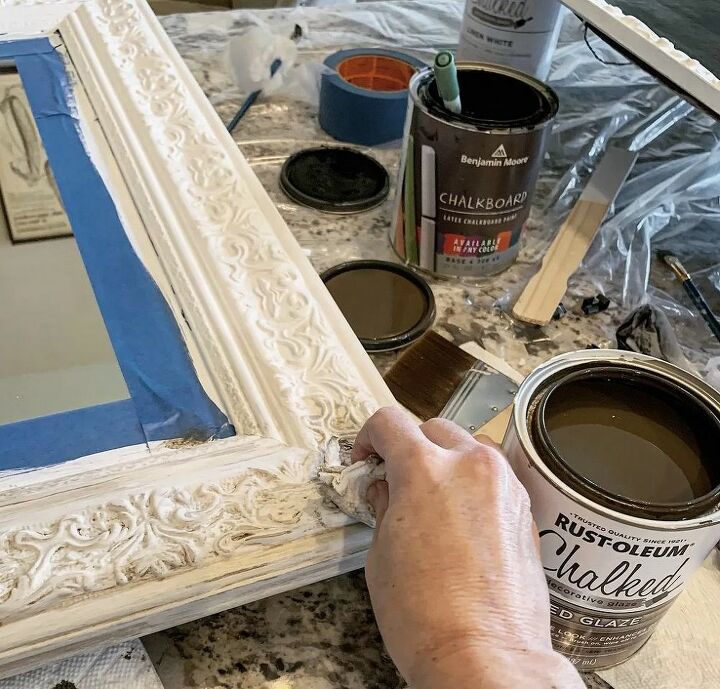
- I applied glaze with a very light hand to the detail of the frame only. I used a damp paper towel, dipped it into the glaze, applied it to a section, then used another damp paper towel to wipe most of it off. If you want a heavier glazed look, don’t wipe as much off.
- Allow everything to fully dry for 24 hours before applying the finishing wax to the frame. While some prefer to skip this step, the wax protects the color and piece from damage.
- Use an old sock or rag to apply the wax. Work it onto the piece, then wipe off the excess. Allow to cure for two weeks. (Although I will admit that I am hanging it up well before those two weeks).
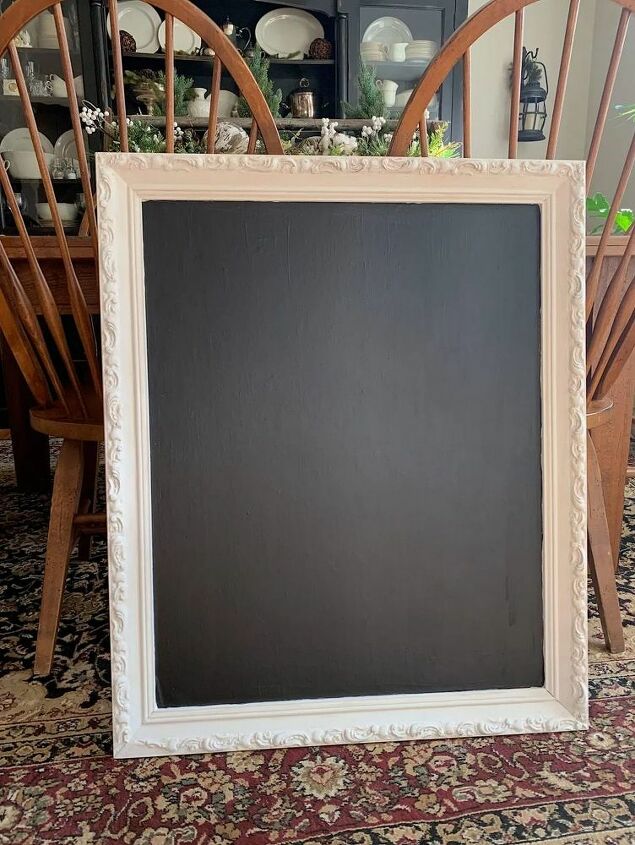
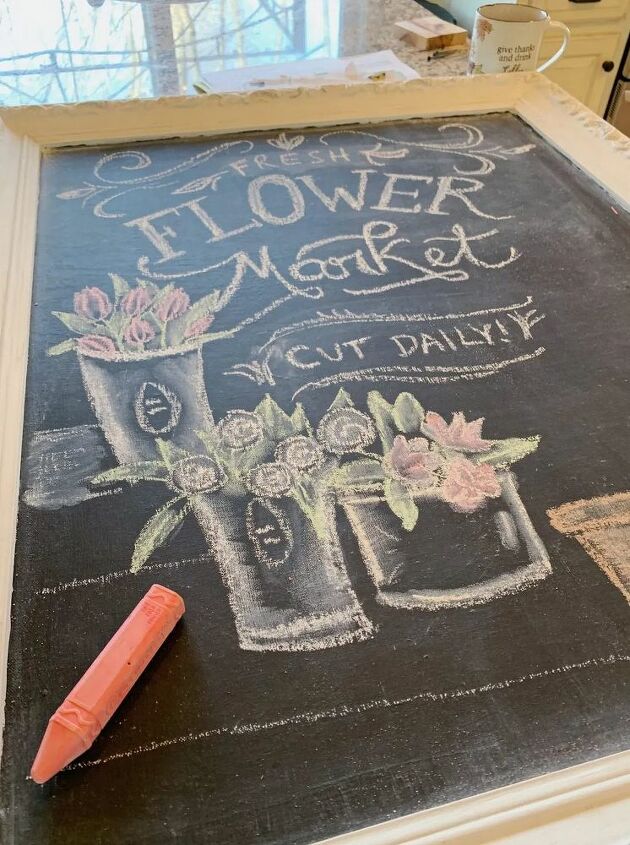
And that’s it! We love decorating the chalkboard with inspiration found on Pinterest. It’s amazing how simple or detailed the designs can be and they are not difficult to create. I’m not sure if we’ll keep it above the piano, but love it there for now.

For more DIY tips, tricks and cool project ideas, click here.
Resources for this project:
See all materials


Comments
Join the conversation
-
Superb! ❤️
-
I saw this a long time ago. I wanted to make one but then time passed and I forgot. Glad you reposted it...maybe I will remember now 🙂


Frequently asked questions
Have a question about this project?
I don't find where you say the chalkboard was seasoned. Did you rub chalk all over the board before doing your lovely painting or do plan on leaving it as is.
how do you erase the chalk when you want to do a different drawing?
The frame that you showed, demonstrating how to apply the glaze, is not the frame in your project. It’s the gold frame that was beside it in the first photo. Why??