


Custom Cork Bulletin Board
A corkboard can be a useful message center for your home or office, but sometimes they are not the most attractive décor for your room. But... we can create a custom cork bulletin board that will work perfectly!
Let’s create a custom cork bulletin board that will fit perfectly in your home!
Watch it come together in one minute!
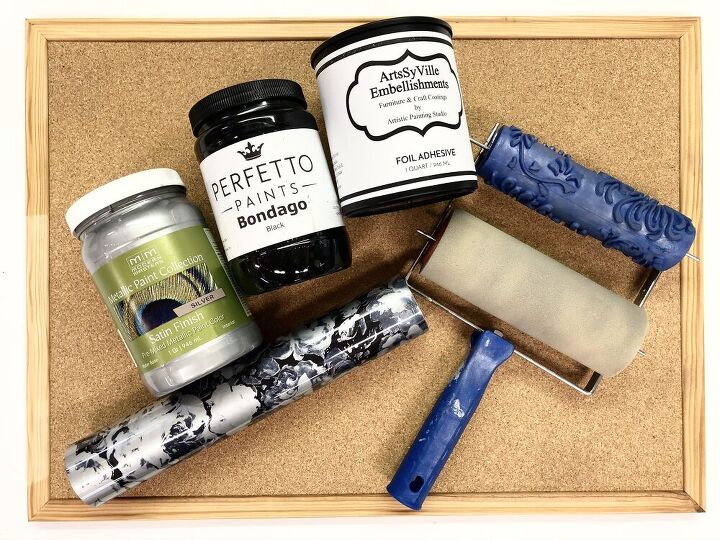
I found this cork bulletin board at my local office supply store, but you can order one from Amazon HERE (affiliate link).
I started customizing this board for my personal home office. Since I currently have a black and white theme going, I decided to paint the entire surface black using my favorite black paint, Bondago.
Using a low nap roller, I applied the paint to the corkboard and brushed the paint ont0 the frame. I applied two coats to make sure I had complete coverage. Then, I allowed the board to dry completely.
Next comes the fun part...
Break out one of your favorite rollers, I chose the Chrysanthemum Stamping Roller and your favorite paint color, I chose some Modern Masters Metallic Paint in the color Silver. These rollers are such easy and fun tools to use. They also help you complete your project quickly!
Load your paint onto the sponge applicator and then insert the roller pattern of your choice. You always want to pre-roll onto some scratch paper so that your pattern is completely loaded with paint.
How do you avoid getting the roller pattern on the frame?
You will tape off the top and bottom of the frame and measure to find the center. Then you will roll on the pattern with as many repeats that will fit on the surface area.
Next, allow the paint to dry completely and then tape off the cork so that you can foil the frame with one of your favorite patterns.
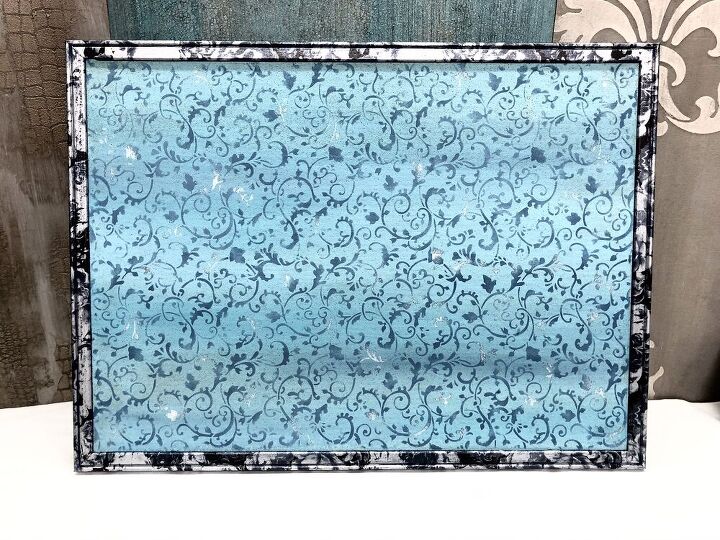
Apply a layer of the Foil Adhesive to the frame and then allow it to dry to a firm tack. This will take at least an hour, the longer the better. Foil Adhesive will never dry past a firm tack.
Do you love foils as much as I do?
As you know, I'm foil obsessed! Next, you will grab one of my favorite foil patterns, I chose Dominic Flowers in Grey. Then cut sections of foil that will be long enough, and then cut them into smaller stripes to maximize your foil. You don't want to waste anything.
You will lay the foil over the tacky foil adhesive with the pretty side facing you. Smooth out the foil and then use a plastic bristle scrub brush to scrub the surface of the foil as you transfer the foil to the frame.
Do you have to protect your foils?
Once you are done transferring the foil, you will want to apply a layer or two of topcoat to protect the foil!
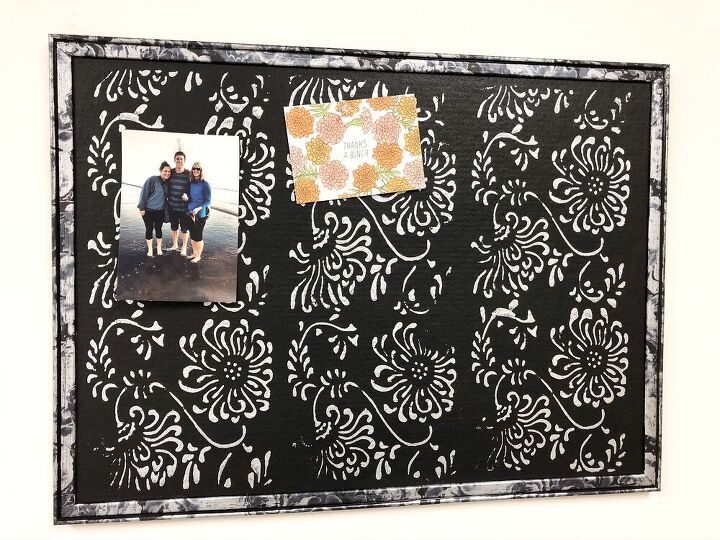
Now it's time for you to create your own custom cork bulletin board for you home or office!!
How are you going to customize your cork bulletin board? Which foil are you going to use?
Let me know in the comments below! 👇
Resources for this project:
See all materials


Frequently asked questions
Have a question about this project?