


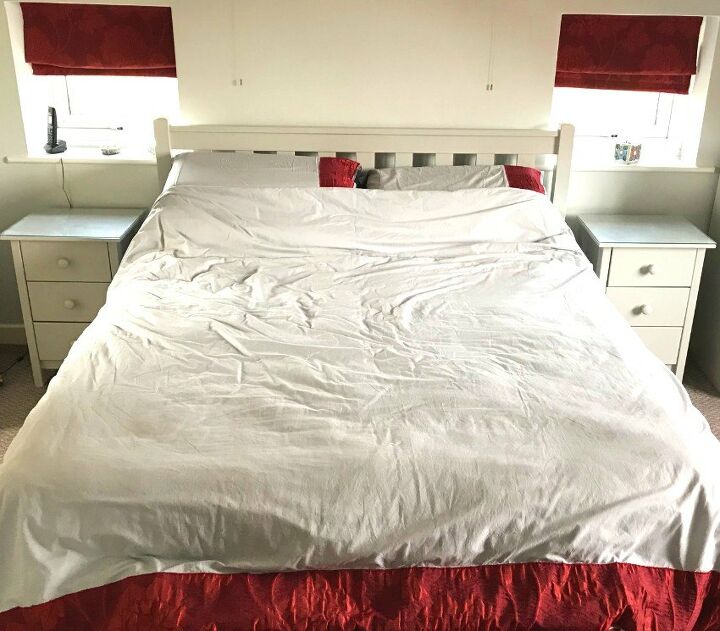
Upgrade Your Bedding Using Simple Applique!
This tutorial is going to show you very simple applique that I did to a bedding set but you can repeat it with any shapes that you like and as many pieces of fabric as you like. You can applique any fabric item but this will focus on a bedding set. As I always say, get creative!
Decide on the shape that you are wanting to applique. I used simple rectangles to coordinate with the room but you can try anything. Remember that if your shapes are very complex they will be tricky to work around with the sewing machine so if this is your first attempt stick to simple geometric shapes.
Cut out your chosen shapes and the same shapes from interfacing.
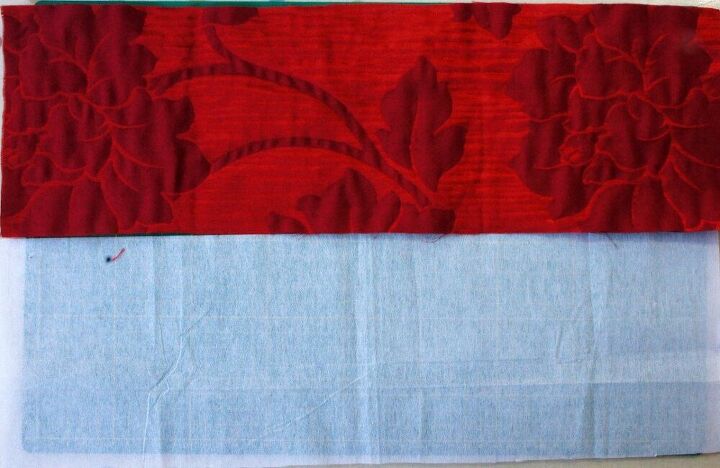
Attach the interfacing to the wrong side of your fabric pieces using your iron.
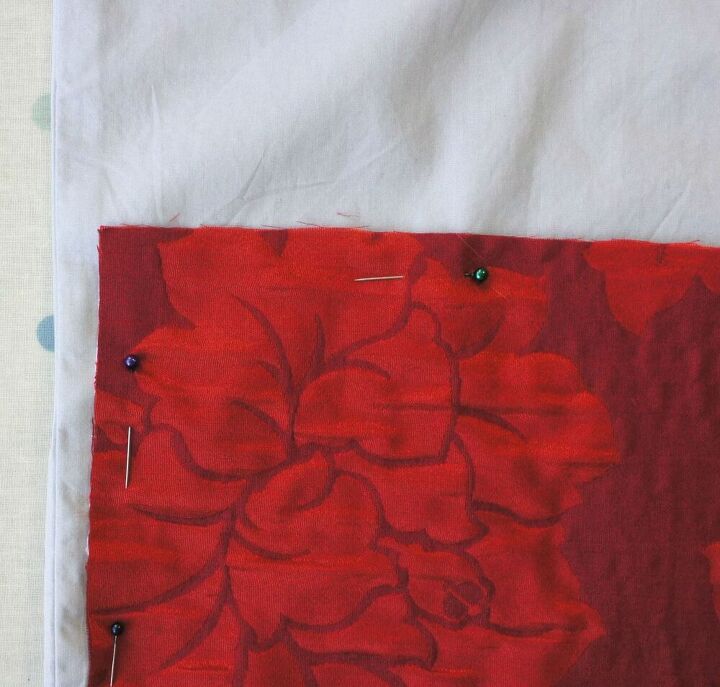
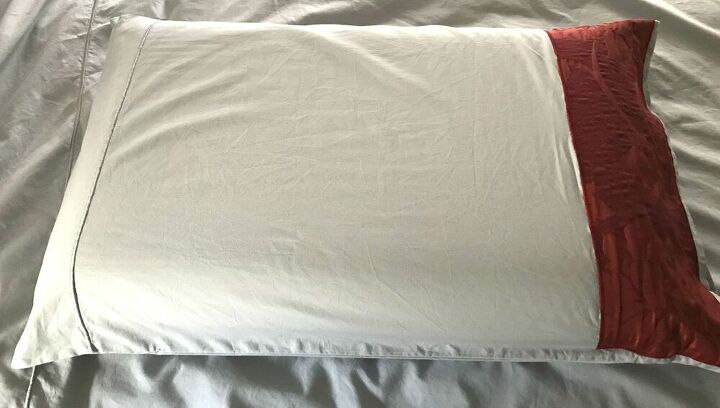
Place your shapes onto your base fabric or item where you want them to go. Once you are happy with them pin them in place.
Now, if you are appliqueing onto an item of clothing or bedding, etc then take care not to catch the other side of the item in with your pins. I made this mistake and almost closed up my pillowcase!
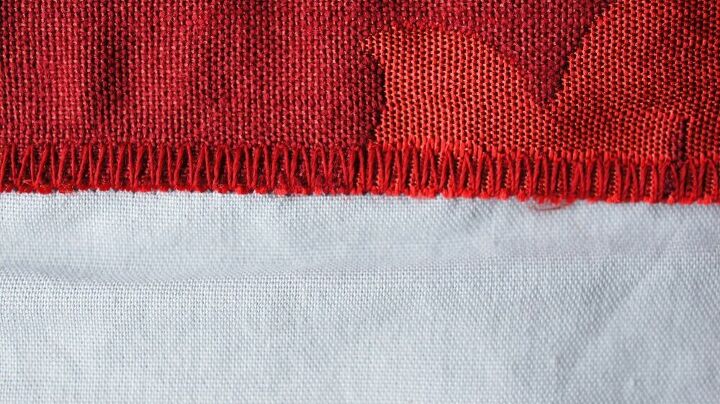
Now, it is time to sew the shapes onto your item. This is appliqueing. You will need to set your sewing machine onto a 'zig-zag' stitch of some kind. It can be as simple or fancy as you like (and that your sewing machine can do). I used a simple zig-zag stitch and set my stitch length very low. This means that my fabric can not fray between the stitches.
I recommend having a spare piece of fabric and practising on there first. Set your machine to a stitch you think you like and then 'have a go'.
At corners make sure you leave the needle in the fabric, lift the foot on the machine, turn the fabric, put the foot down and start sewing again.
The zig-zags must cover the edge of the fabric shape and reach onto the base item. As you can see from mine it is not perfect but I always cover the edge of the piece of applique (the shape). This ensures the fabric stops fraying and does not come loose.
That is it! Once your shape is secure press it and see if you are finished. If you want to you can add more applique and build up your picture or pattern. I kept things simple but you do not have to.
If you want more help take a look at the post on my blog at Christine's Crafts.
Resources for this project:
See all materials


Comments
Join the conversation
-
I'm ok at sewing but I don't think I'm this good. But I hope I can find someone that can for me I'd love to get this made for my bedroom have to talk to some friend's and see what I can get done but thanks for sawing us how to do this it is very nice..


Frequently asked questions
Have a question about this project?
'Just wondering what the fabric content of the red material is, and if it can be washed in hot water, as all pillow cases should be?
Also, did you pre-shrink the red before you sewed it on ?