


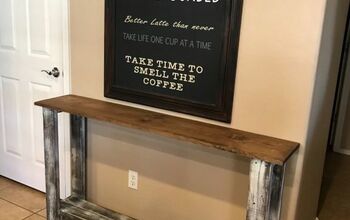
Upcylced Thrifted Shelf to Farmhouse Entry Coat Rack

When I go thrifting, I love the wood section of the store. You can always find fun things to upcylce. I found this wood shelf, at the Goodwill, and knew exactly what I wanted to do with it.
I'm going to show you how to take a simple wood shelf and turn it into a farmhouse entryway coat rack.
***The estimated cost of this project does not include the price of the miter saw or clamps.
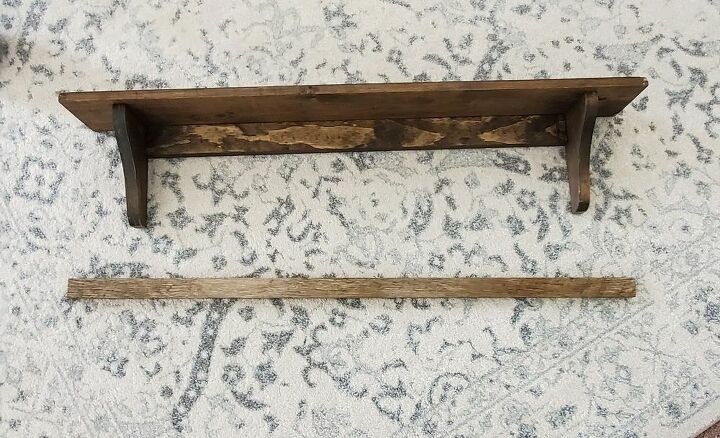
I found this wood shelf at the Goodwill, and the 1x2 on the side of the road. I'm pretty sure the 1x2 was originally part of a frame of some sorts. Not sure; but it was perfect for this project!
For the purpose of this project, I'm going to be referring to that piece as a 1x2, which you can find at Lowes or Home Depot.
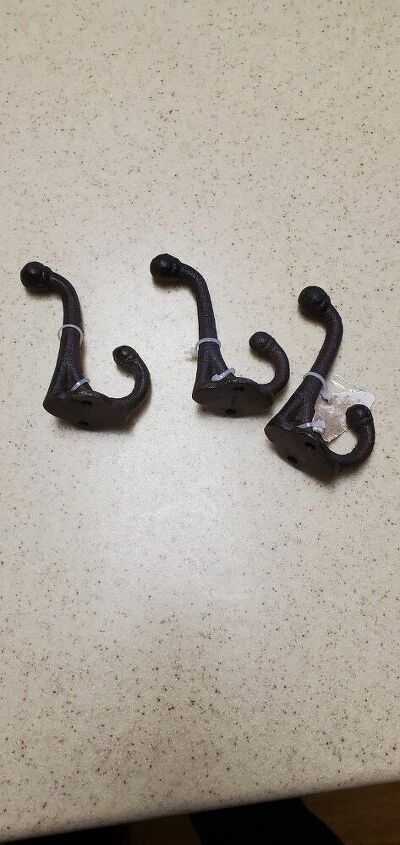
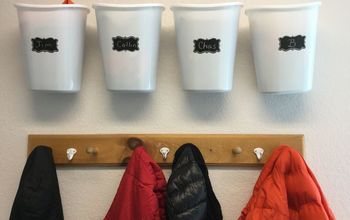
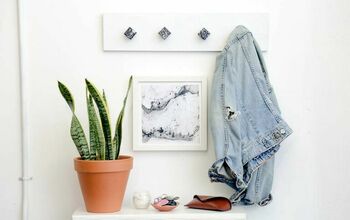
I wanted to keep a farmhouse feel, and I just so happened to have these hooks hidden away in a closet. I found these cast iron hooks in a dollar store in Japan. Can you believe these were only $1?? Of course, you can choose any style/type hook you want.
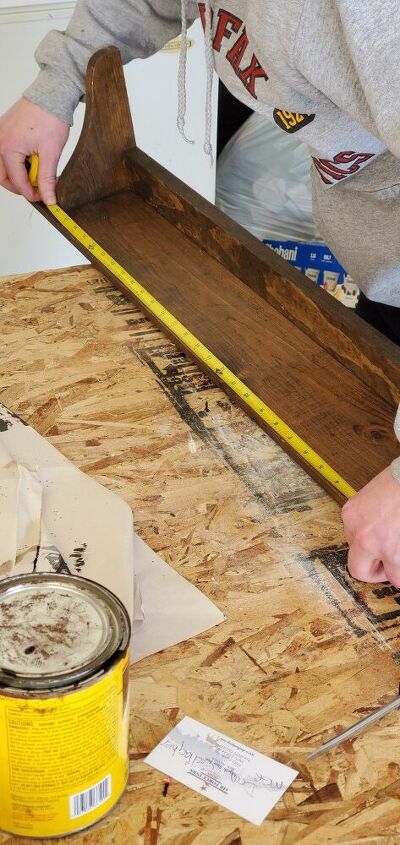
In order to cut our 1x2 to the right size, we measured between the shelf supports of the shelf, first. That is where we planned to place our 1x2. This measurement will be the length of your 1x2. I'm my case, it was 28" across.
once you have you shelf measurement, measure out your 1x2 to the same measurement as the space between the shelf supports. It should be the same exact measurement, which was 28" for me, as it will be placed right between the supports.
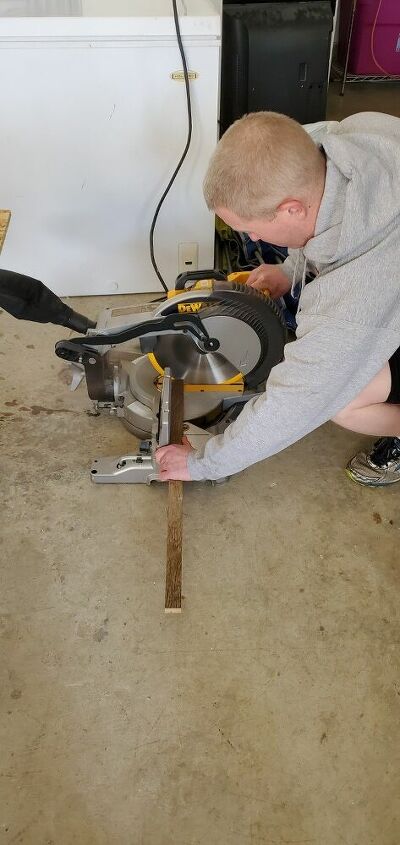
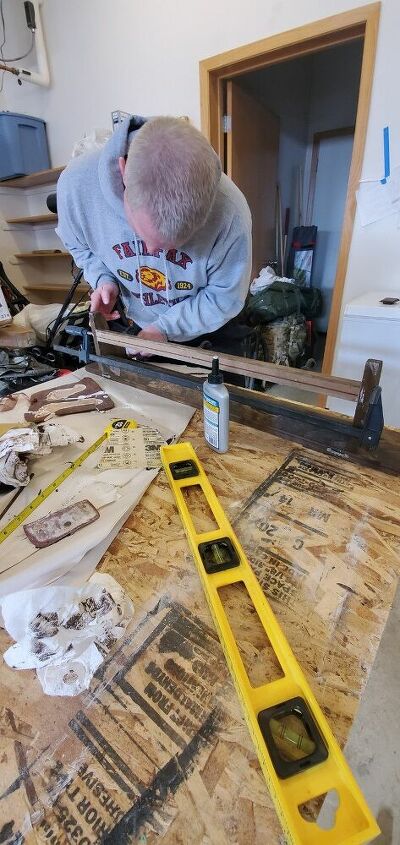
Once you have your measurements, you will need to cut your 1x2 to size. We used a miter saw to do this.
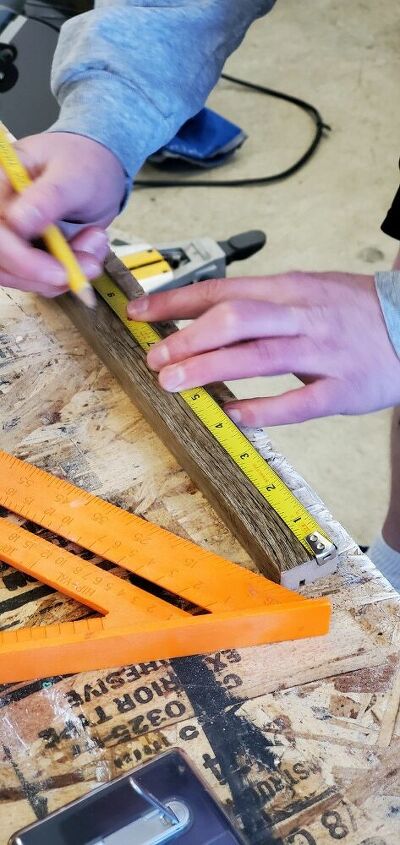
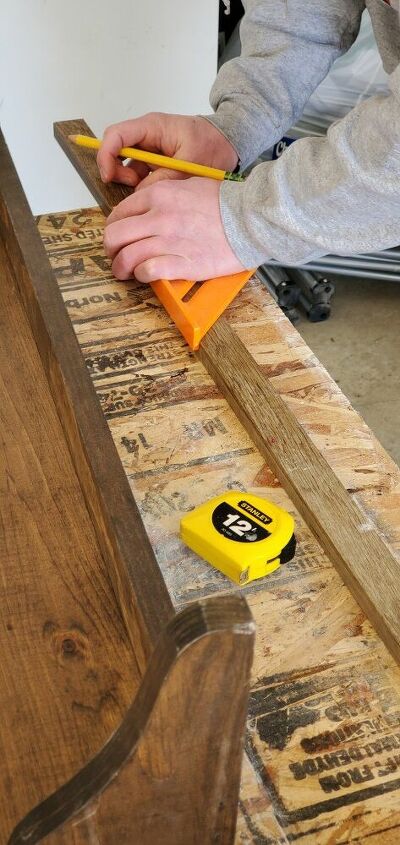
Once the 1x2 was cut to size, it was time to space the hooks. We used three hooks, so evenly spaced the hooks, using a measuring tape and placing a pencil mark where each hook would go. Since our wood was 28" in length, we marked at about every 9th inch, since we had three hooks.
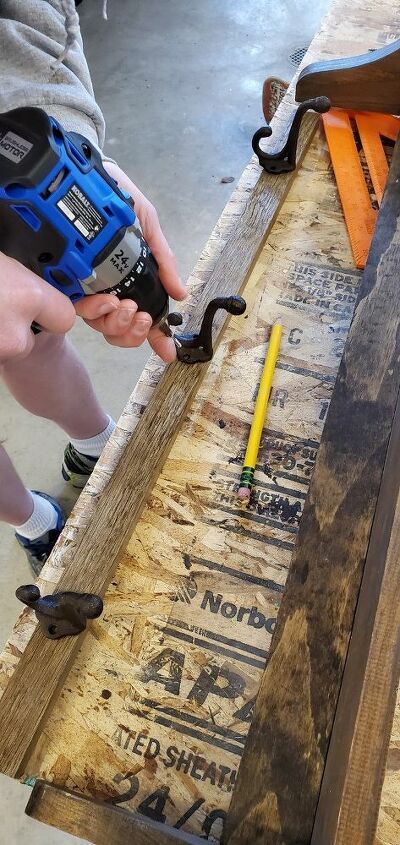
We used a cordless drill to apply the hooks to the 1x2. We secured each hook with 1 inch screws.
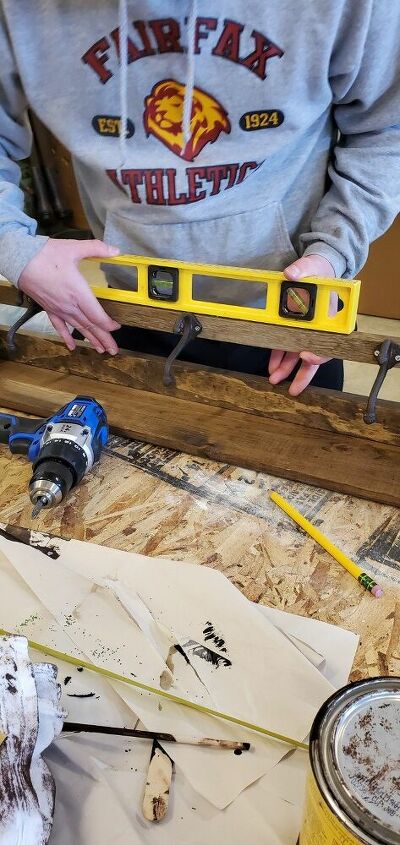
Before adding wood glue, be sure to mark exactly where your wood will be attached to your shelf. We used a leveling tool to make sure our markings were straight.
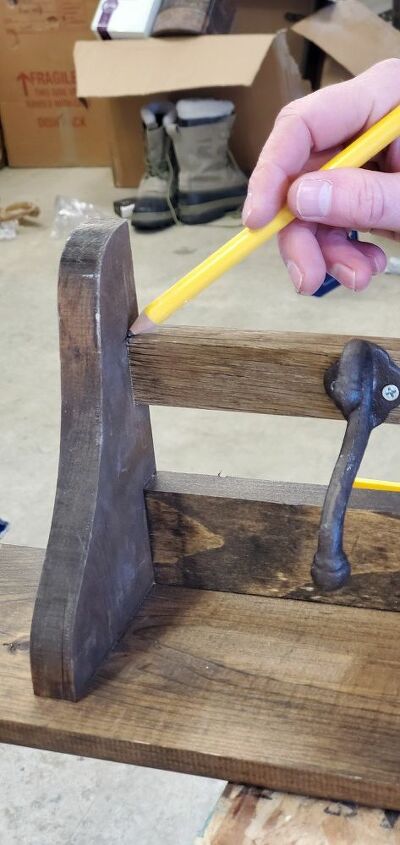
Once we made sure our 1x2 was level, we made a pencil mark on the shelf support, where the top end of our 1x2 would be placed and glued. We did this for both ends.
We originally planned to uses screws to attach the 1x2; but realized our wood wasn't strong enough to take the beating from the drill.
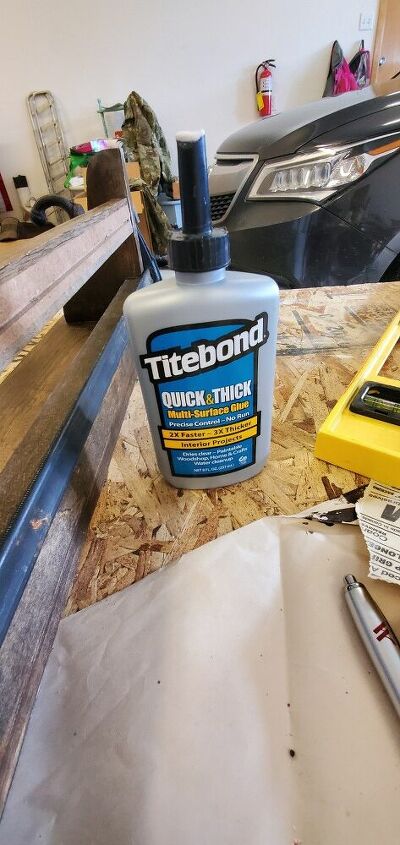
We decided to go with wood glue instead. I'm not extremely familiar with the strength of wood glue, so depending what you plan to hang on your rack, screws may be the way to go. I planned to only hang lightweight, decorative pieces, on mine. So wood glue was sufficient.
This particular glue was purchased at Lowes for around $3.99.
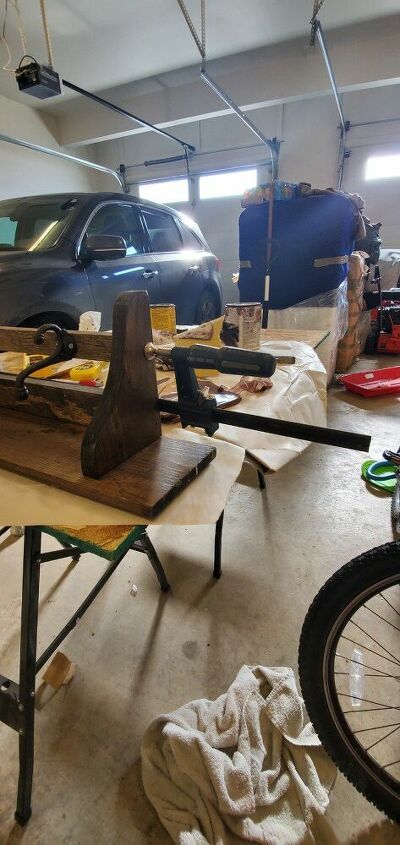
in order to get a nice hold, without your wood slipping, it's best to use a clamping tool. We found it easier to apply the tool prior to gluing your 1x2 in place. We did not tighten the clamp, just placed it in place.
We applied the clamp to the outside shelf support, as shown.
once your are ready to glue your piece, we found it easiest to apply the glue to the 1x2. Once we placed our wood on the shelf support, on both ends, we wiped the surrounding area with a damp paper towel. This helped remove the glue that oozed out from under the 1x2.
once you have your 1x2 glued and in place, it's time to tighten your clamp. We made sure the clamp was placed in the same spot as the 1x2 (on the outside of the shelf support.)
We left our clamp on for a couple hours, before removing. That was sufficient time to ensure the wood was secured.
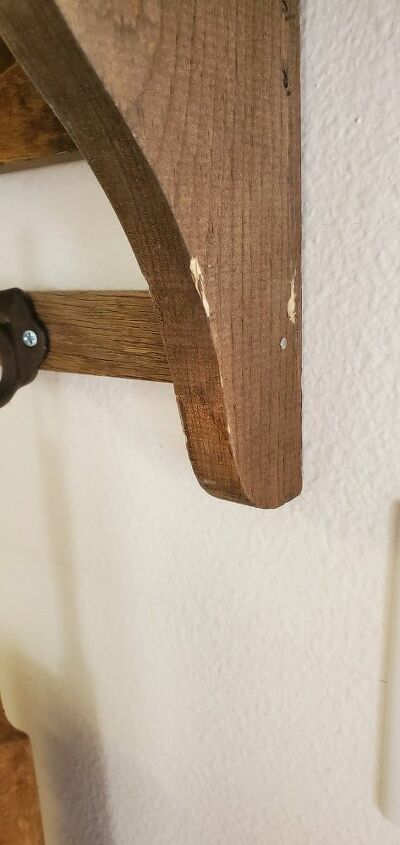
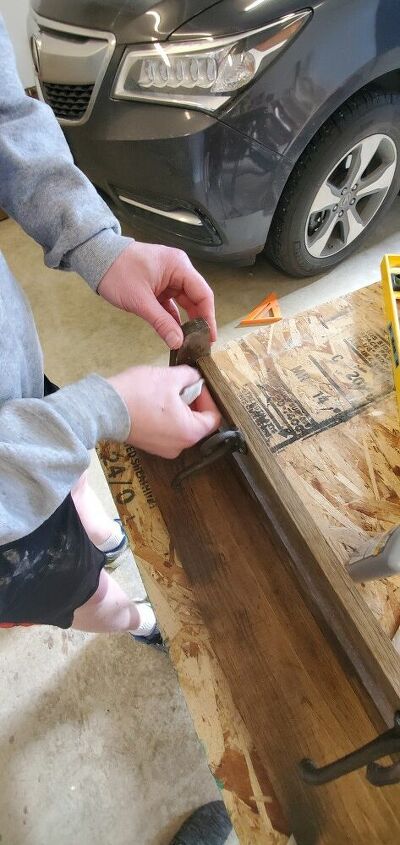
we decided to add a nail, on the outside of each shelf support, for just a little extra hold. This is completely optional; and not necessary.
Once we removed the clamps, we waited 24 hrs before hanging anything on the hooks. This allowed the glue to cure to ensure a strong hold.
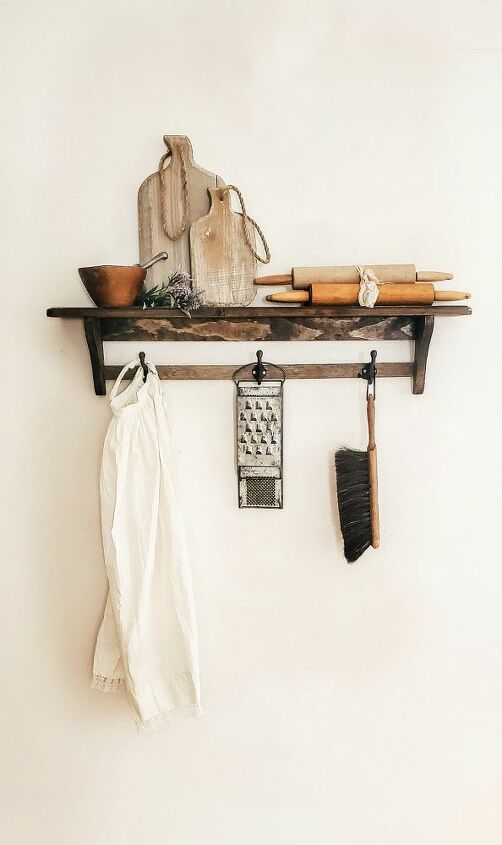
I love the way it turned out! It brought a whole new feel to the shelf!!


Frequently asked questions
Have a question about this project?