


DIY How to Build a Kitchen Nook

Hey everyone! In this How to I am going to show you a few ways to save money when building a kitchen nook. a lot of money actually because these few tips allow you to only need half the material. hope you enjoy it!
Another thing. this is a LARGE project BUT its actually quite simple. Don't let the size of the build scare you. its really just straight cuts and building a rectangle, i promise! plus most hardware stores will do you big (or all) cuts to help if your solo or don't have a table saw!
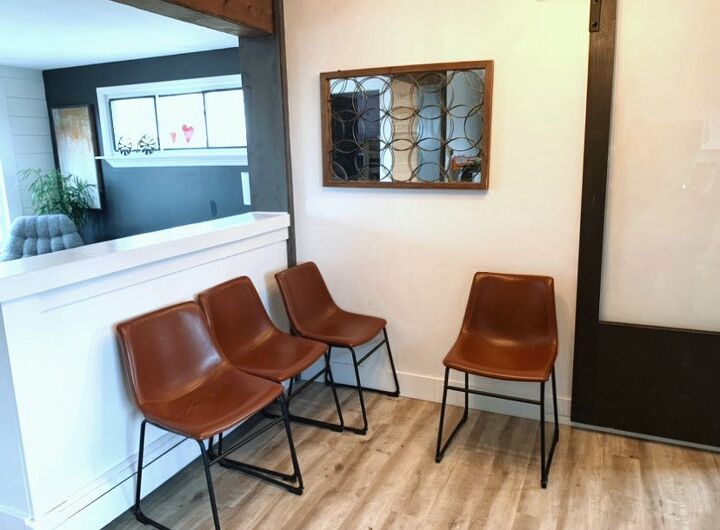
Find Your Spot!
I have the perfect little corner that hold a nook nicely, but I have also seen a LOT of "nooks" that have just one straight built in bench if you don't have a corner and they are super nice too!
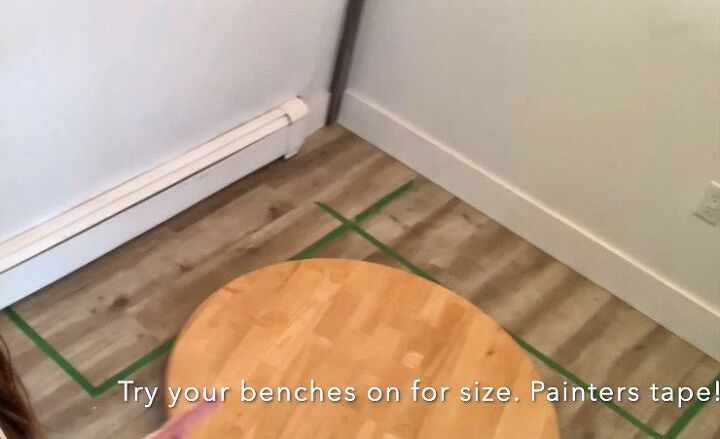
Plan your space with tape
If you are not sure how big to build. Use painters tape and tape off before you confirm a size.
Tip #2 if you are still stuck i suggest building your bigger measurement. From all the designs i have seen, a longer bench always looks better then one thats too small.
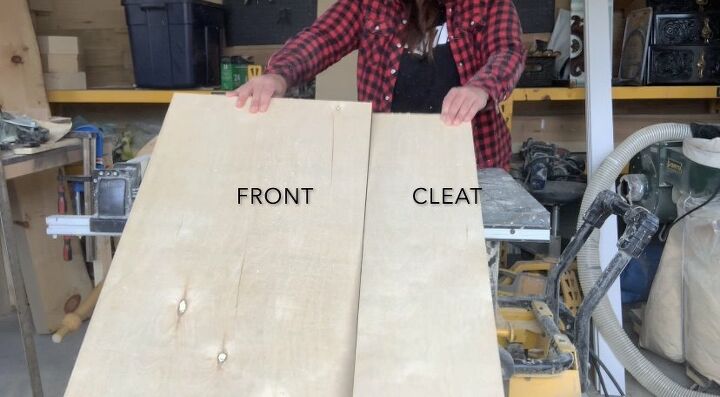
Rip your boards.
Next I ripped my boards to 17 inches high and used the excess as the cleat I will add to the wall in the next step.
TIP: I am building around a base board heater so one of my front pieces will have small vents cut out on the bottom for airflow.
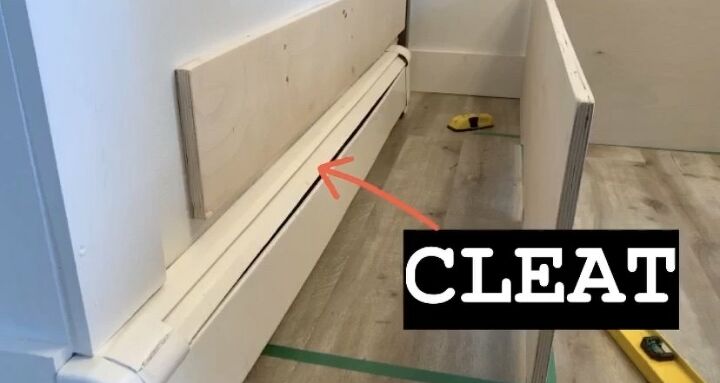
Attach Your Cleat
Use a stud finder and attach your cleat to your studs at the level that you chose for your benches. This is where you will later attach your hinge.
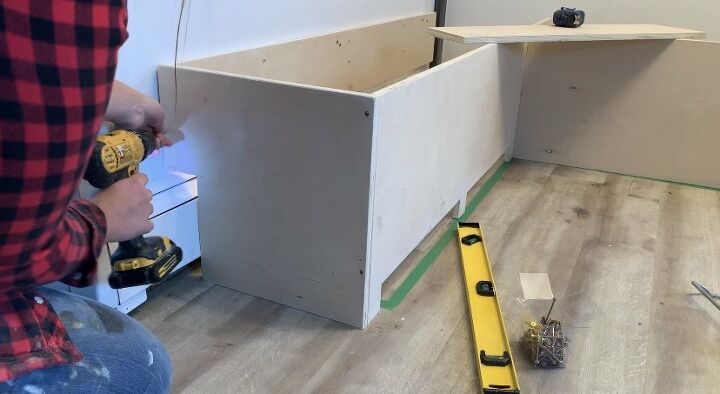
Sides.
Measure and cut your sides. If you are building around a heater then allow for the heater to be accessed. In this step you'll see where I cut out the vents on the bottom for airflow.
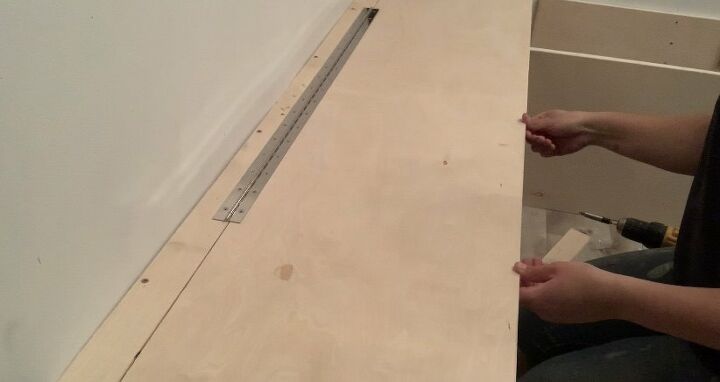
Storage Lid.
Measure and cut your lid to size. if you want your benches to have storage then set your table saw to 3 inches and rip the lid length ways , sand and attach a hinge!
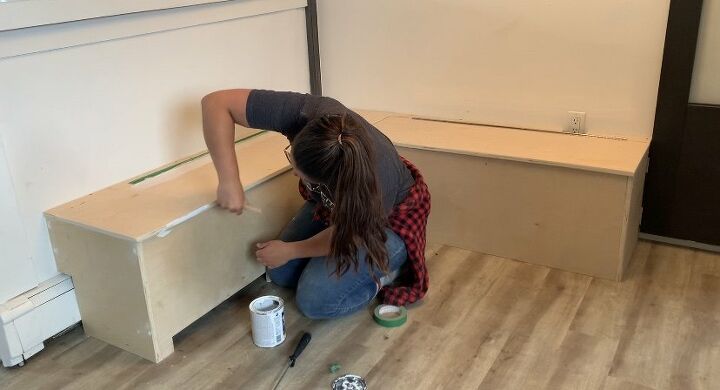
Prime and Paint
Once everything is sanded you can prime and paint (or stain) your nook.
I used BIN123 primer its my favorite one I've used.
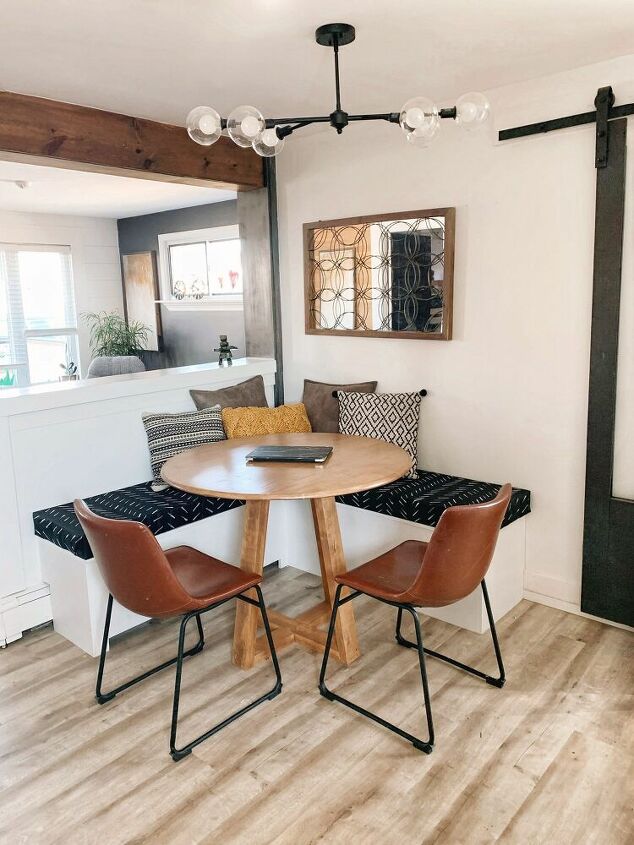
DONE
Your all done! Next DIY i will show you how to make these cushions for under 50$ without sewing!
More Wallet-Friendly Room Makeovers
Resources for this project:
See all materials


Comments
Join the conversation
-
Looks wonderful!
-
Looks brilliant, thanks for sharing the tips and the process. Do you mind if I redesign this kitchen online, probably in planner5d?


Frequently asked questions
Have a question about this project?
Is it possible for one person to make by themselves with NO experience???
Did you add anything to the sides to hold the top up when you are adding or removing things from the storage to prevent it from slamming shut and getting fingers smashed? That would be my luck! Thanks! I want to do this to my someday kitchen.
I absolutely love this!!! Did you make the table as well??? If not, where did you get the table from?